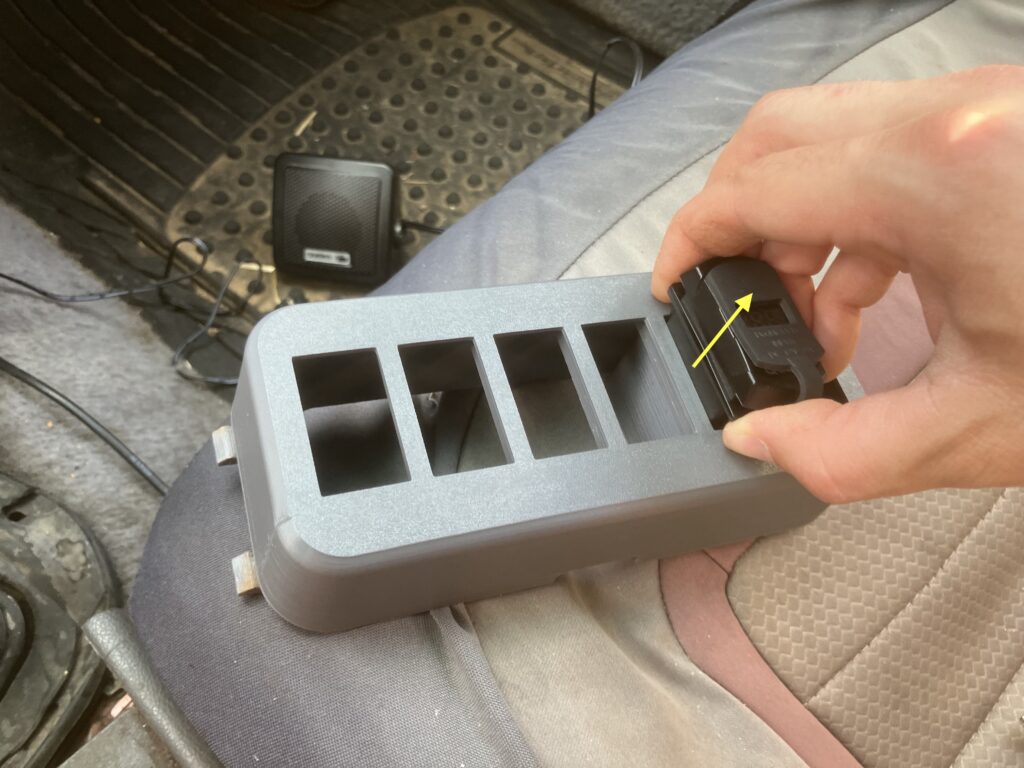
Remove the Factory Switch Cover
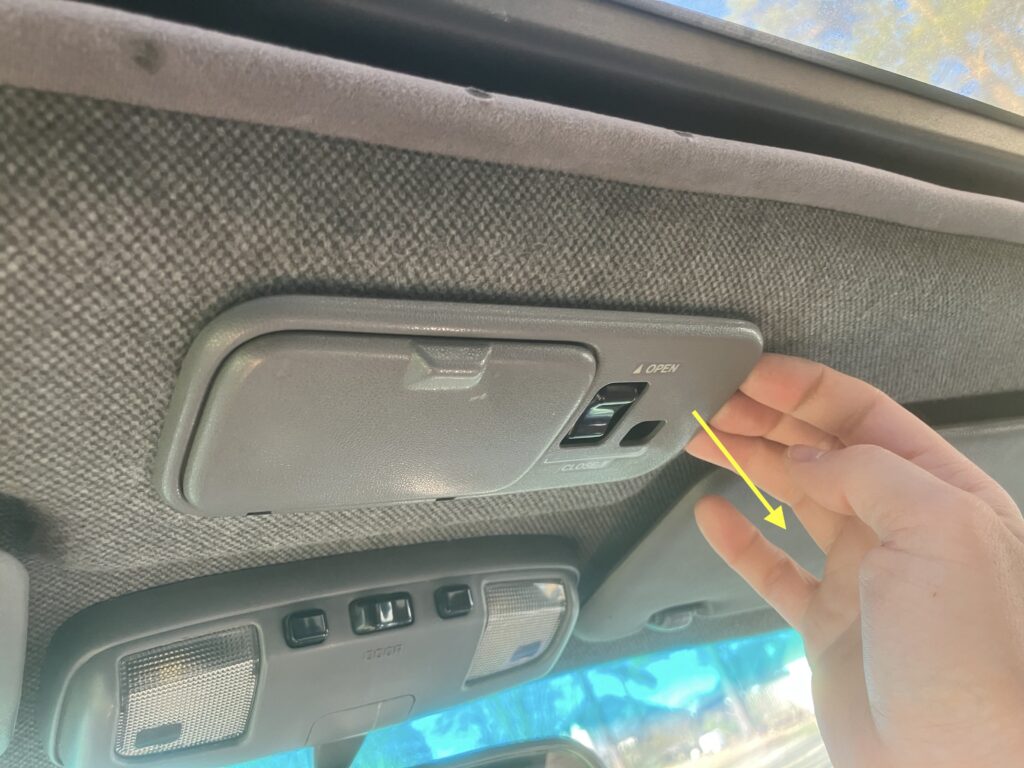
Pull down on the passenger side of the cover to free the snap-fit connections.
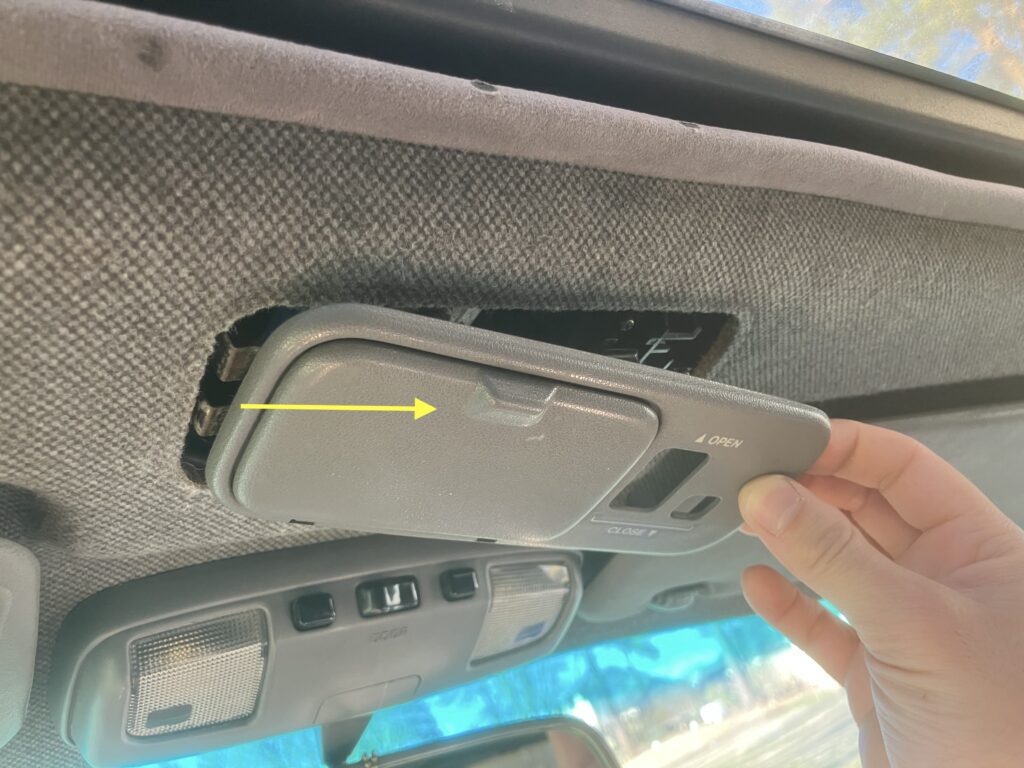
Slide the cover towards the passenger side to remove the retaining clip.
Remove the Sunroof Switch
Unscrew the 2 screws holding the switch mounting bracket. Keep the 2 screws.
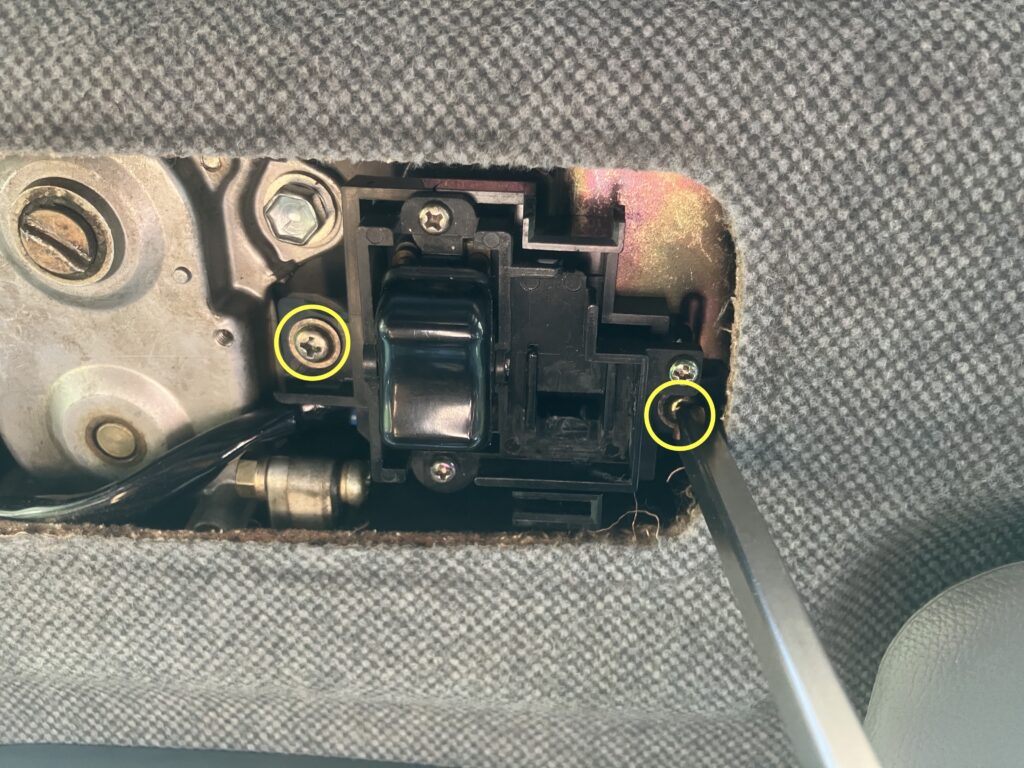
Disconnect the switch connector. This can be tricky to do, since it’s back up under the headliner a bit. A small screwdriver can help depress the clip to release the switch.
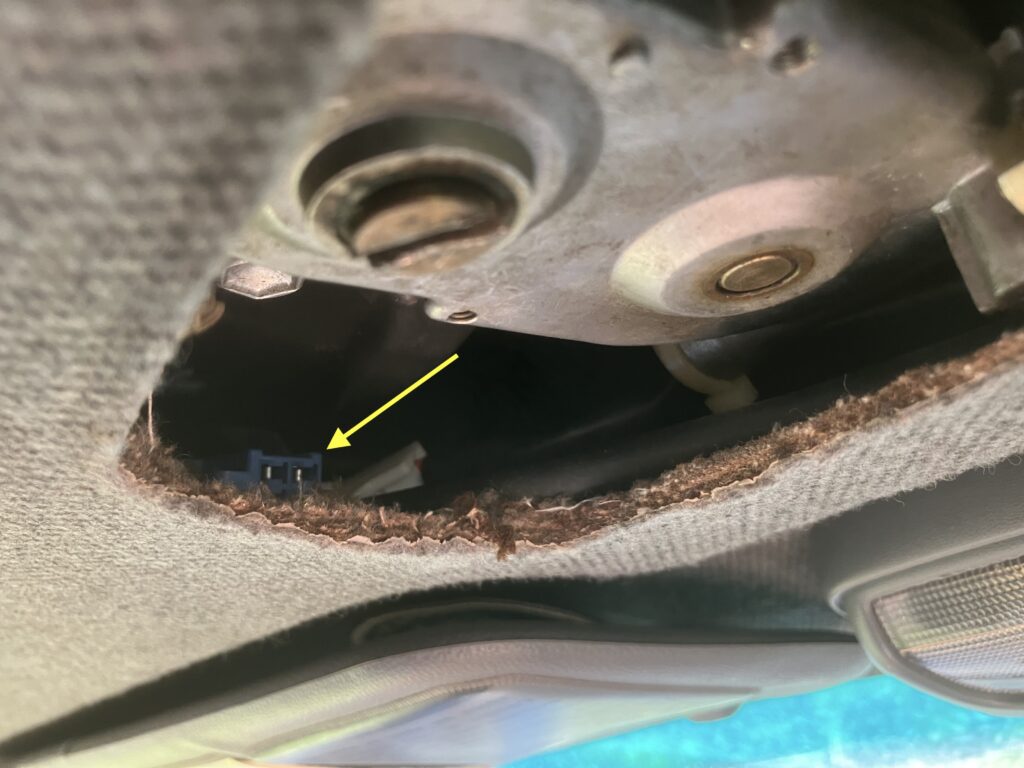
At this point, you can either rewire the sunroof switch to a rocker switch, or set it aside.
Rewire the Sunroof Switch
To rewire the sunroof switch to a Carling Contura-style rocker switch, you’ll need a DPDT (double-pole, double-throw) (ON)-OFF-(ON) momentary rocker switch. The provided pigtail is color-coded in pin positions as follows:
- Green: Power to motor for opening the sunroof
- Blue: Power supply for opening and closing the sunroof
- White: Ground
- Red: Power to motor for closing the sunroof
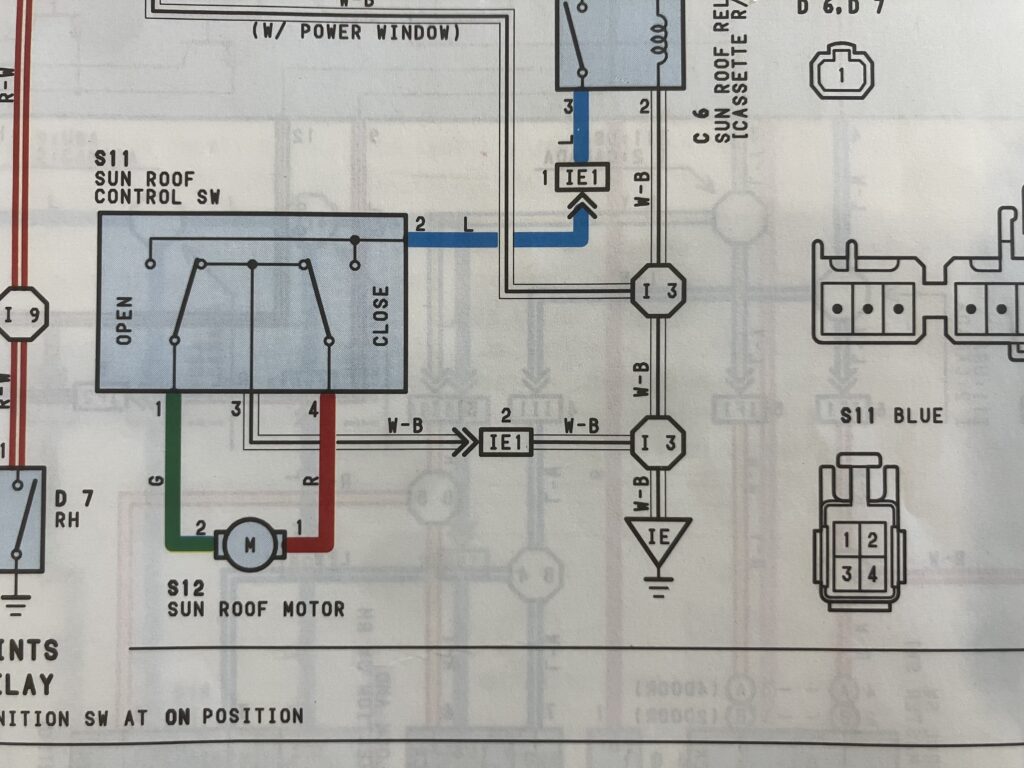
You may need to add jumpers between pins, or you may be able to find a rocker switch with internal jumpers, in order to provide power (from the blue wire) to both of the NO (normally open) contacts and in order to provide ground (white wire) to both of the NC (normally closed) contacts.
- Green: Connect to the common pin for the sunroof open side of the switch.
- Blue: Connect to both of the NO pins.
- White: Connect to both of the NC pins.
- Red: Connect to the common pin for the sunroof close side of the switch.
If you want to use a lighted switch, you’ll need to run accessory power (if you only want full brightness) or both power and ground from the dash lighting circuit (if you want the brightness to match the dash, because the circuit is modulated on the ground side) up the A pillar to the sunroof switch location.
Install the Mounting Bracket in the Vehicle
Reinstall the 2 screws in the new mounting bracket.
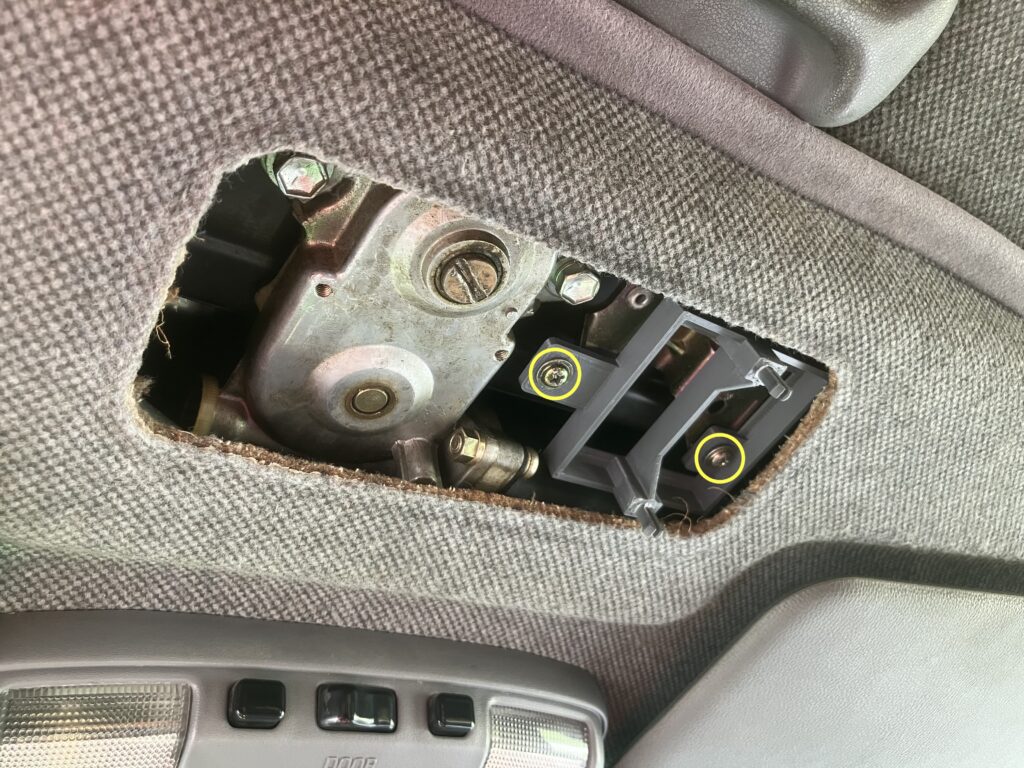
Install the Switch Cover in the Vehicle
Slide the retaining clip on the cover above the headliner to the driver side.
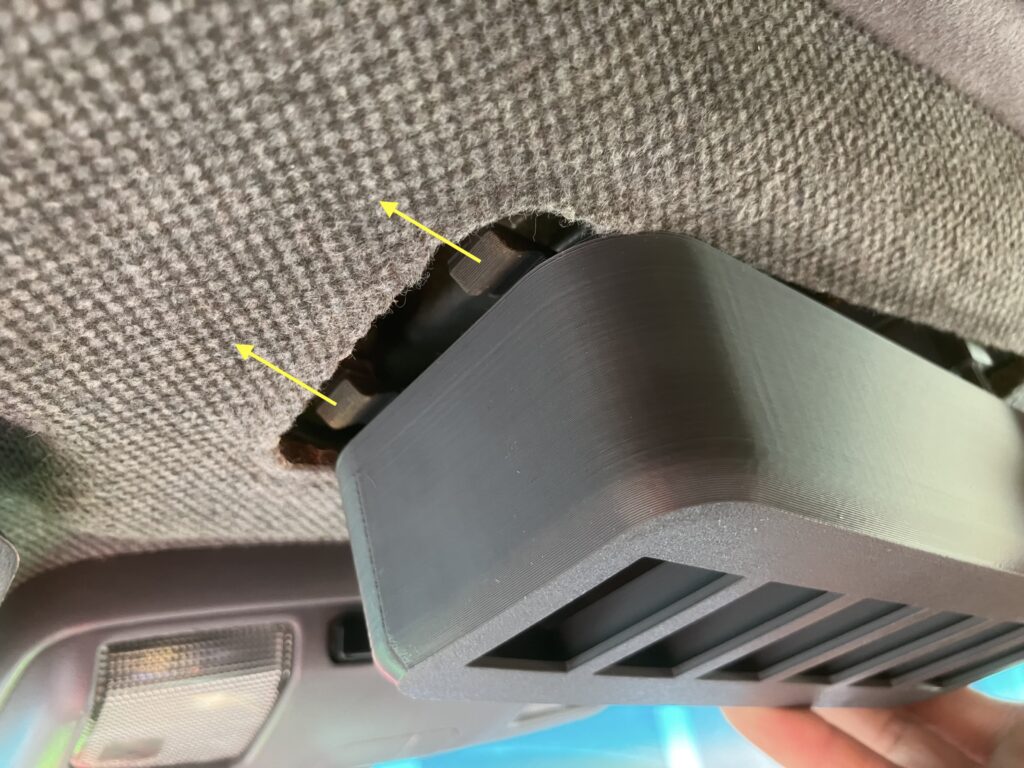
Align the snap-fit connectors on the mounting bracket with the sockets on cover.
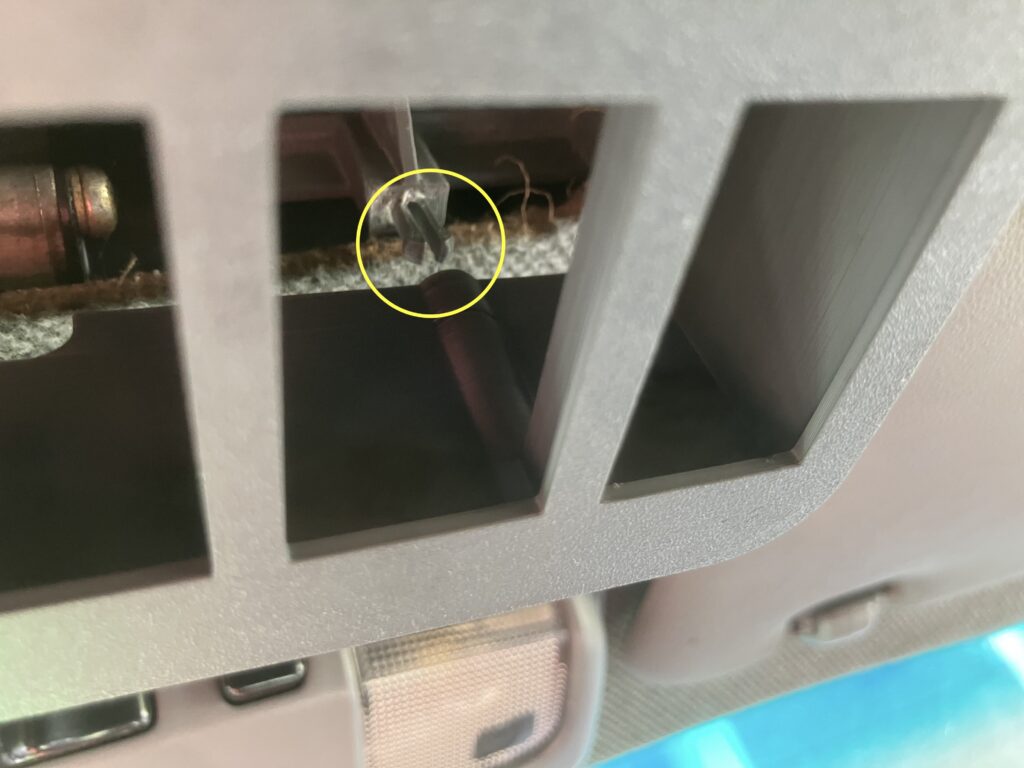
Press firmly up to snap both connectors into place.
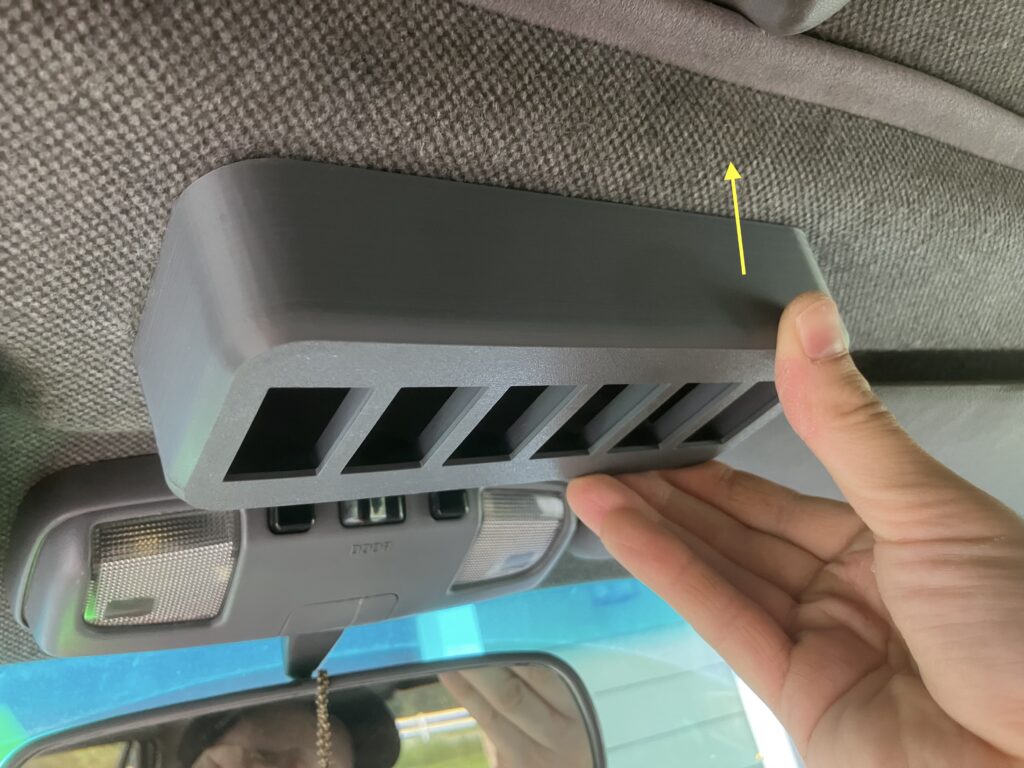
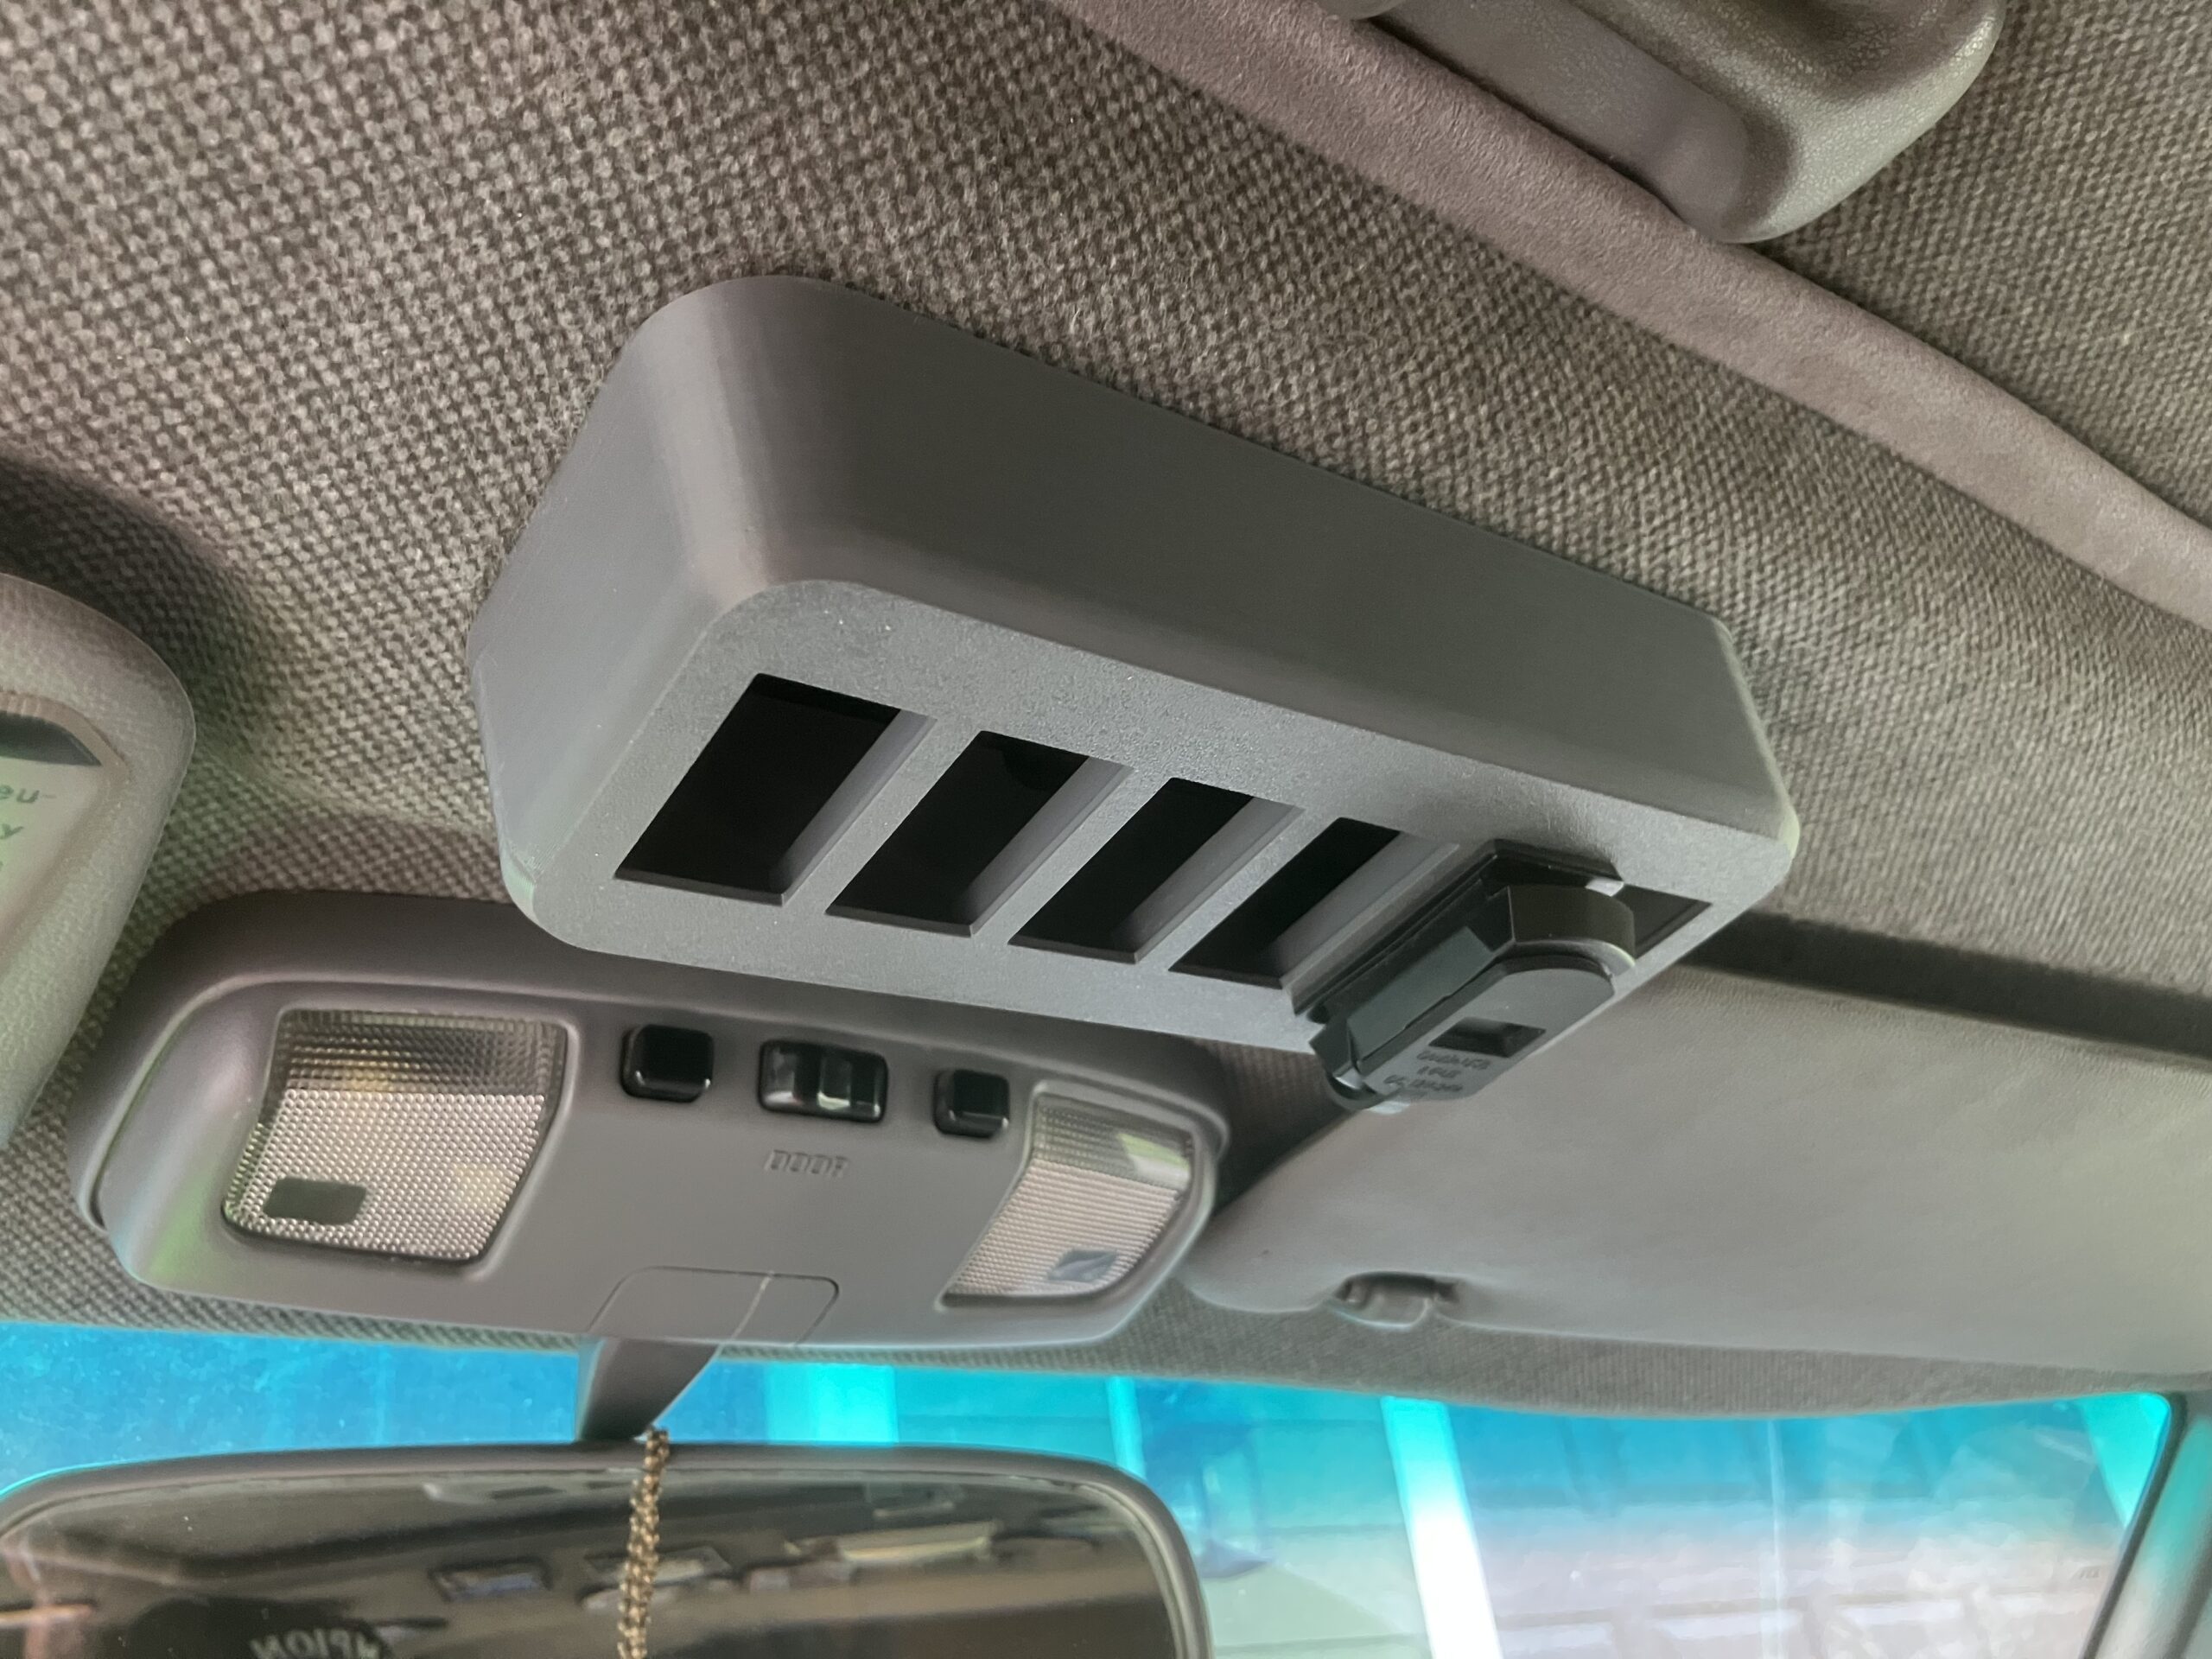
Congratulations! Your new switch cover is now installed and ready for switches!
When installing switches, the cable routing will be pretty tight. The terminal connectors may need to be bent 90º to fit.
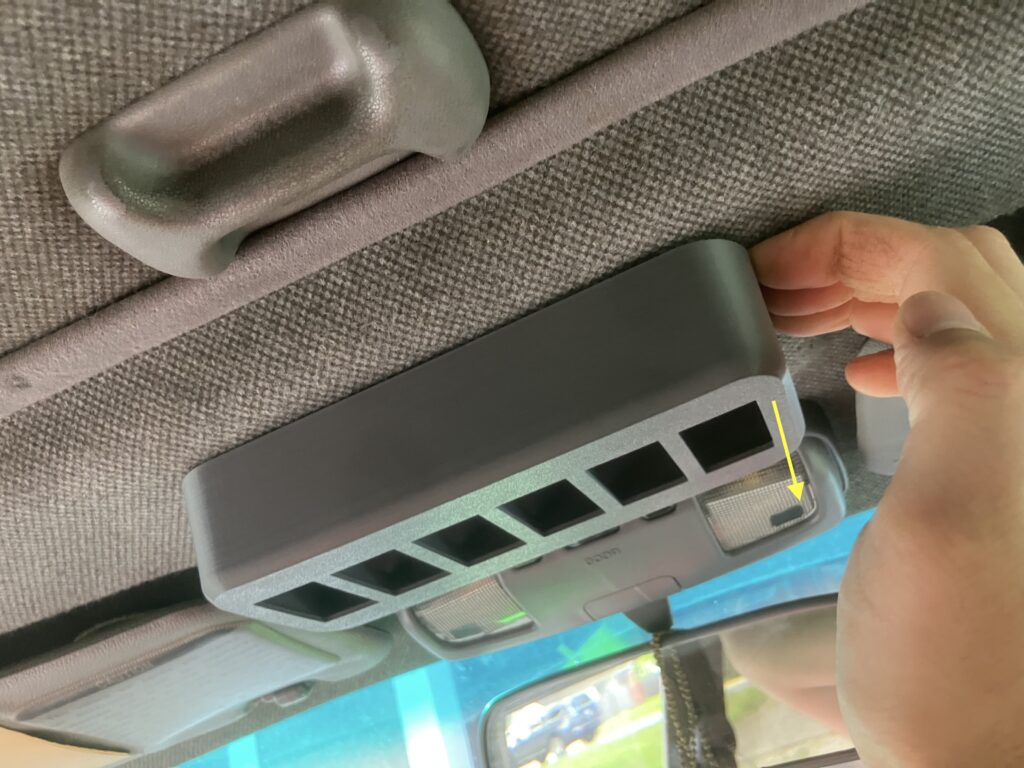
Removing the Switch Cover
To remove the switch cover, firmly pull down on the passenger side end using your fingers or a trim removal tool.
Removing Switches
To a remove a mounted switch, slide the switch removal tool over the back of the switch.
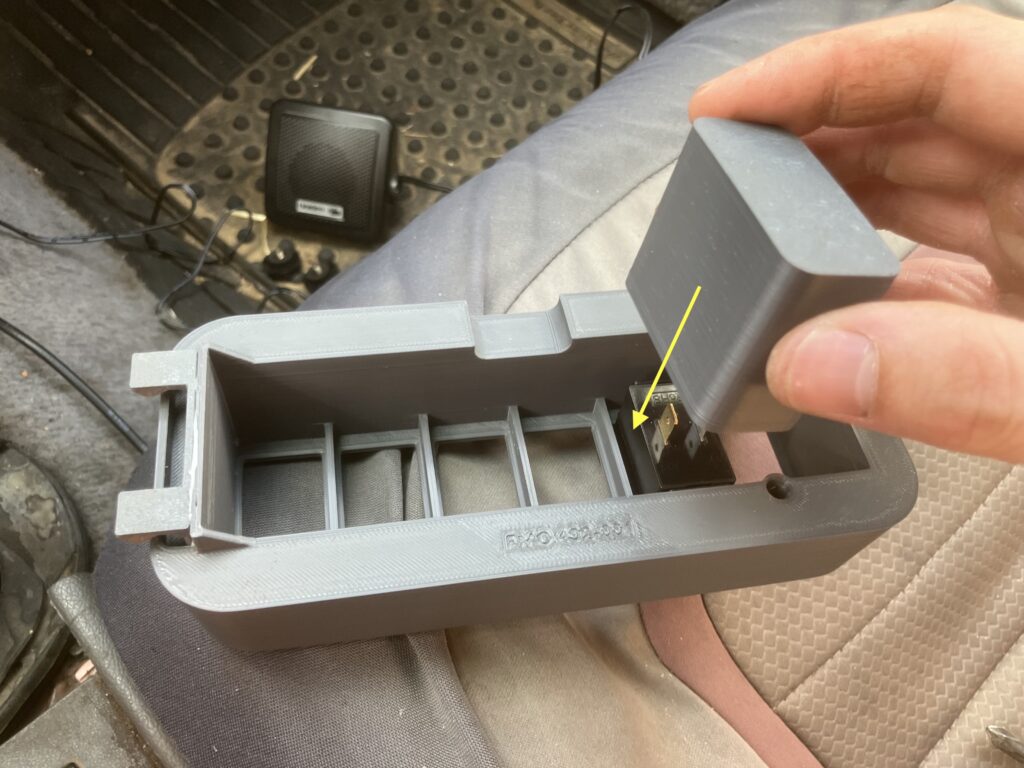
Then press down firmly until it fully seats against the face of the switch cover.
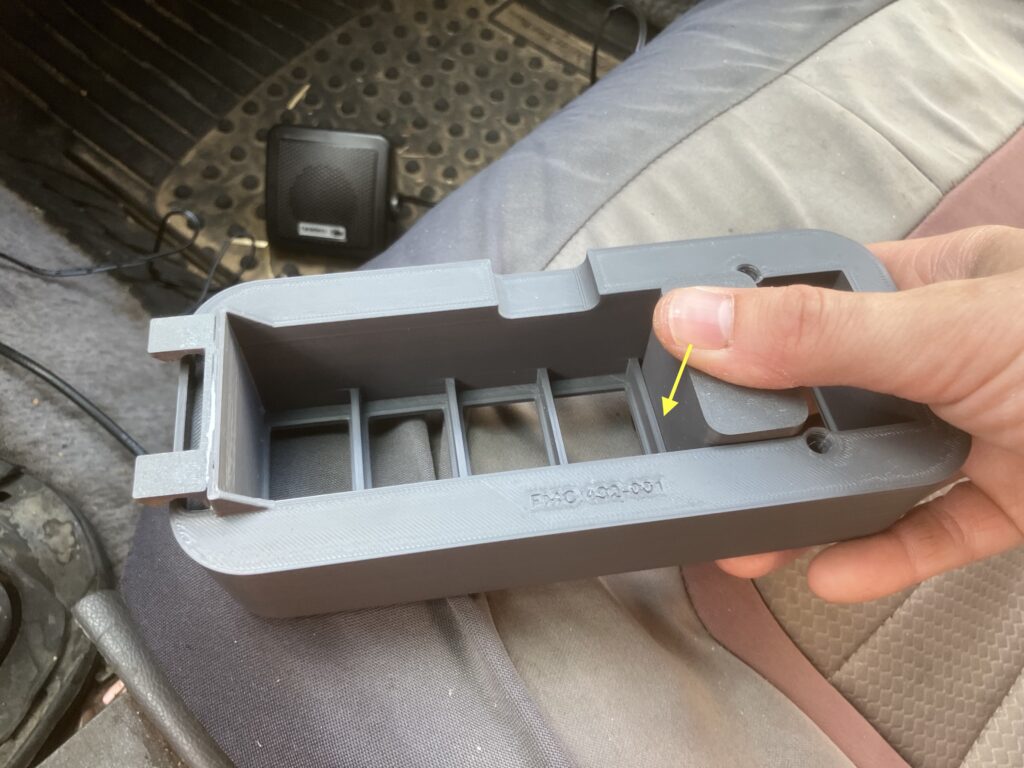
With the switch removal tool still in place, slide the switch out from the face of the switch cover. The switch removal tool release the tension on the clips holding the switch in place. The switch may need to be wiggled free but should otherwise slide out easily.