Categories
Projects

Restoring a Vintage Coleman 413G Camp Stove

The Coleman 413G camp stove as it was when purchased.

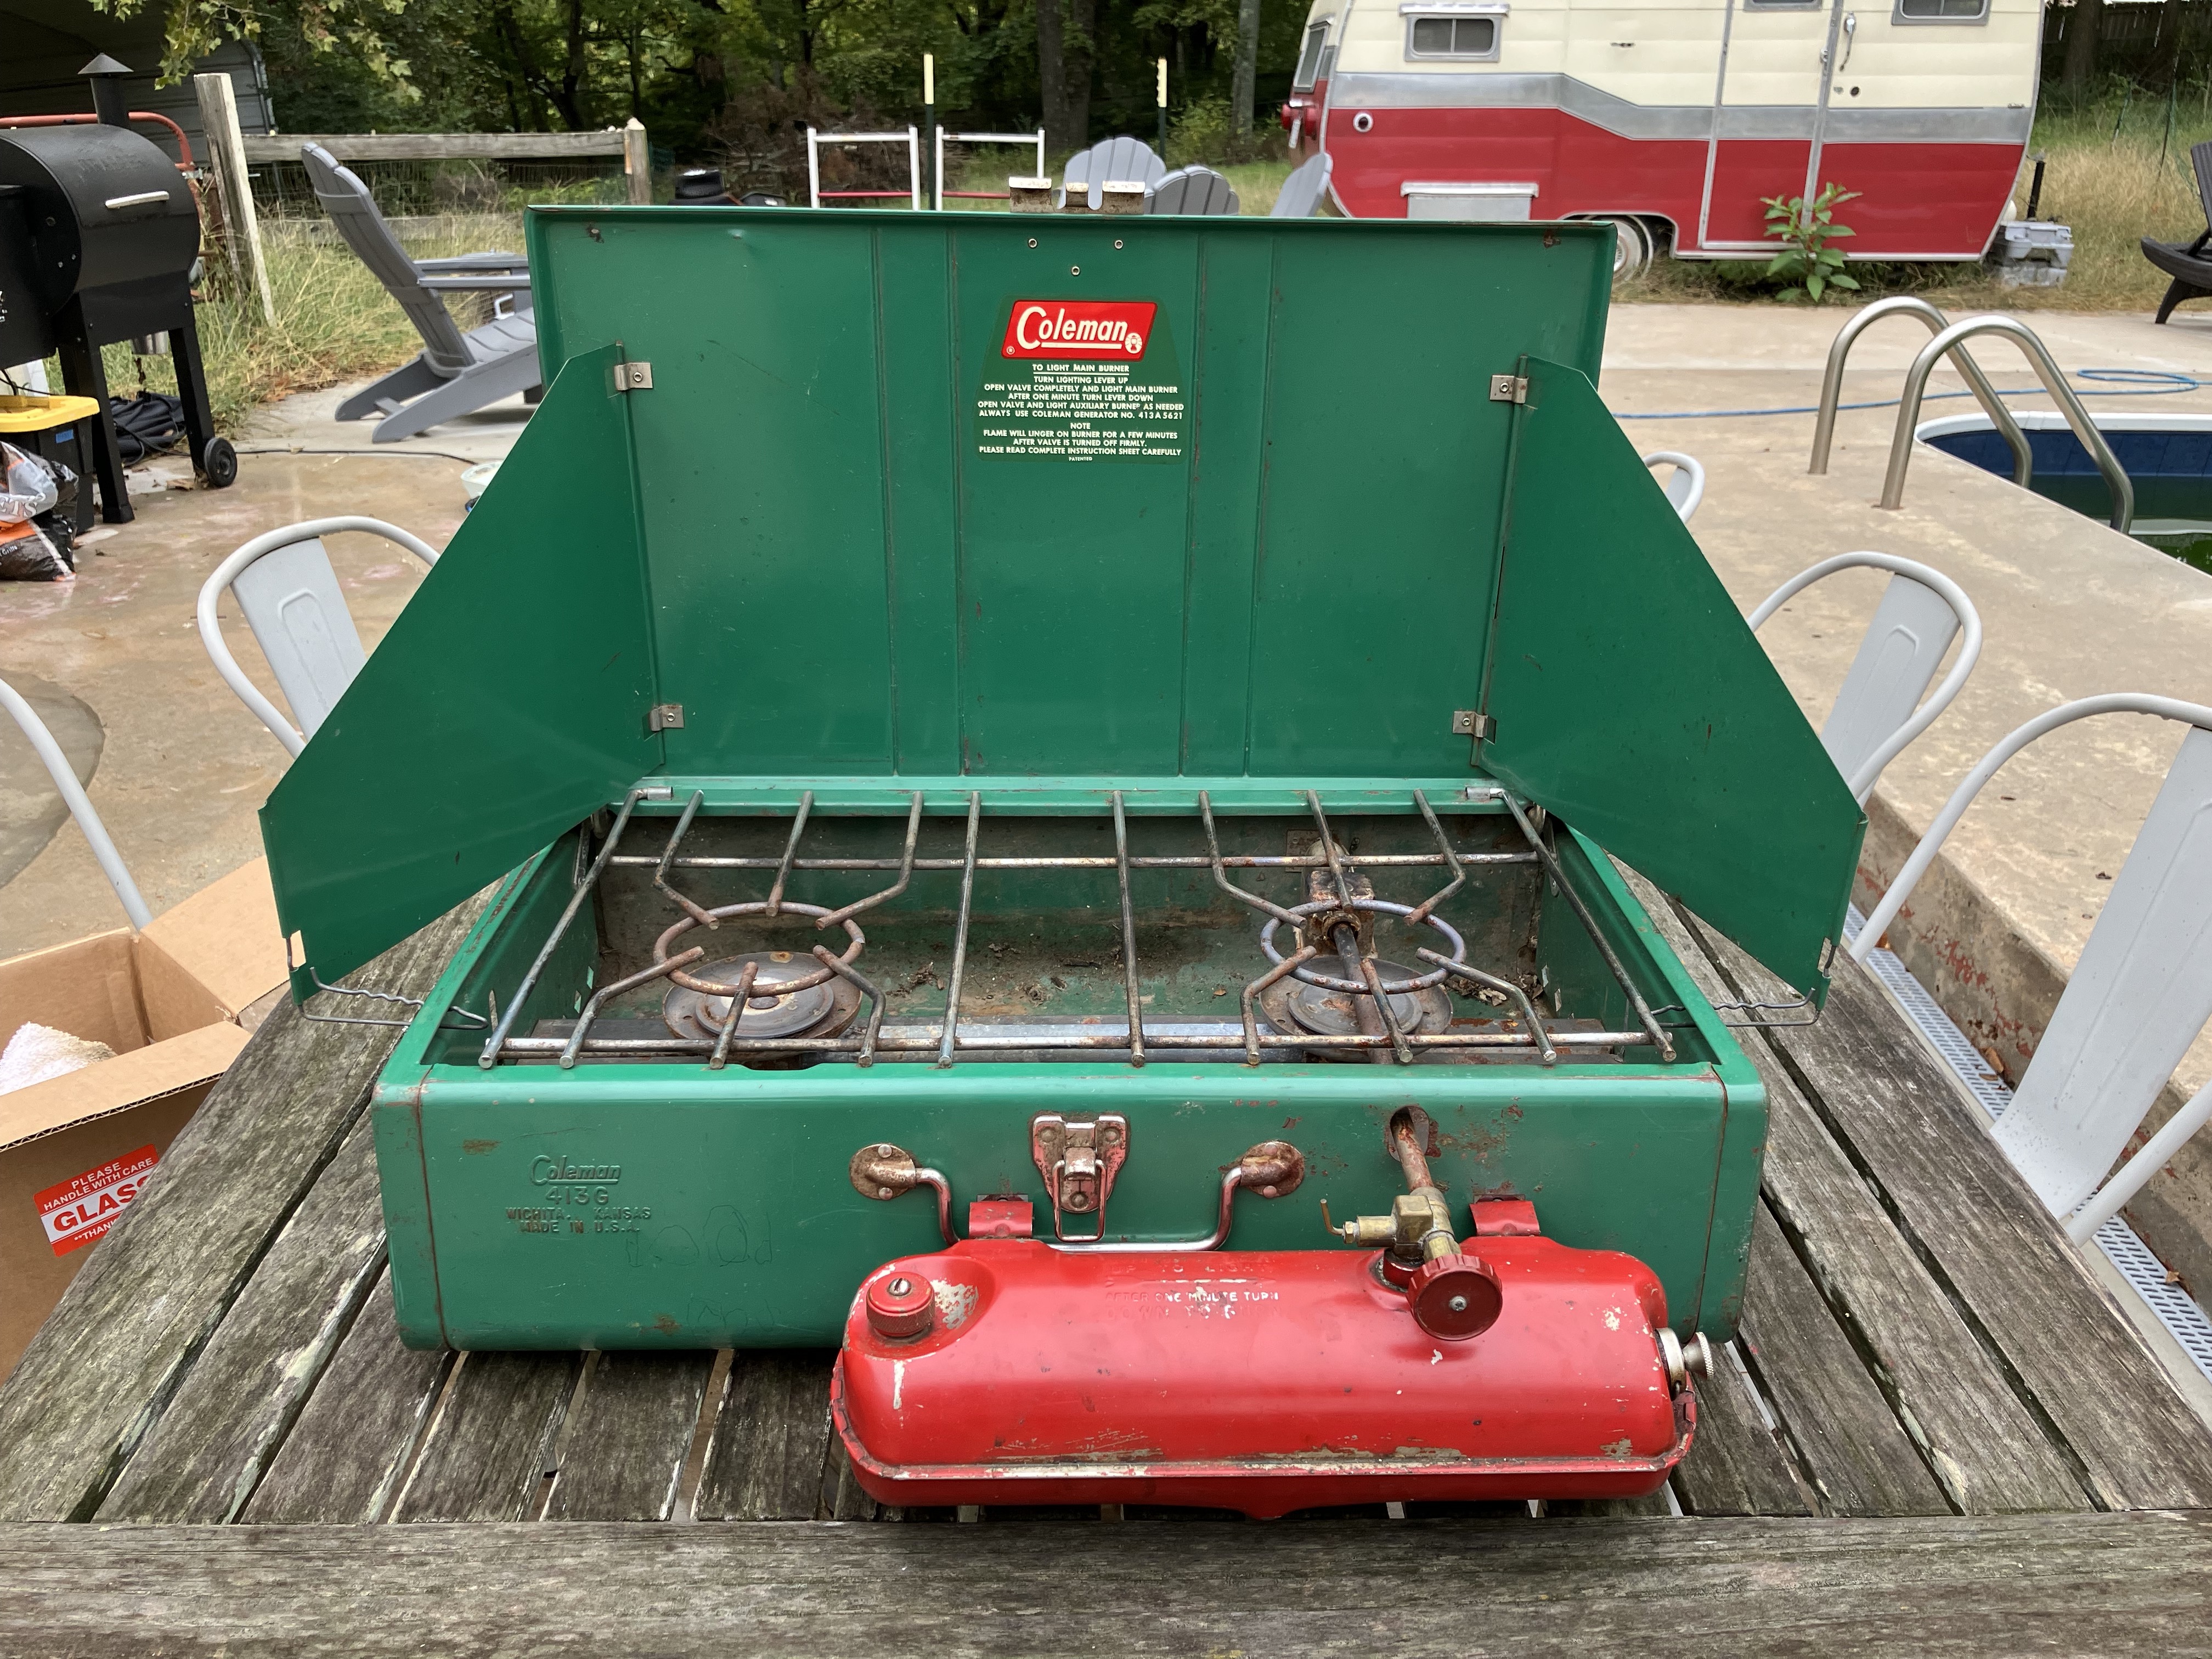
In addition to my Coleman 220J pressure lantern, I also picked up a vintage Coleman 413G camp stove at the same flea market for $25. This is the larger of the two classic Coleman pressure camp stoves—I’d like to get the smaller 425 at some point as well.

The plunger with the original leather pump cup.

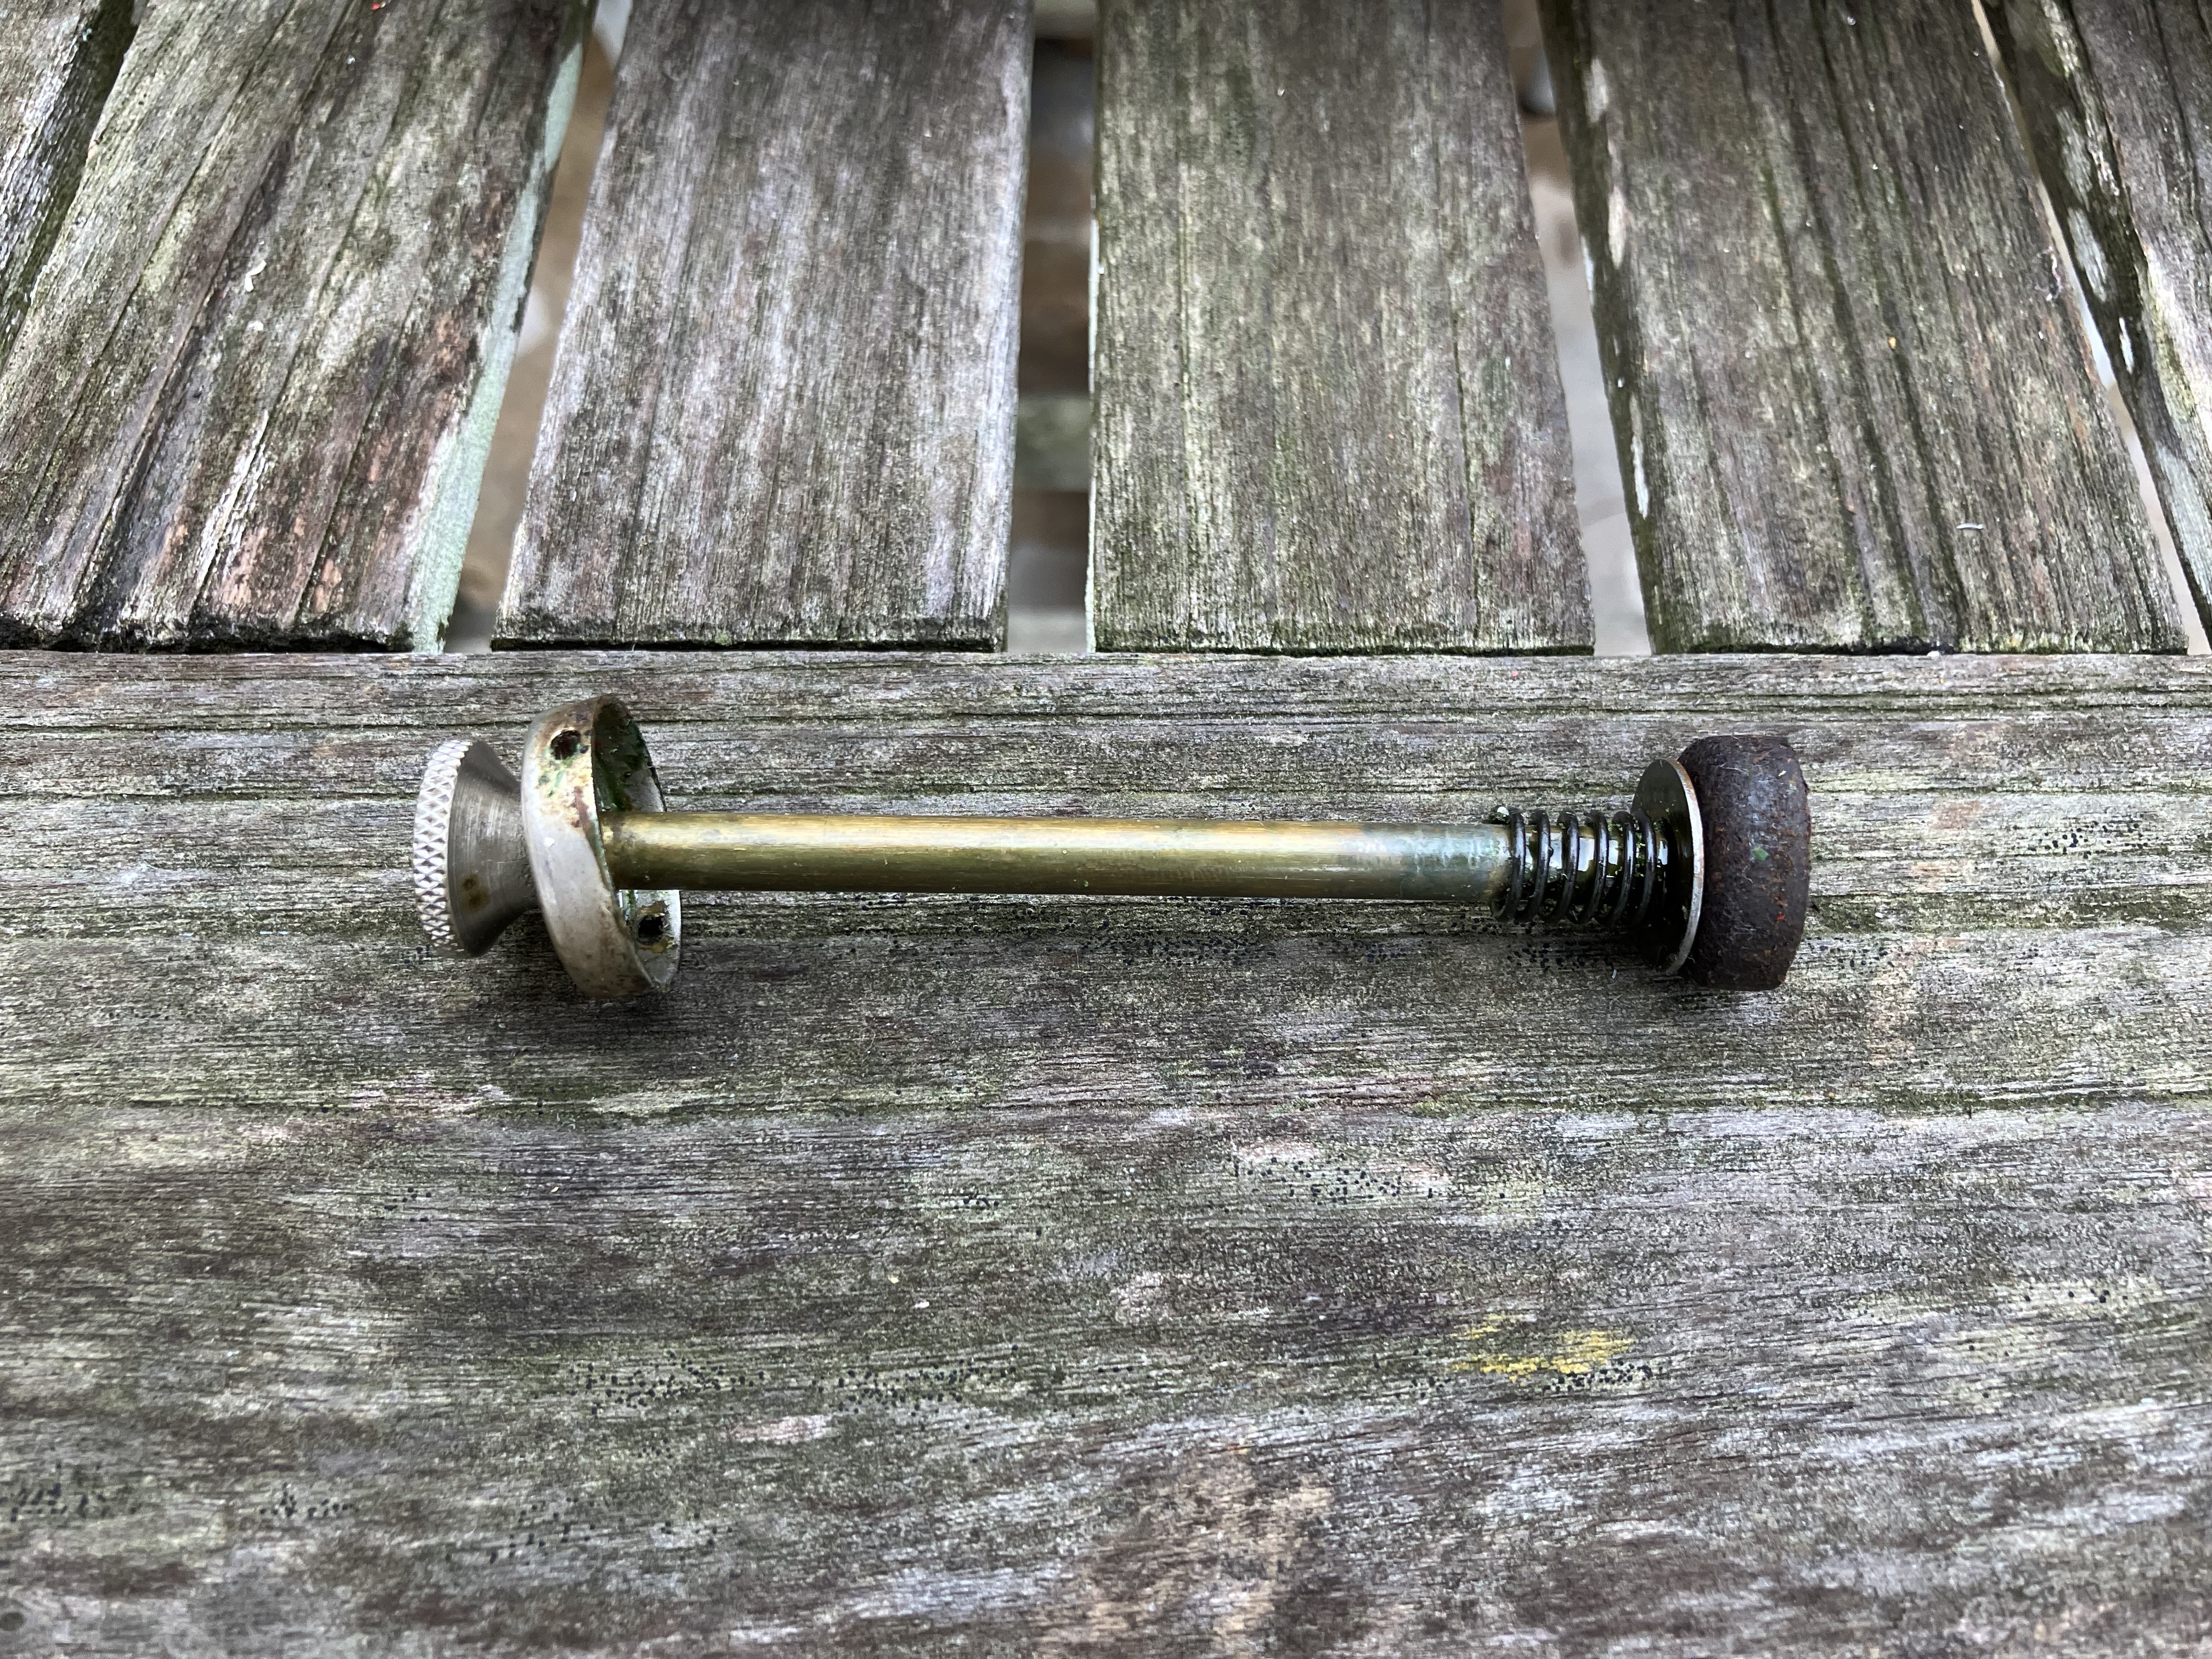
The stove was in pretty decent shape to start with. As with the lantern, I immediately noticed that the pump wasn’t holding pressure and appeared to also have the rubber pump cup, so I ordered a replacement leather pump cup for it as well. However, it turned out that the stove actually already had a leather cup, it was just almost black with oil and age. So, I was able to clean and oil it and bring it back around to building pressure successfully, and now I have a spare on hand in case it fails down the road.

The old 3-piece filler cap alongside the new 1-piece cap.

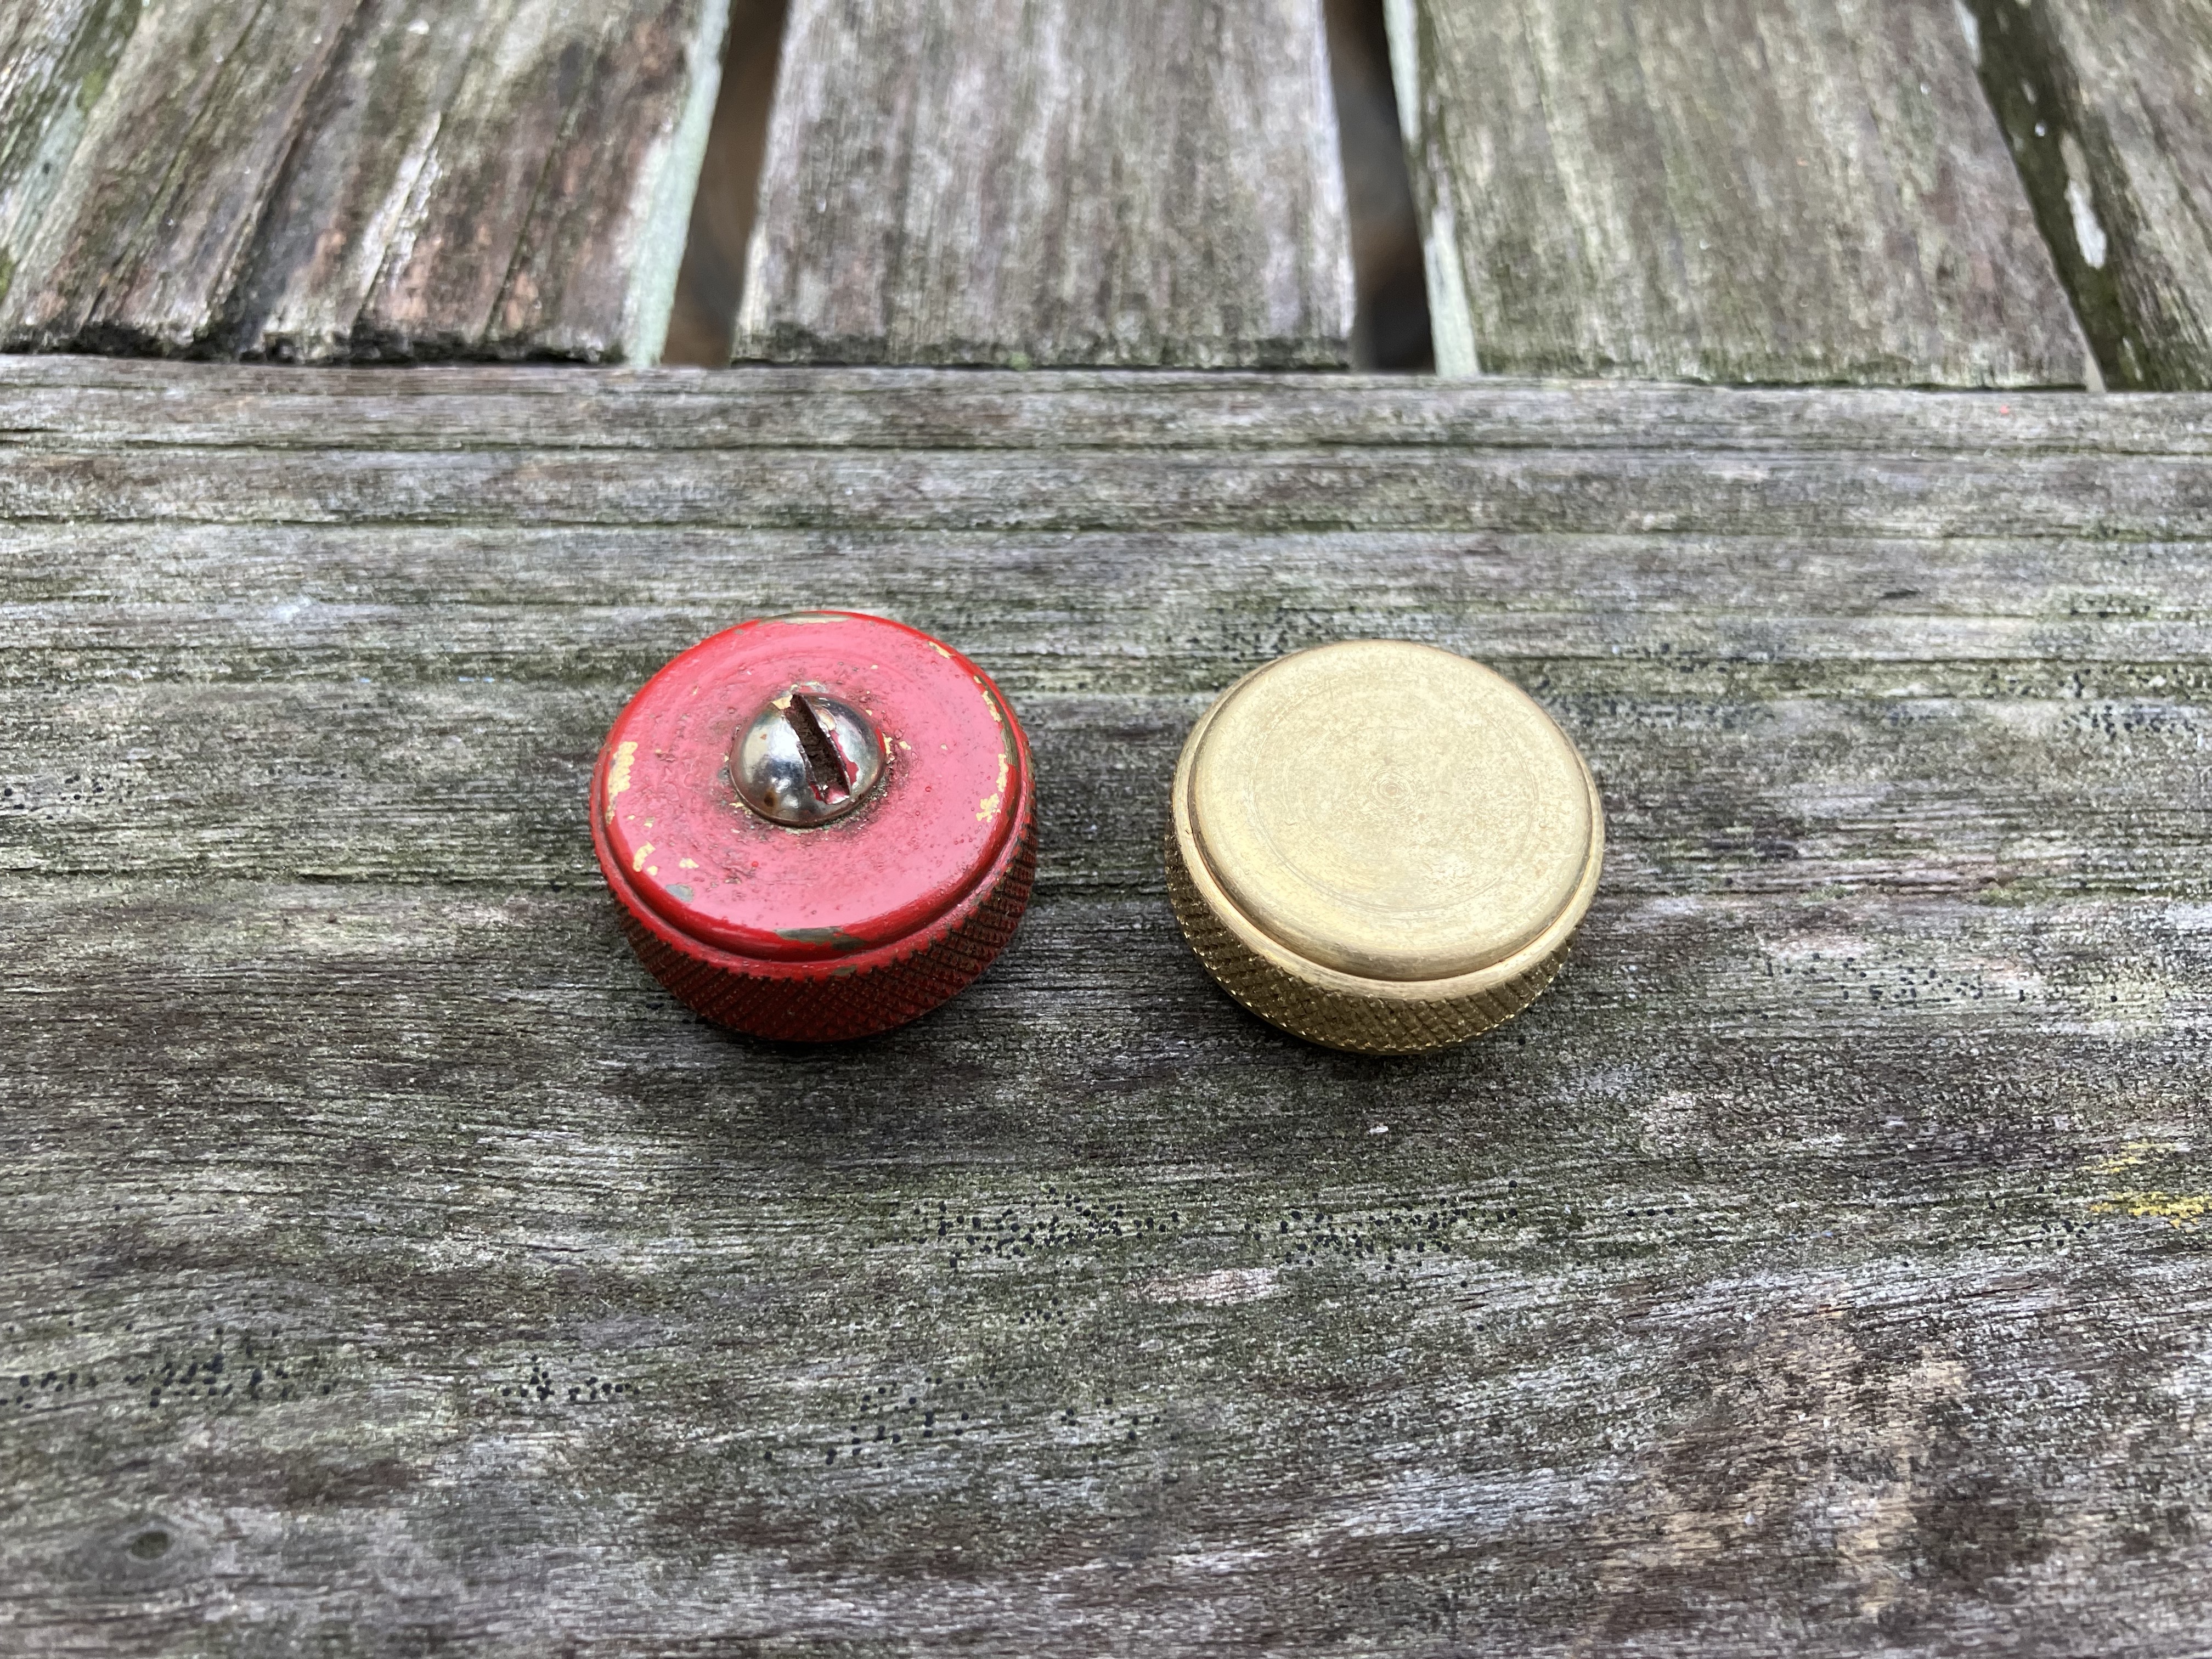
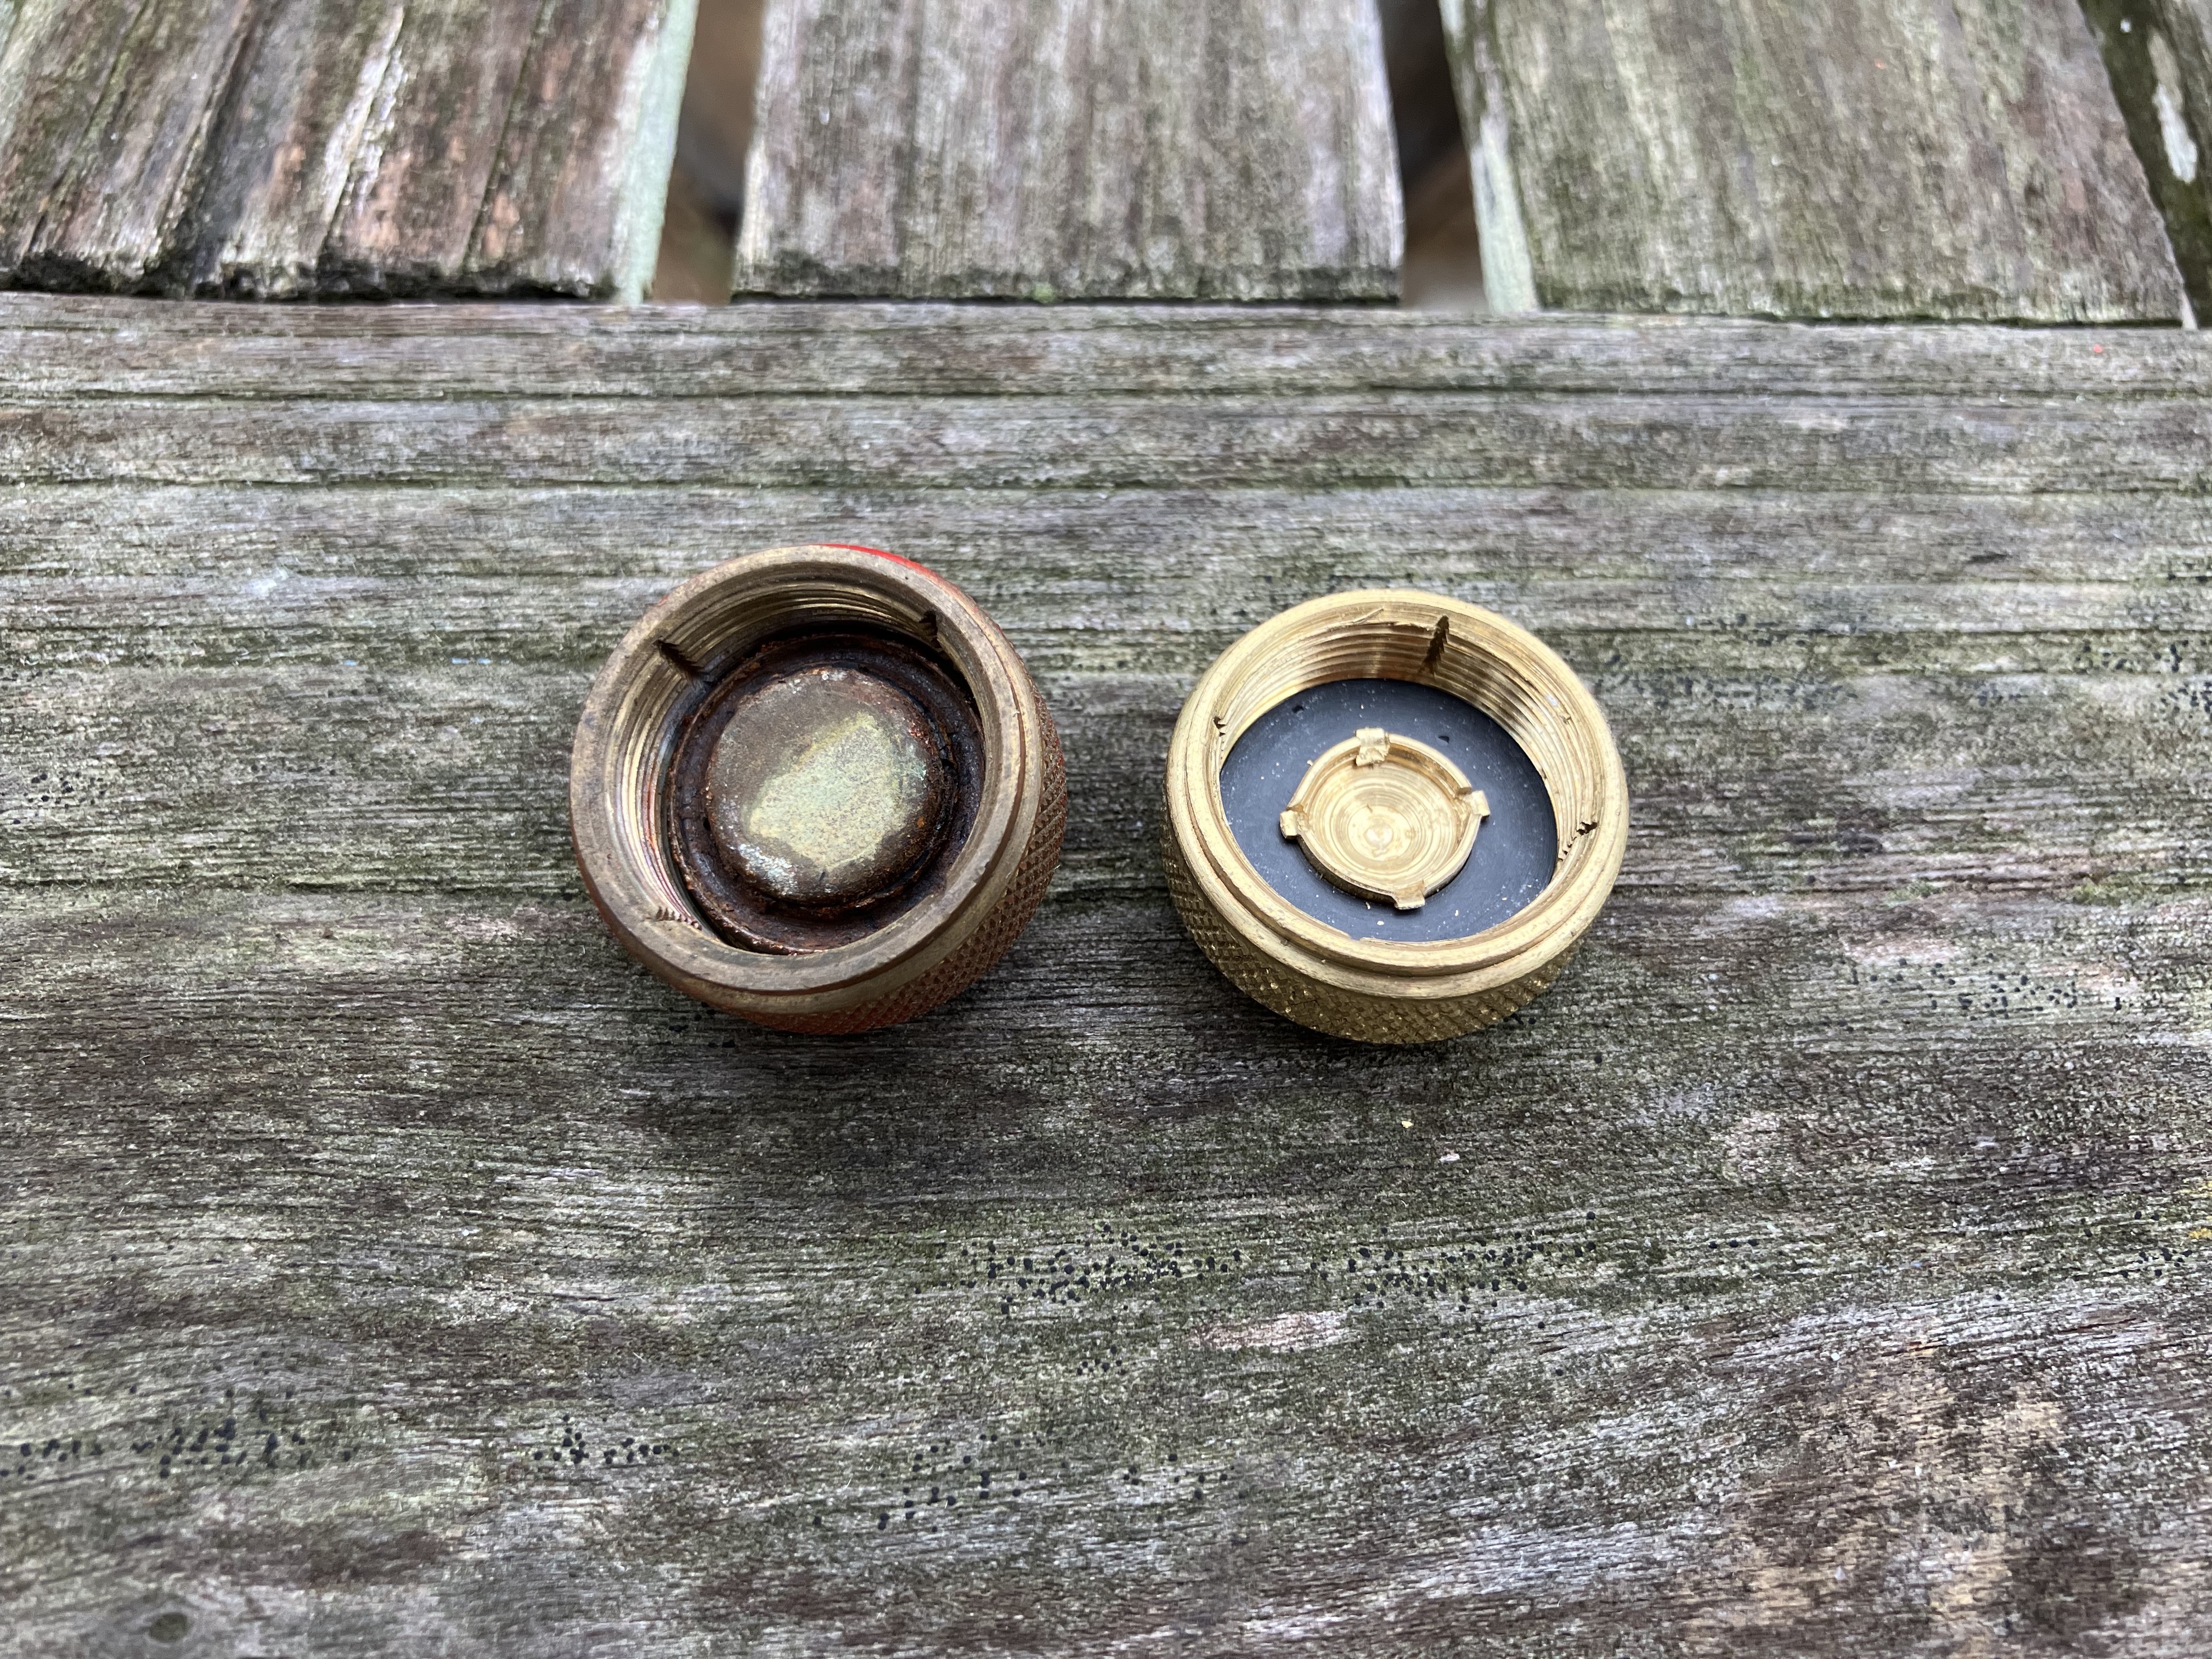
The tank had one of the old 3-piece filler caps (although not one of the notoriously dangerous ones), and I went ahead and replaced it with a new one-piece brass cap just to be safe and ensure it holds pressure.

The underside of the old 3-piece filler cap with rust and worn-out gasket versus the new 1-piece cap.

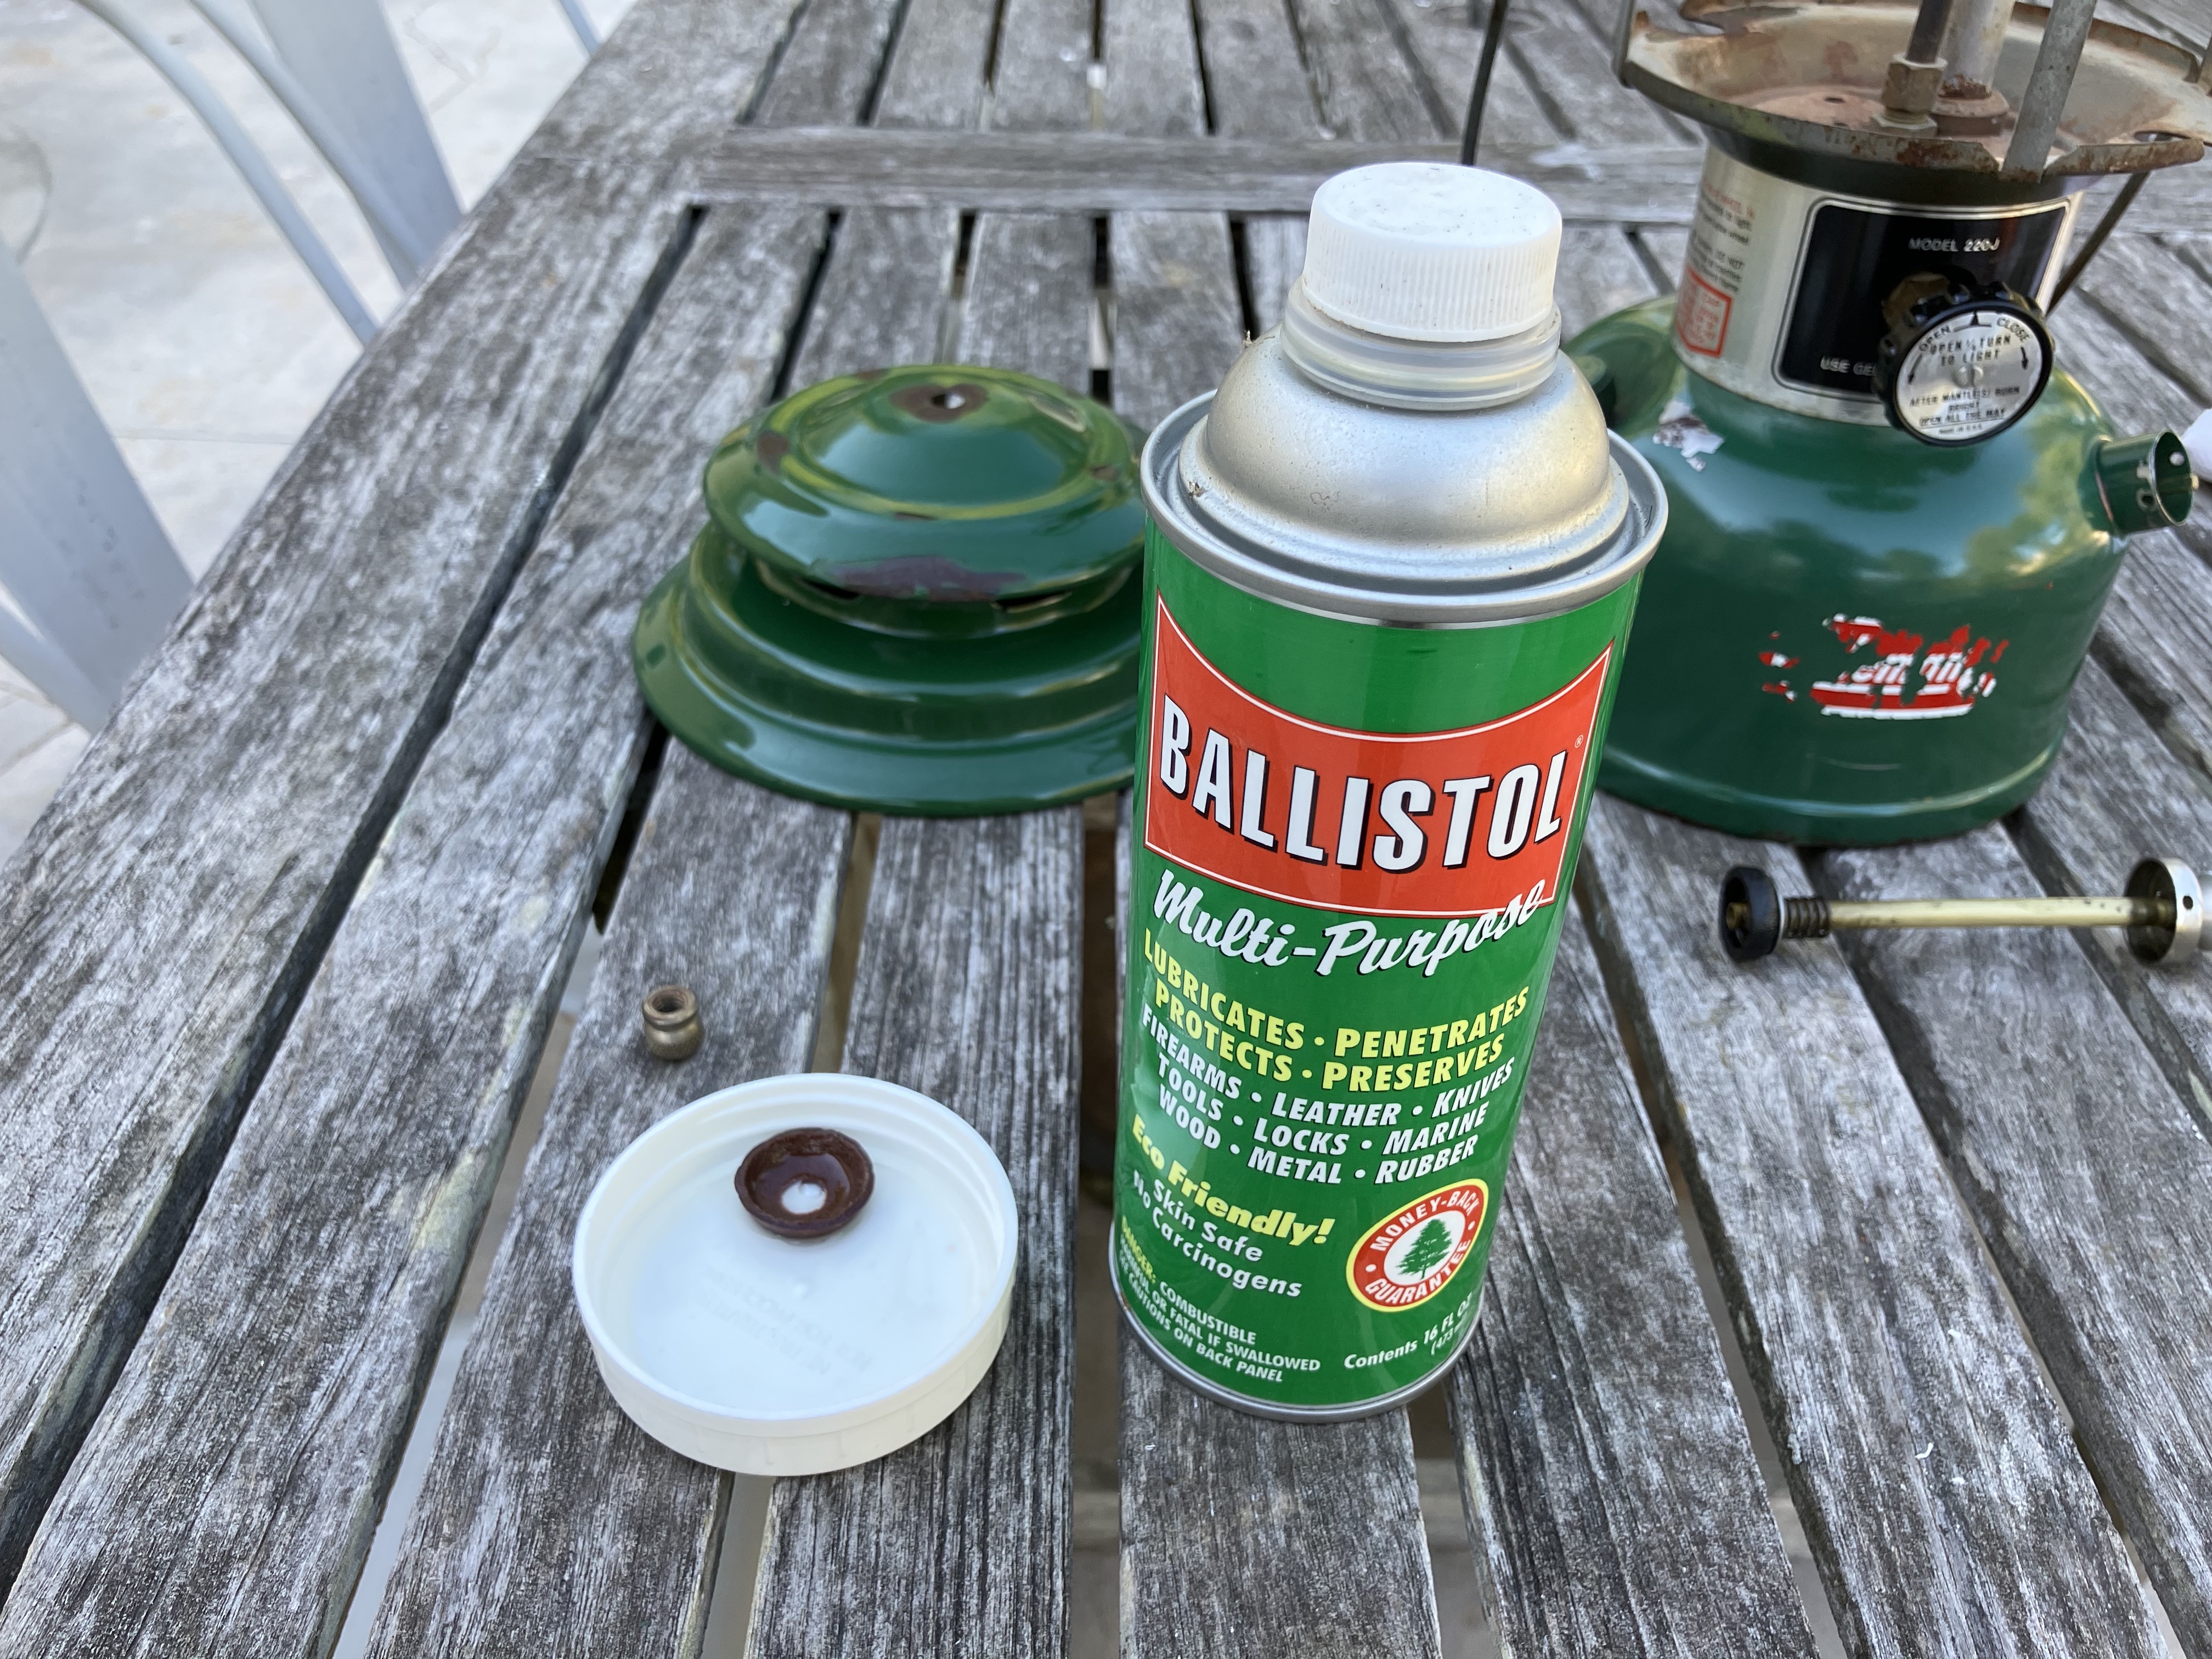
I gave the whole stove a good wipe-down, then cleaned up the exposed metal parts with a wire brush and steel wool and applied Ballistol to keep them rust-free.

Putting the Coleman 413G camp stove to work!

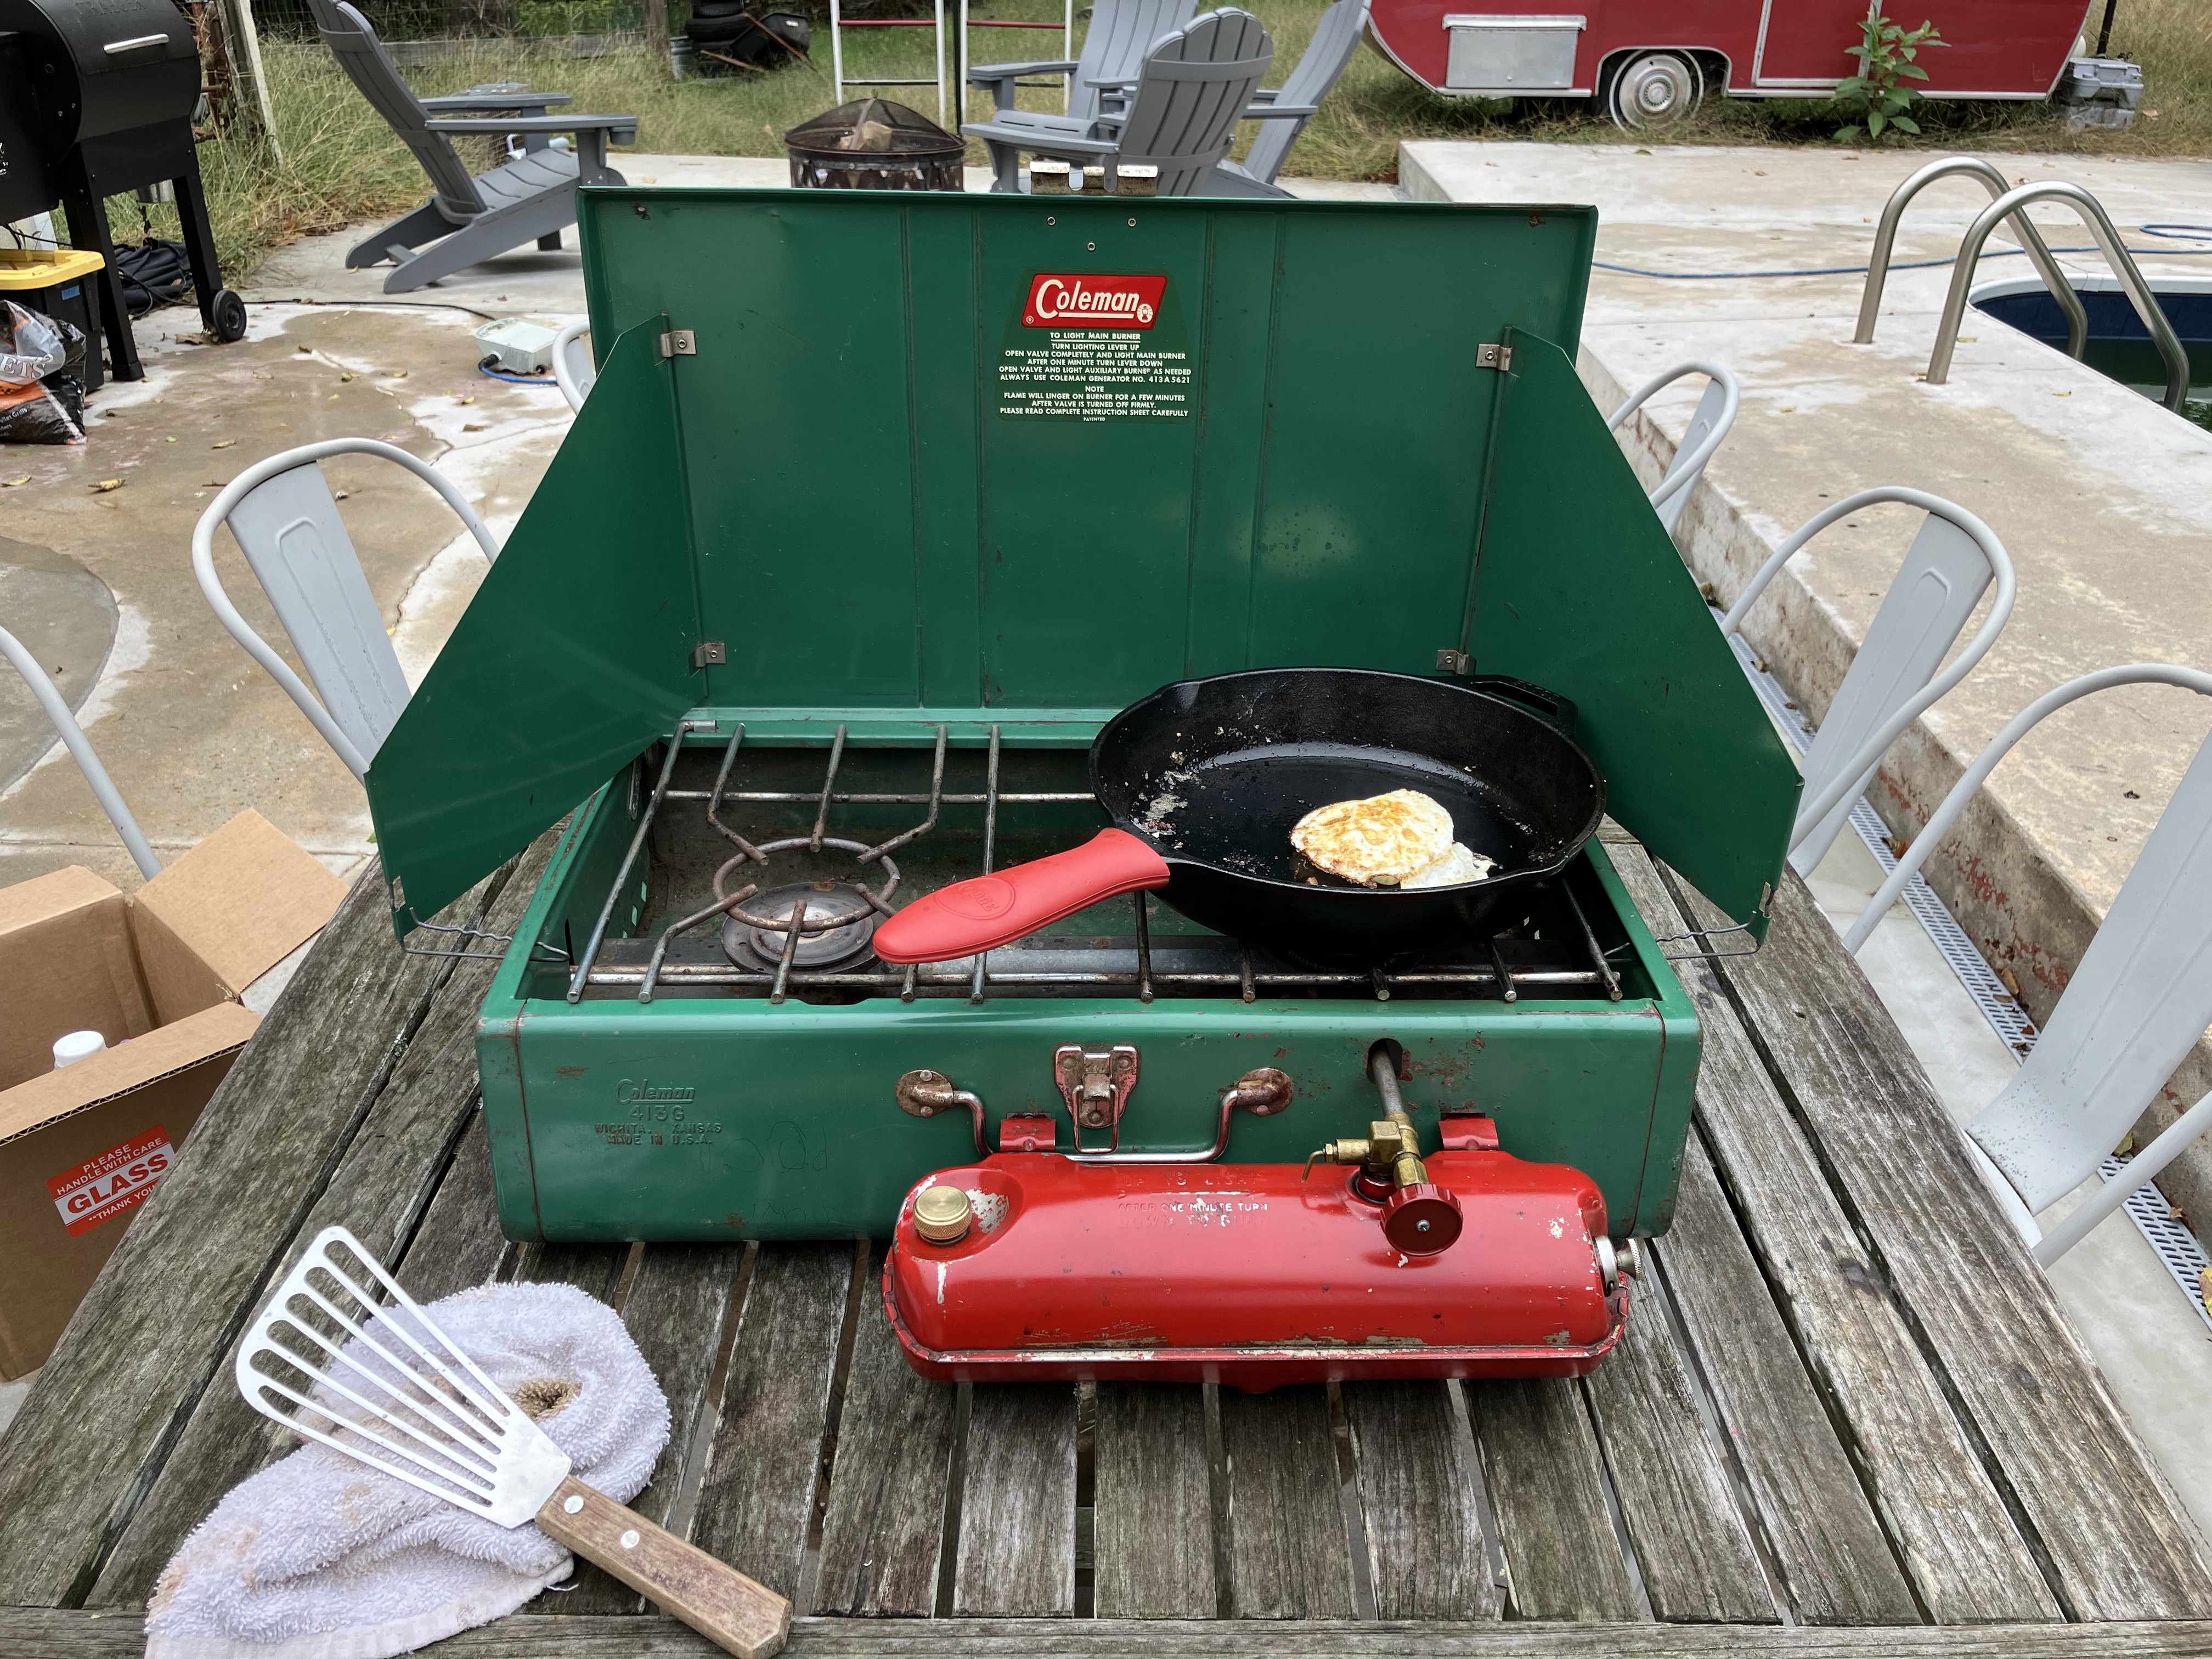
With some fresh fuel in the tank, it was time for a test firing. The stove lit up right away, and after re-pumping the tank, I was able to get a nice, blue, almost invisible flame on both the main and secondary burners. This larger stove model will fit 2 12″ cast iron pans on it, which should work out really well for family camping trips. It fried an egg easily: success!

Categories
Projects

Restoring a Vintage Coleman 220J Lantern

I recently picked up a vintage Coleman 200J lantern at a flea market for $20. I had been looking for some vintage camping gear for a few weeks and this was exactly what I wanted. My goal is replace some of my more modern camping gear with older equipment that, while perhaps a bit bulkier, is more reliable and rebuildable and will ultimately last a lot longer.

The 220J lantern with missing glass and old mantles.

The lantern is a Coleman model 220J manufactured in November 1976. It has a dent on the side near the bottom and the paint is chipping off in places, but it’s otherwise in pretty decent shape with all the parts. Unfortunately, as soon as I got it home and started to clean it, I dropped the glass globe and it shattered. That’s the first thing I added to the list of parts to buy, and, thankfully, Old Coleman Parts has replacement original globes with the same red logo on them.

Soaking the new leather pump cup in Ballistol. The plunger with the old rubber pump cup can be seen in the background on the left.

The second part I bought was a leather pump cup. I had noticed at the flea market that the pump didn’t build pressure, and when I pulled the plunger out, I confirmed it was one of the rubber pump cups that deteriorate over time. The leather pump cups, from what I’ve read, last much longer and just need to be oiled occasionally to stay in good shape. To break in the new leather pump cup, I soaked it in Ballistol to lubricate it and make it more pliable.

Plunger assembly with old backing plate and new leather pump cup and clip.

Then I disassembled the plunger and, after some trial and error, found that the old backing plate worked with the new leather pump cup and new clip. The leather pump cup comes with a new backing plate too, but maybe it doesn’t work with all models.

The 220J lantern with mantles and a new globe.

I gave everything a good wipe down, lightly scrubbing at rust with steel wool and a wire brush, and coating any exposed metal with Ballistol to protect it. Then I put on new mantles, carefully installed the new globe, and put the hat back on.

The new mantles warming up on the Coleman 220J lantern.

Following the instructions printed on the lantern body, I pumped up the tank, which successfully built pressure with the new pump cup, and lit the lantern, which started right up! Once the new mantles were fully ignited, it glowed nice and bright and put off a pleasant warmth. It’s hard to beat a classic Coleman lantern.

P.S. Another great resource for learning about and restoring these old pressure lanterns and other Coleman gear is Old Town Coleman. They have user manuals, parts diagrams, and lots of other useful information.

P.P.S. I also bought and restored a Coleman 413G camp stove.