Category: Brewery

  • Brewery Build, Part 1: Framing & Utilities

    Brewery Build, Part 1: Framing & Utilities

    Last year, we began an extensive remodel on our house. I’d been brewing in the garage, but the remodel called for building out the garage, and then adding on a new garage. With our architect at my command, I prescribed a dedicated brewery & taproom space at the back of the new garage, and thus began the (rather long) process of my latest brewery build.

    Unfortunately, building out the existing garage meant packing up my brewing equipment, so I haven’t made a batch of beer in quite some time as this project has crawled along.

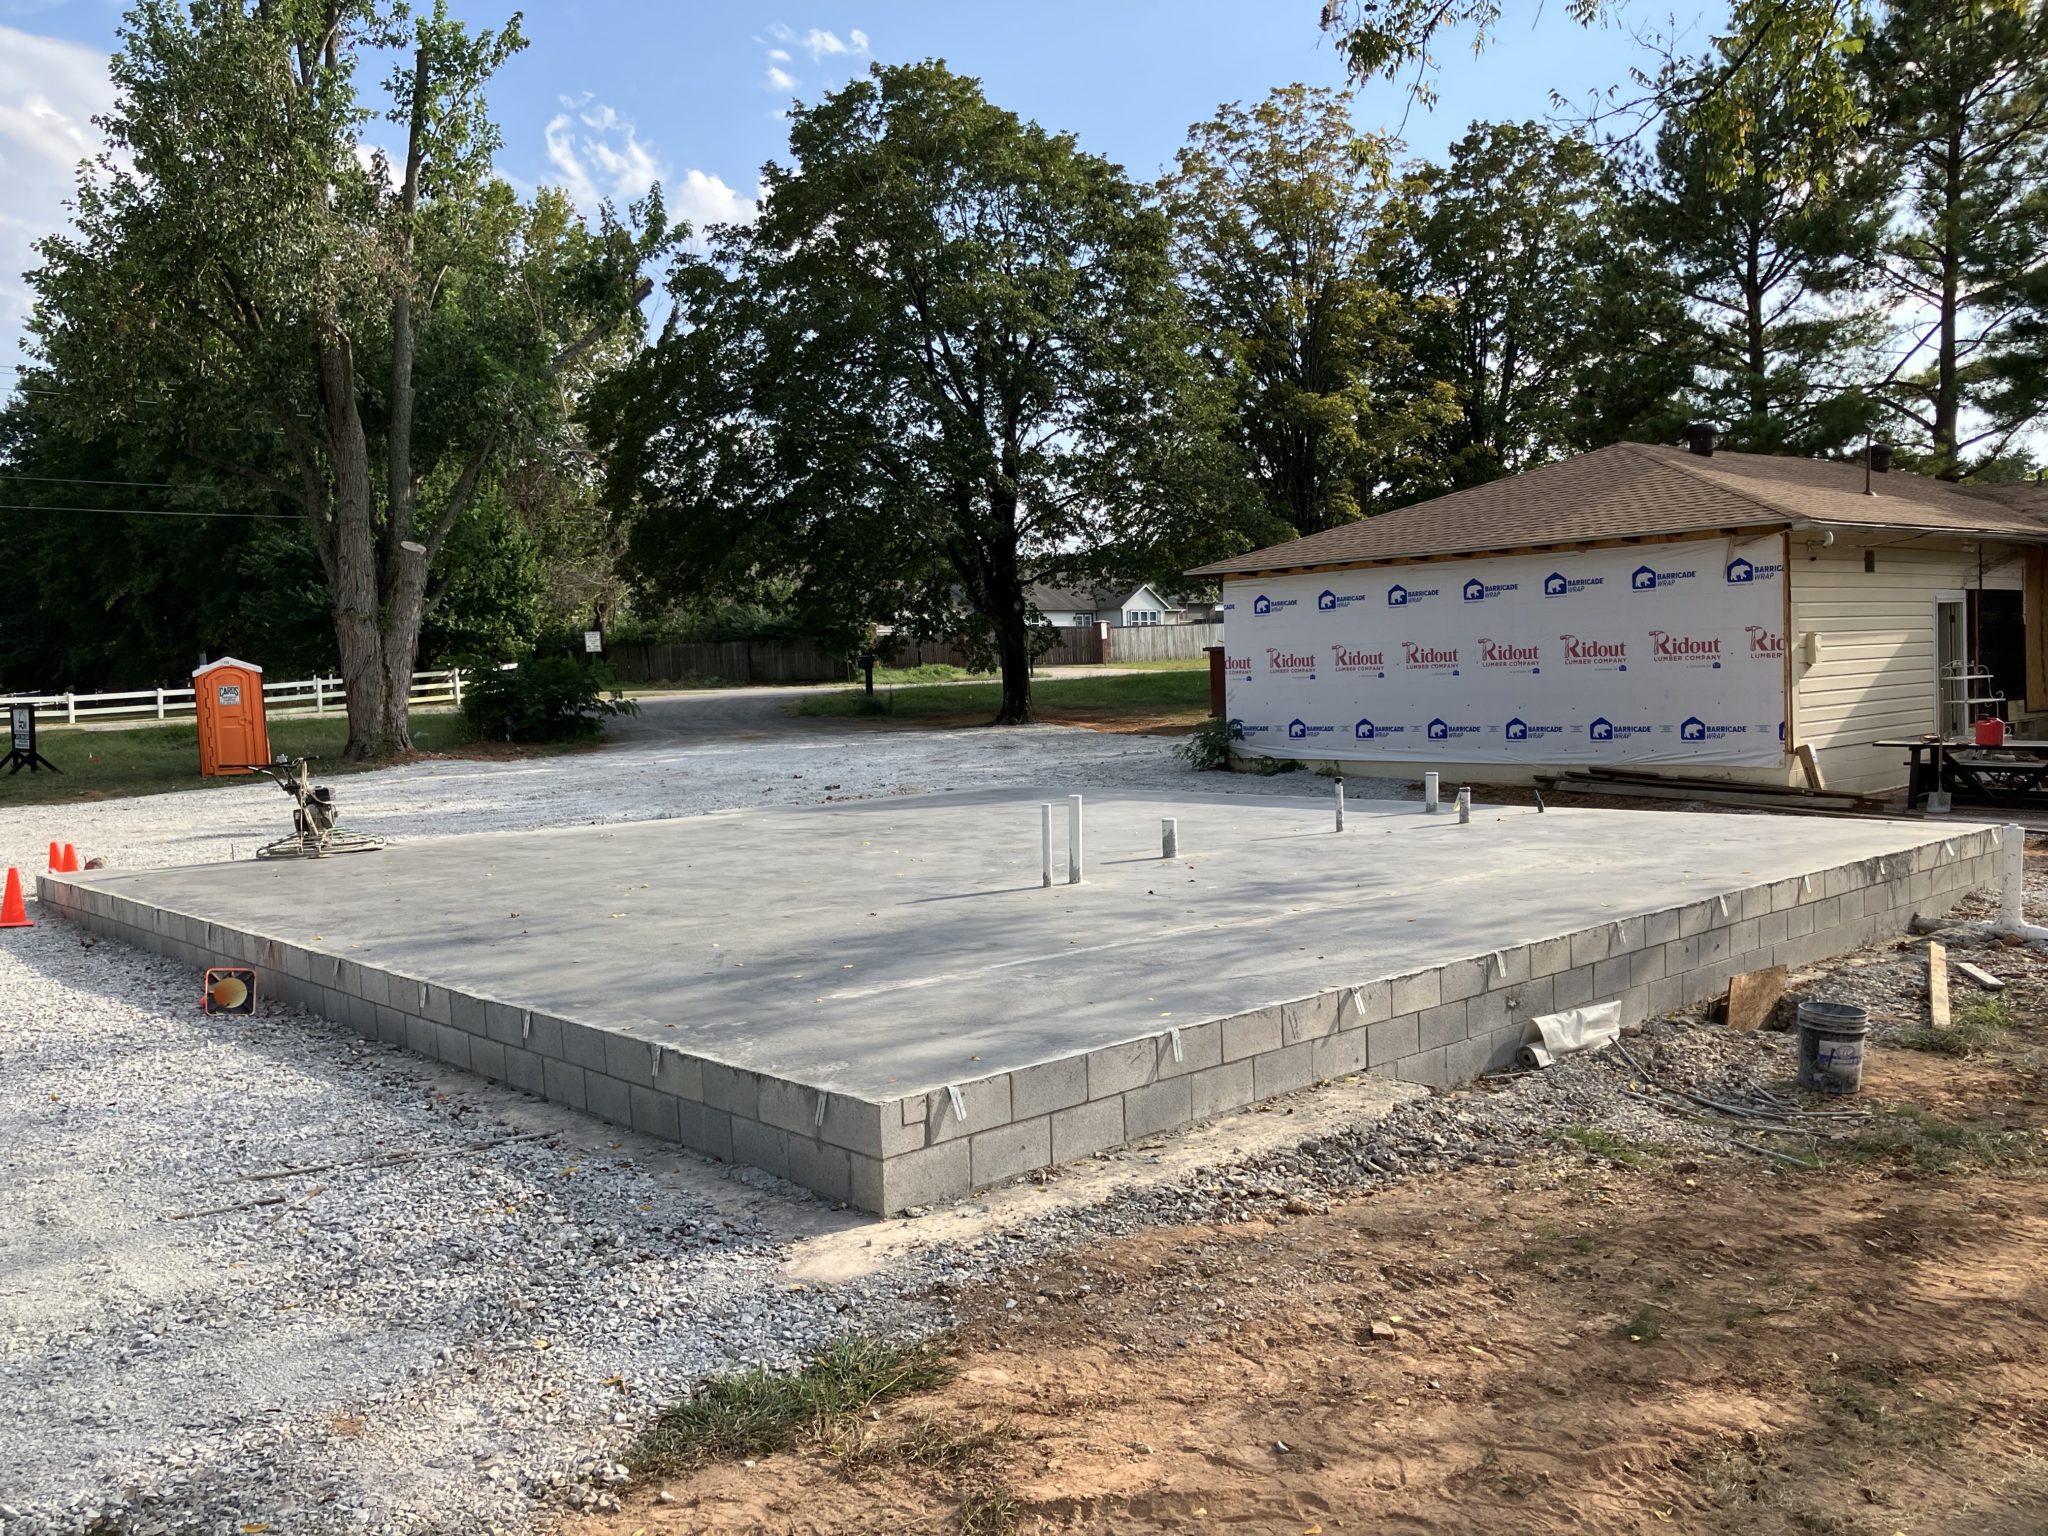
    New garage slab poured with drain lines roughed in. If you squint, you can see the trench drain.

    The brewery has a trench drain, which is probably the feature I’m most excited about. Being able to rinse things down and not having to worry about mopping up will make things so much easier on brew day.

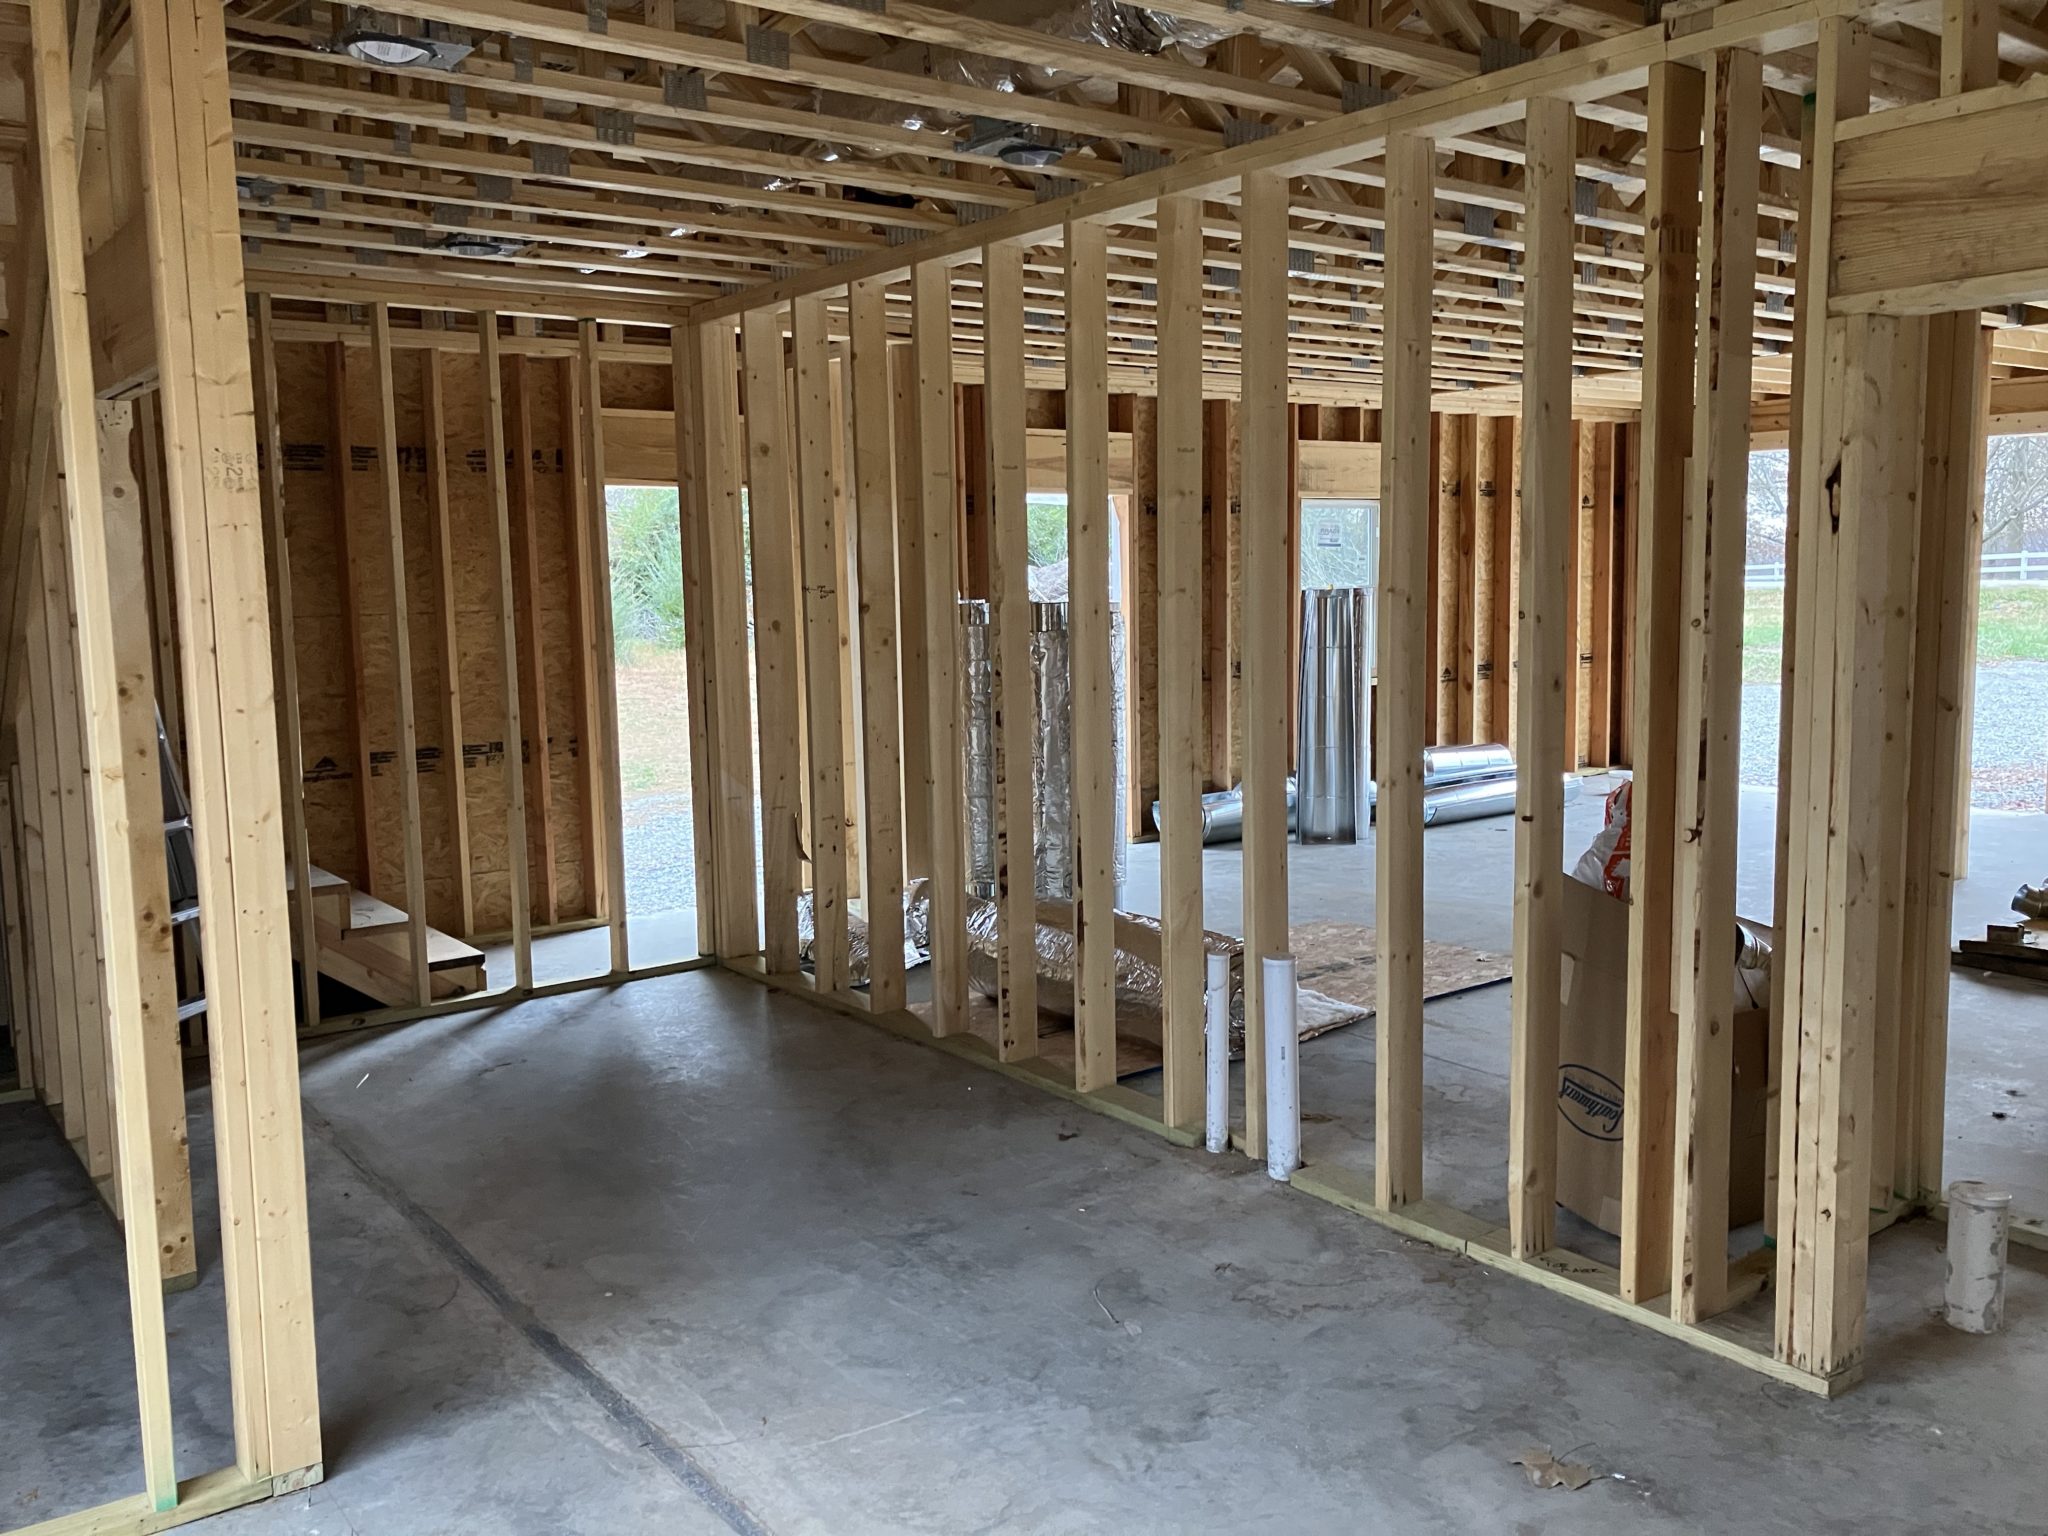
    The brewery framed out. The trench drain can be seen in the bottom left.

    It’s not a huge space—less than 300 square feet—but that includes a storage closet and a restroom. Plenty of room to set up my brewing system, glycol chiller, keezer, and utility sink, plus space for a table and seating.

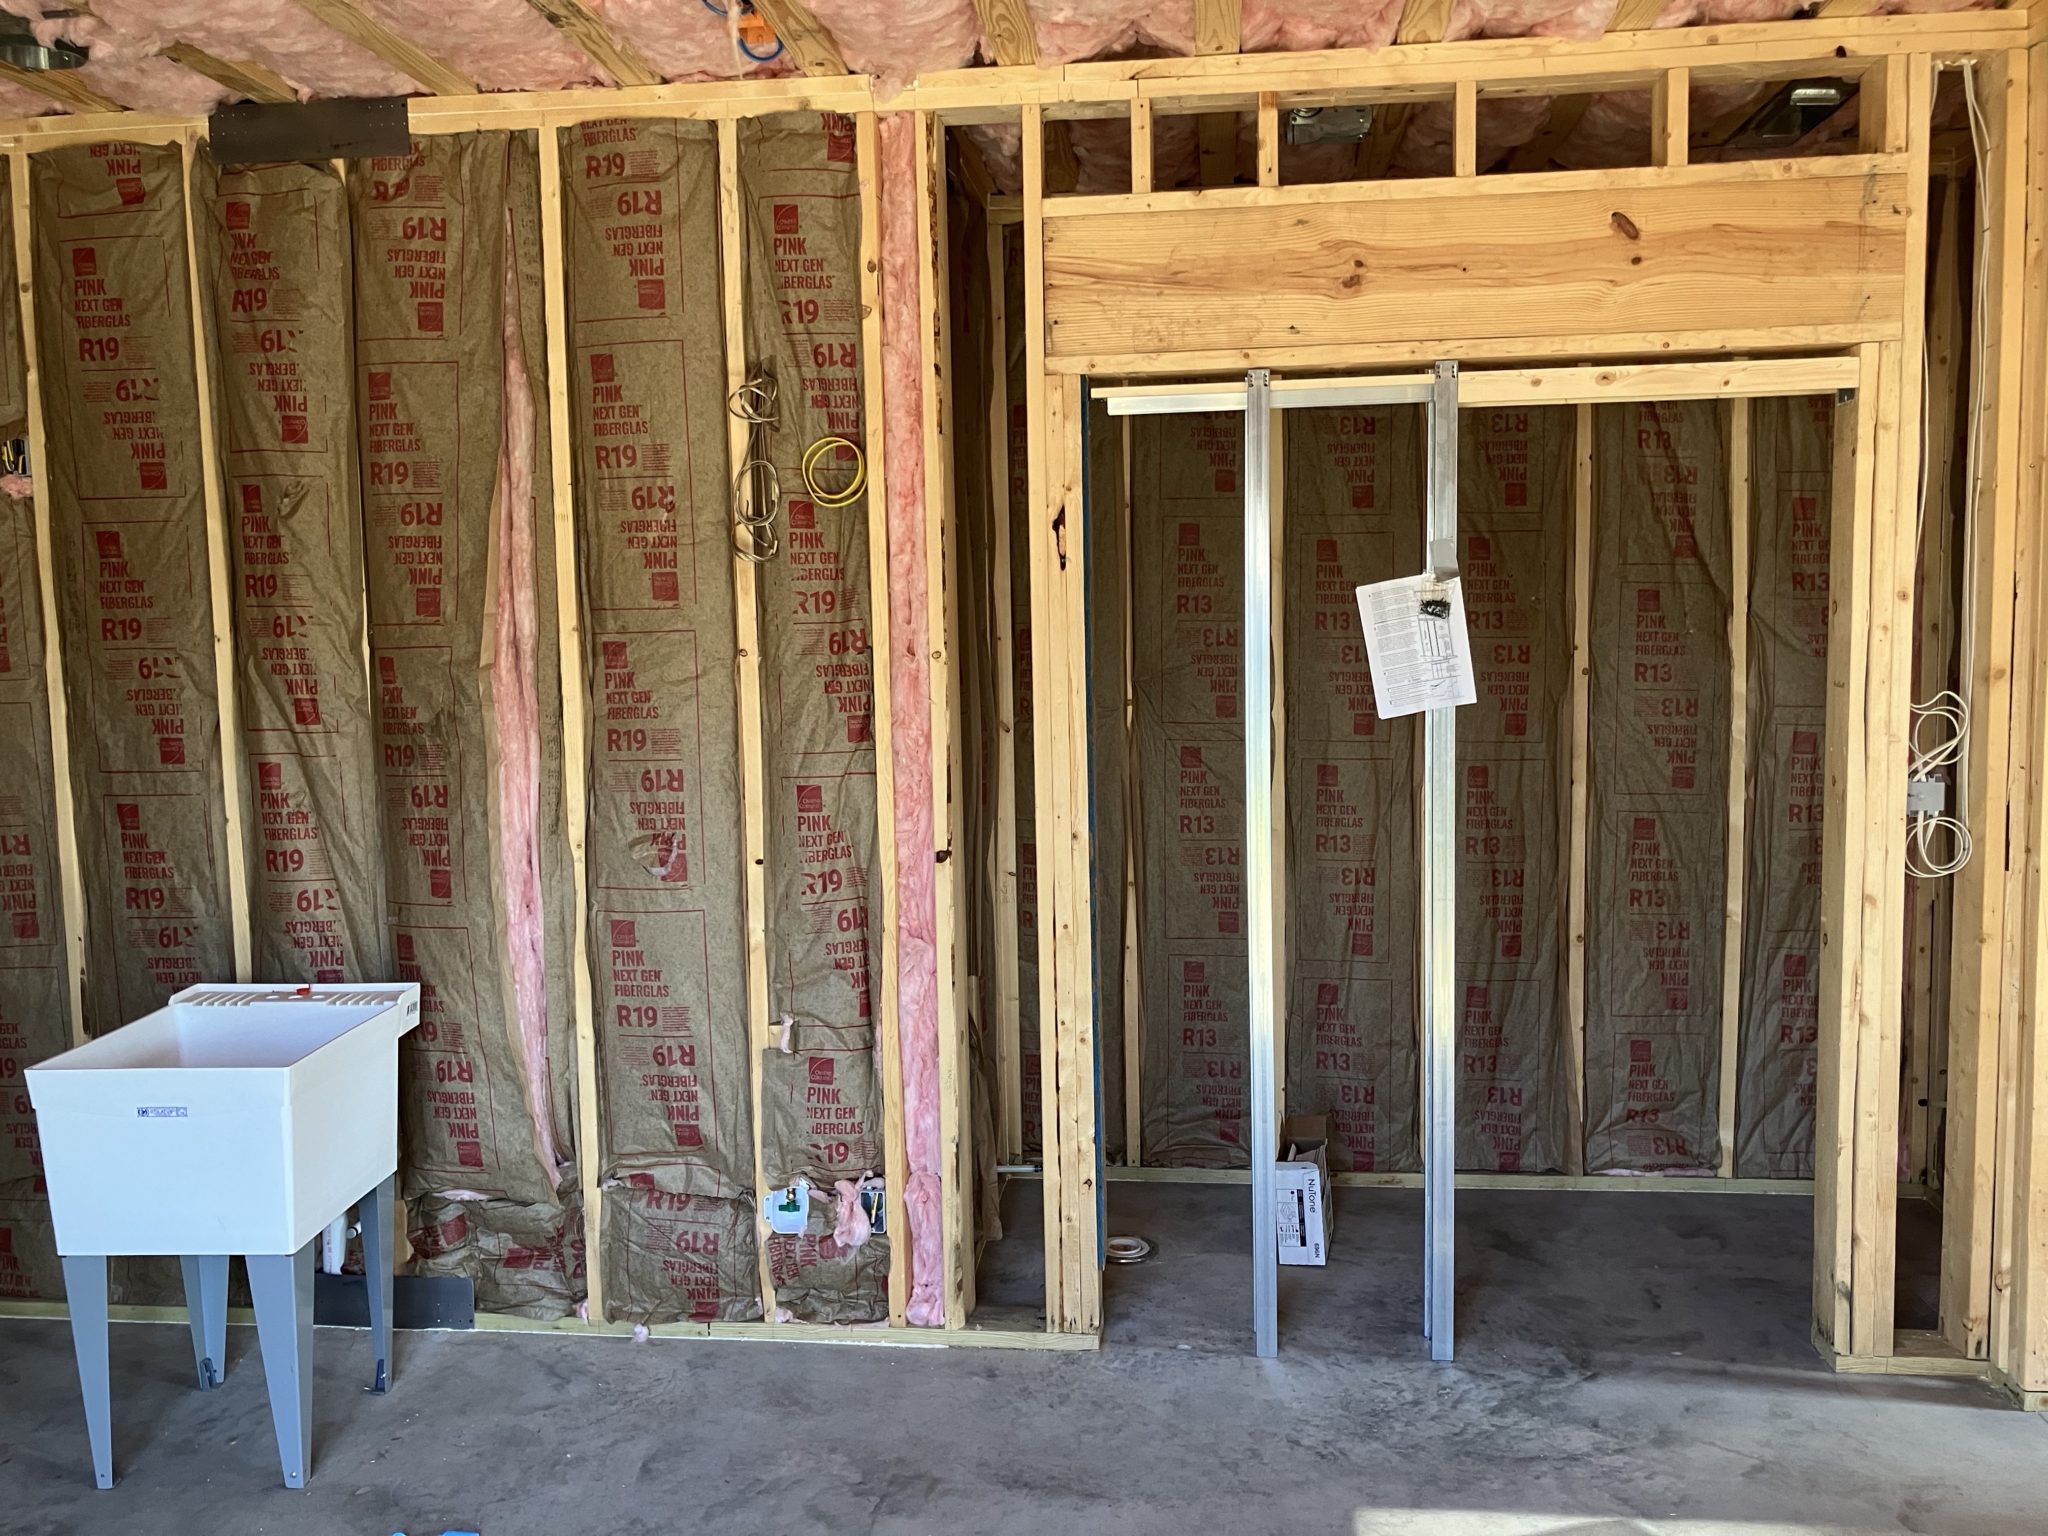
    The brewery after HVAC, plumbing, and electrical rough-in, plus insulation.

    I had ducting installed for the exhaust fan: I sized up from the last fan I had and went with 8″ ducting for a 739 CFM fan. This gives me plenty of room to upgrade if I want to go with a bigger system. There’s also a fresh air intake with a damper to avoid any airflow issues with such a big fan.

    The pocket door to the brewery restroom.

    I wired a 50 amp circuit for the control panel, even though my system is built for 30 amps, in case I want to either size up to bigger batches or be able to run back-to-back batches. It’s so much easier to future-proof at this stage than to try to retrofit later.

    I also put in plenty of lighting, ran a few Ethernet drops, and pre-wired for speakers both inside and outside. I spent a lot of time thinking about how I might want to use this space and tried to plan for a lot of potential future uses.

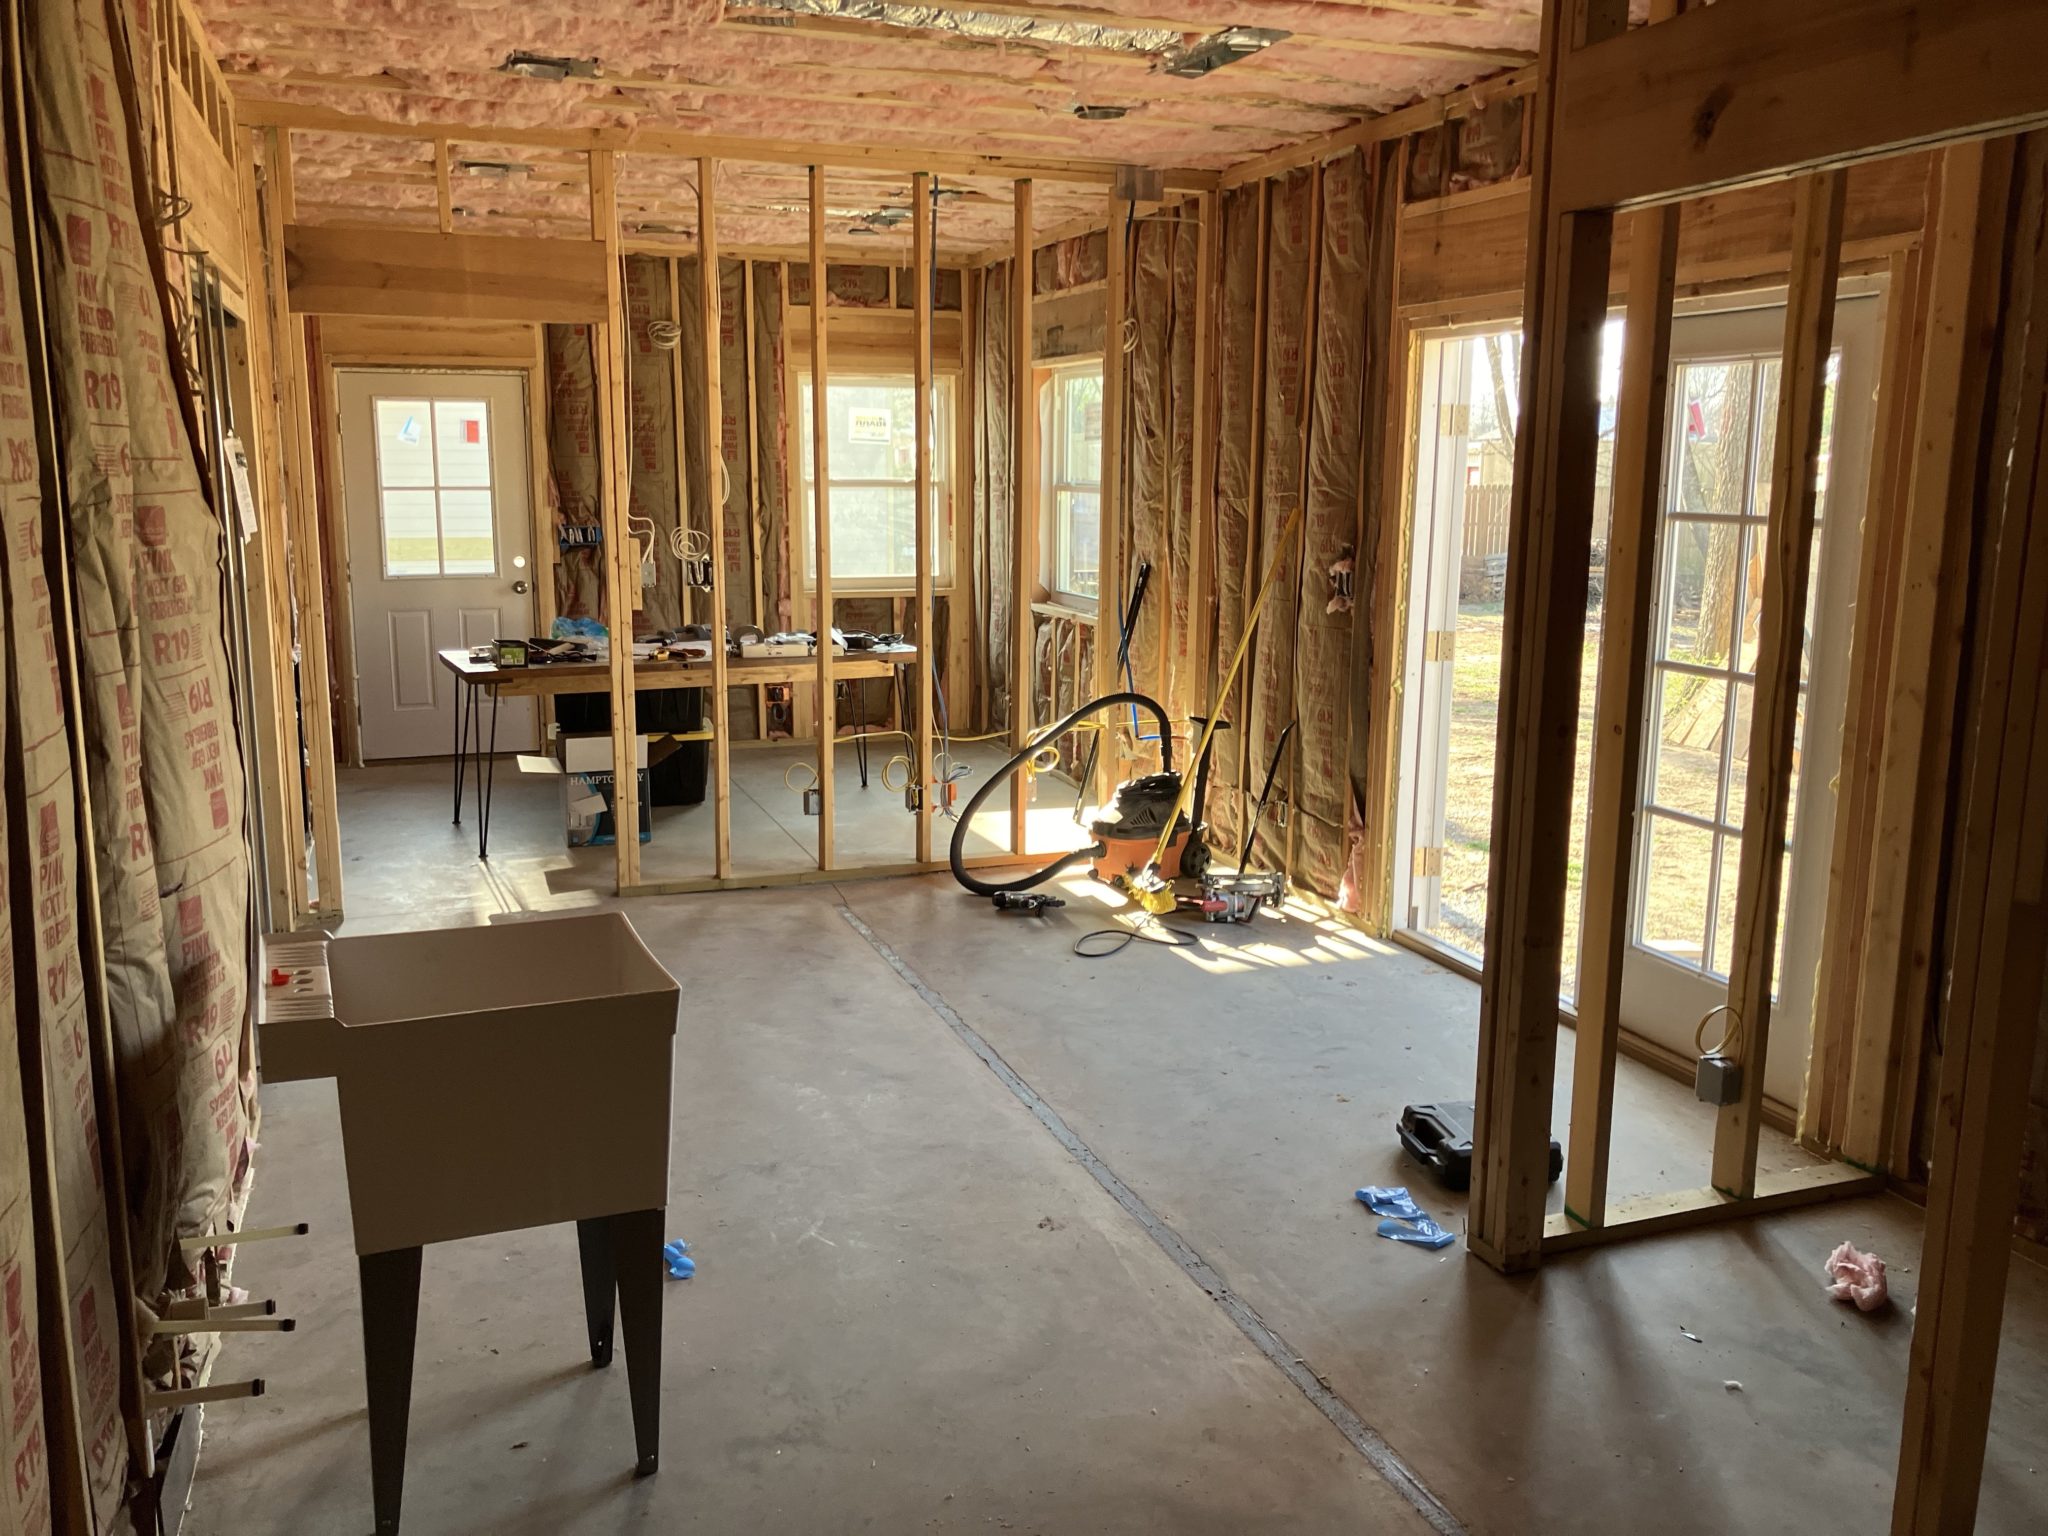
    The brewery from another angle. My new home office is in the background—easy to keep an eye on my beers!

    The brewery has double doors leading into the backyard, where there will eventually be a patio, extending the space for beer enjoyment during the warmer months.

    It’s been much too long since I’ve last brewed (almost a year at this point!), but I’m very excited to have a dedicated area for brewing. Stay tuned for more updates as this project continues!

  • New Year Update 2018

    New Year Update 2018

    Happy Brew Year! I’m making forward progress on the brewery build out, albeit a bit slower than I’d hoped, but I’m still on track to be brewing again by the end of January.

    I successfully wired up the 30A outlet and installed the GFCI breaker, so the brewery now has power.

    I also set up the brew stand to test fit the kettles and gear, and performed a successful cleaning cycle to get the kettles ready for the first brew day at our new location!

    I did have to run the water hoses out the window to the exterior spigot to get water, though, so I’m currently working on plumbing in a dedicated water line for the brewery inside.

    After that’s done, I can start brewing! I’d really like to get the ventilation done soon, though, to prevent any moisture issues in the basement, so that’s next on the list. I’ll be building an exhaust hood, installing ducting with an in-line fan to vent outside, and also installing a make-up air duct on the other side of the basement to bring in fresh air while the exhaust fan is running.

    Stay tuned for more updates in the near future. Here’s the 2018 and brewing new beers!

  • New Location

    New Location

    This past summer, we purchased our first home in Black Diamond, WA, and did a lot of renovations, and we’re finally settled in. That means I finally have time to get the brewery set up again. I haven’t been able to brew since May, and I’m itching to boil some wort again!

    The house has a small partial basement with an external entrance. With easy access to water and wiring, and an external wall for ventilation, it’s the perfect spot to set up the Underhill brewery. It’ll be pretty cozy, but with the external entrance, I’ll actually be able to start the federal licensing process. I’ll be documenting the process over the next couple months, culminating with a special inaugural brew.

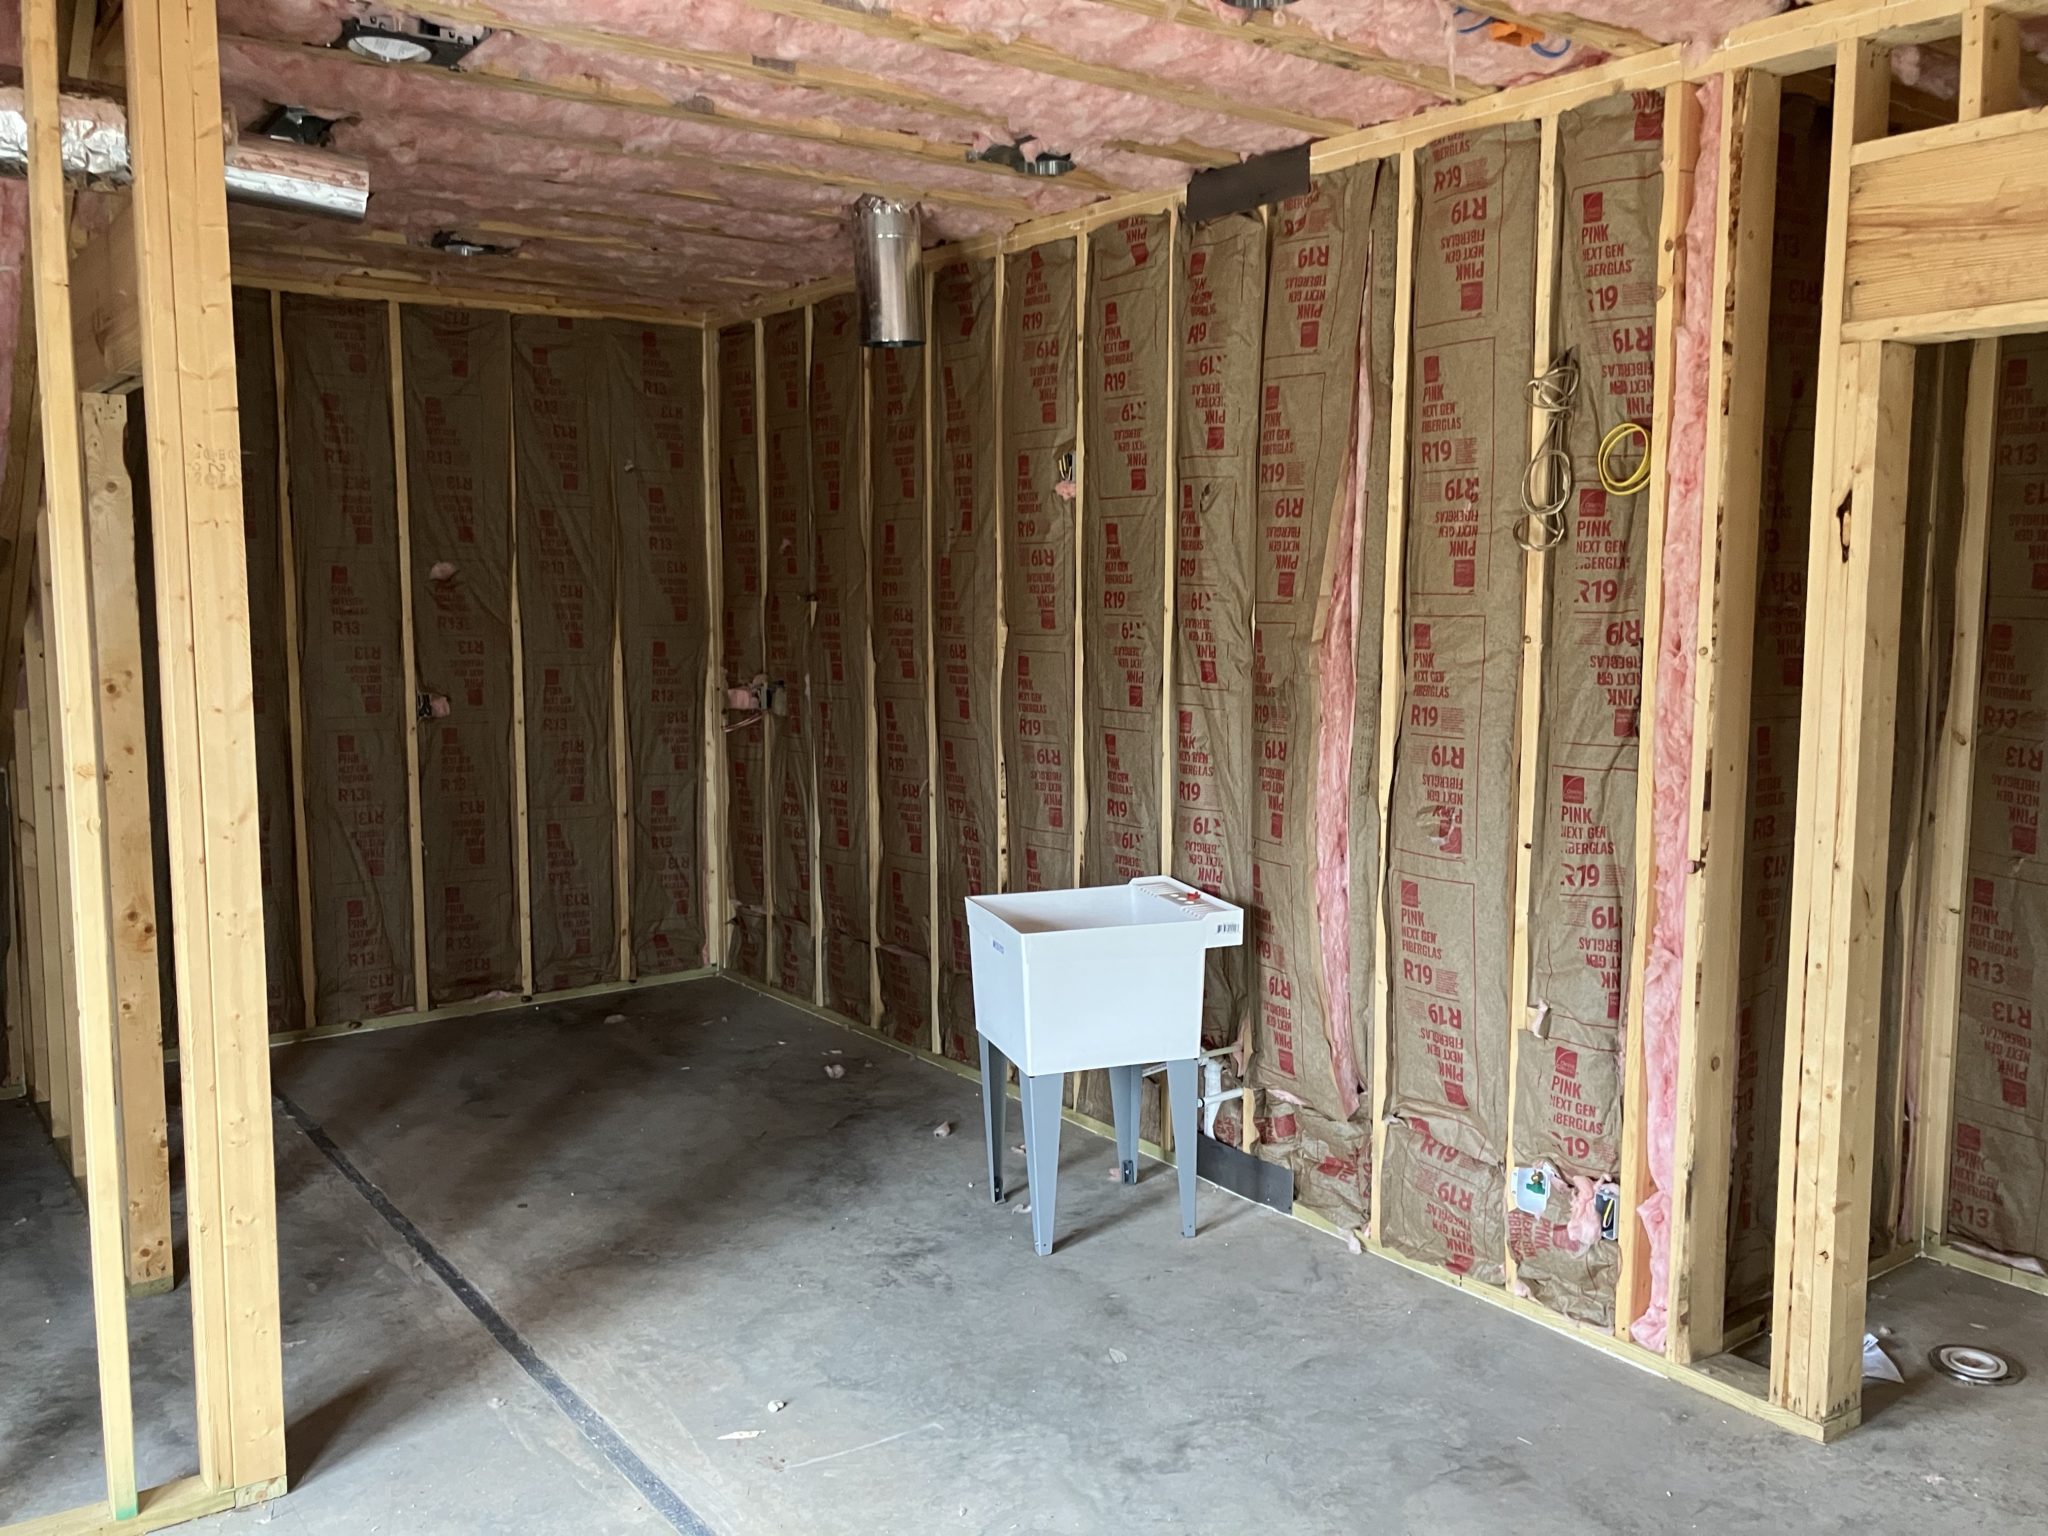
    Here’s what the space currently looks like (my home office is set up down there as well):

    Stay tuned for more updates as I build out the brewery!