Category: Projects

  • Building a Washtub Bass

    I have wanted a washtub bass for a long time, but I’ve been nervous to build an instrument that is played so intuitively. That is, it doesn’t have a fretboard with defined notes. It can’t be tuned. I would have to play by feel, and that doesn’t come naturally for me.

    I actually built a washtub bass when I was in high school, and I built it with a fretboard to try to bridge that mental gap for myself, but it was poorly constructed and a miserable failure: I was never able to get a good sound out of it and was never able to play it well. So, I finally set out to build a proper washtub bass, get myself out of my comfort zone, and learn to play by feel.

    Parts

    I got most of these parts at my local Home Depot. I already had an extra washer and the hose clamps, and I used a scrap of 2×4 that I had lying around for the block to raise the washtub.

    • 17-gallon galvanized steel washtub ($30.70)
    • 60″ wood broom handle ($12.60)
    • 1/16″ x 6′ coated steel cable ($2.96)
    • (2) 1/16″ cable clamp ($5.72)
    • (2) 1/4″-20 x 3″ eye bolt with nut ($1.72)
    • (3) 1/4″ hex nut ($1.72)
    • (2) 1/4″ lock washer ($0.53)
    • (2) 1/4″ fender washer ($0.46)
    • (1) 1/4″ washer (free)
    • (2) 3/4″ – 1-3/4″ hose clamp (free)
    • Block(s) to raise washtub (free)

    Total cost: $56.41

    I tried a couple other options for string: 1/16″ steel cable (uncoated) and weedwhacker line, but the coated steel cable seemed to produce the best combination of feel and sound.

    Process

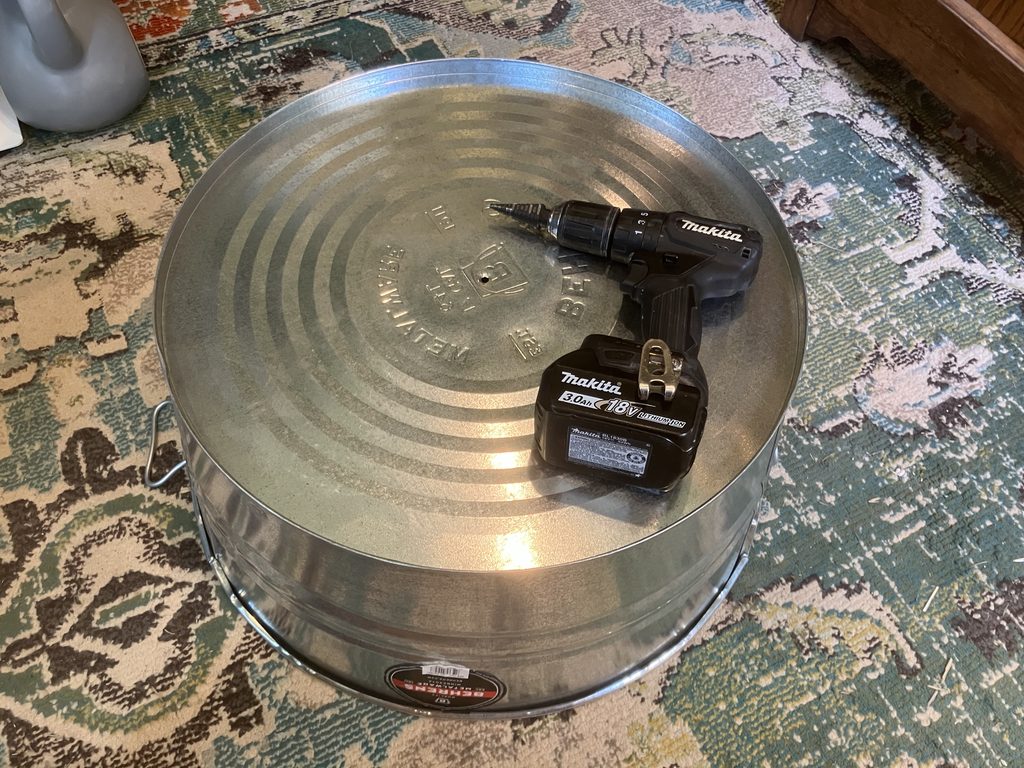
    First, I drilled a 1/4″ hole in the center of the washtub. I used a stepper bit to make this easier, but a 1/8″ drill bit and a 1/4″ drill bit would work too, or even just a 1/4″ bit if you have a center punch or a steady hand.
    Then, I attached one of the eyebolts through the washtub so the eye is on top (or rather, on the outside of the washtub), using 2 hex nuts, a lock washer, and a fender washer on each side.
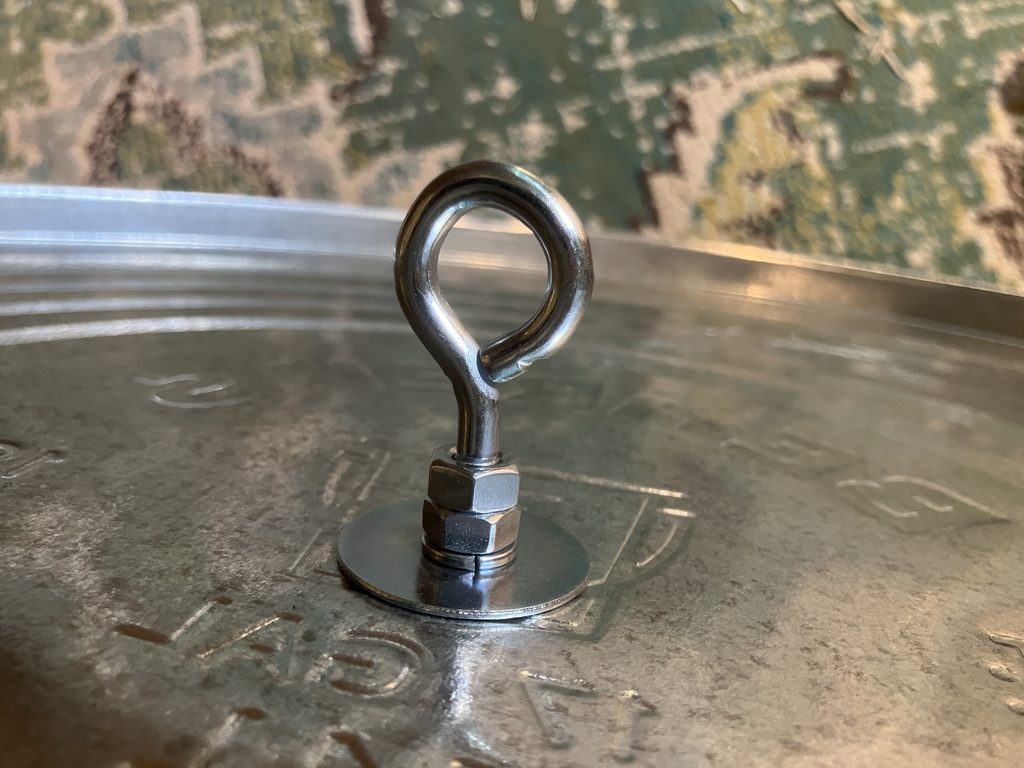
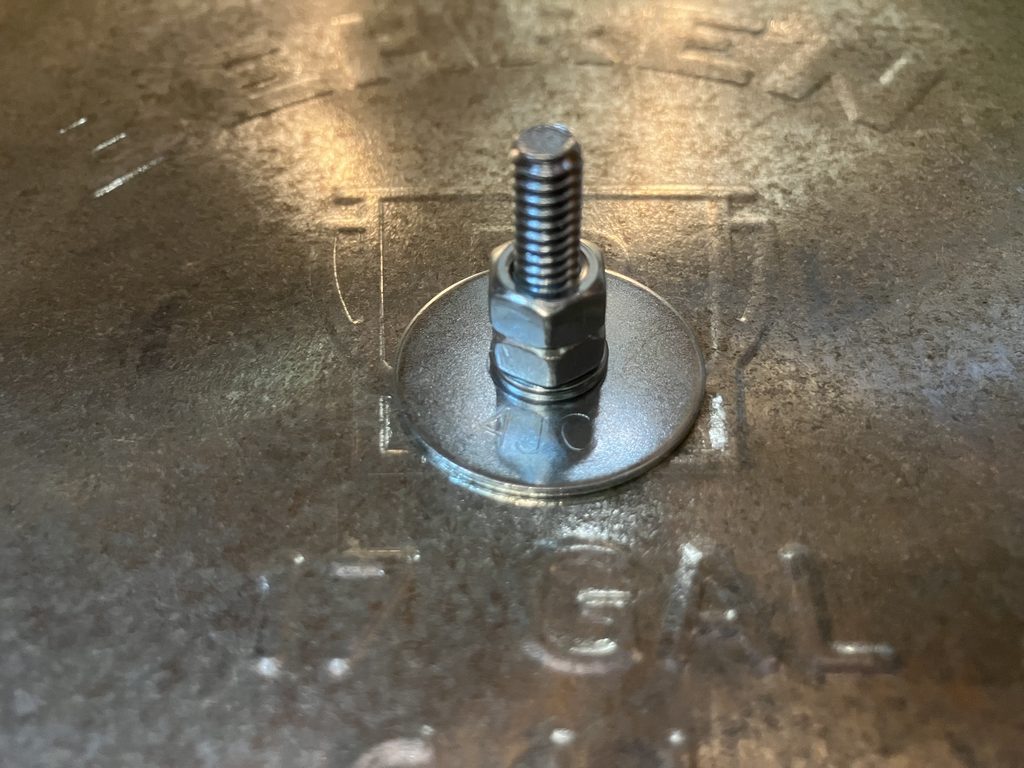
    On the inside of the washtub, I ended up added a piece of felt underneath the fender washer later. I don’t think that’s strictly necessary, though, since I was trying to muffle any potential rattling and that spot wasn’t the culprit.
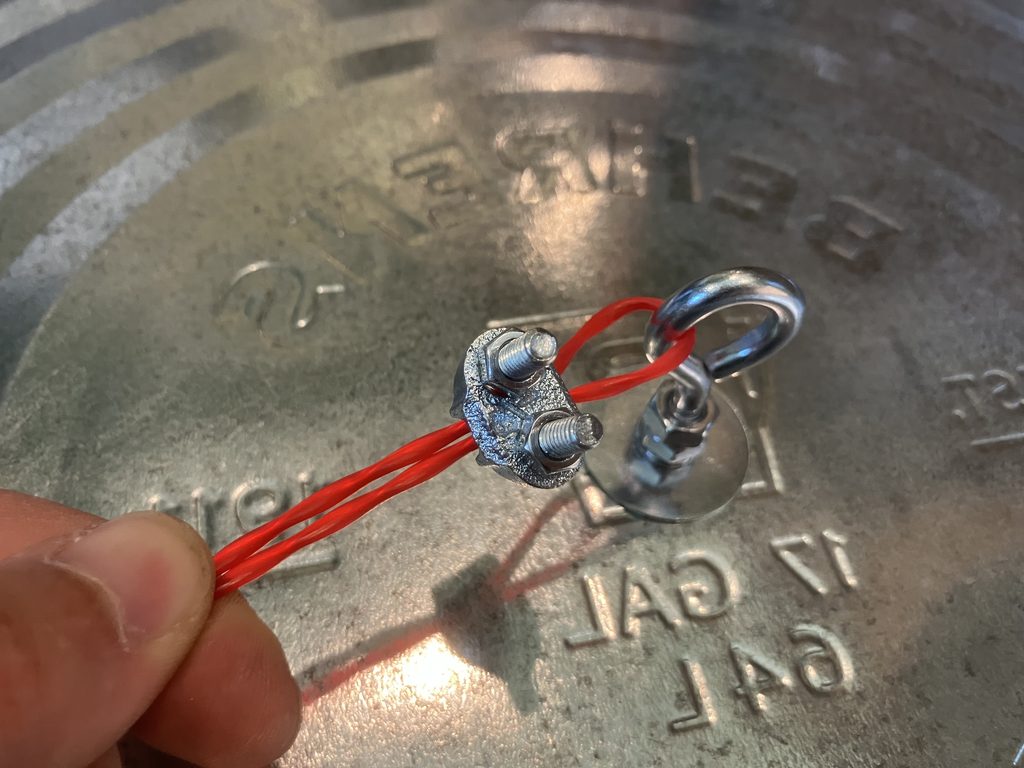
    Then, I attached one end of the coated steel cable to the eye bolt using one of the wire clamps. The picture shows my first attempt with weedwhacker line instead, but the attachment is the same.
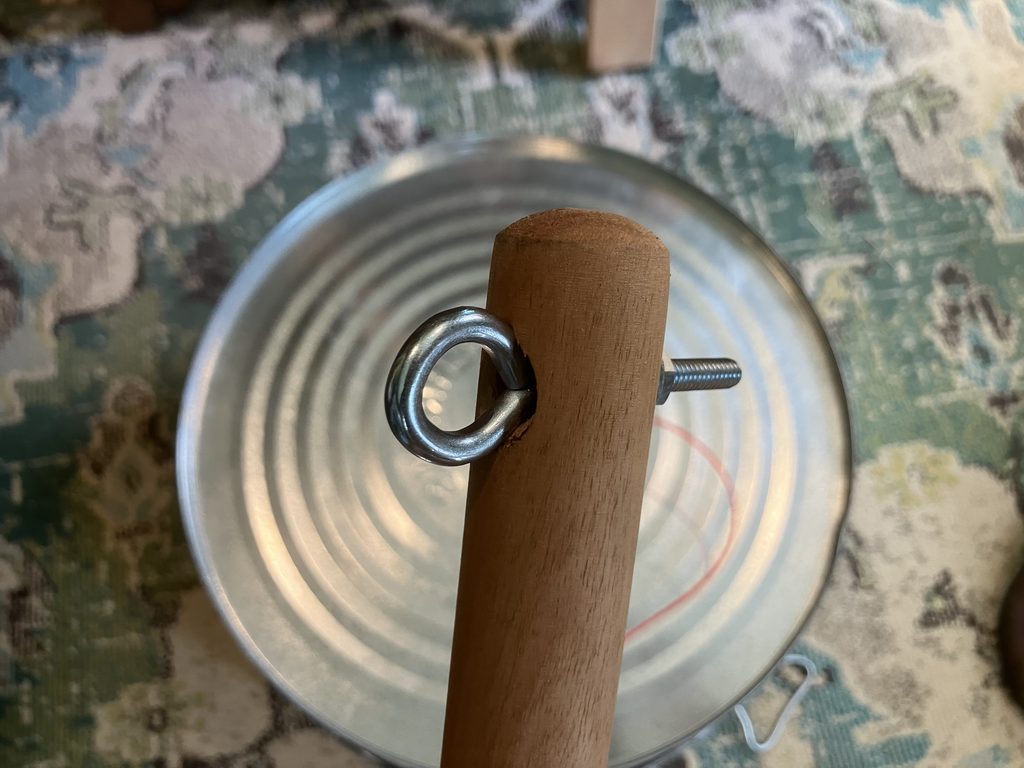
    On the broom handle, I mounted the second eye bolt through the existing hole in the handle using the regular 1/4″ washer.
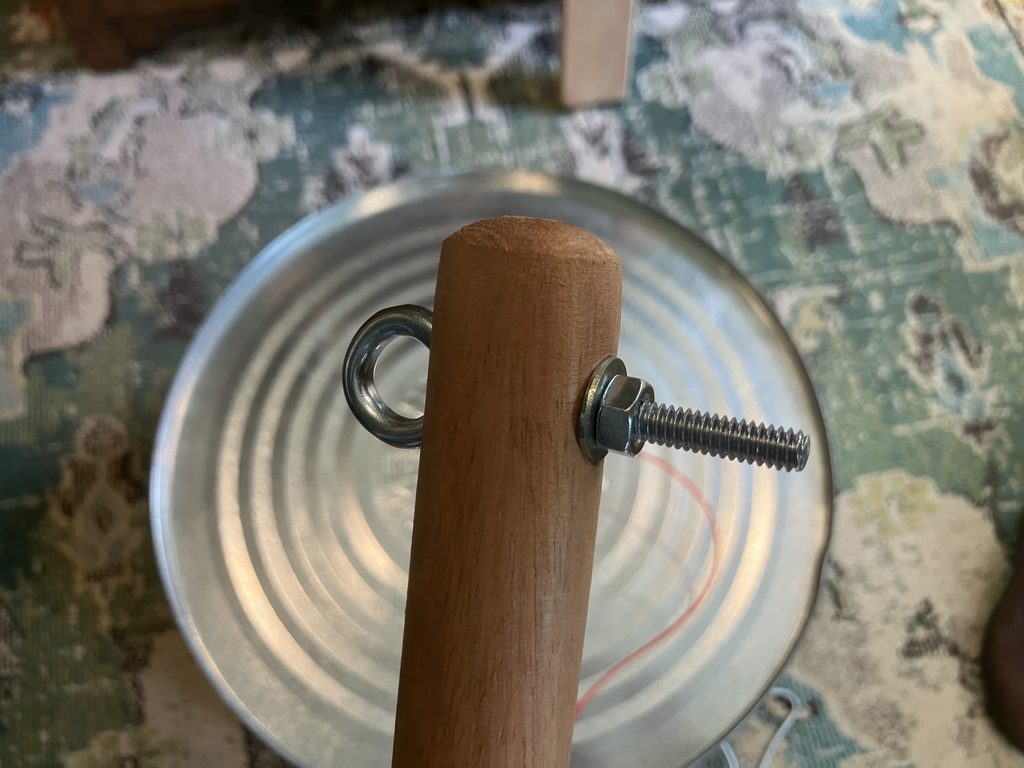
    The eye of the bolt rests nicely in the hole’s chamfer once it’s tightened down.
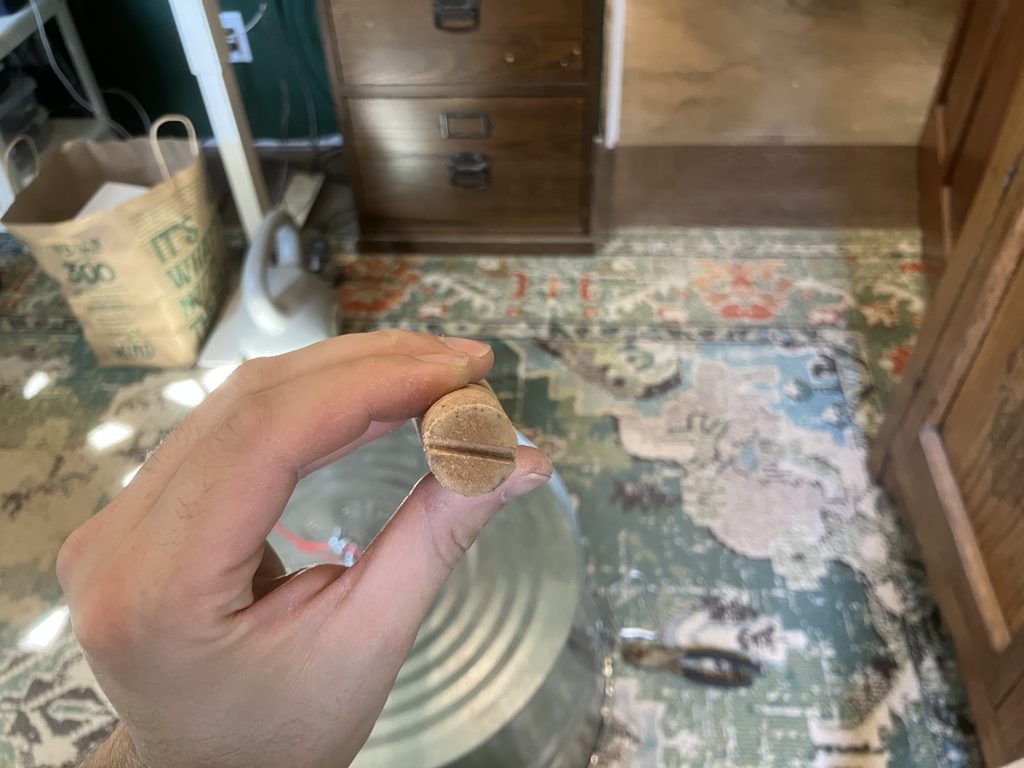
    The other end of the broom handle need a slot cut into it. This slot will fit over the lip of the washtub to help keep it in place and provide a pivot point for the handle while playing. I cut it with a Japanese pull saw and revised it under it fit easily over the lip. It’s about 3/4″ deep.
    I then slit the 2 hose washers down the broom handle from the end. One I tightened just above the slit to help prevent splitting.
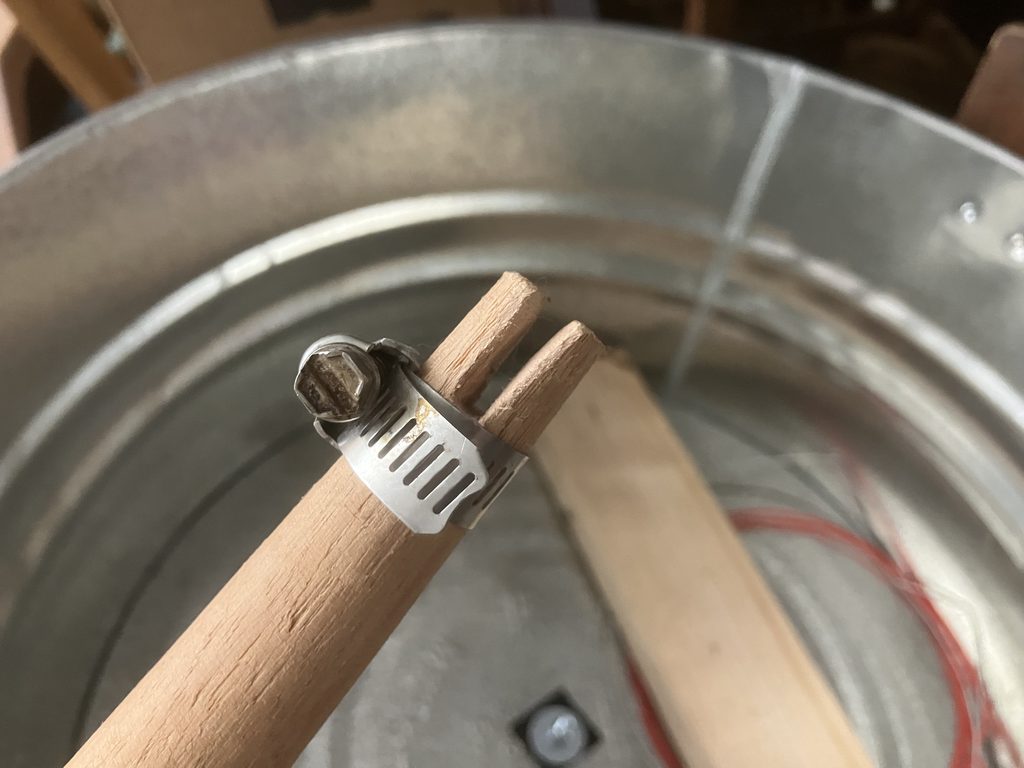
    The other one I mounted about 9-1/2″ inches from the top. You’ll probably want to play around with this placement to get a good tone and range from the bass. The coated steel cable is then fed through the hose clamp and secured to the eye bolt on the handle with the second wire clamp.
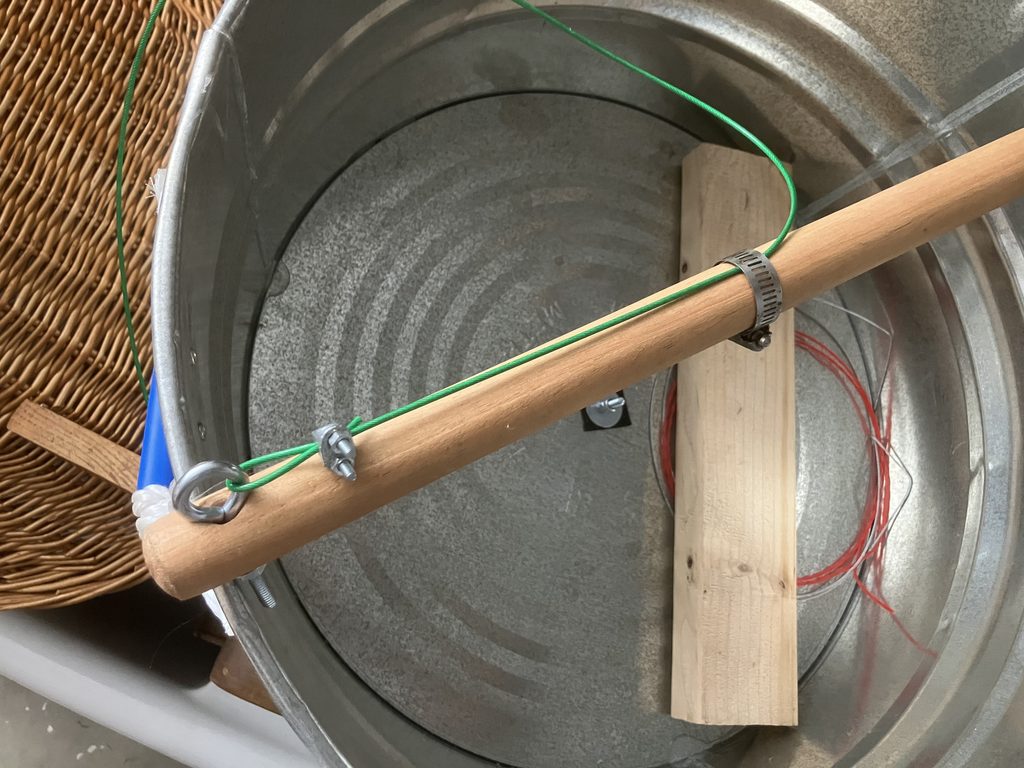
    When tightening the cable, I found it easiest to set the handle on the lip of the washtub and lean it so the cable is completely vertical, pull out all the slack, and tighten the wire clamp.

    I also removed both of the metal handles from the washtub, and replaced one of them with rope so I could still carry it. This significantly reduces rattling while playing the bass. The handles can easily be removed with a pair of pliers.
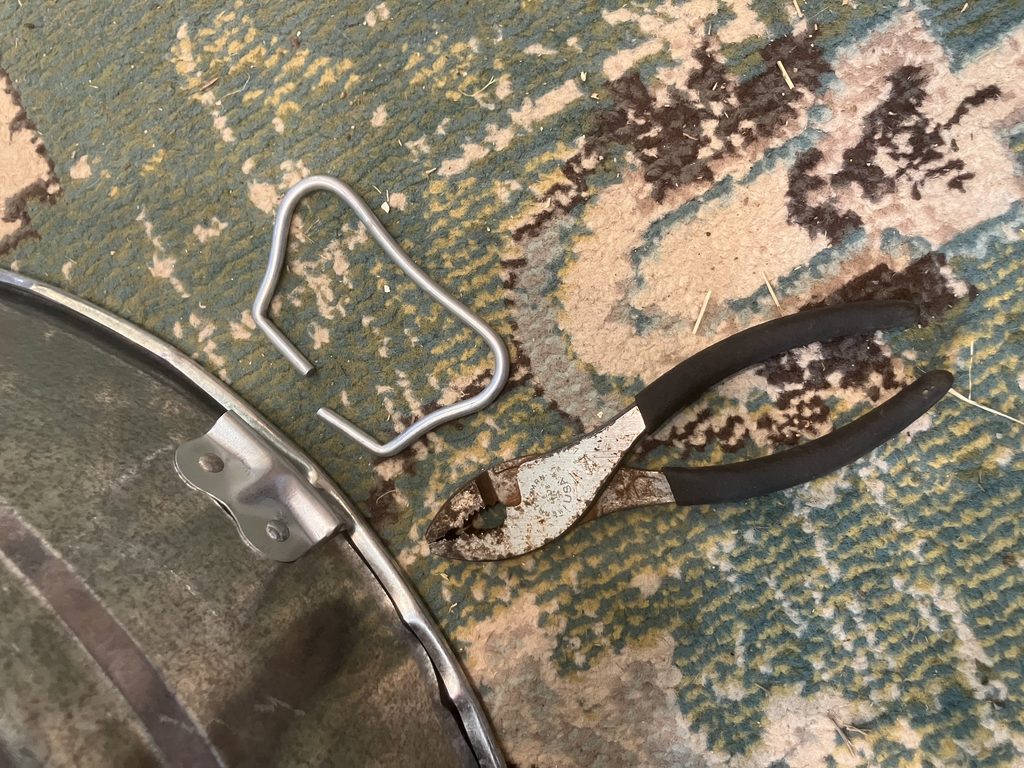
    End result

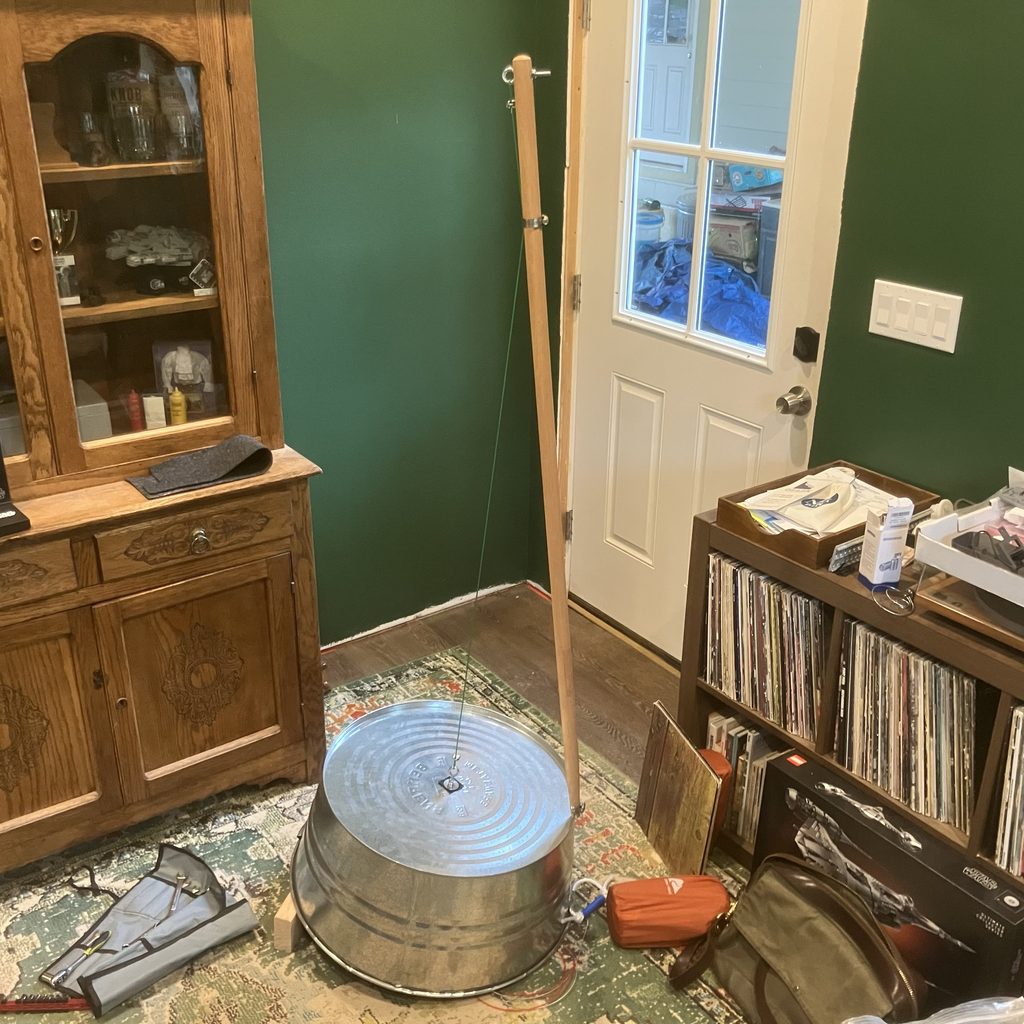
    Behold the end product, propped up on its block and ready to play. With some fiddling, I was able to get a decent tone out of it and figure out how to play some scales.
    You can hear the washtub bass filling in the low end on this demo I made earlier this year called “A Fly on the Wall.”

    You can tell I still need to work on my scales… but I’m pretty impressed that I was able to build this for less than $60 and get good enough sound out of it to record it!
  • Keezer Build, Part 2

    Keezer Build, Part 2

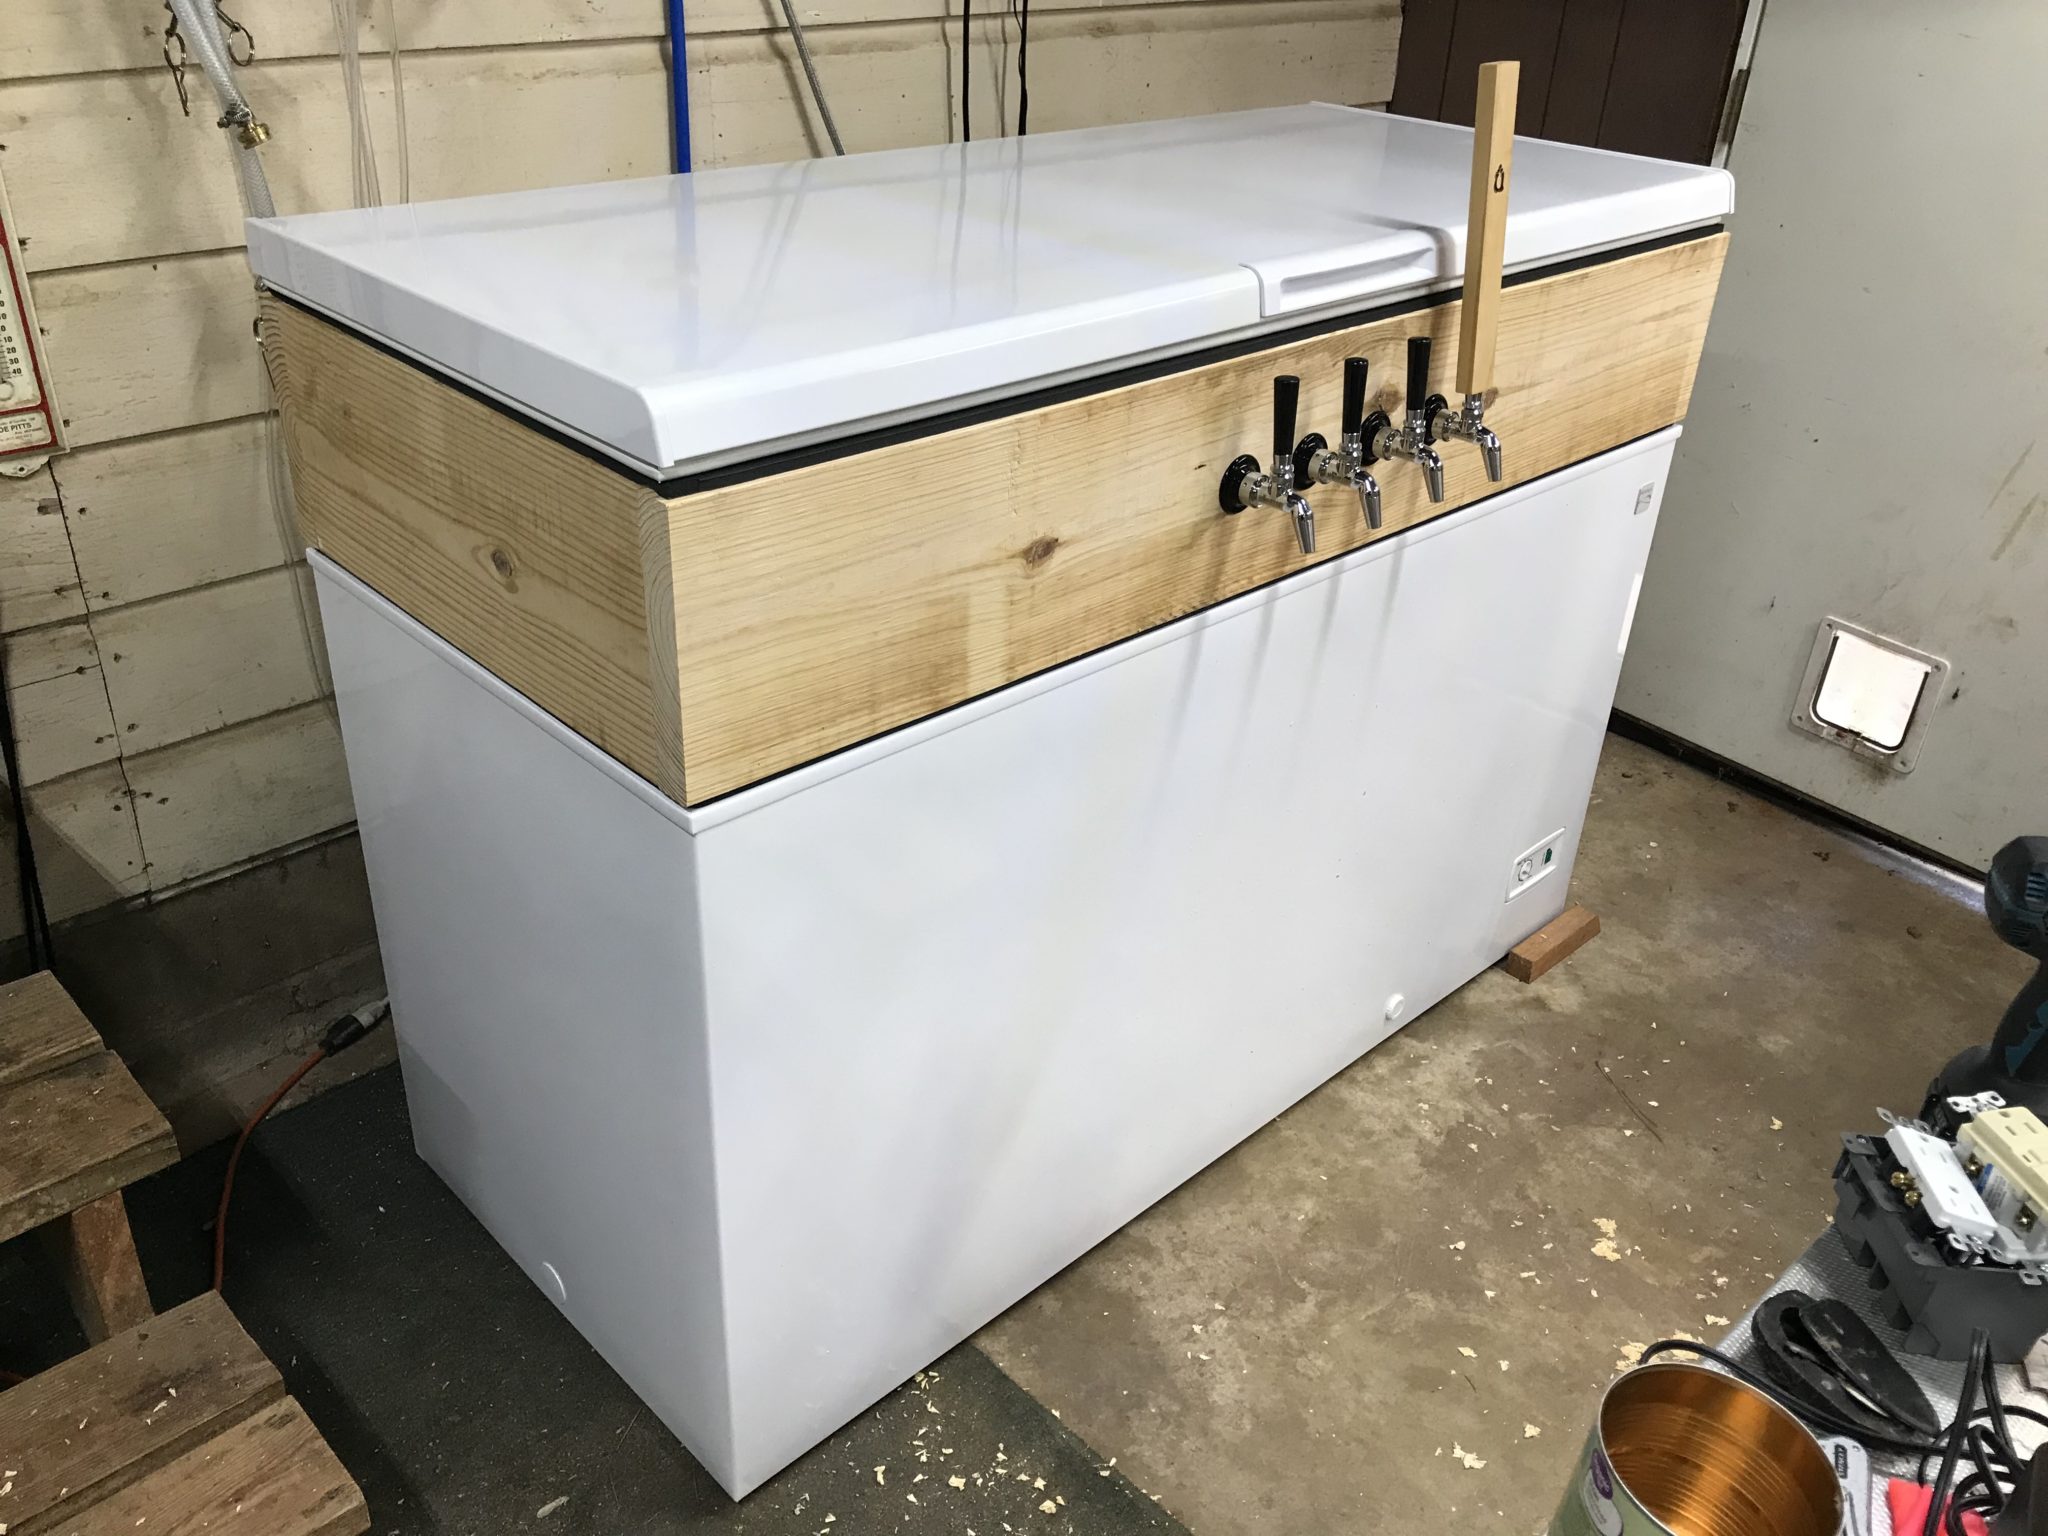
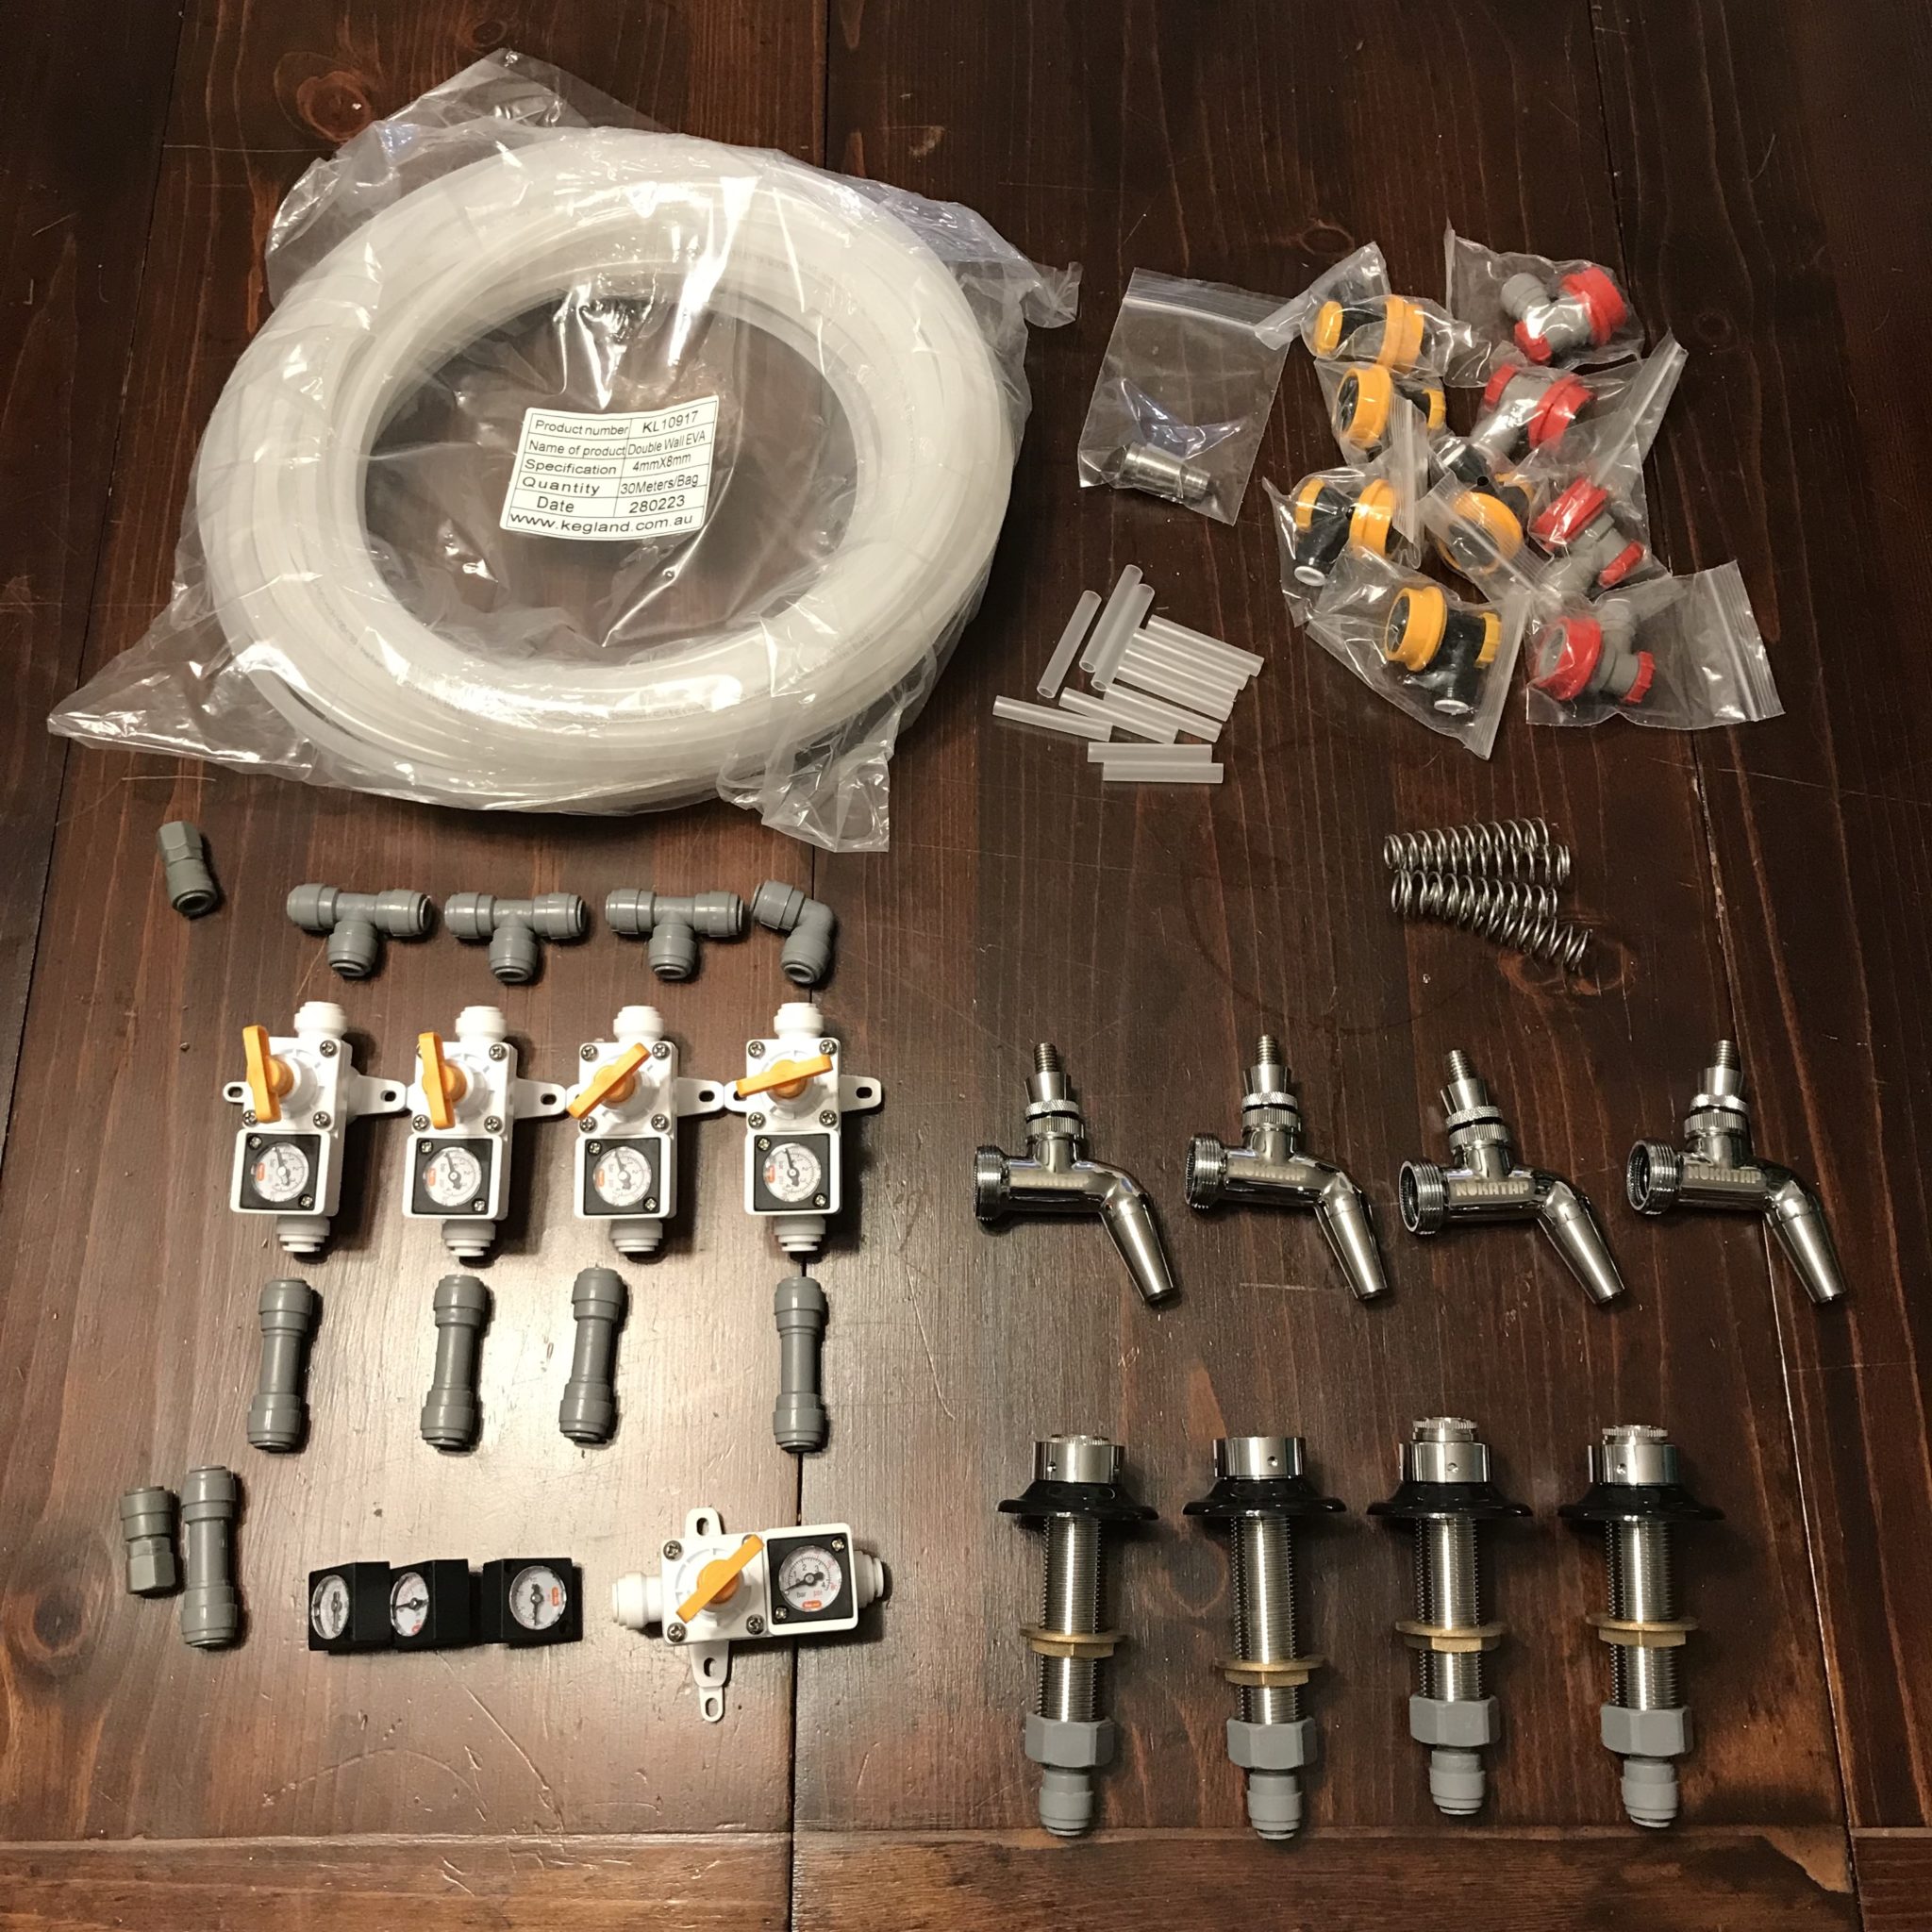
    After building the collar for my keezer and adding a few features in part 1, it was time to add the taps and run beer lines. I decided to go with DuoTight fittings and Evabarrier line due to their price, ease of setup, and positive reviews.

    I started with four taps, with plans to expand to six or more down the road. Since I’m doing 10 gallon batches, that’s 2 kegs per beer, and if I don’t put any kegs on the compressor hump, that’s 8 kegs or 4 beers in the keezer. But I could mix and match and squeeze a couple more in there, so there’s room to grow.

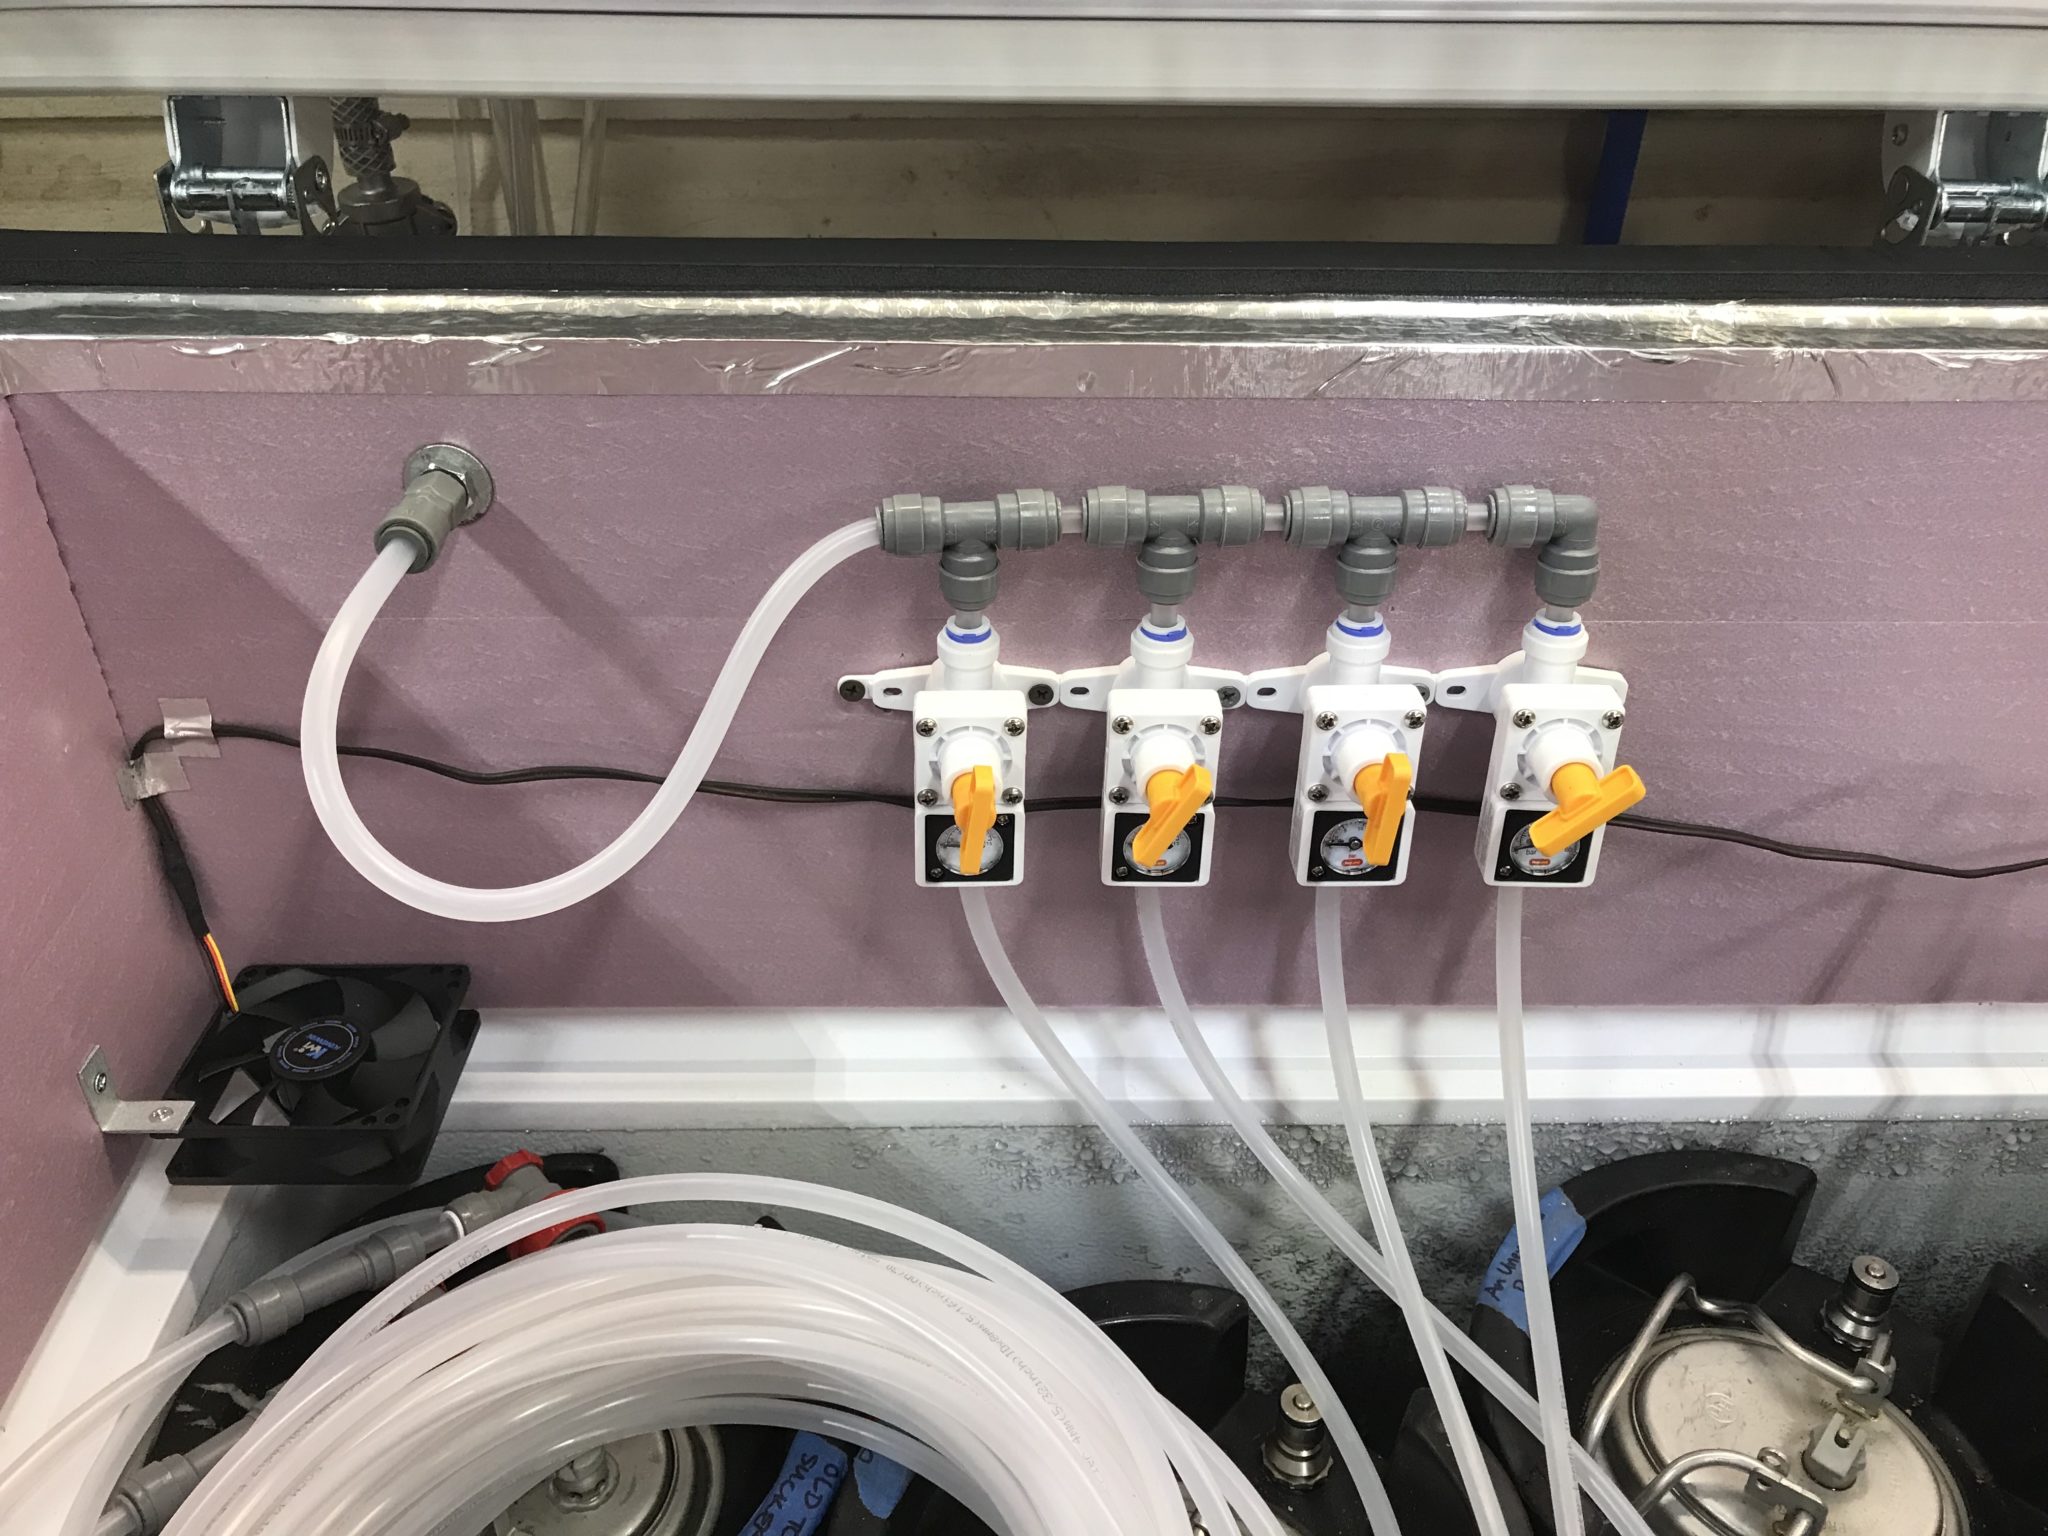
    I opted to keep the CO2 tank outside the keezer to save space, and I plumbed the gas in using a bulkhead fitting. The DuoTight fittings make it easy to run a separate sub-regulator for each beer, so I was able to set my CO2 tank to a higher pressure, then dial it down depending on the beer style. I also have a dedicated keg of water that I run at a higher pressure, so this flexible system works well for my needs.

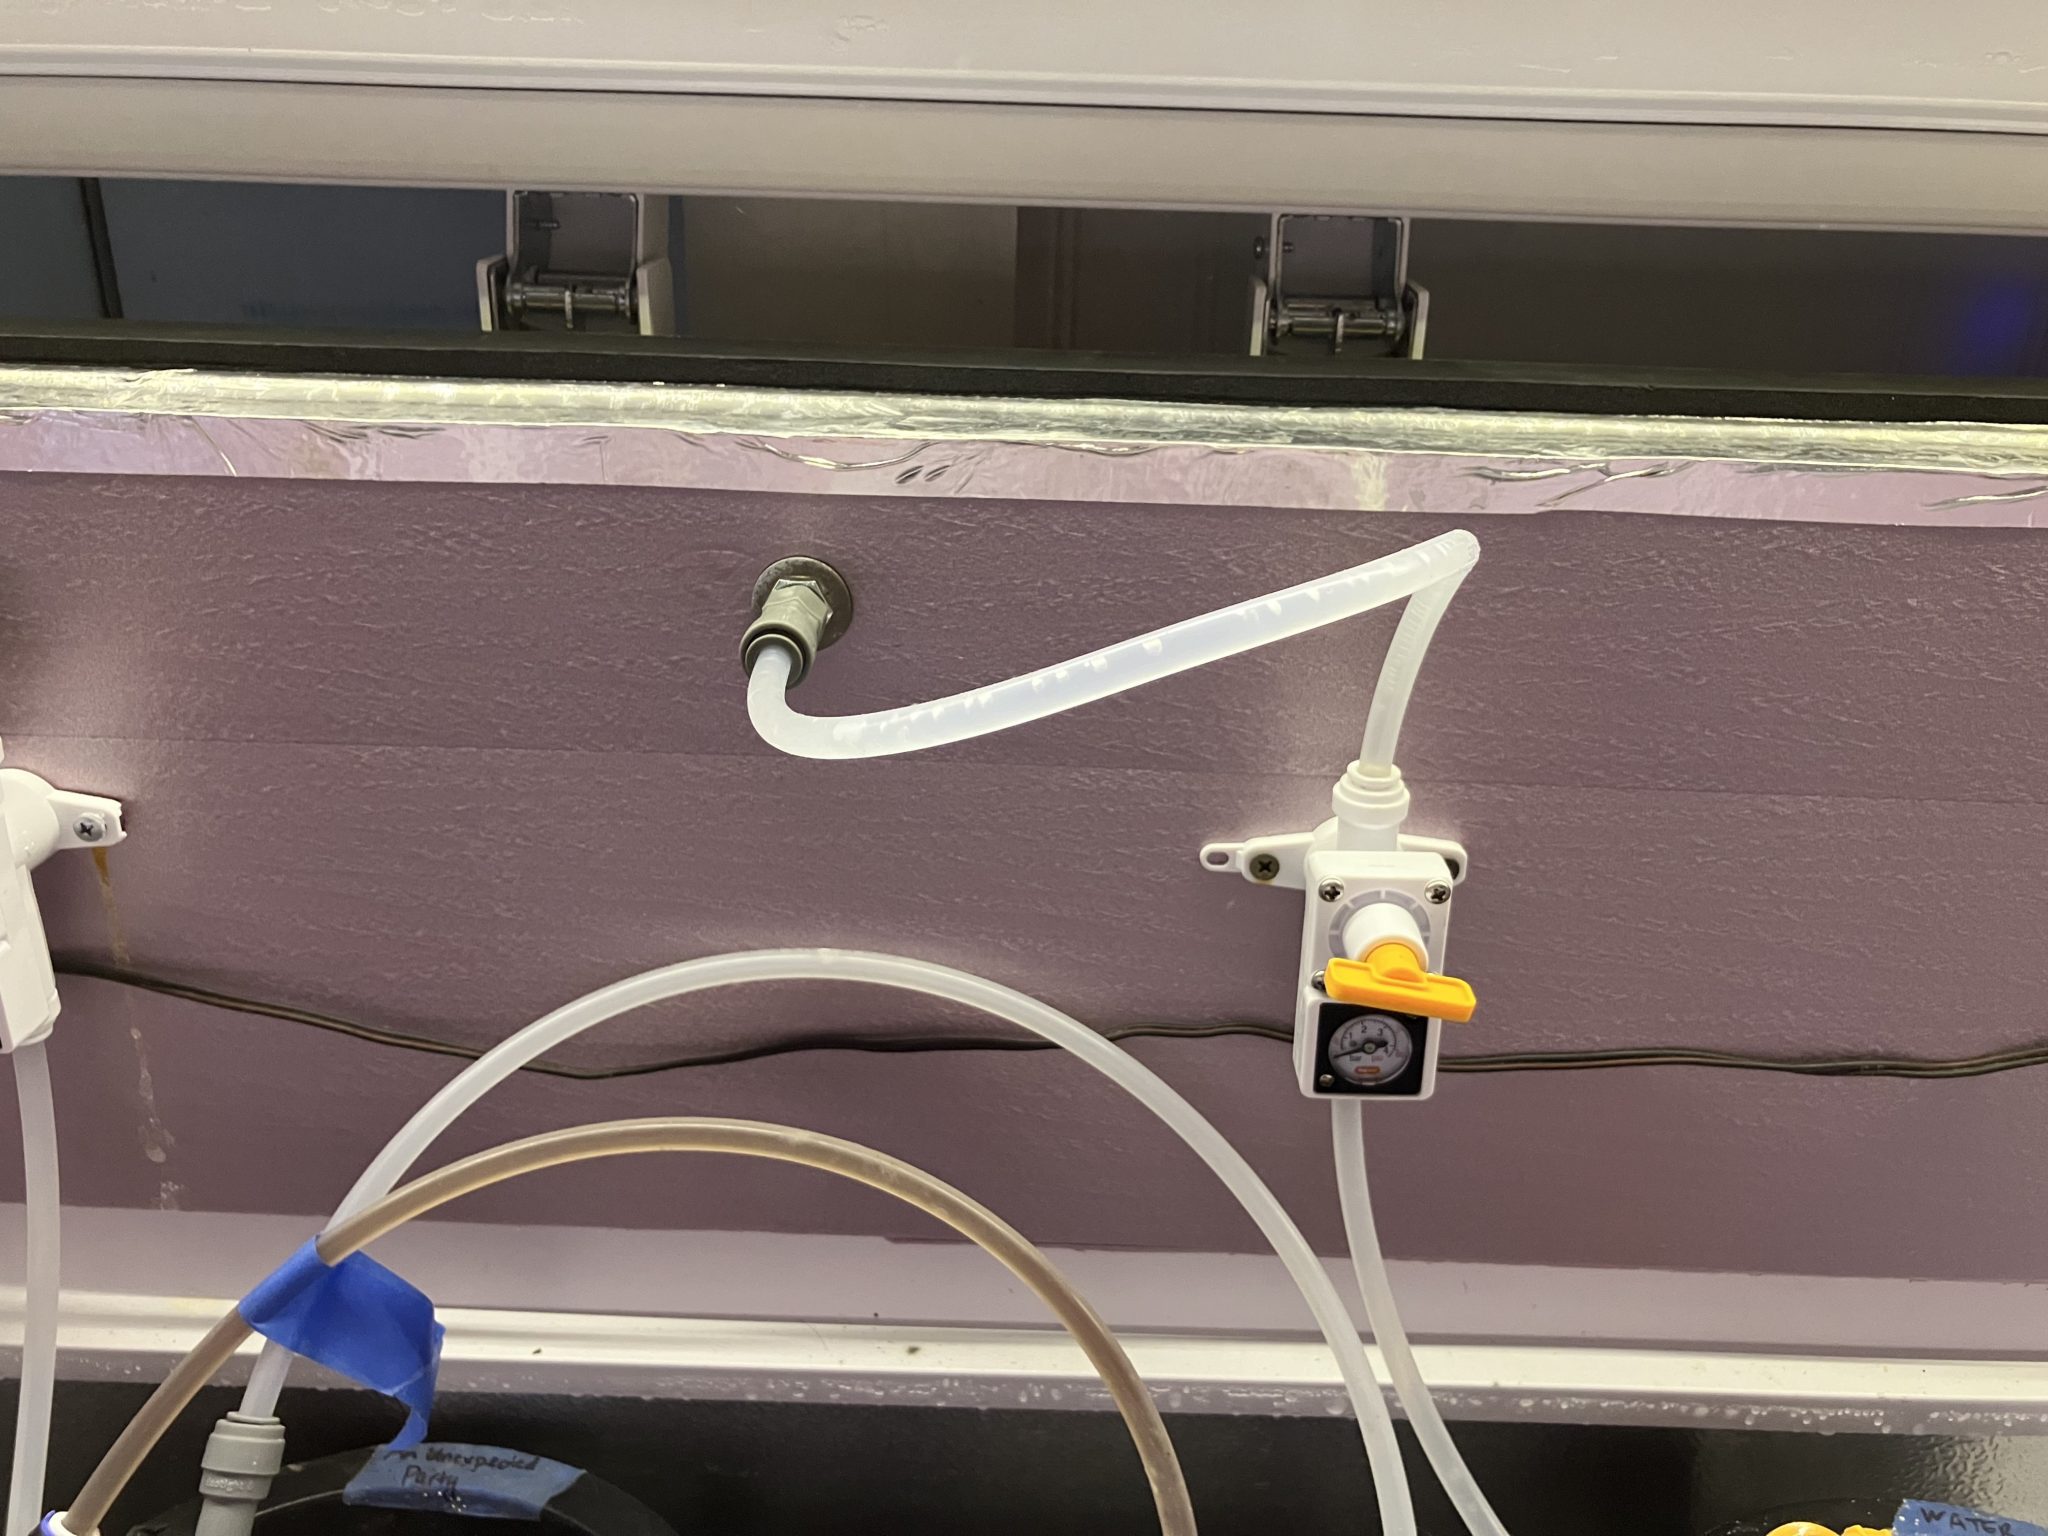
    For my water keg, I plumbed in a dedicated water line with another bulkhead. This connects to an ice maker line on the outside, and runs through a regulator on the inside to reduce the water pressure. I’m using a continuous carbonator lid on my water keg, so being able to control both the incoming water pressure and the incoming gas pressure is important for it to function correctly.

    The tap were easy to install, just drill through the collar and tighten down. Due to the length of shanks, I actually ended up drilling a larger hole in the insulation, and tightening the taps against the wood itself.

    With all these changes, the keezer is now fully functional, but it’s not complete! I still plan to cover the 2×10 boards with trim, probably paint the freezer, expand the number of taps, and add a drip tray. Stay tuned for part 3!

  • Keezer Build, Part 1

    Keezer Build, Part 1

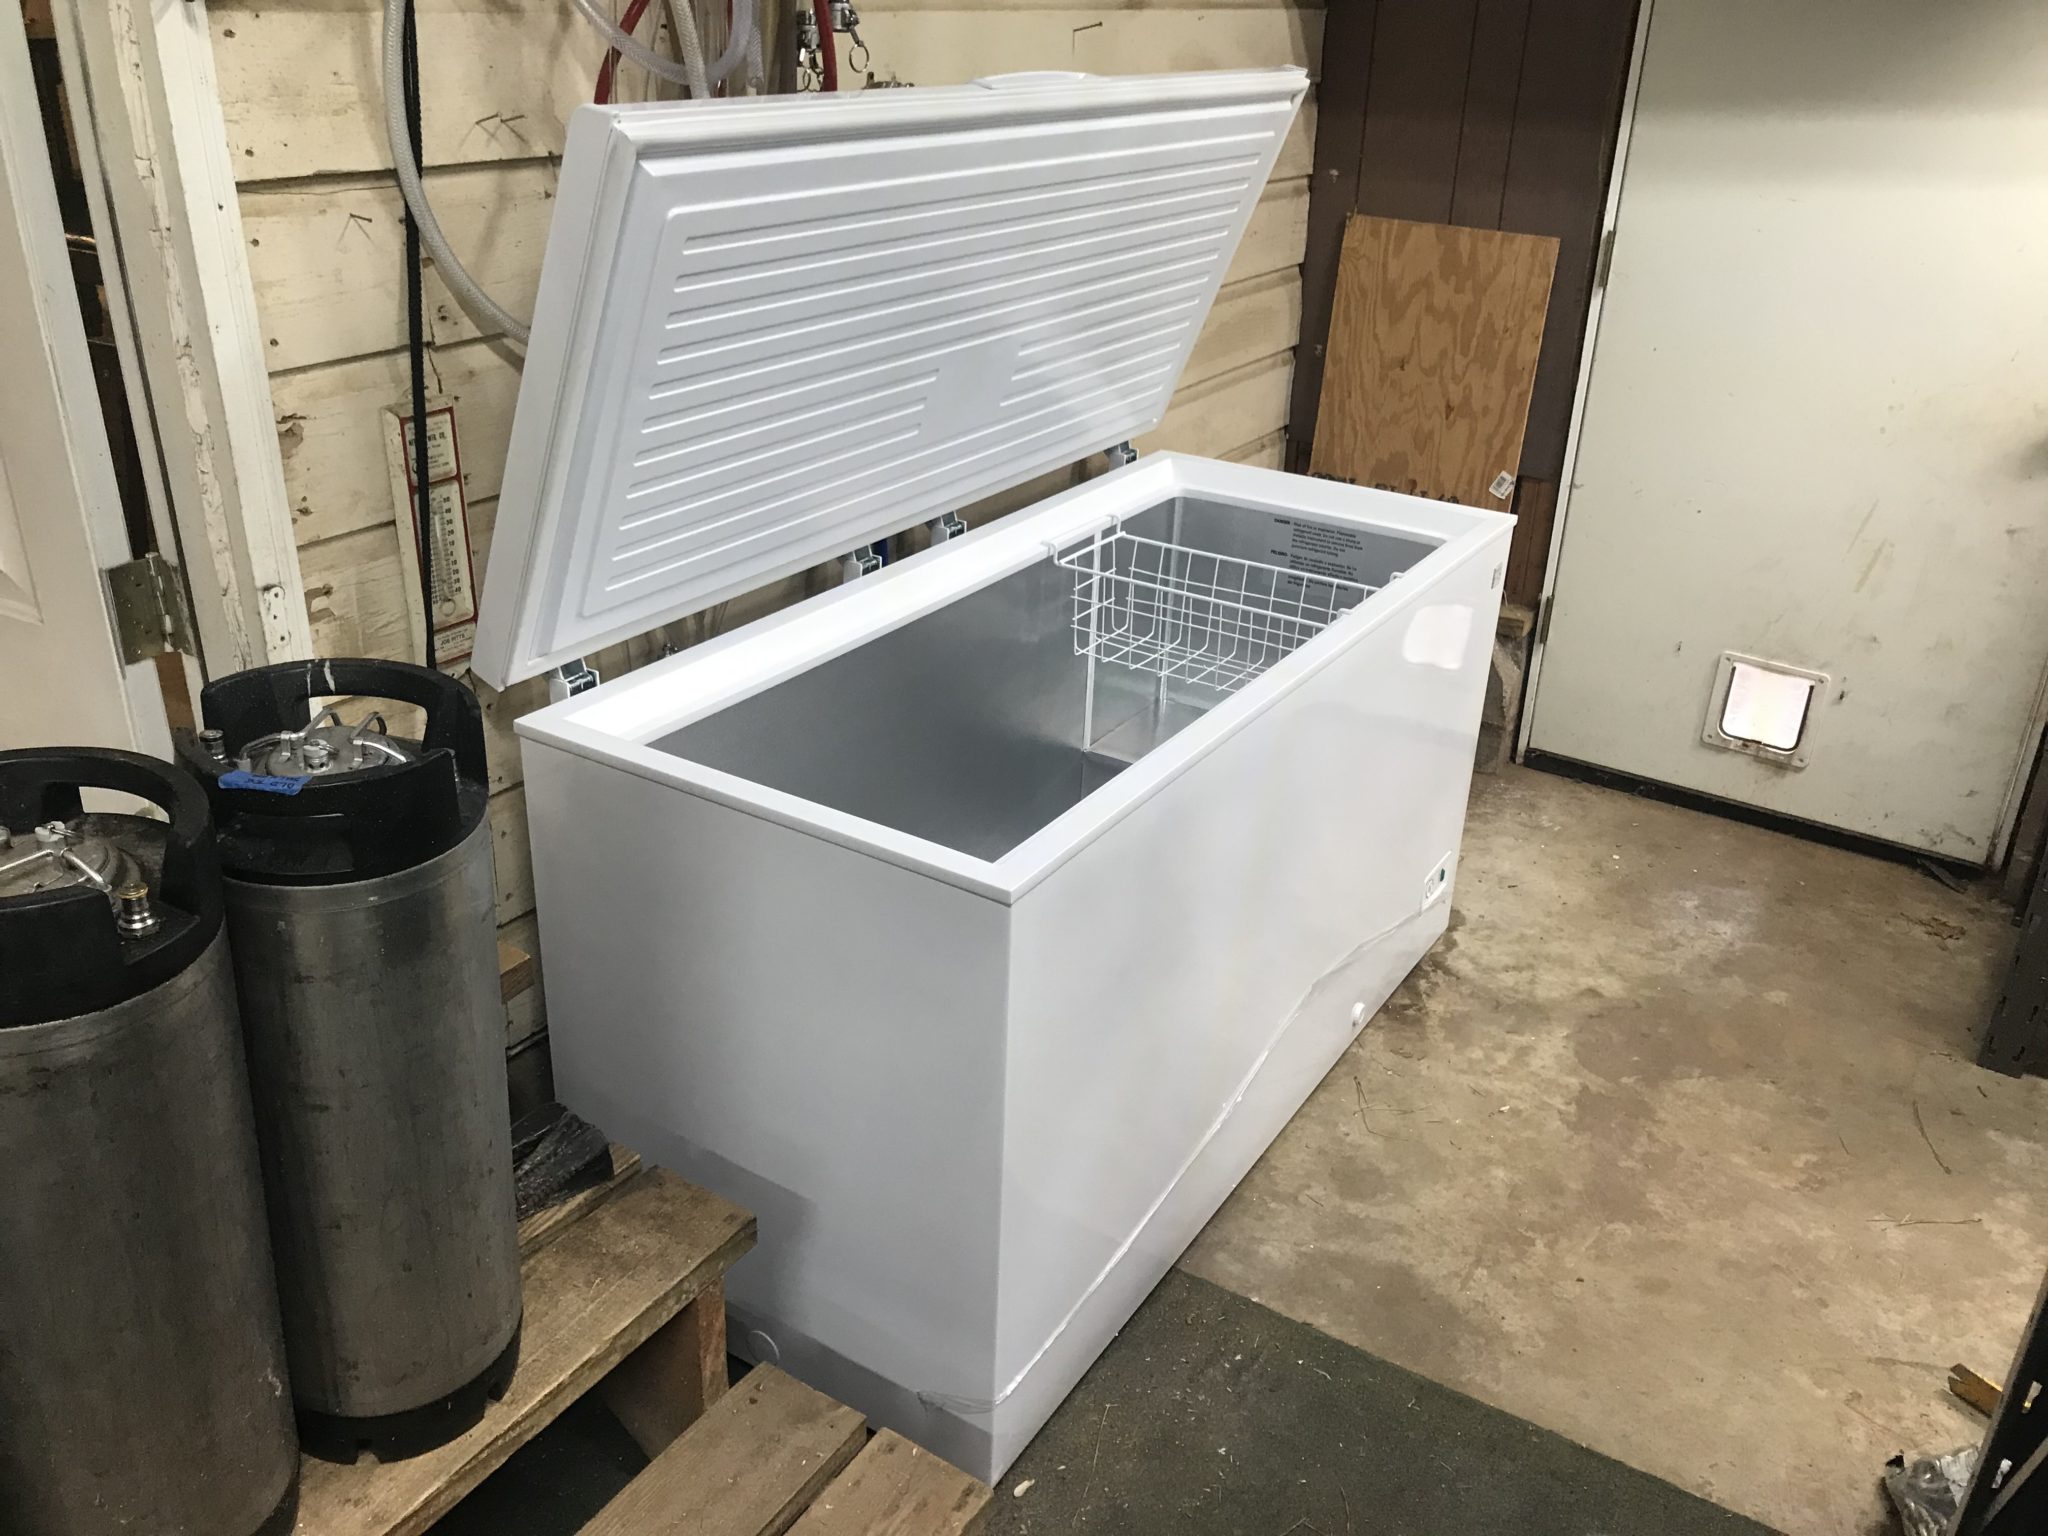
    I built a keezer last year when I ran out of room for kegs between the garage fridge and two smaller kegerators. I was previously still using picnic taps except for one proper tap on one of the kegerators, and was itching to up my game for a better beer pouring experience. Plus, I had beer that needed to stay cold! So I shopped around for a freezer that would fit my Corny kegs, and landed on the Kenmore KLFC015MWD, a 14.8 cubit foot garage-ready chest freezer. At this size, with a collar, I can fit a full ten Corny kegs if I need to.

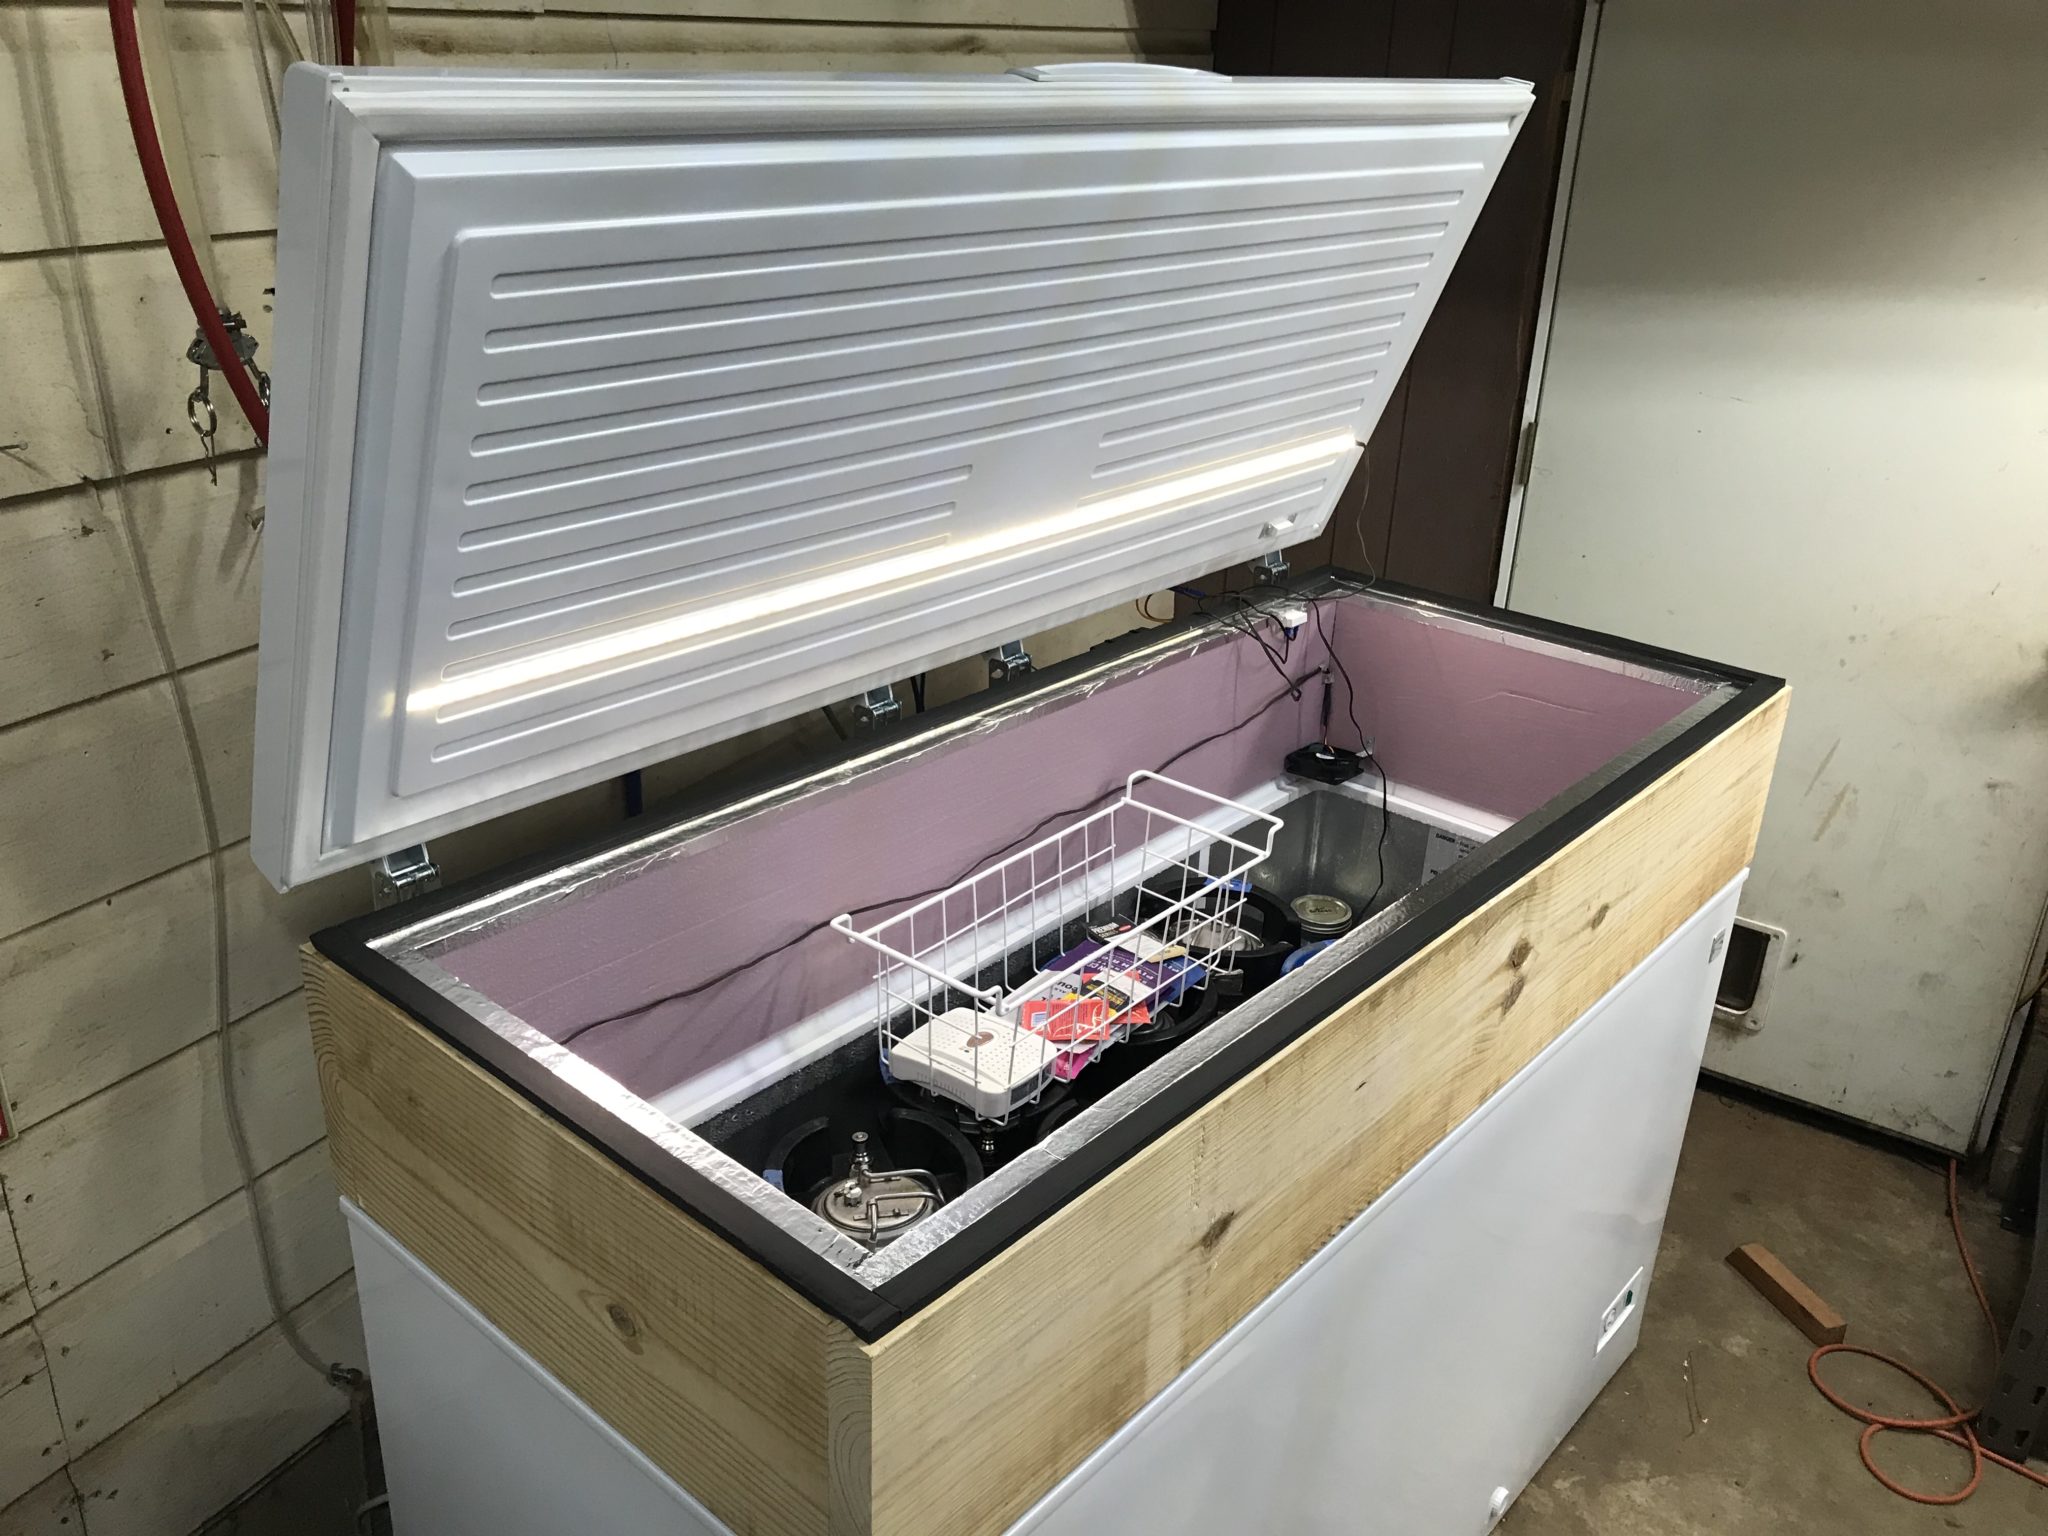
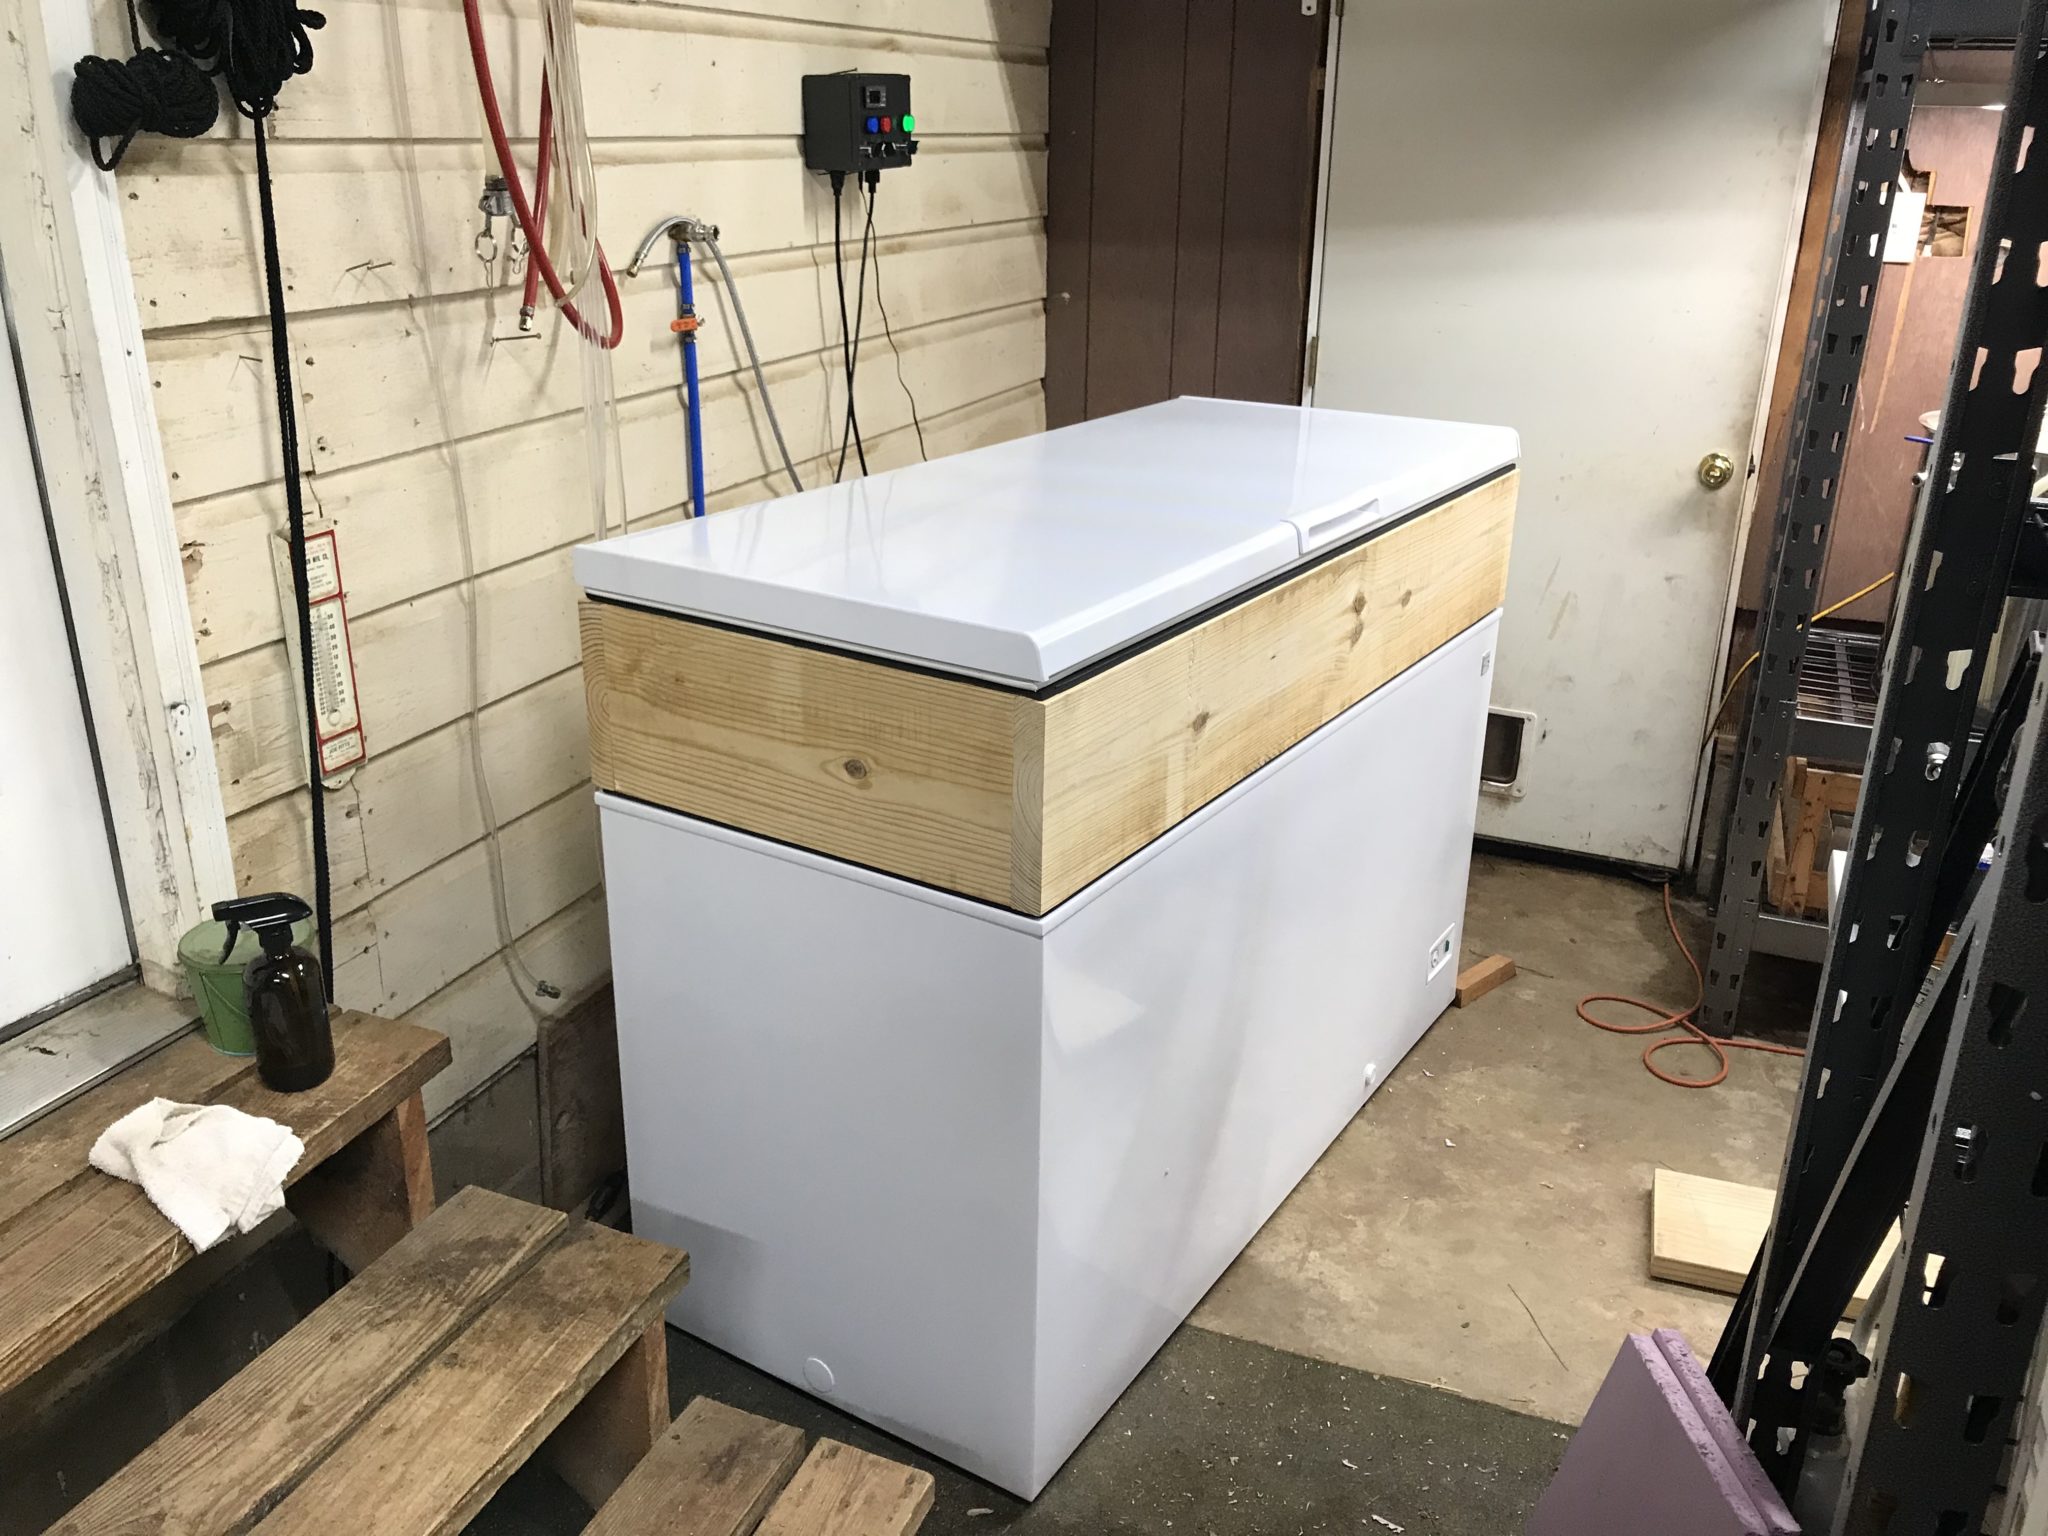
    My first priority was to just get the beer in the freezer and keep it cold, so I whipped up a collar out of 2×10 boards. This is a rather tall collar for a keezer, but it means 2 kegs can fit on the compressor hump. I assembled the collar with pocket screws and ran weatherstripping on both the top and the bottom of it. Then I just set the collar in place on the freezer after removing the lid. It’s actually not secured to the freezer directly, just creating a seal with its weight (those 2x10s are not light). I relocated the freezer lid to the collar, and at this point have a fully sealed freezer again.

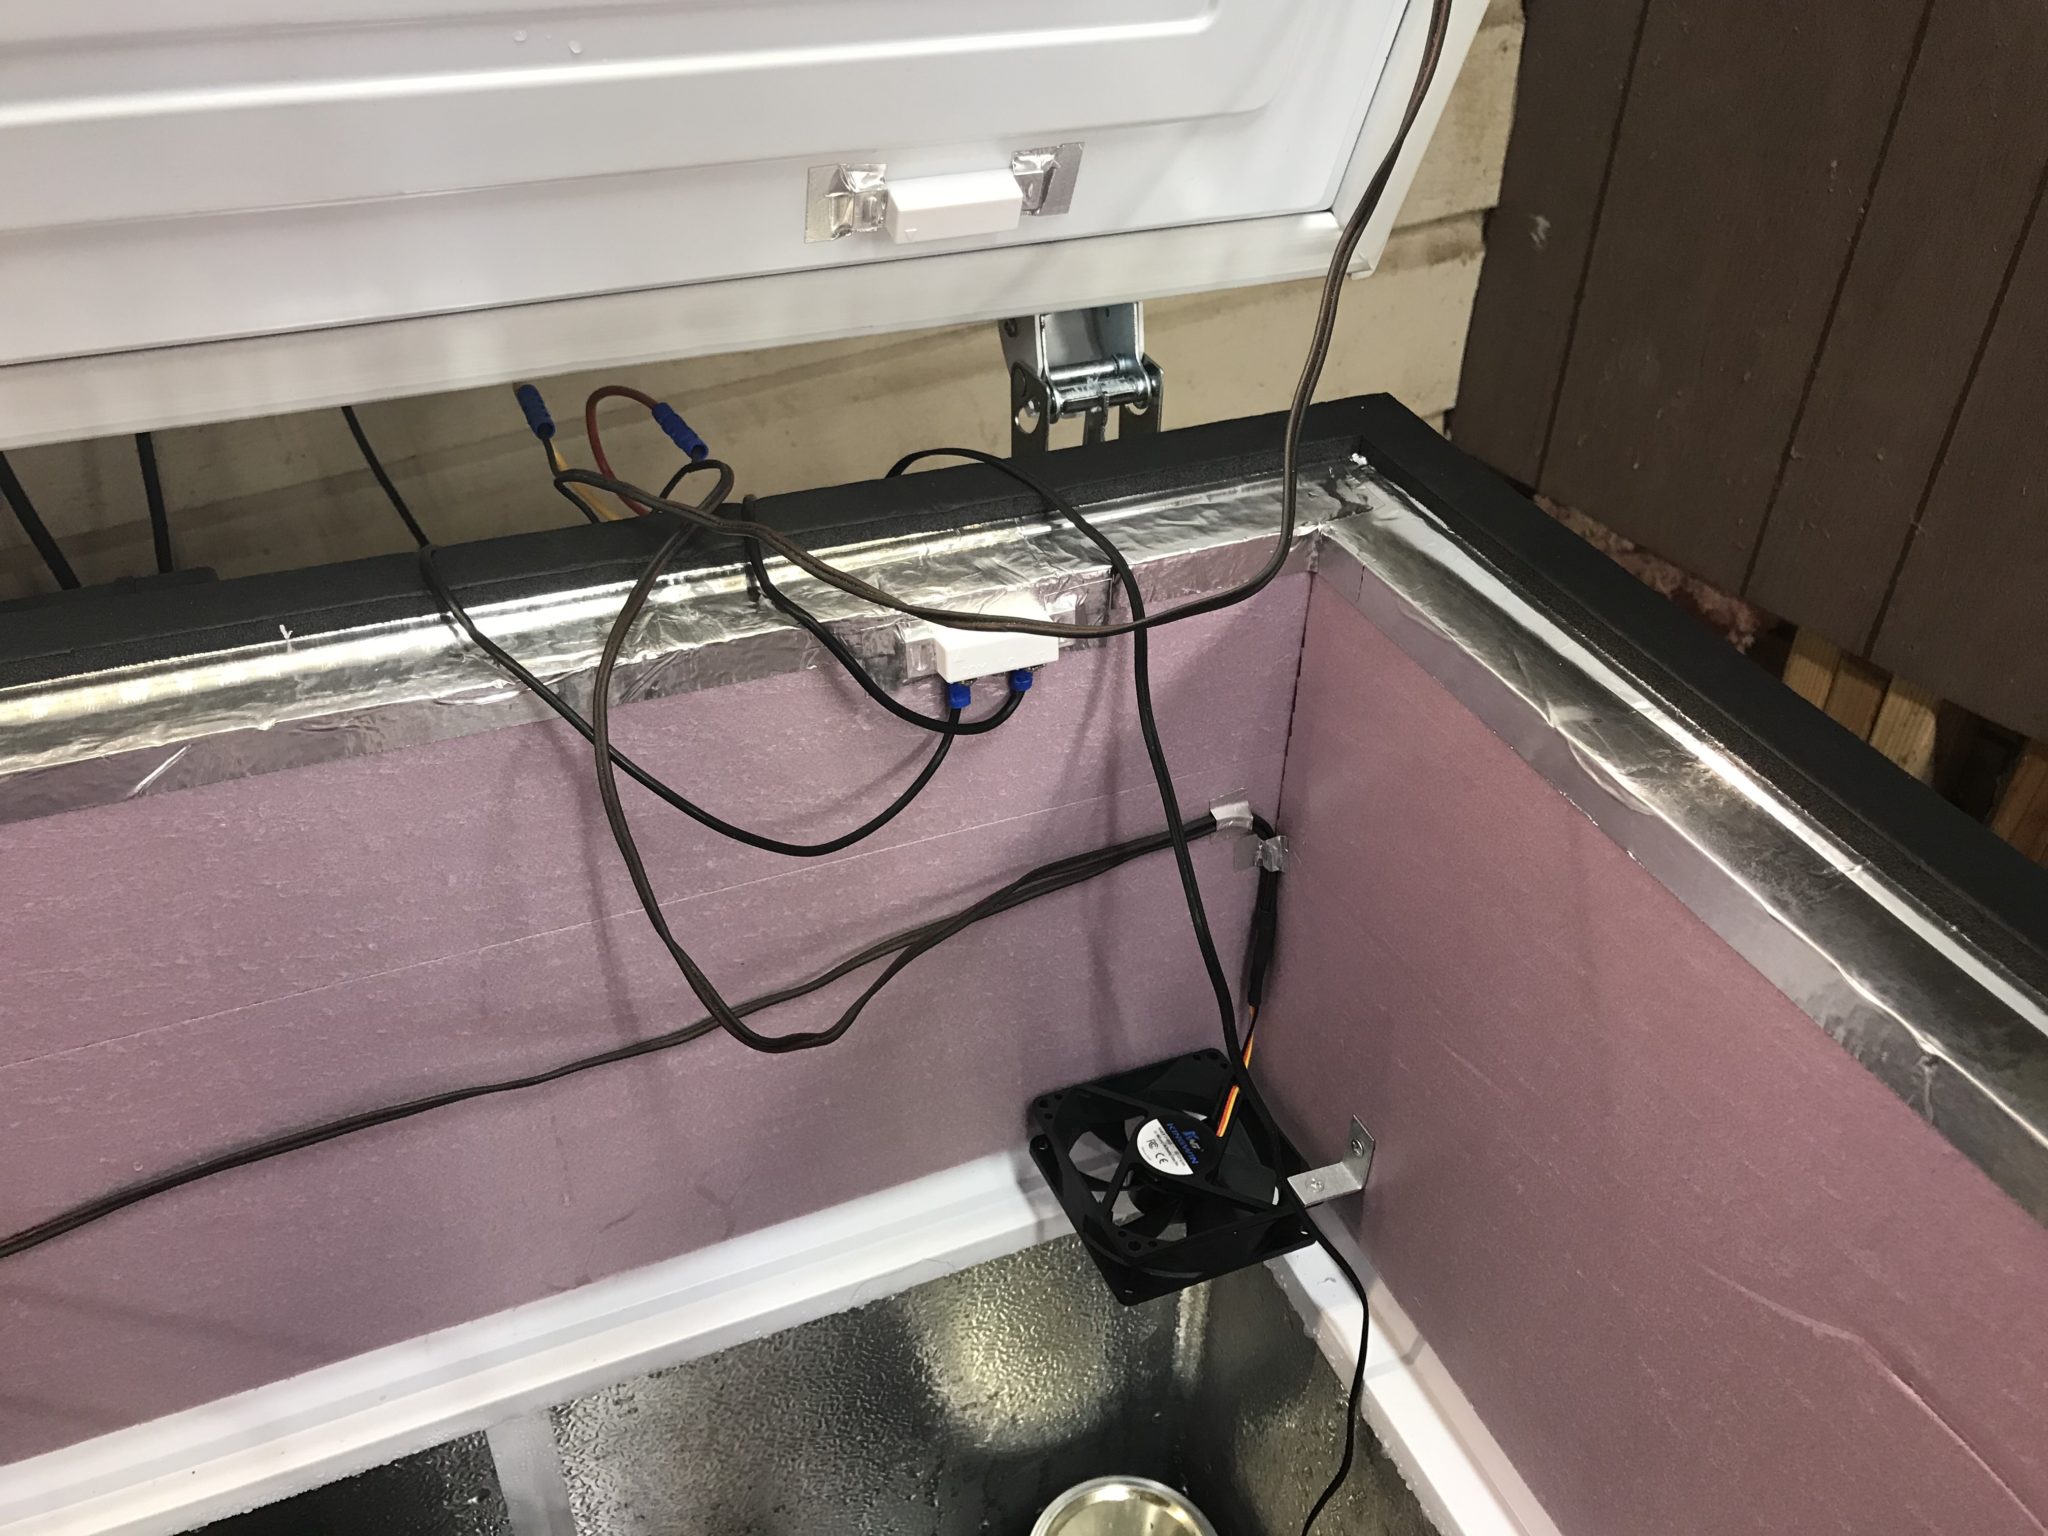
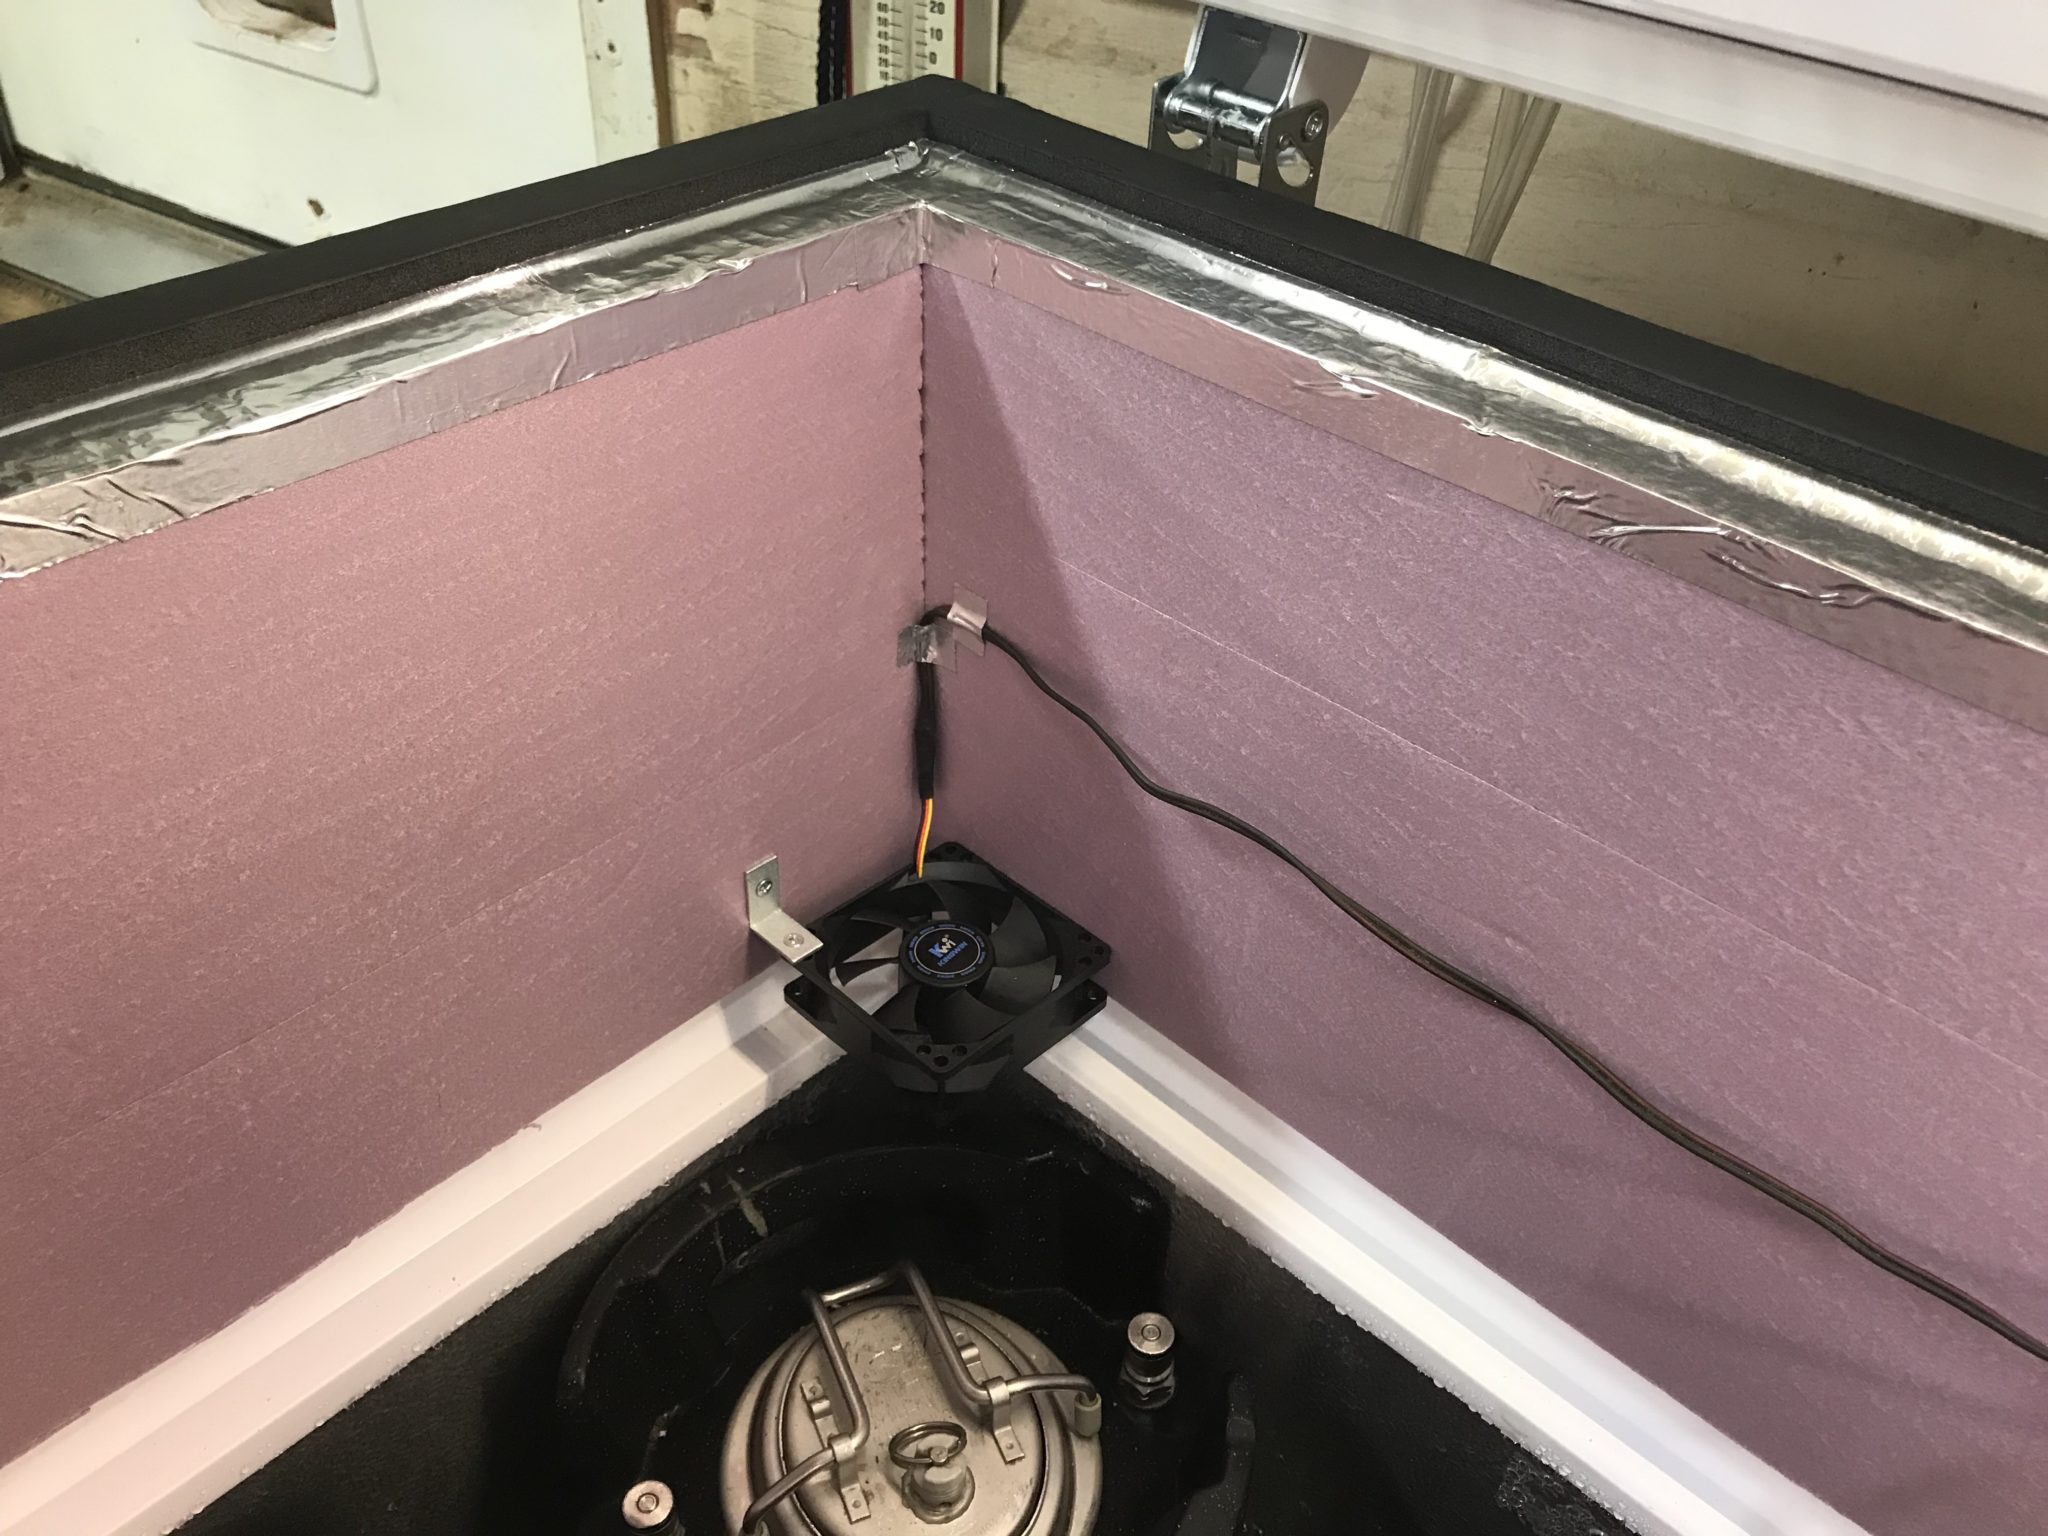
    Inside, I ran 1-inch rigid foam insulation around the inside of the collar. It’s temporarily secured with foil tape but will eventually be glued and caulked in place.

    There were a few specific features I wanted for the keezer: a light that comes on when I open the lid, fans to recirculate the cold air to avoid stratification, and, of course, temperature control.

    For the light, I installed a waterproof LED strip with adhesive backing to the inside of the lid. This is connected to a magnetic reed switch so it turns on when the lid is opened.

    For the fans, I used 2 old computer fans that I had on hand, and installed them in the corners of the freezer with angle brackets to draw cold air up from the bottom. These are connected to the same magnetic reed switch, but wired so they are on when the lid is closed, and turn off when it’s opened to avoid blowing all the cold air out of the freezer.

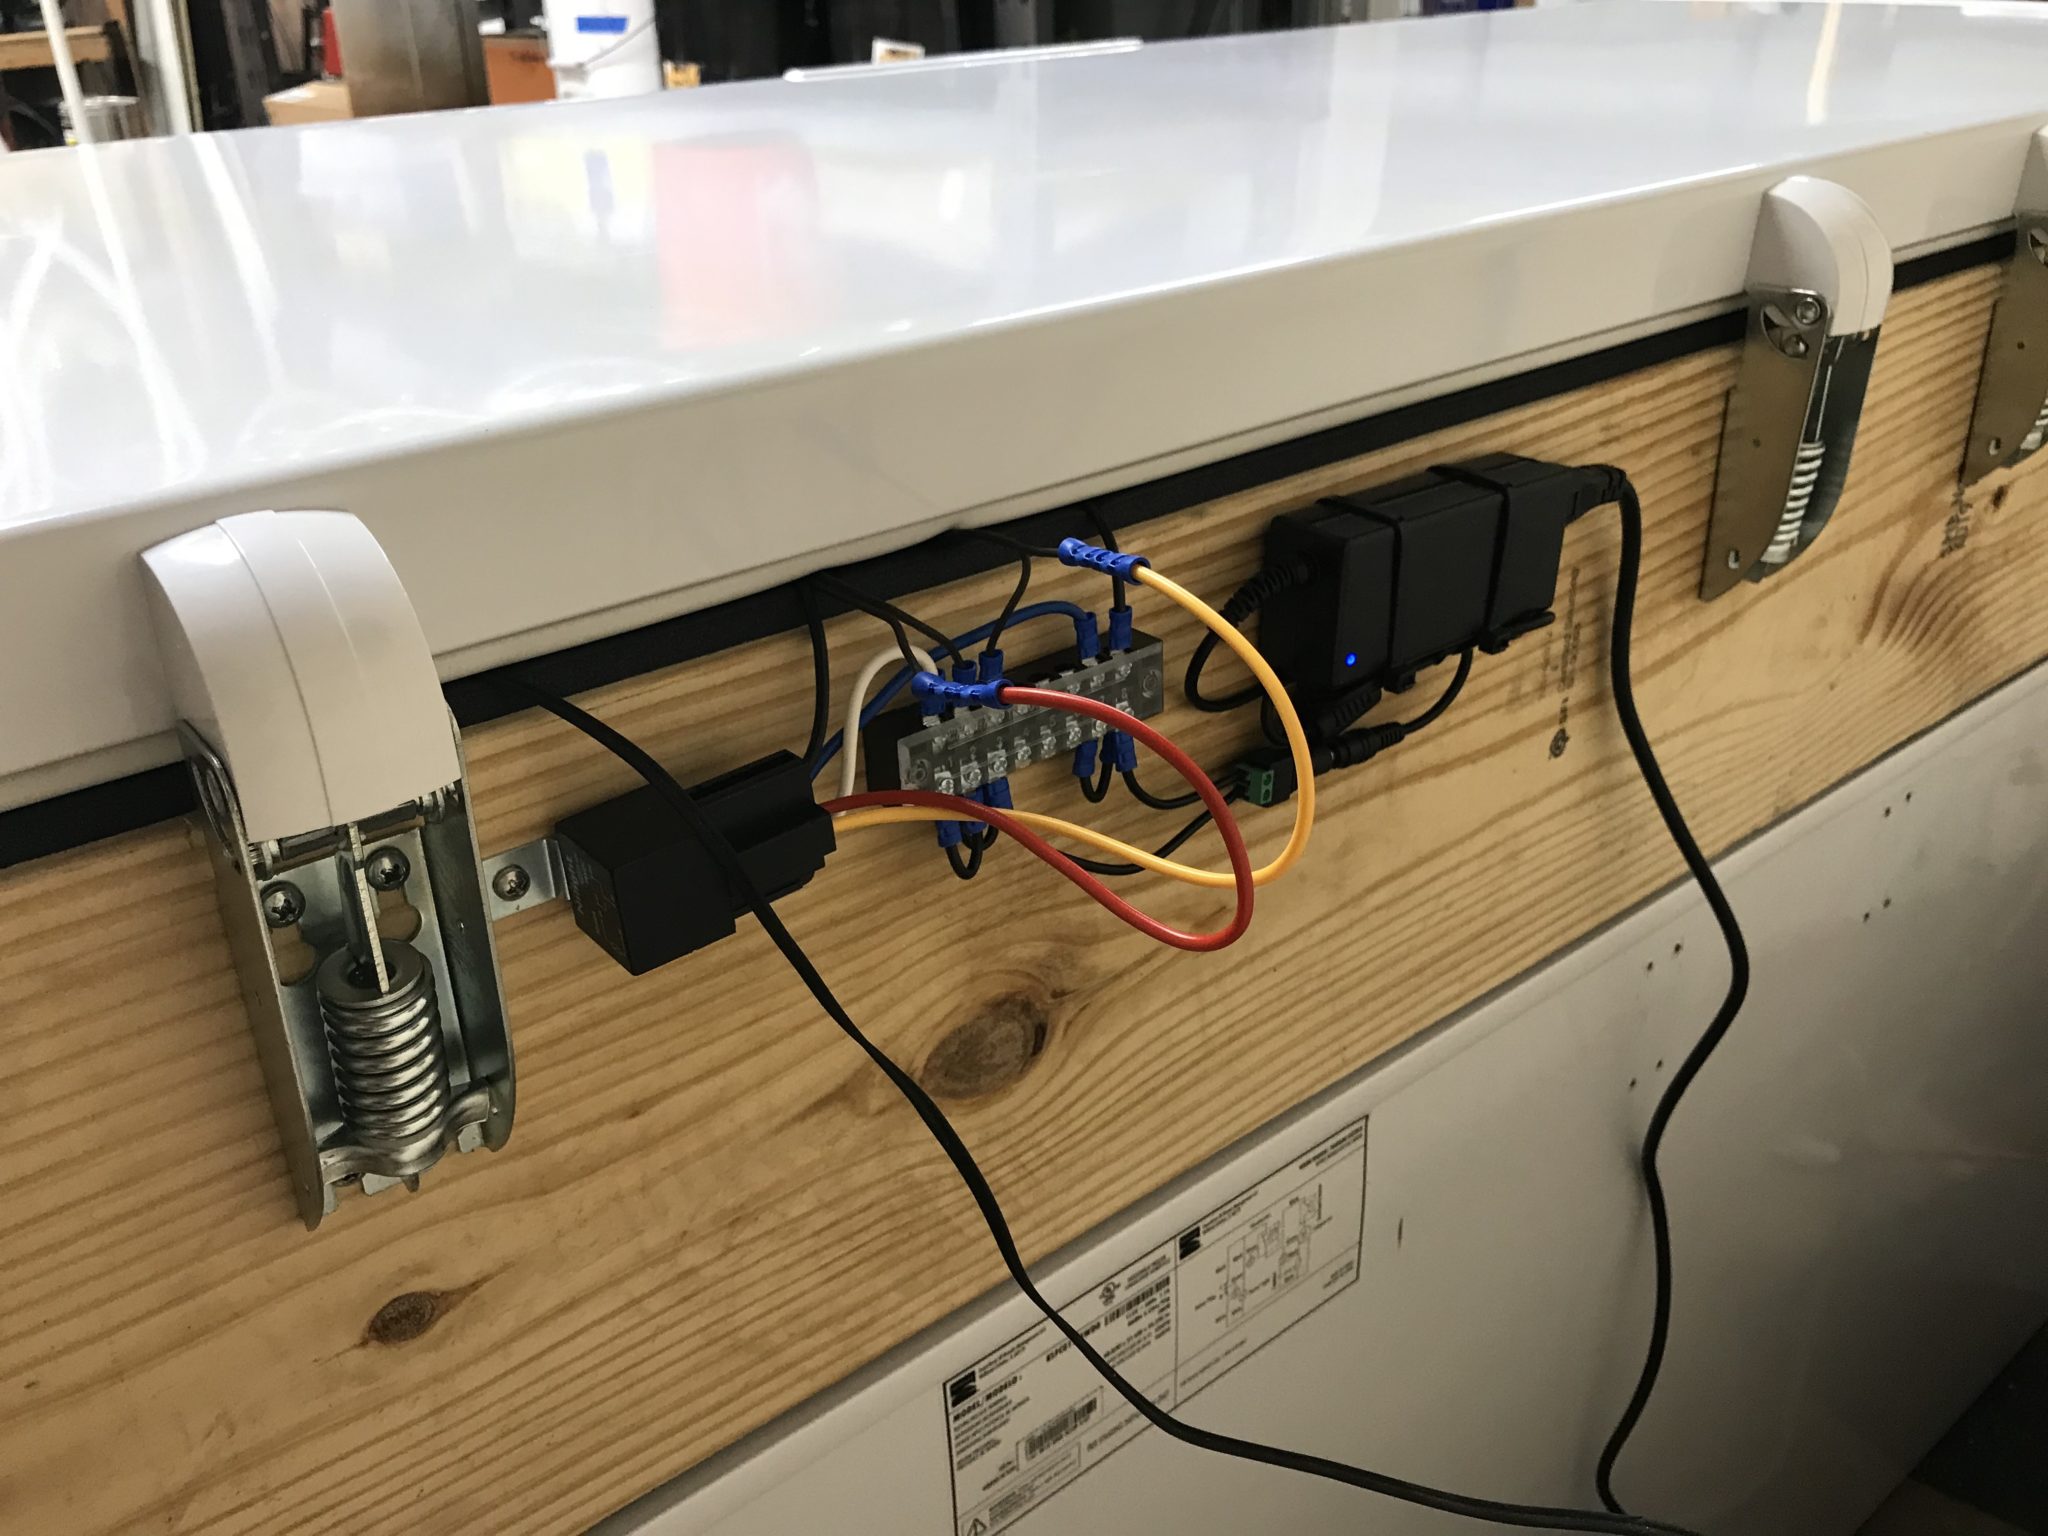
    On the back of the collar, I mounted the 12-volt power supply that powers both the LED strip and the computer fans, a terminal block that handles power distribution, and a relay that is wired into the magnetic reed switch for switching power to the LED strip and computer fans.

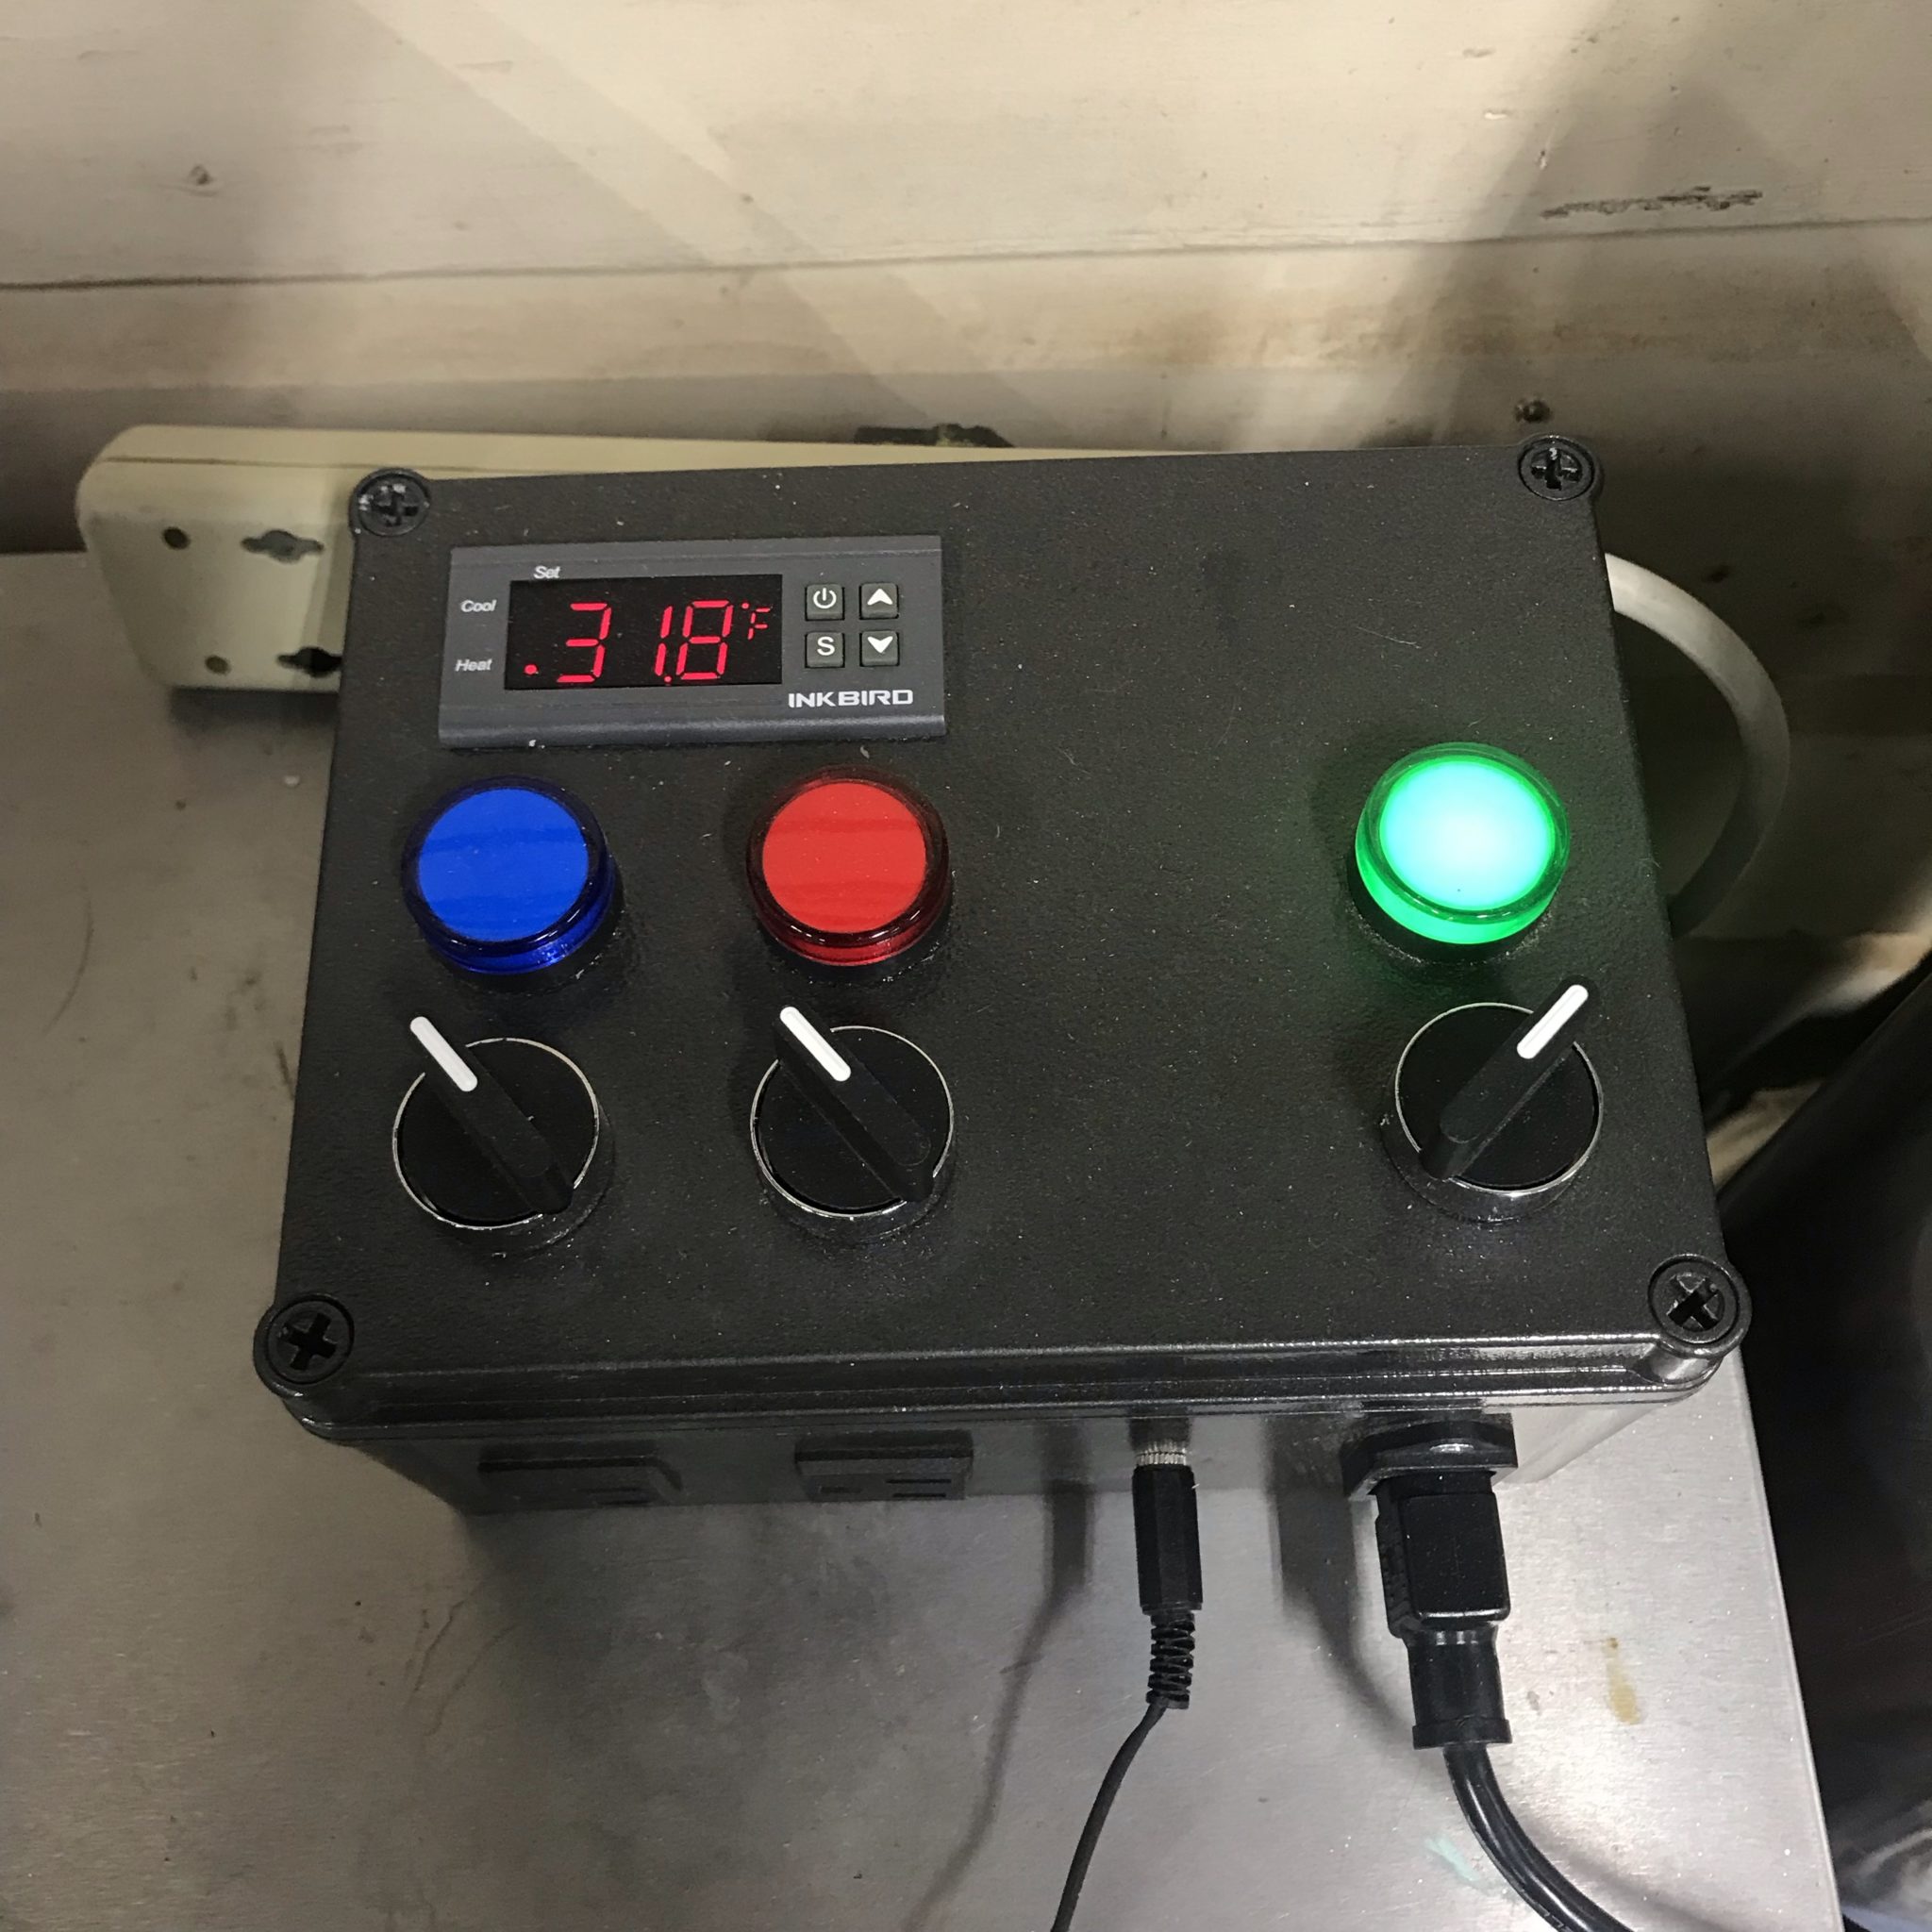
    For temperature control, I actually just reused the temperature controller that I had previously built. This was a super easy plug-and-play solution, as all I had to do was plug the freezer into the controller, plug the controller into the wall, and run the temperature probe into the freezer into a jar of Star San.

    But this still isn’t a proper keezer without taps! Stay tuned for part 2 to see how I plumbed all the beer lines.

  • Brewery Build, Part 1: Framing & Utilities

    Brewery Build, Part 1: Framing & Utilities

    Last year, we began an extensive remodel on our house. I’d been brewing in the garage, but the remodel called for building out the garage, and then adding on a new garage. With our architect at my command, I prescribed a dedicated brewery & taproom space at the back of the new garage, and thus began the (rather long) process of my latest brewery build.

    Unfortunately, building out the existing garage meant packing up my brewing equipment, so I haven’t made a batch of beer in quite some time as this project has crawled along.

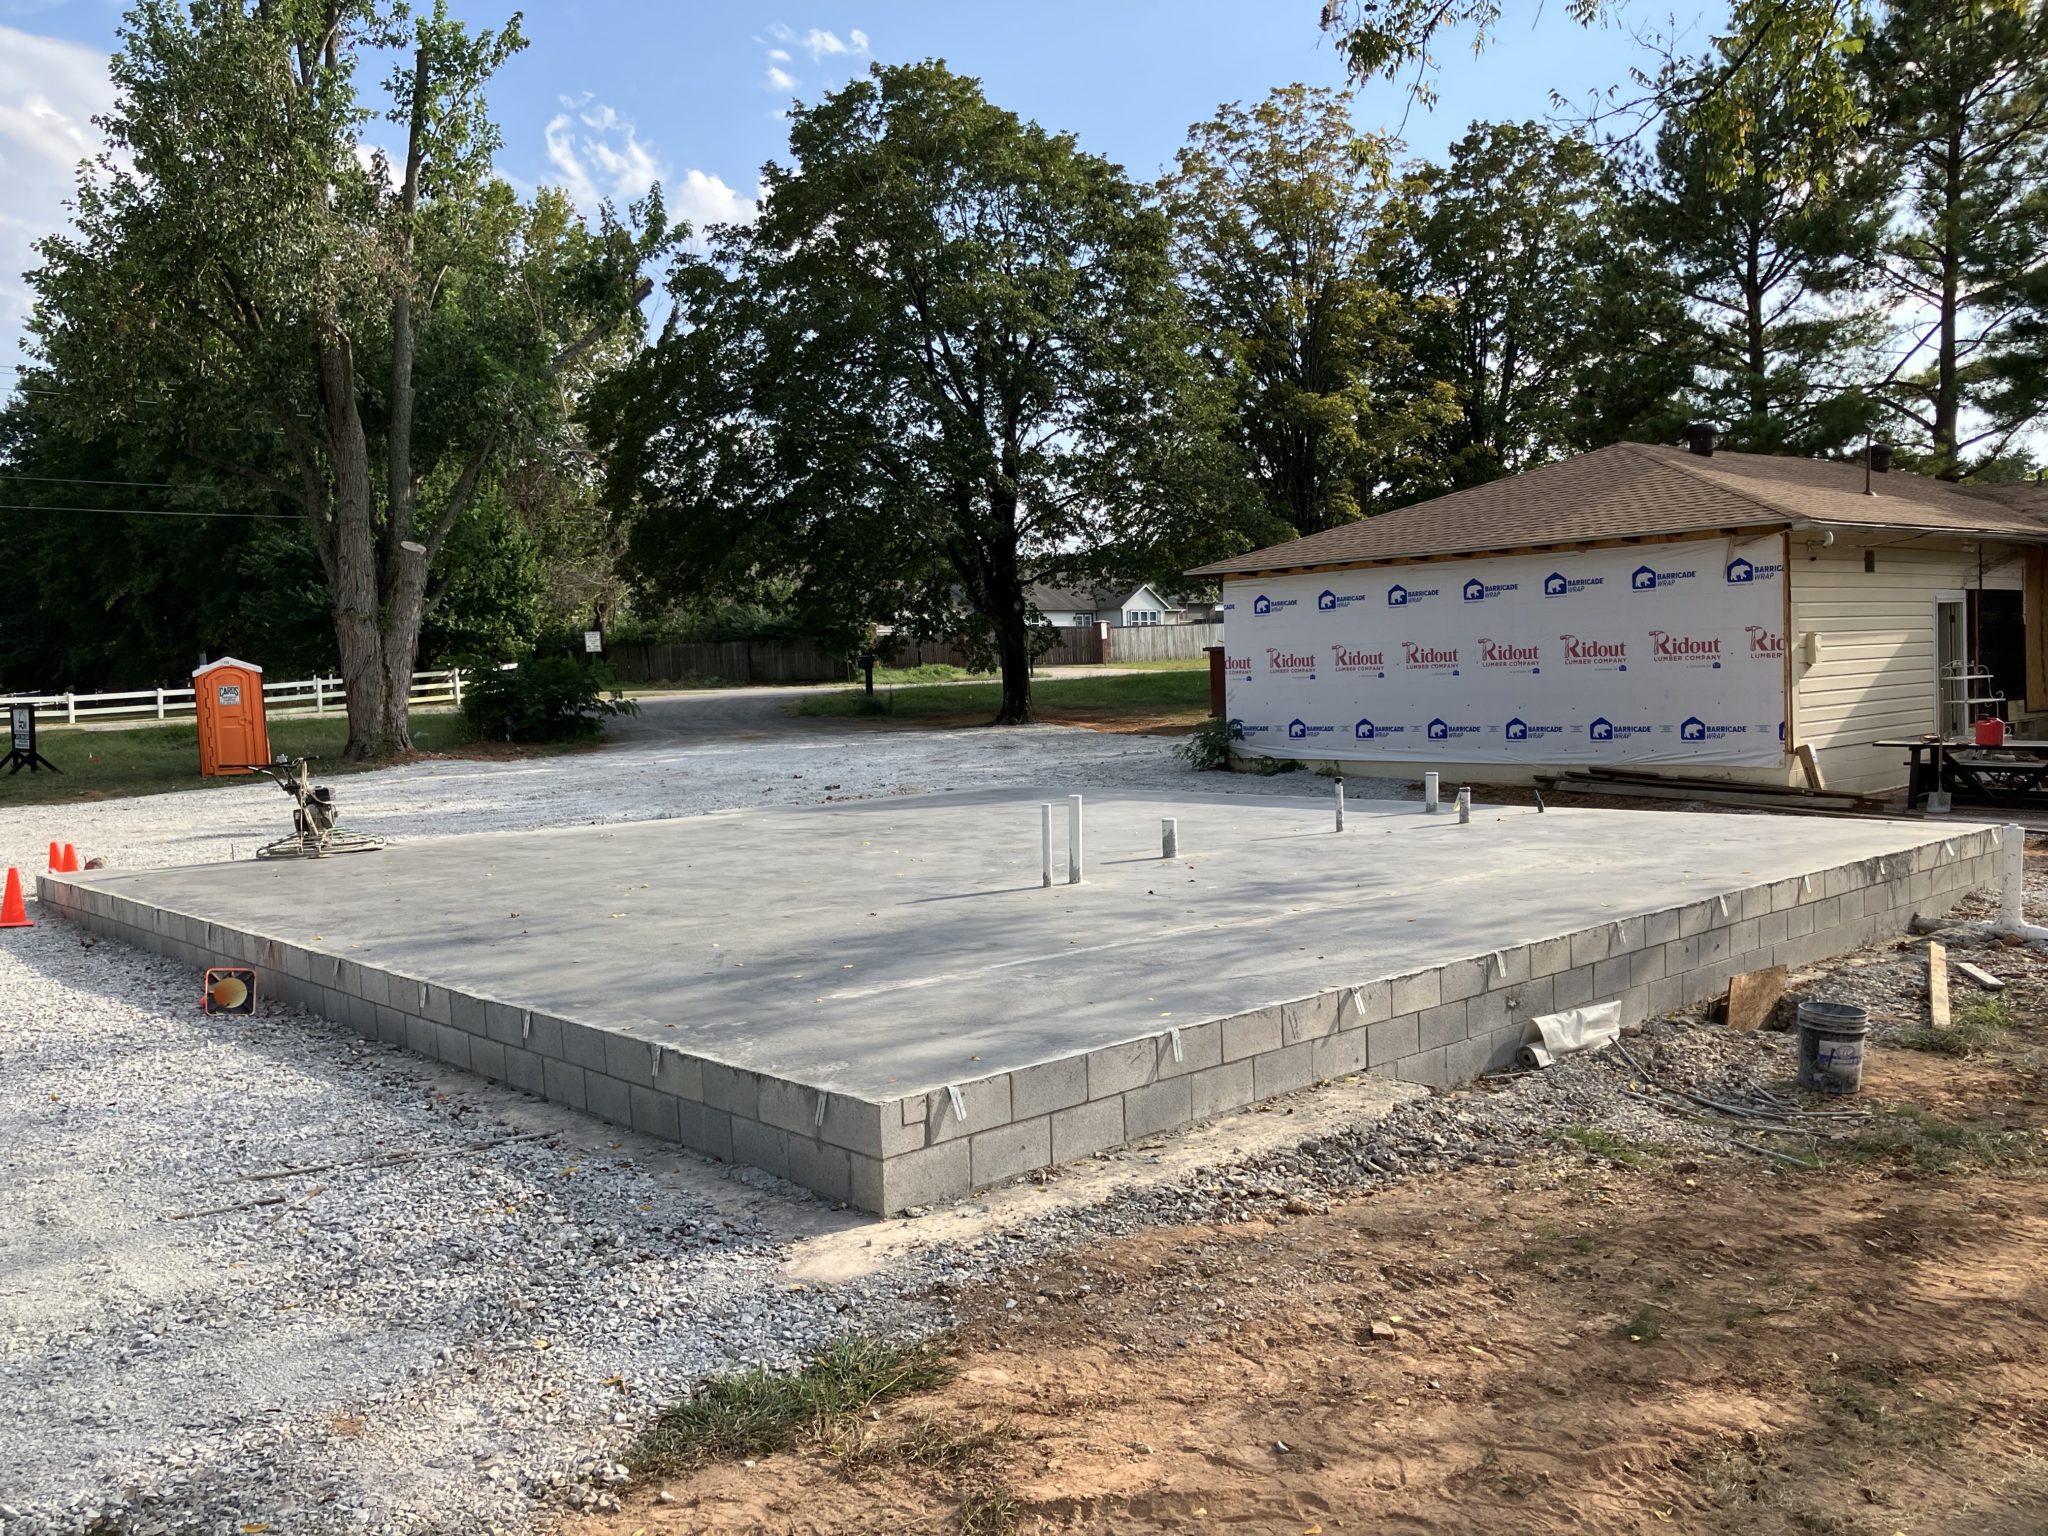
    New garage slab poured with drain lines roughed in. If you squint, you can see the trench drain.

    The brewery has a trench drain, which is probably the feature I’m most excited about. Being able to rinse things down and not having to worry about mopping up will make things so much easier on brew day.

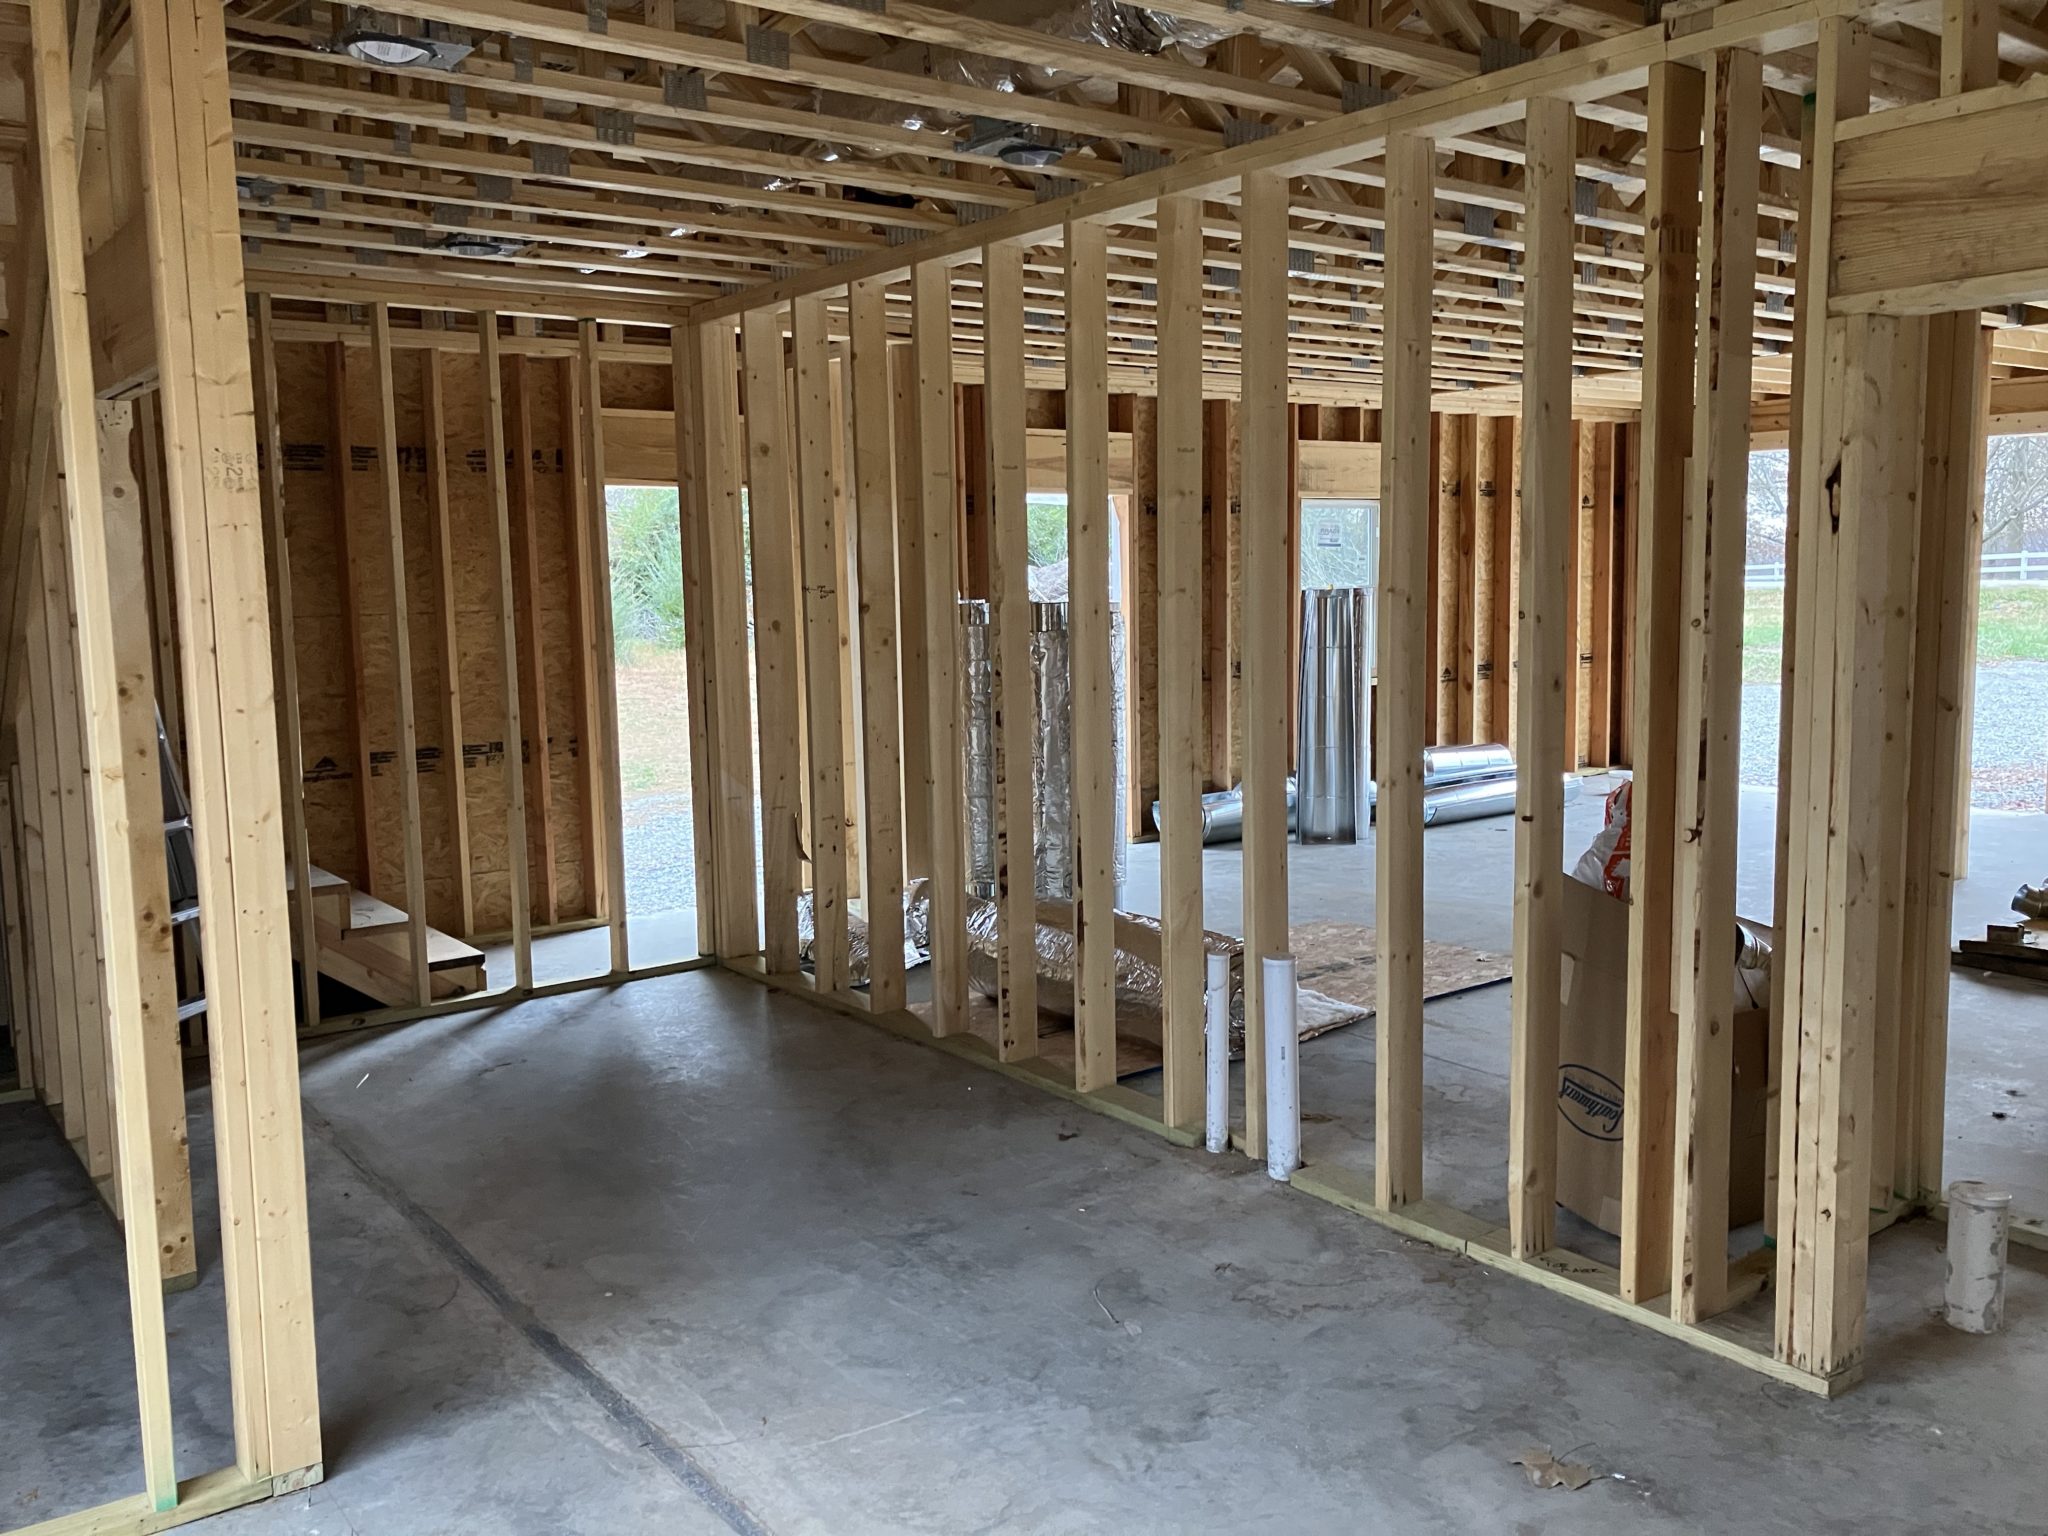
    The brewery framed out. The trench drain can be seen in the bottom left.

    It’s not a huge space—less than 300 square feet—but that includes a storage closet and a restroom. Plenty of room to set up my brewing system, glycol chiller, keezer, and utility sink, plus space for a table and seating.

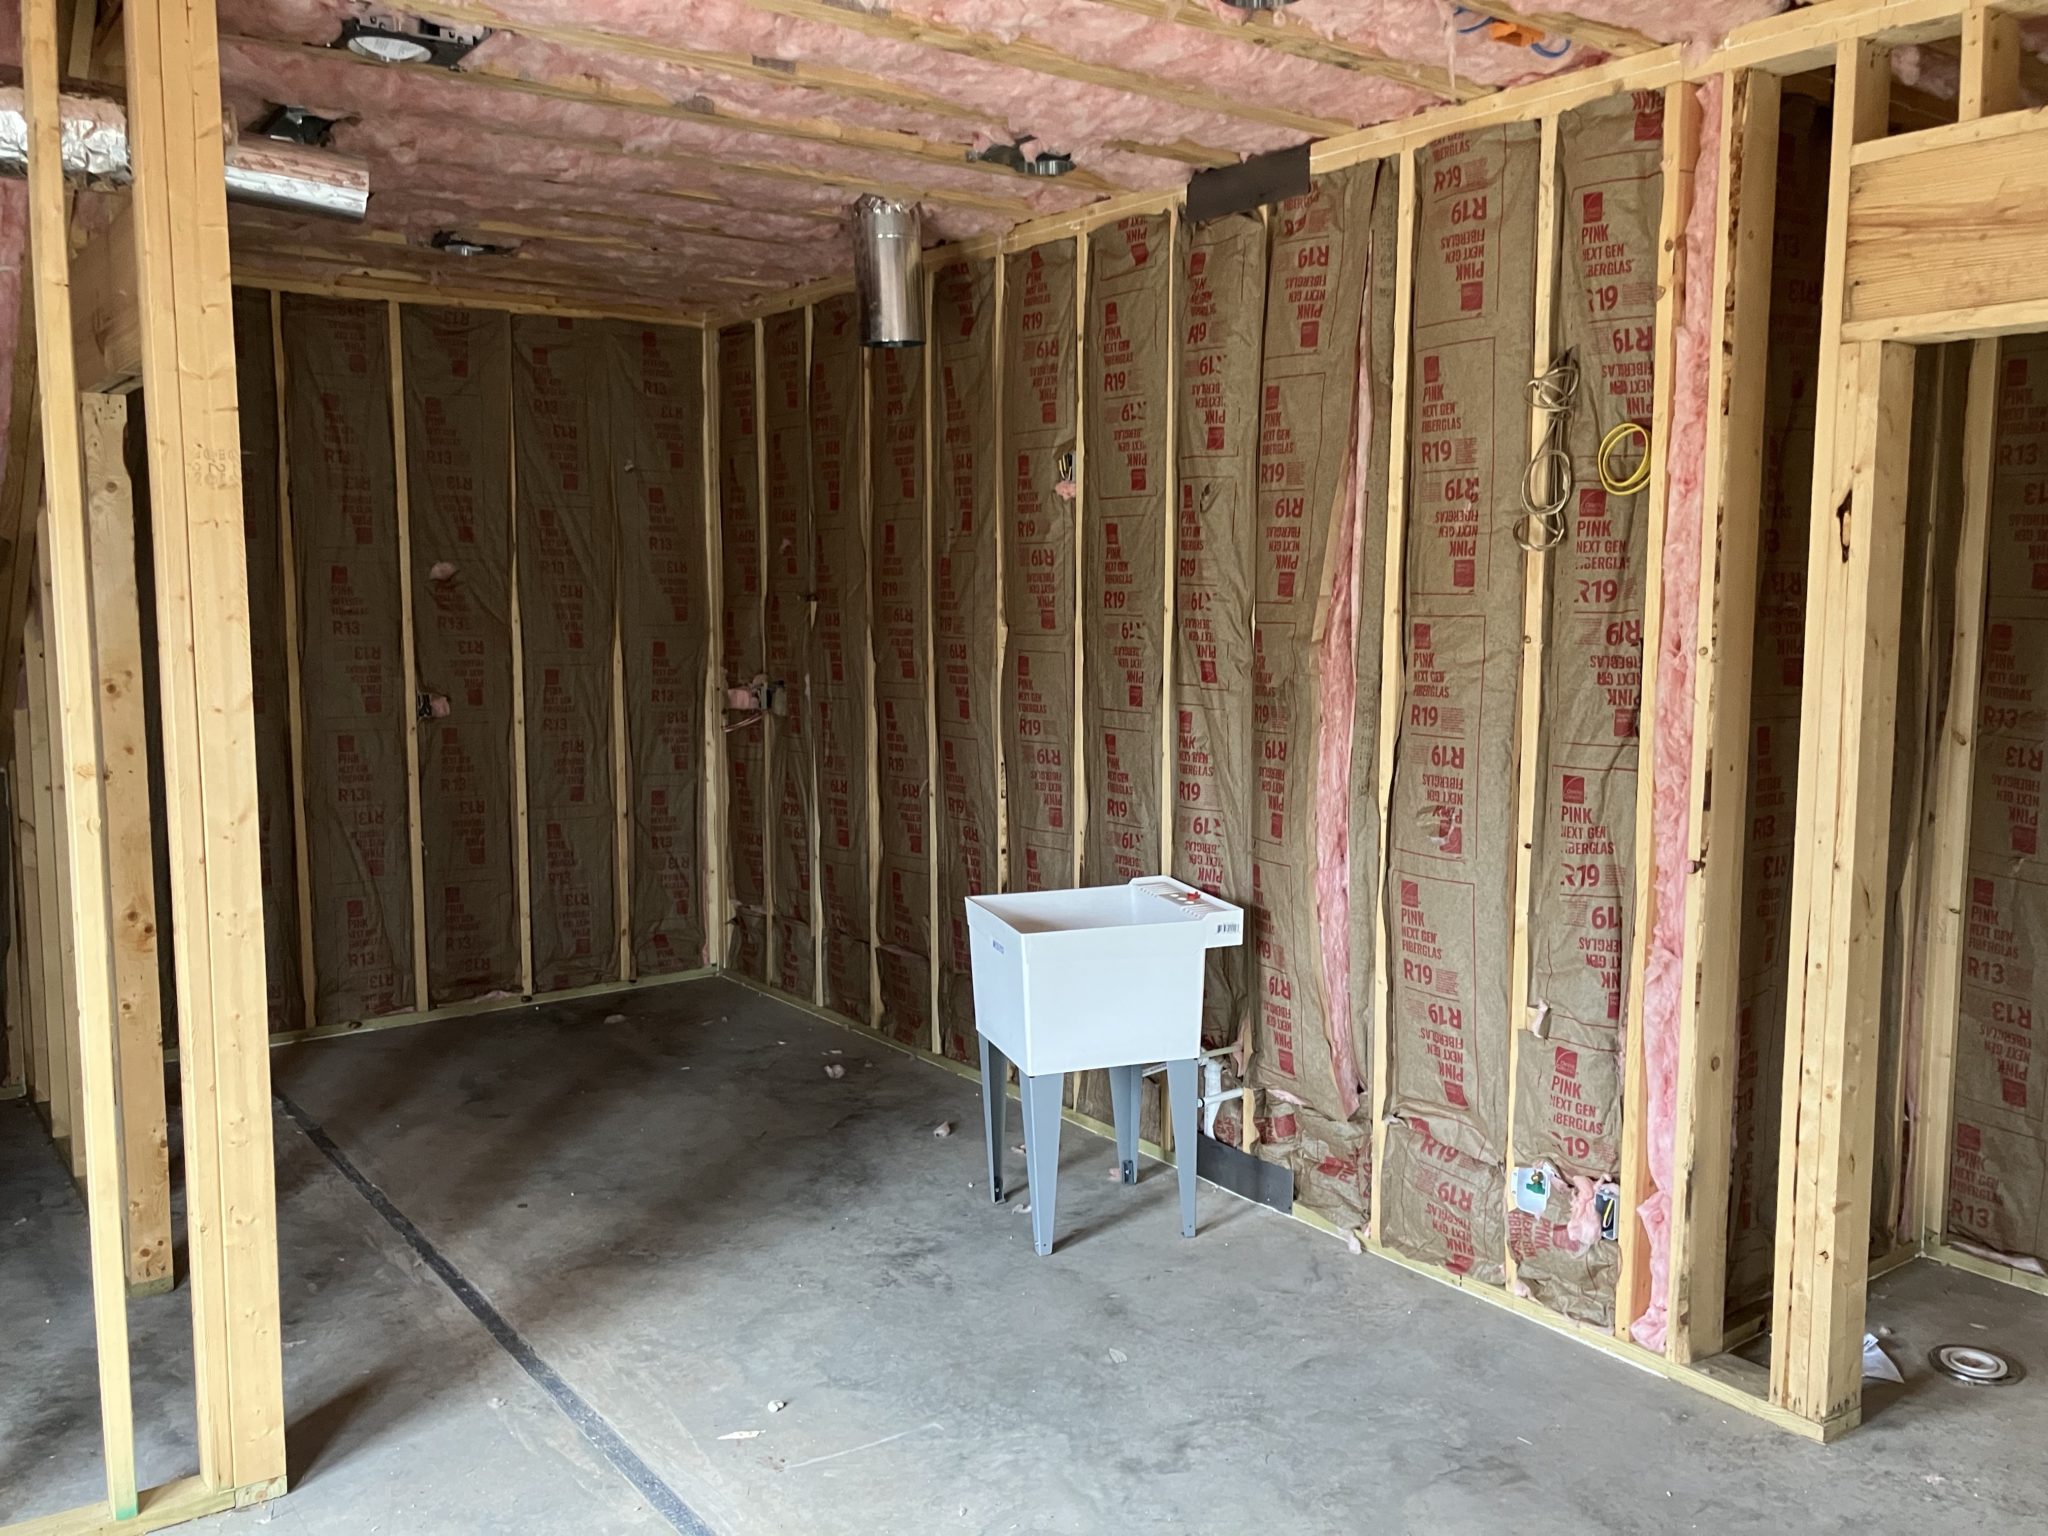
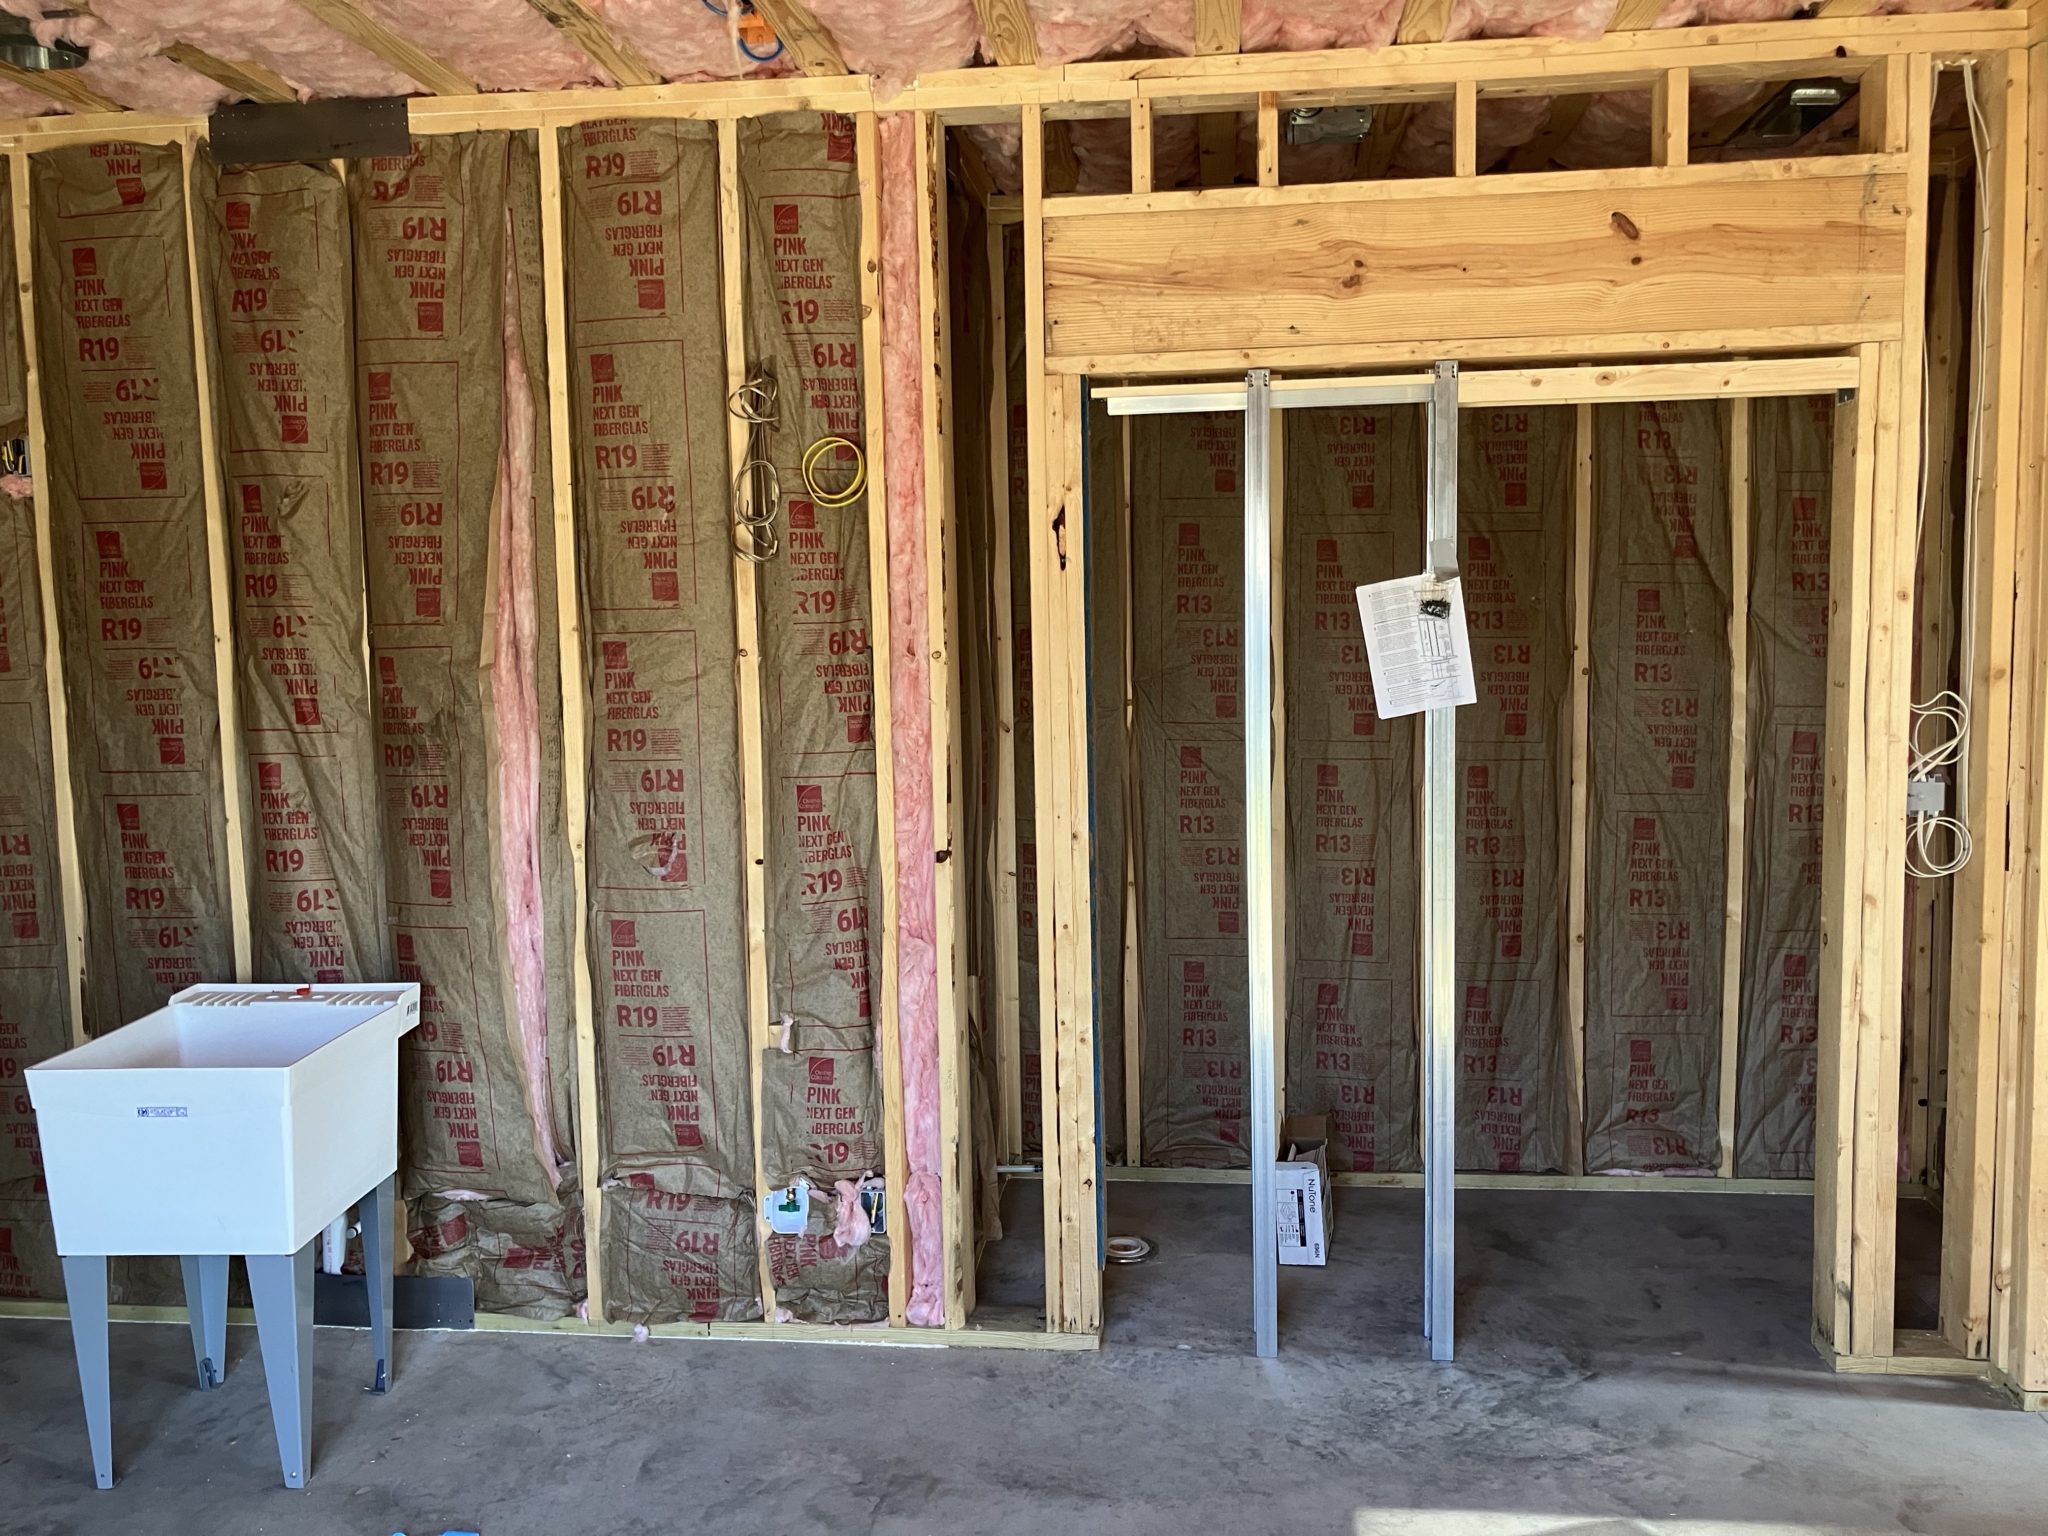
    The brewery after HVAC, plumbing, and electrical rough-in, plus insulation.

    I had ducting installed for the exhaust fan: I sized up from the last fan I had and went with 8″ ducting for a 739 CFM fan. This gives me plenty of room to upgrade if I want to go with a bigger system. There’s also a fresh air intake with a damper to avoid any airflow issues with such a big fan.

    The pocket door to the brewery restroom.

    I wired a 50 amp circuit for the control panel, even though my system is built for 30 amps, in case I want to either size up to bigger batches or be able to run back-to-back batches. It’s so much easier to future-proof at this stage than to try to retrofit later.

    I also put in plenty of lighting, ran a few Ethernet drops, and pre-wired for speakers both inside and outside. I spent a lot of time thinking about how I might want to use this space and tried to plan for a lot of potential future uses.

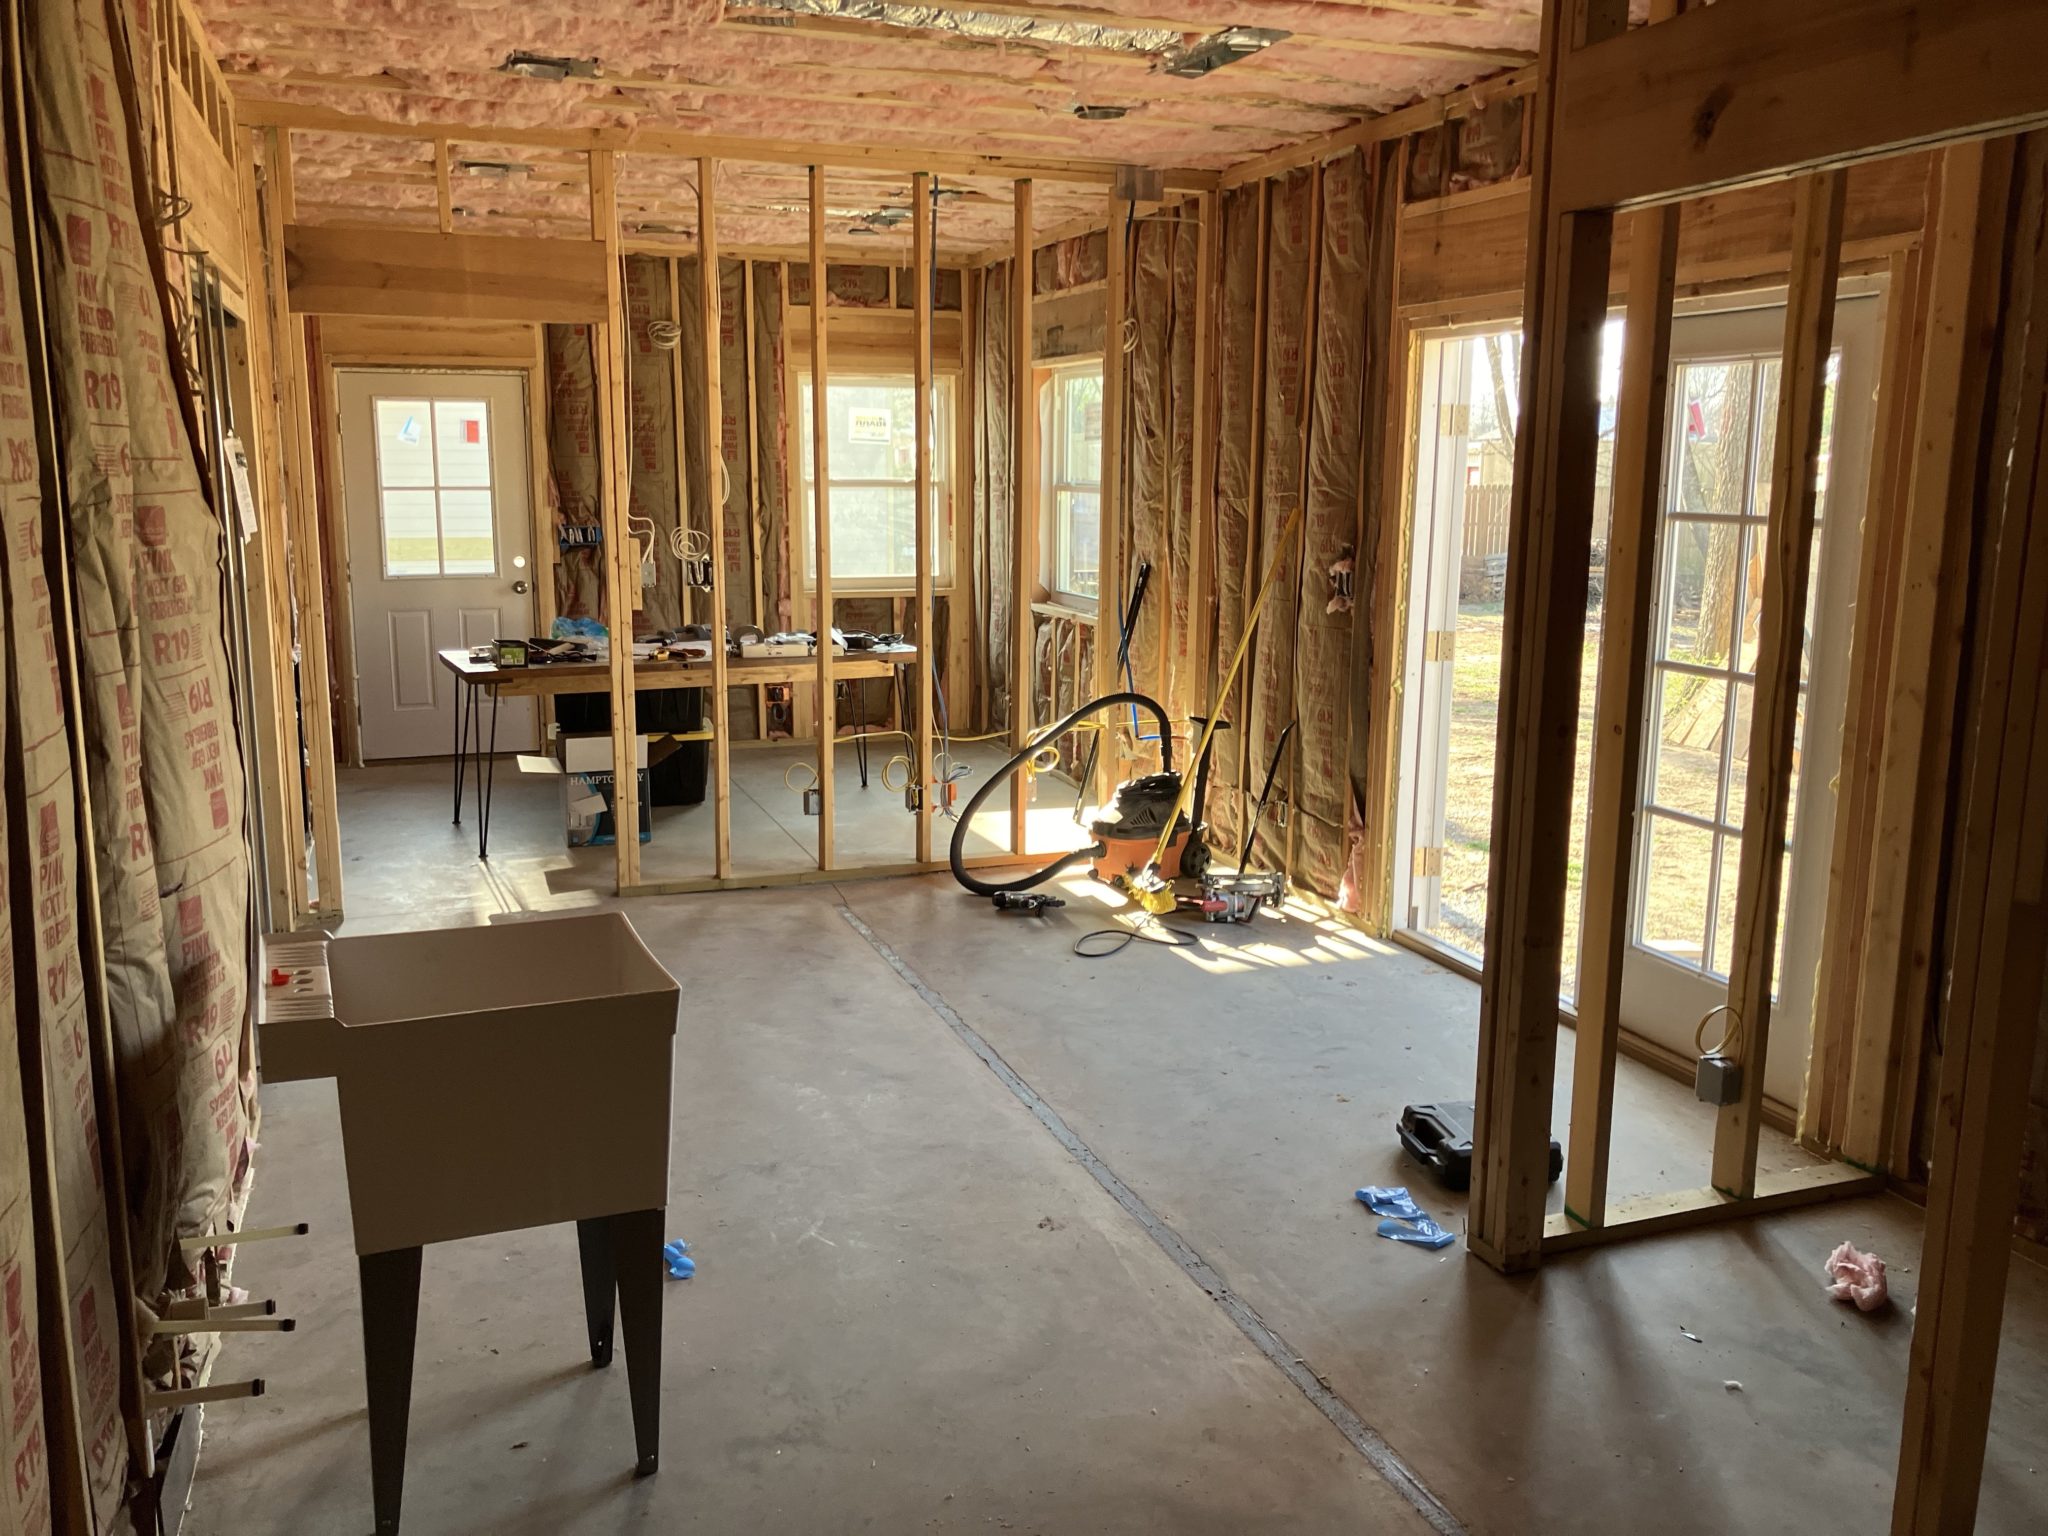
    The brewery from another angle. My new home office is in the background—easy to keep an eye on my beers!

    The brewery has double doors leading into the backyard, where there will eventually be a patio, extending the space for beer enjoyment during the warmer months.

    It’s been much too long since I’ve last brewed (almost a year at this point!), but I’m very excited to have a dedicated area for brewing. Stay tuned for more updates as this project continues!

  • Restoring a Vintage Coleman 413G Camp Stove

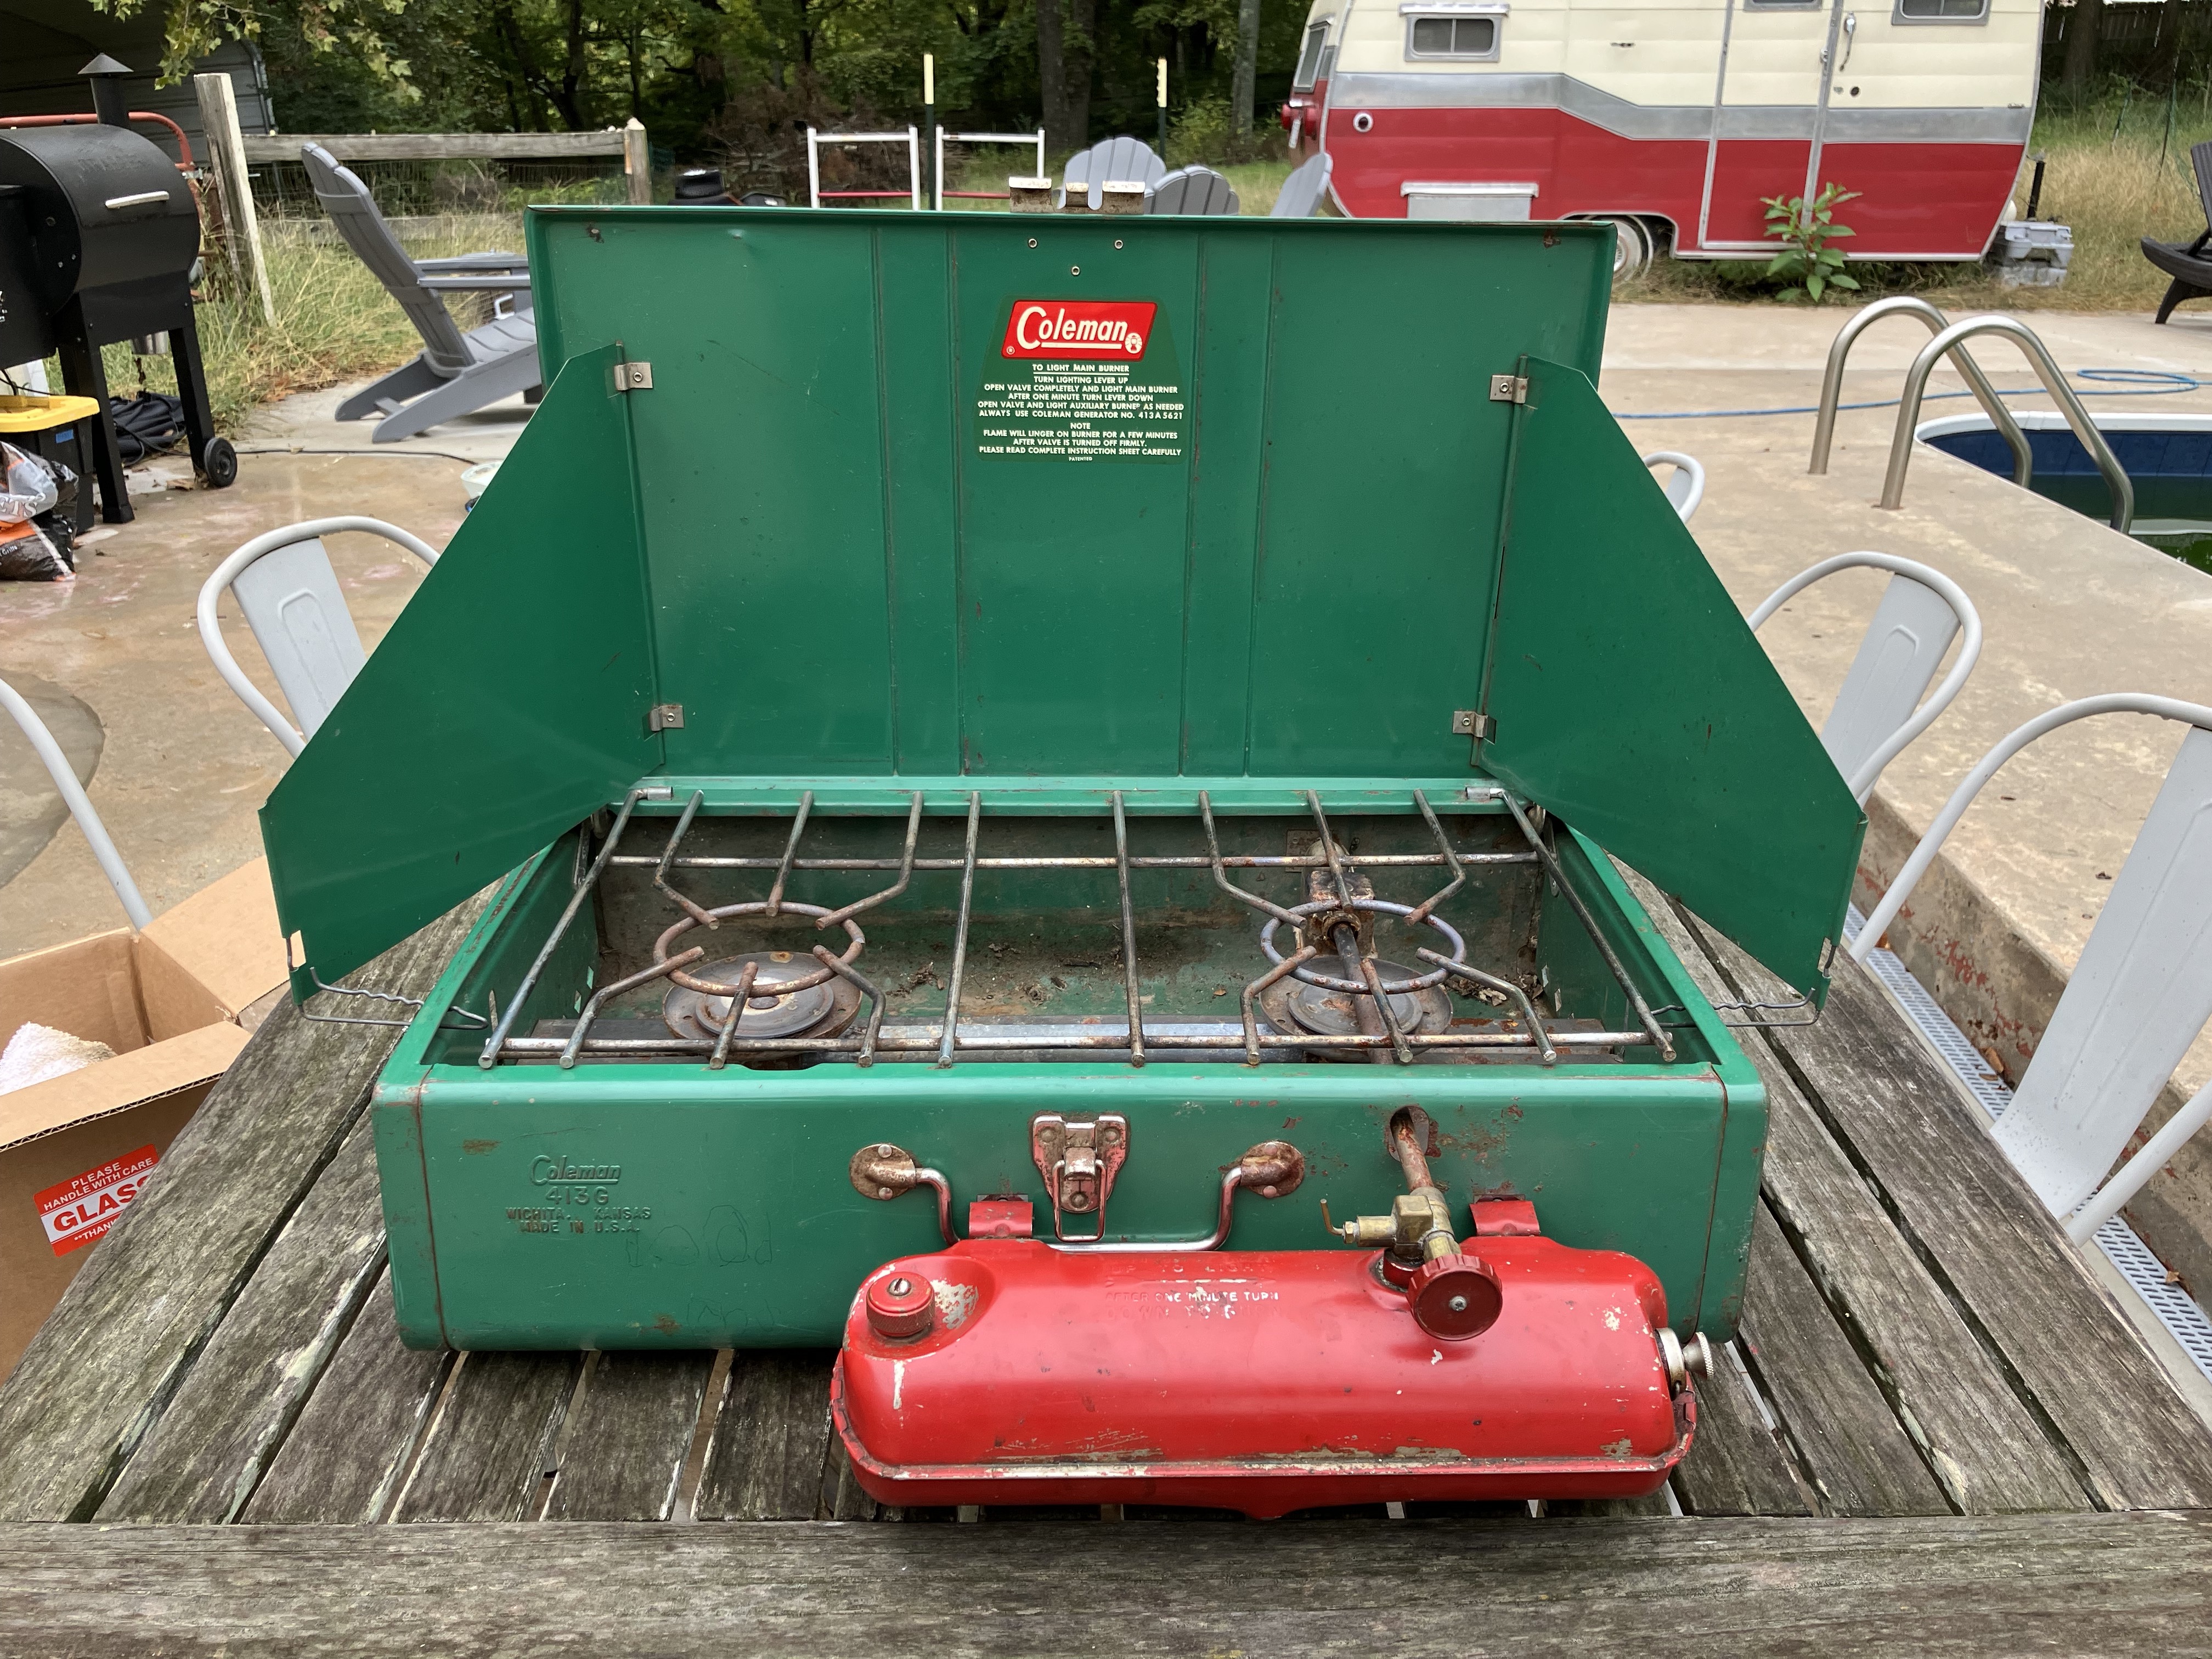
    The Coleman 413G camp stove as it was when purchased.
    The Coleman 413G camp stove as it was when purchased.

    In addition to my Coleman 220J pressure lantern, I also picked up a vintage Coleman 413G camp stove at the same flea market for $25. This is the larger of the two classic Coleman pressure camp stoves—I’d like to get the smaller 425 at some point as well.

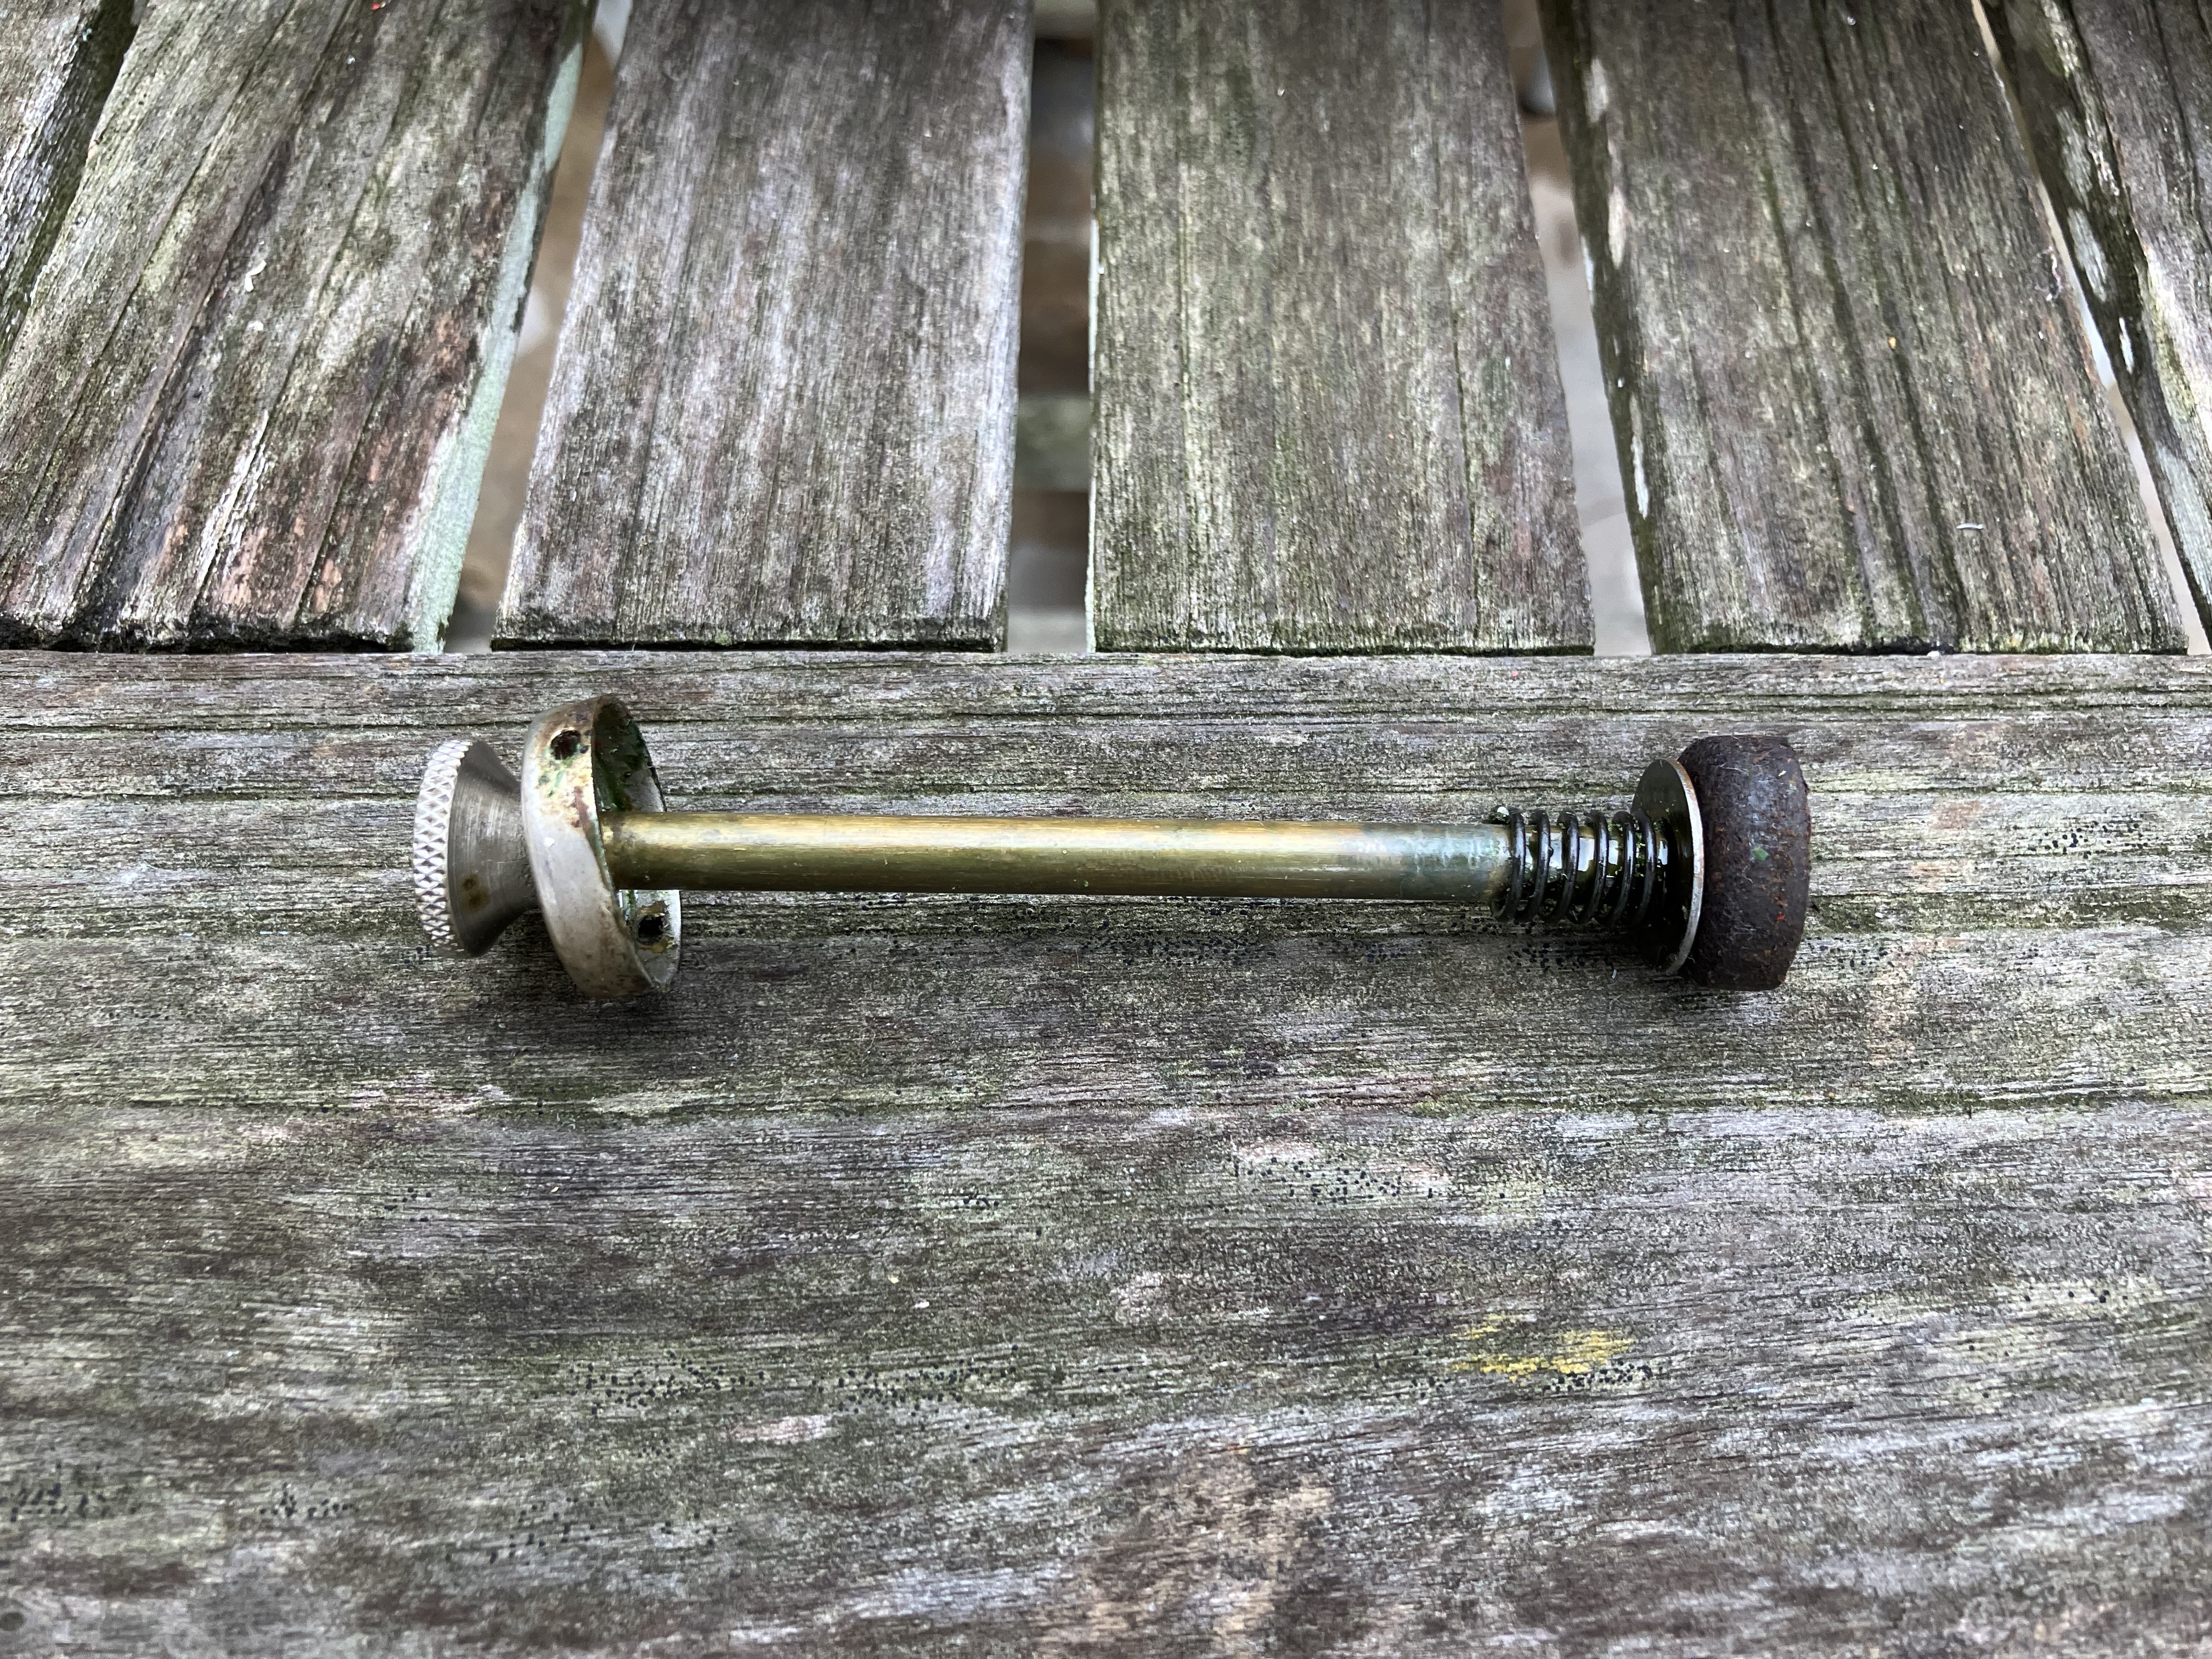
    The plunger with the original leather pump cup.
    The plunger with the original leather pump cup.

    The stove was in pretty decent shape to start with. As with the lantern, I immediately noticed that the pump wasn’t holding pressure and appeared to also have the rubber pump cup, so I ordered a replacement leather pump cup for it as well. However, it turned out that the stove actually already had a leather cup, it was just almost black with oil and age. So, I was able to clean and oil it and bring it back around to building pressure successfully, and now I have a spare on hand in case it fails down the road.

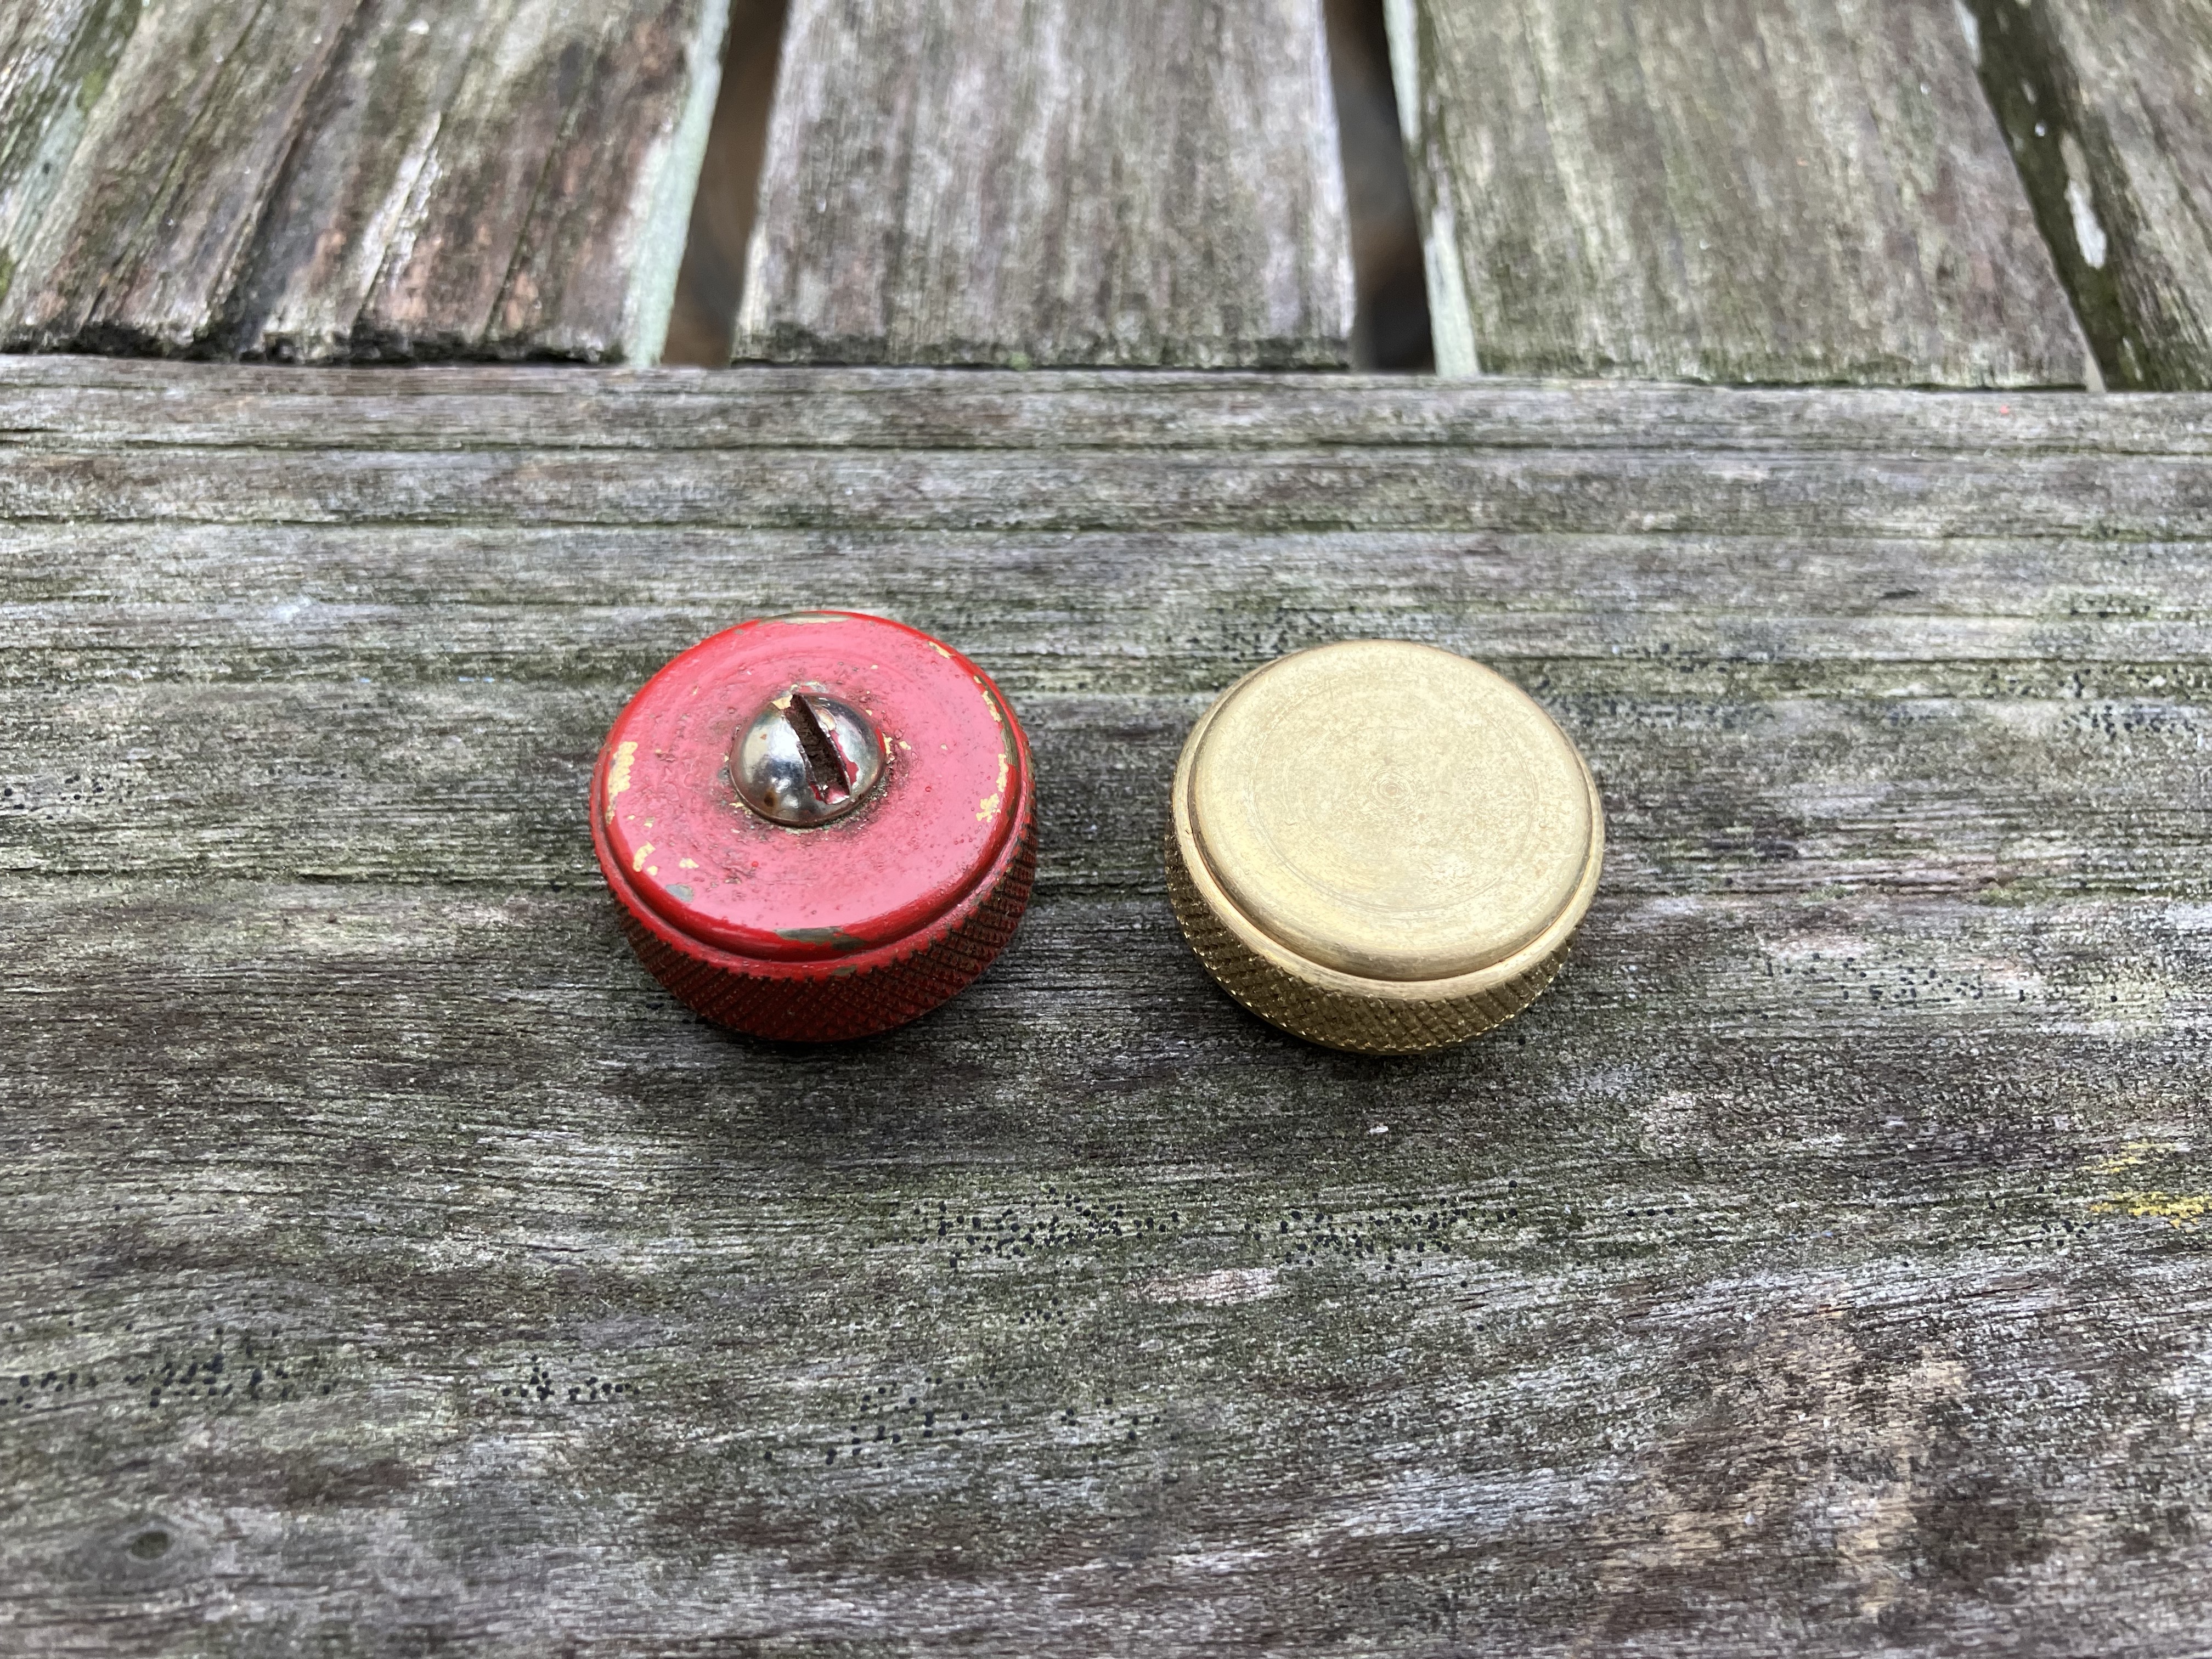
    The old 3-piece filler cap alongside the new 1-piece cap.
    The old 3-piece filler cap alongside the new 1-piece cap.

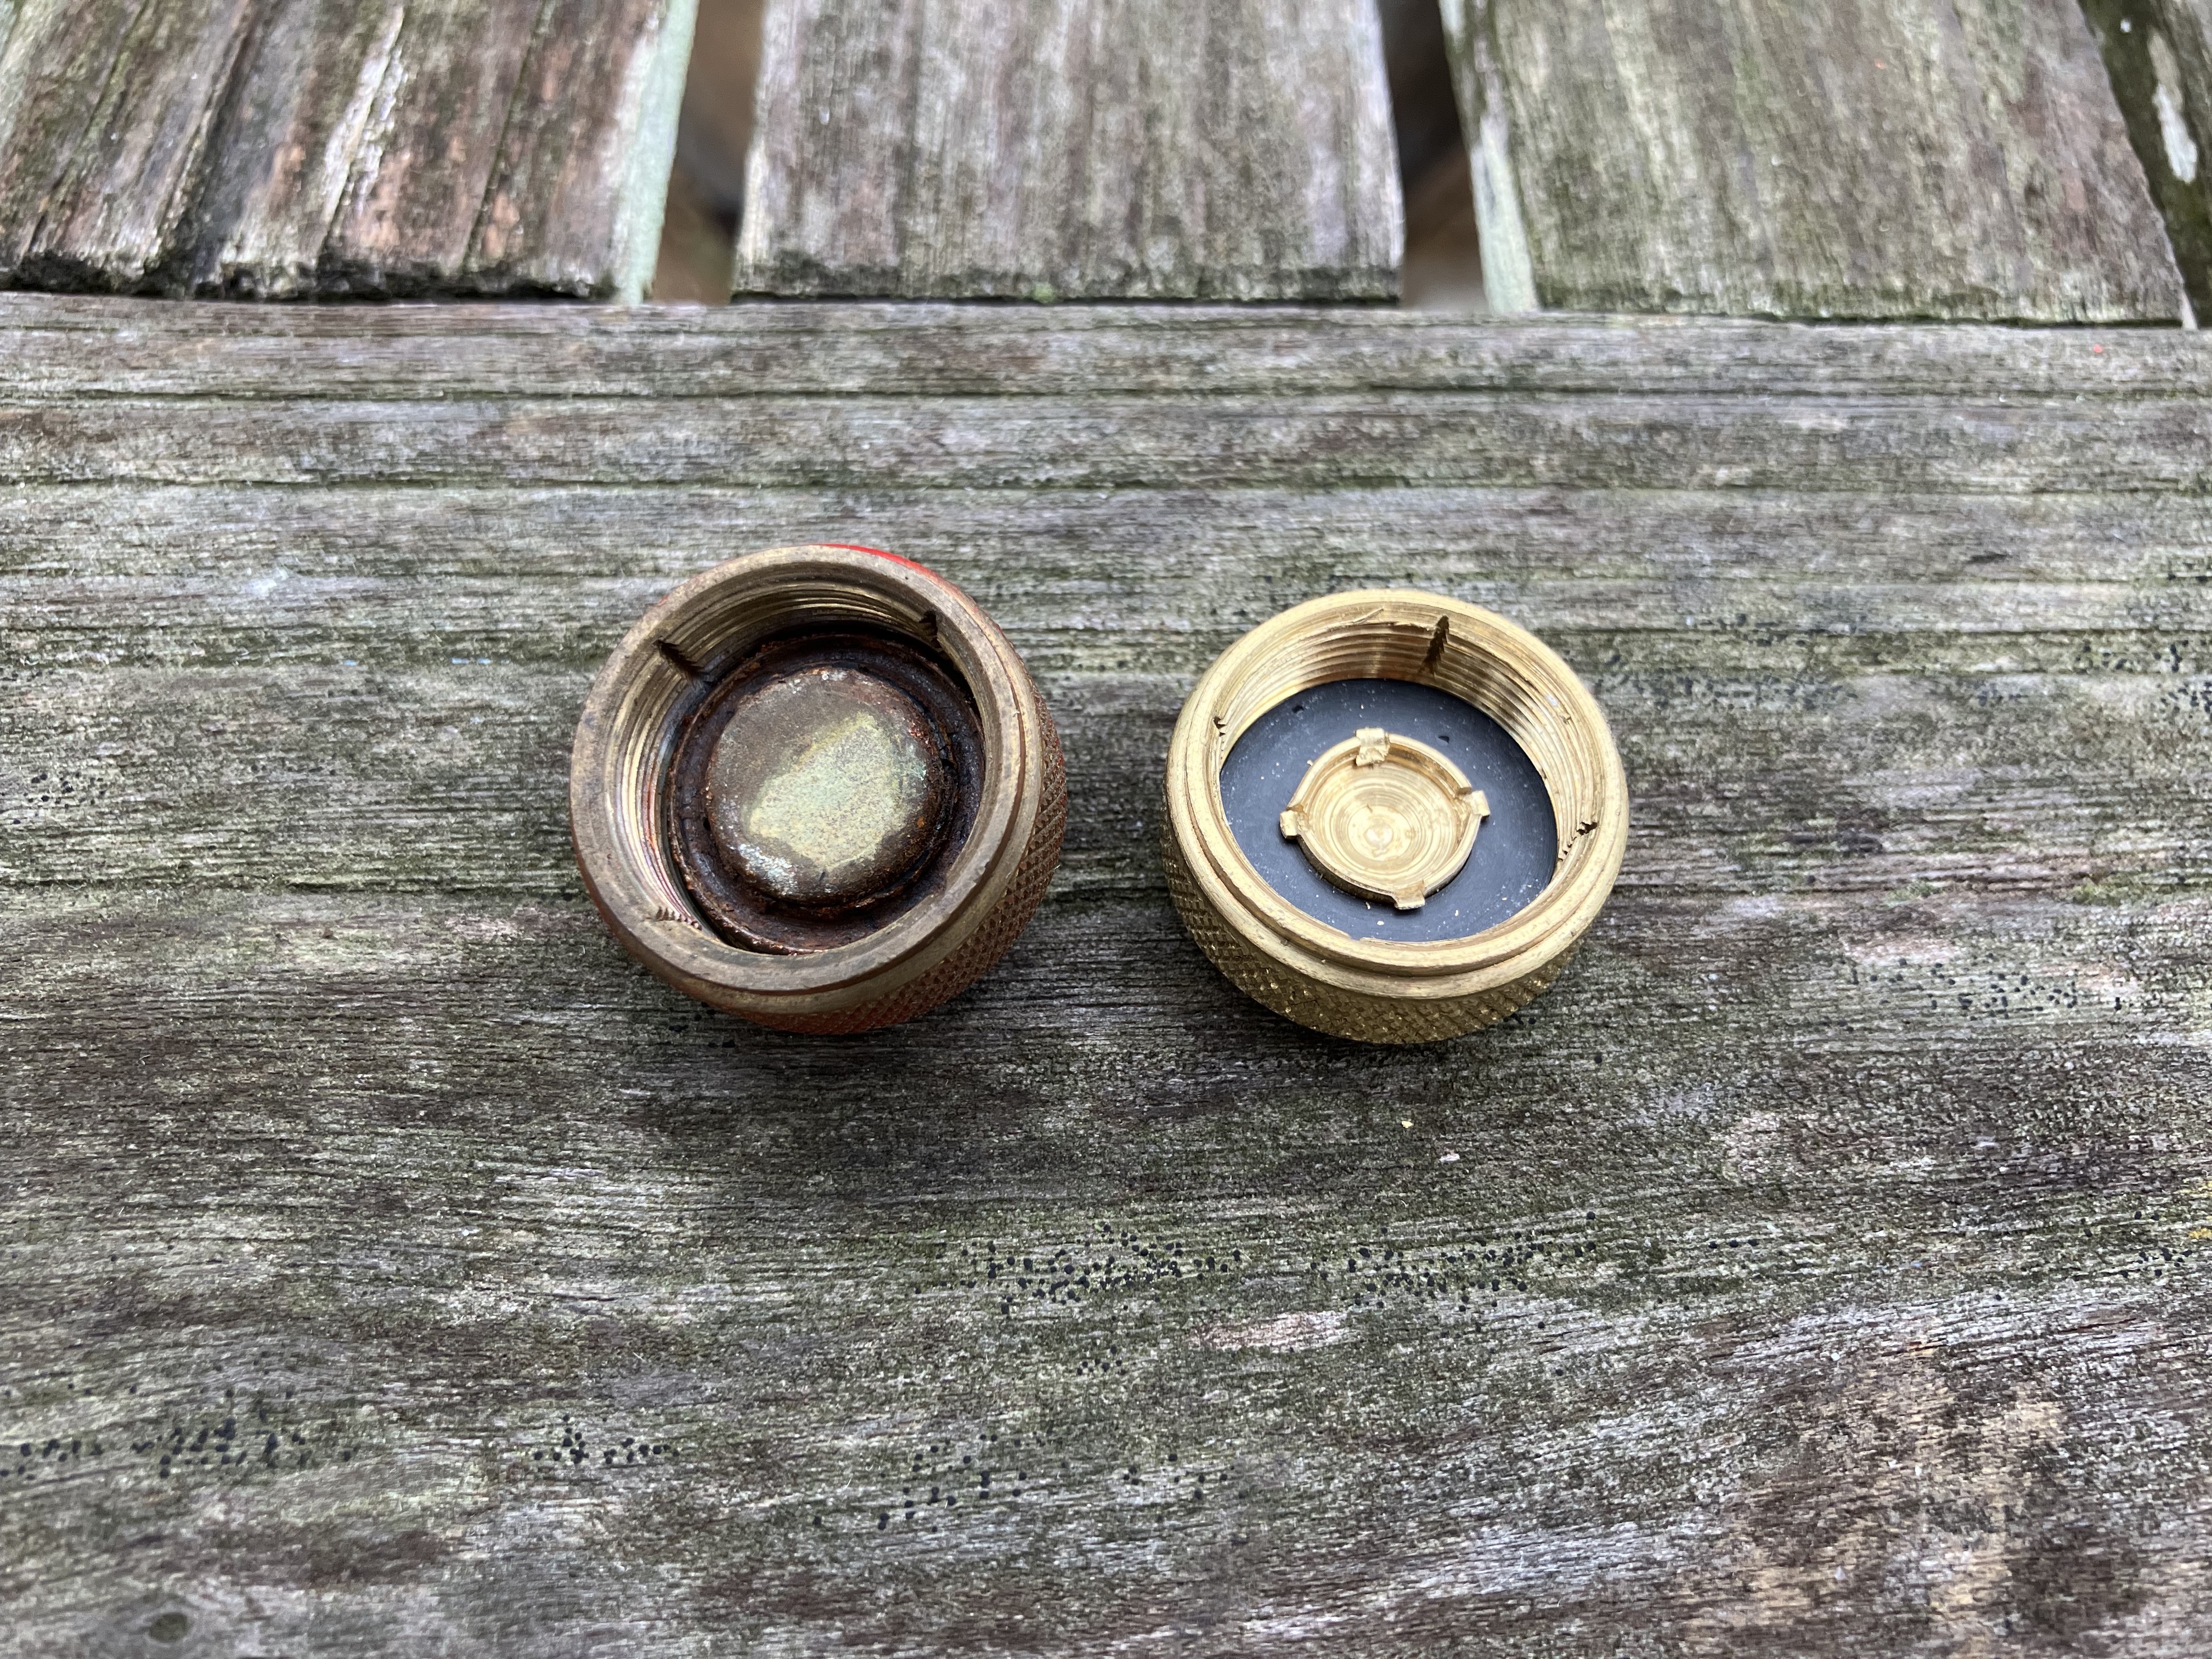
    The tank had one of the old 3-piece filler caps (although not one of the notoriously dangerous ones), and I went ahead and replaced it with a new one-piece brass cap just to be safe and ensure it holds pressure.

    The underside of the old 3-piece filler cap with rust and worn-out gasket versus the new 1-piece cap.

    I gave the whole stove a good wipe-down, then cleaned up the exposed metal parts with a wire brush and steel wool and applied Ballistol to keep them rust-free.

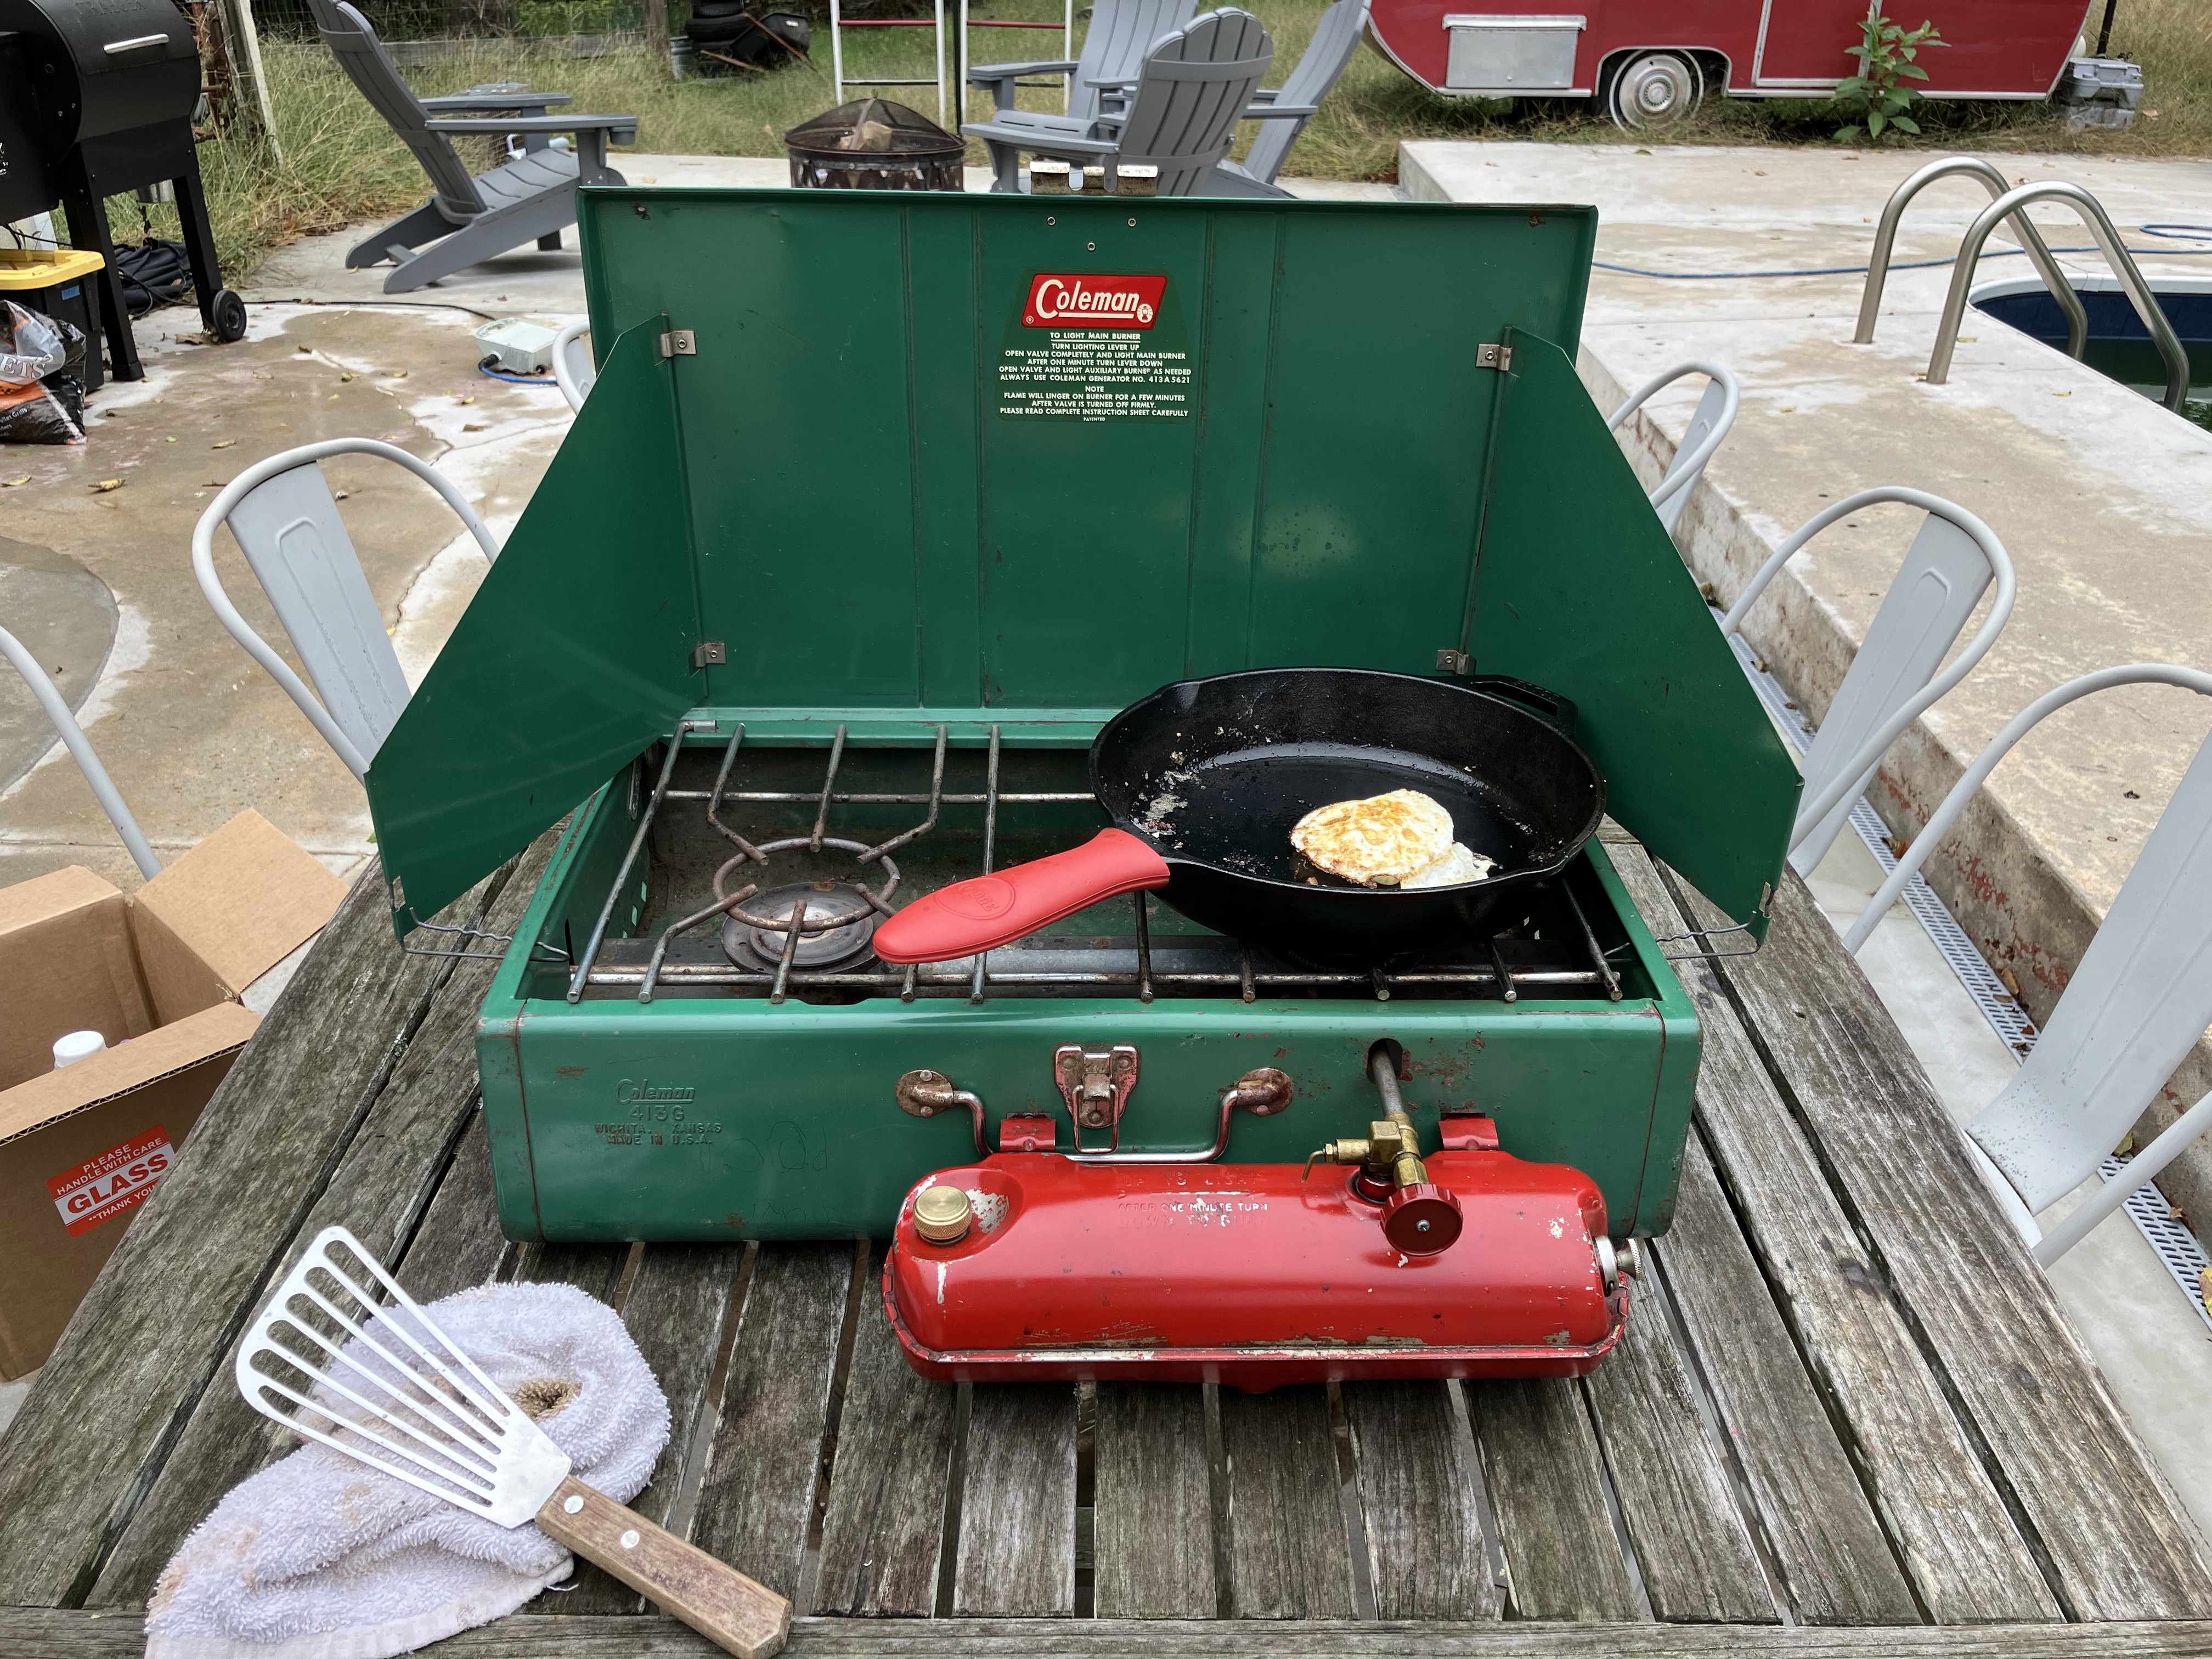
    Putting the Coleman 413G camp stove to work!
    Putting the Coleman 413G camp stove to work!

    With some fresh fuel in the tank, it was time for a test firing. The stove lit up right away, and after re-pumping the tank, I was able to get a nice, blue, almost invisible flame on both the main and secondary burners. This larger stove model will fit 2 12″ cast iron pans on it, which should work out really well for family camping trips. It fried an egg easily: success!

  • Restoring a Vintage Coleman 220J Lantern

    I recently picked up a vintage Coleman 200J lantern at a flea market for $20. I had been looking for some vintage camping gear for a few weeks and this was exactly what I wanted. My goal is replace some of my more modern camping gear with older equipment that, while perhaps a bit bulkier, is more reliable and rebuildable and will ultimately last a lot longer.

    The 220J lantern with missing glass and old mantles.
    The 220J lantern with missing glass and old mantles.

    The lantern is a Coleman model 220J manufactured in November 1976. It has a dent on the side near the bottom and the paint is chipping off in places, but it’s otherwise in pretty decent shape with all the parts. Unfortunately, as soon as I got it home and started to clean it, I dropped the glass globe and it shattered. That’s the first thing I added to the list of parts to buy, and, thankfully, Old Coleman Parts has replacement original globes with the same red logo on them.

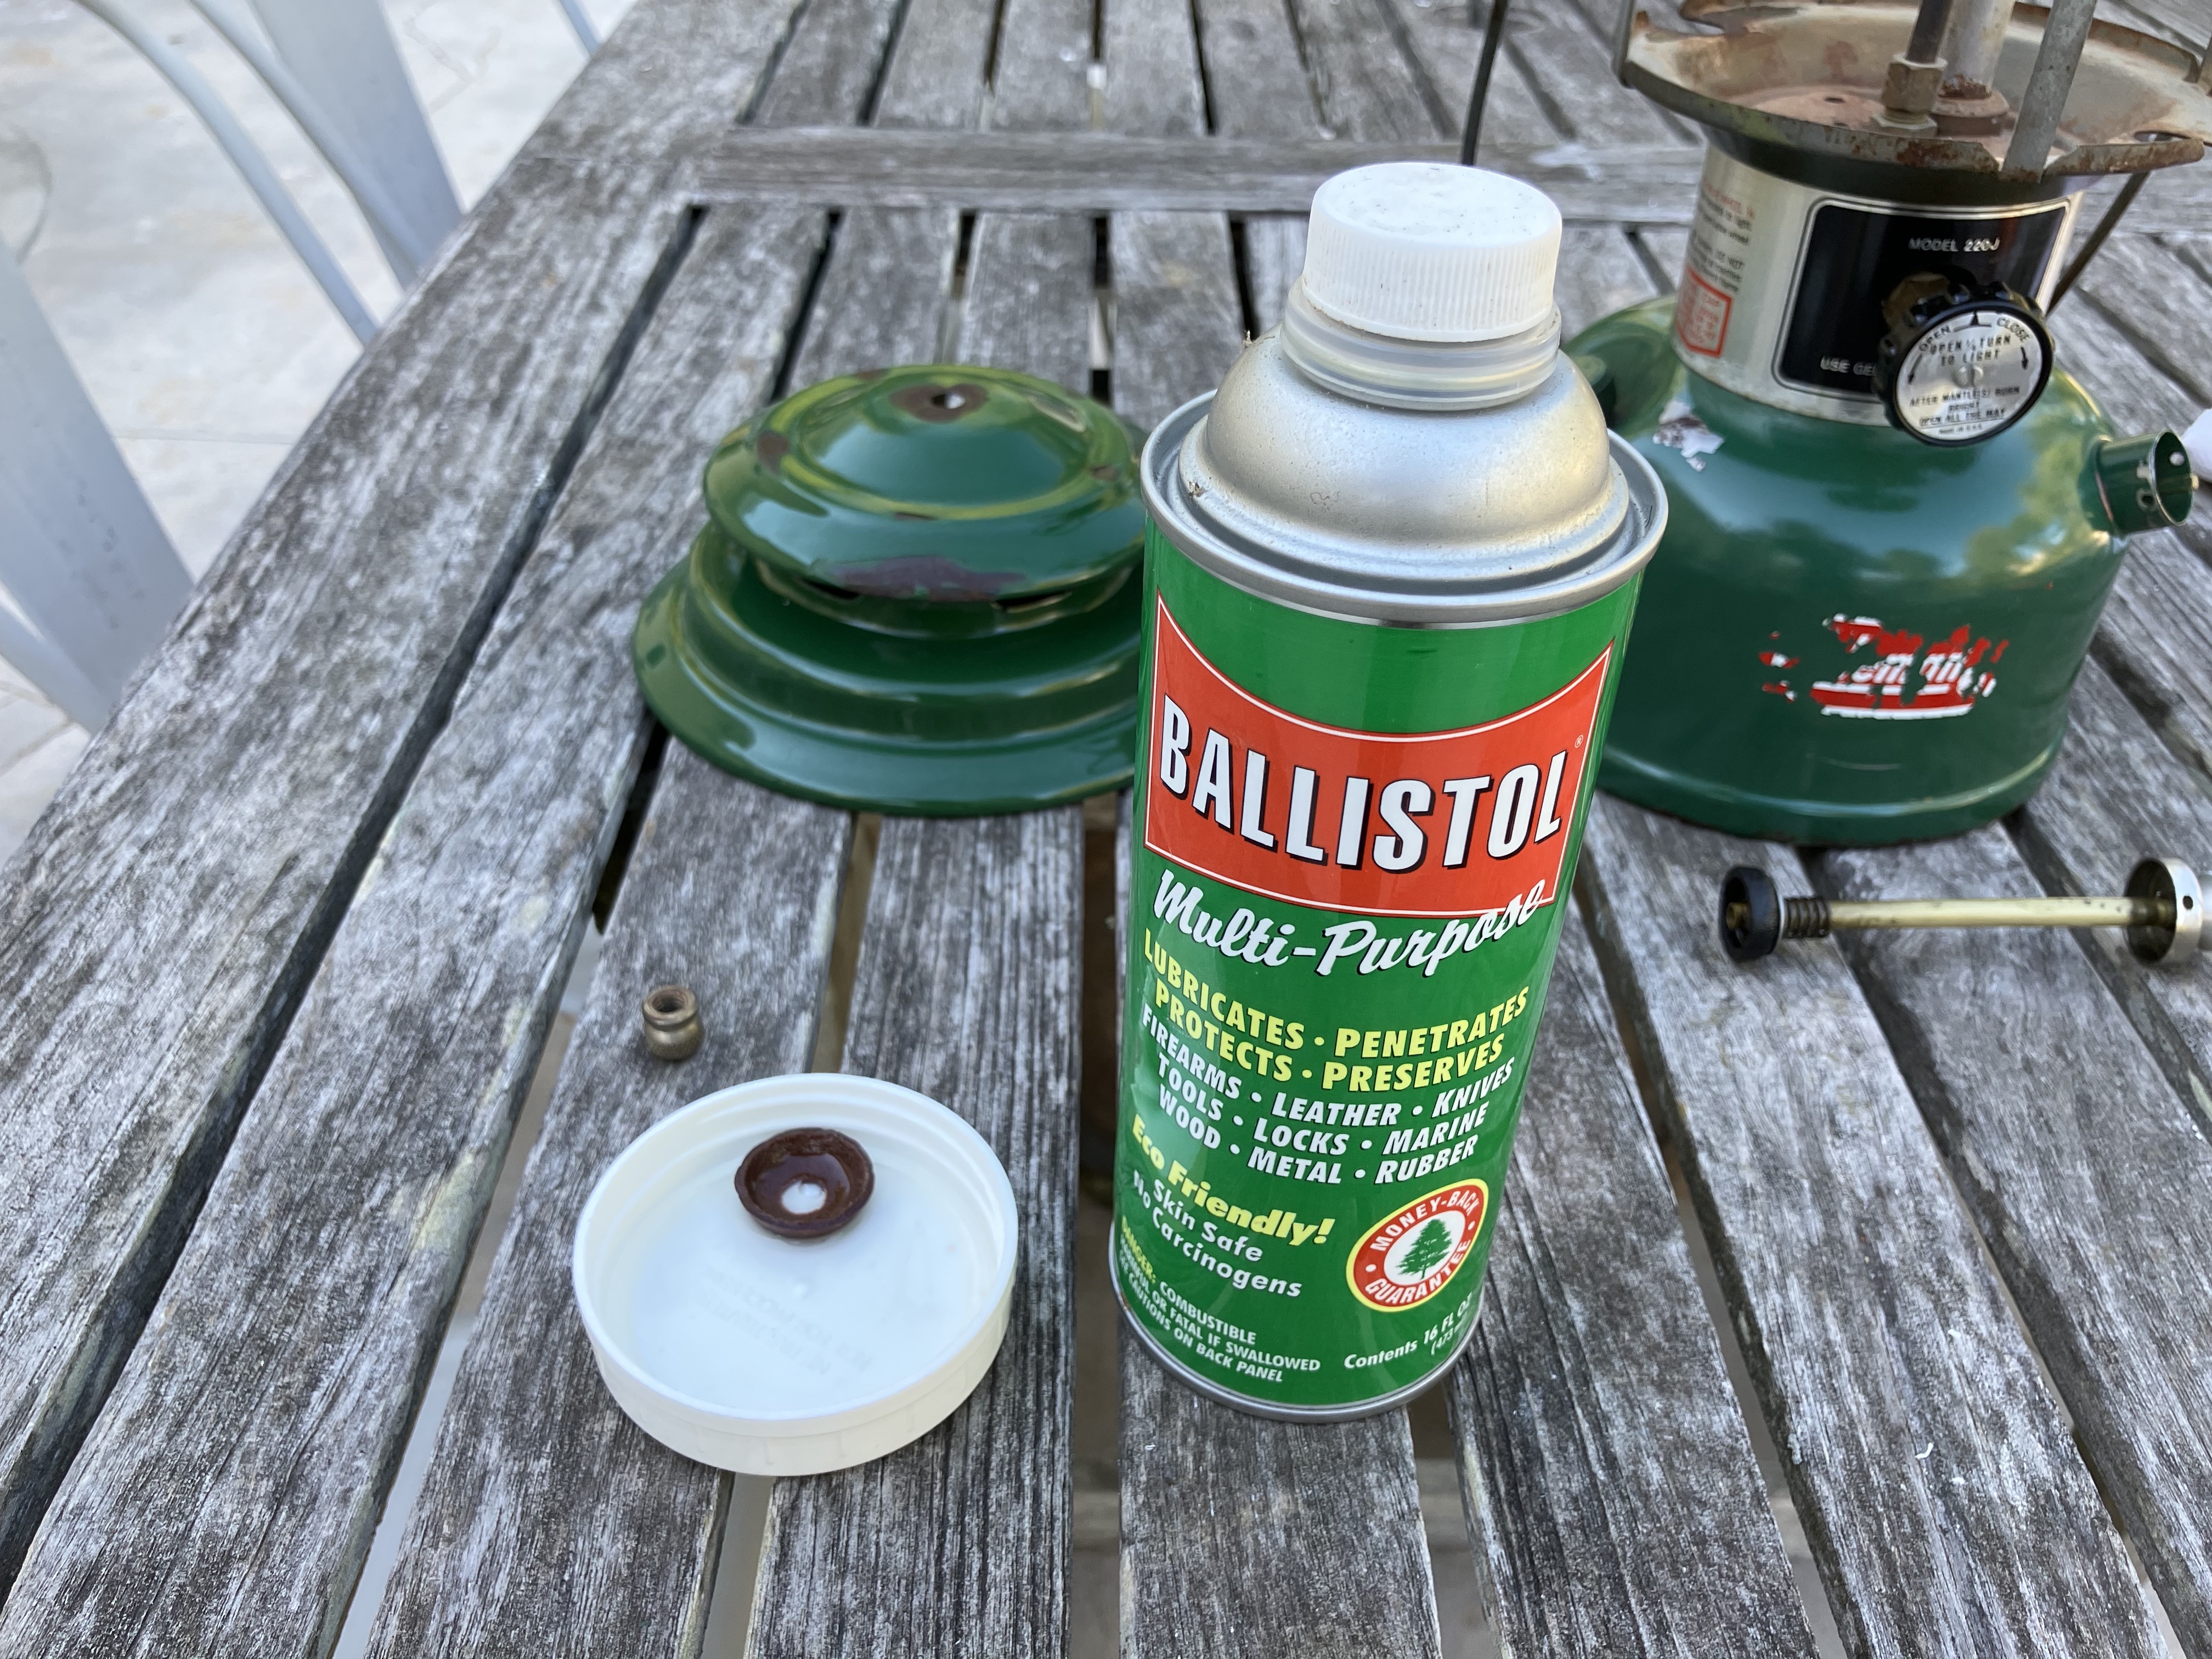
    Soaking the new leather pump cup in Ballistol. The plunger with the old rubber pump cup can be seen in the background on the left.
    Soaking the new leather pump cup in Ballistol. The plunger with the old rubber pump cup can be seen in the background on the left.

    The second part I bought was a leather pump cup. I had noticed at the flea market that the pump didn’t build pressure, and when I pulled the plunger out, I confirmed it was one of the rubber pump cups that deteriorate over time. The leather pump cups, from what I’ve read, last much longer and just need to be oiled occasionally to stay in good shape. To break in the new leather pump cup, I soaked it in Ballistol to lubricate it and make it more pliable.

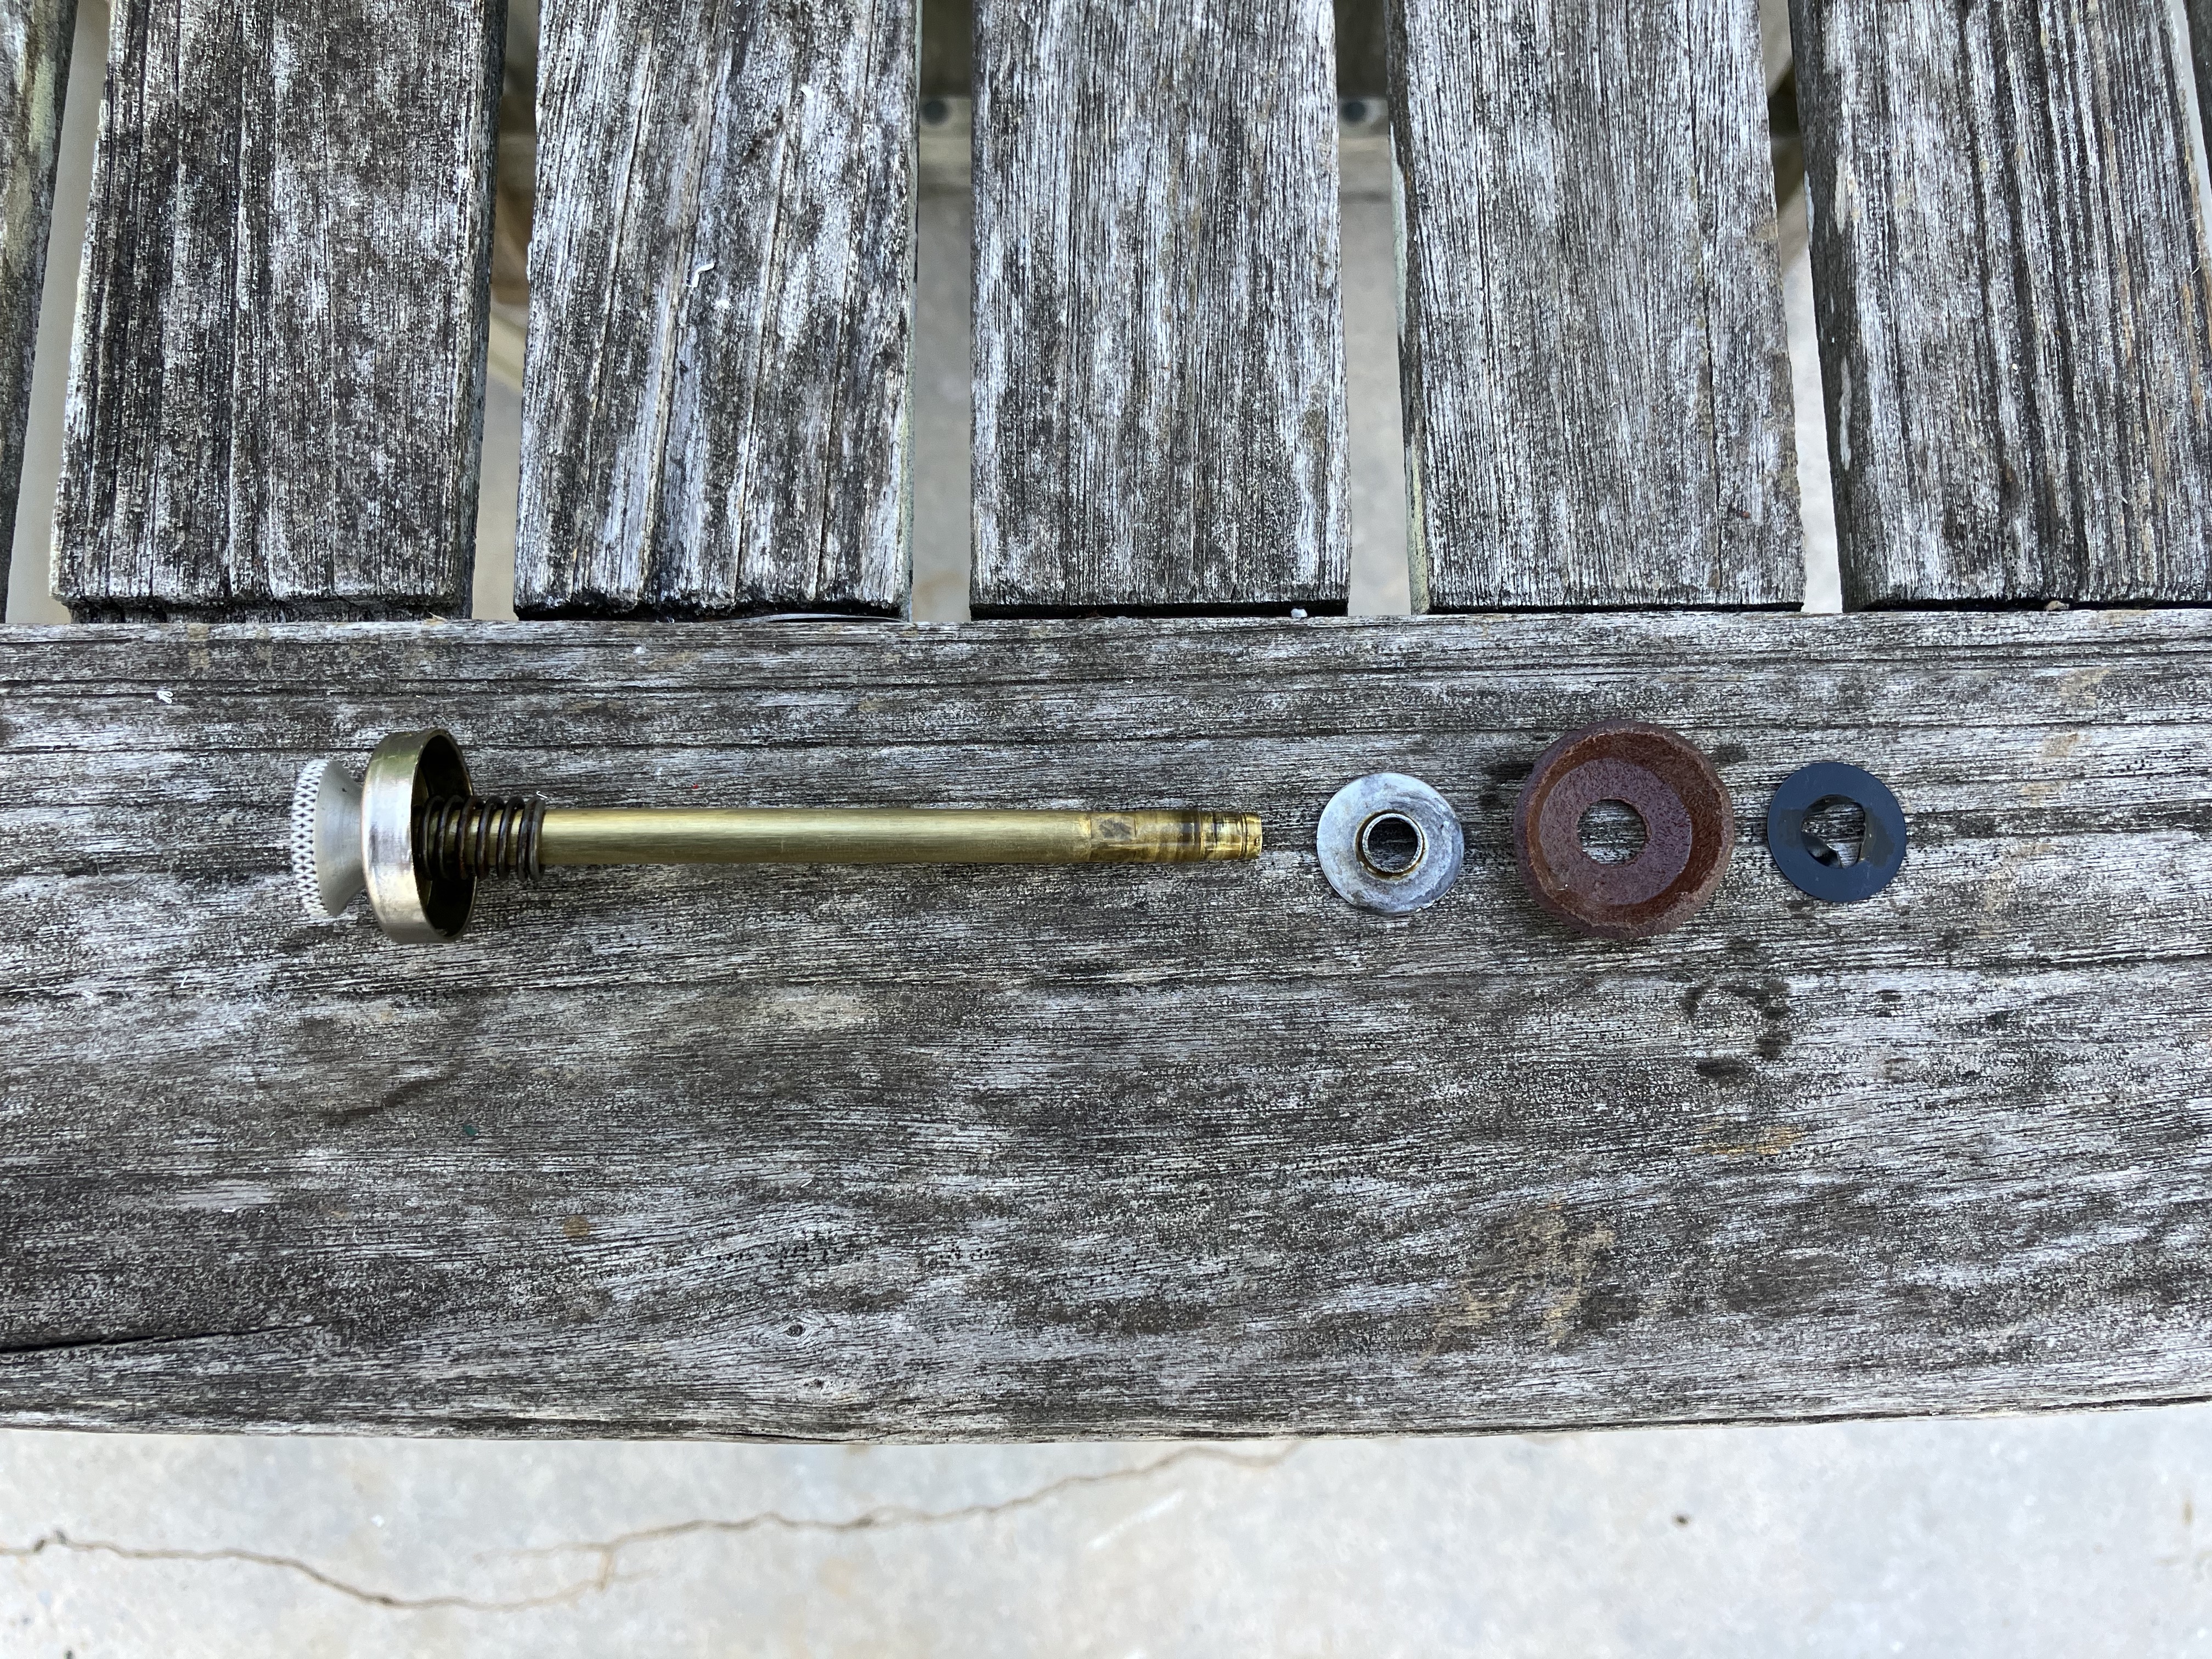
    Plunger assembly with old backing plate and new leather pump cup and clip.
    Plunger assembly with old backing plate and new leather pump cup and clip.

    Then I disassembled the plunger and, after some trial and error, found that the old backing plate worked with the new leather pump cup and new clip. The leather pump cup comes with a new backing plate too, but maybe it doesn’t work with all models.

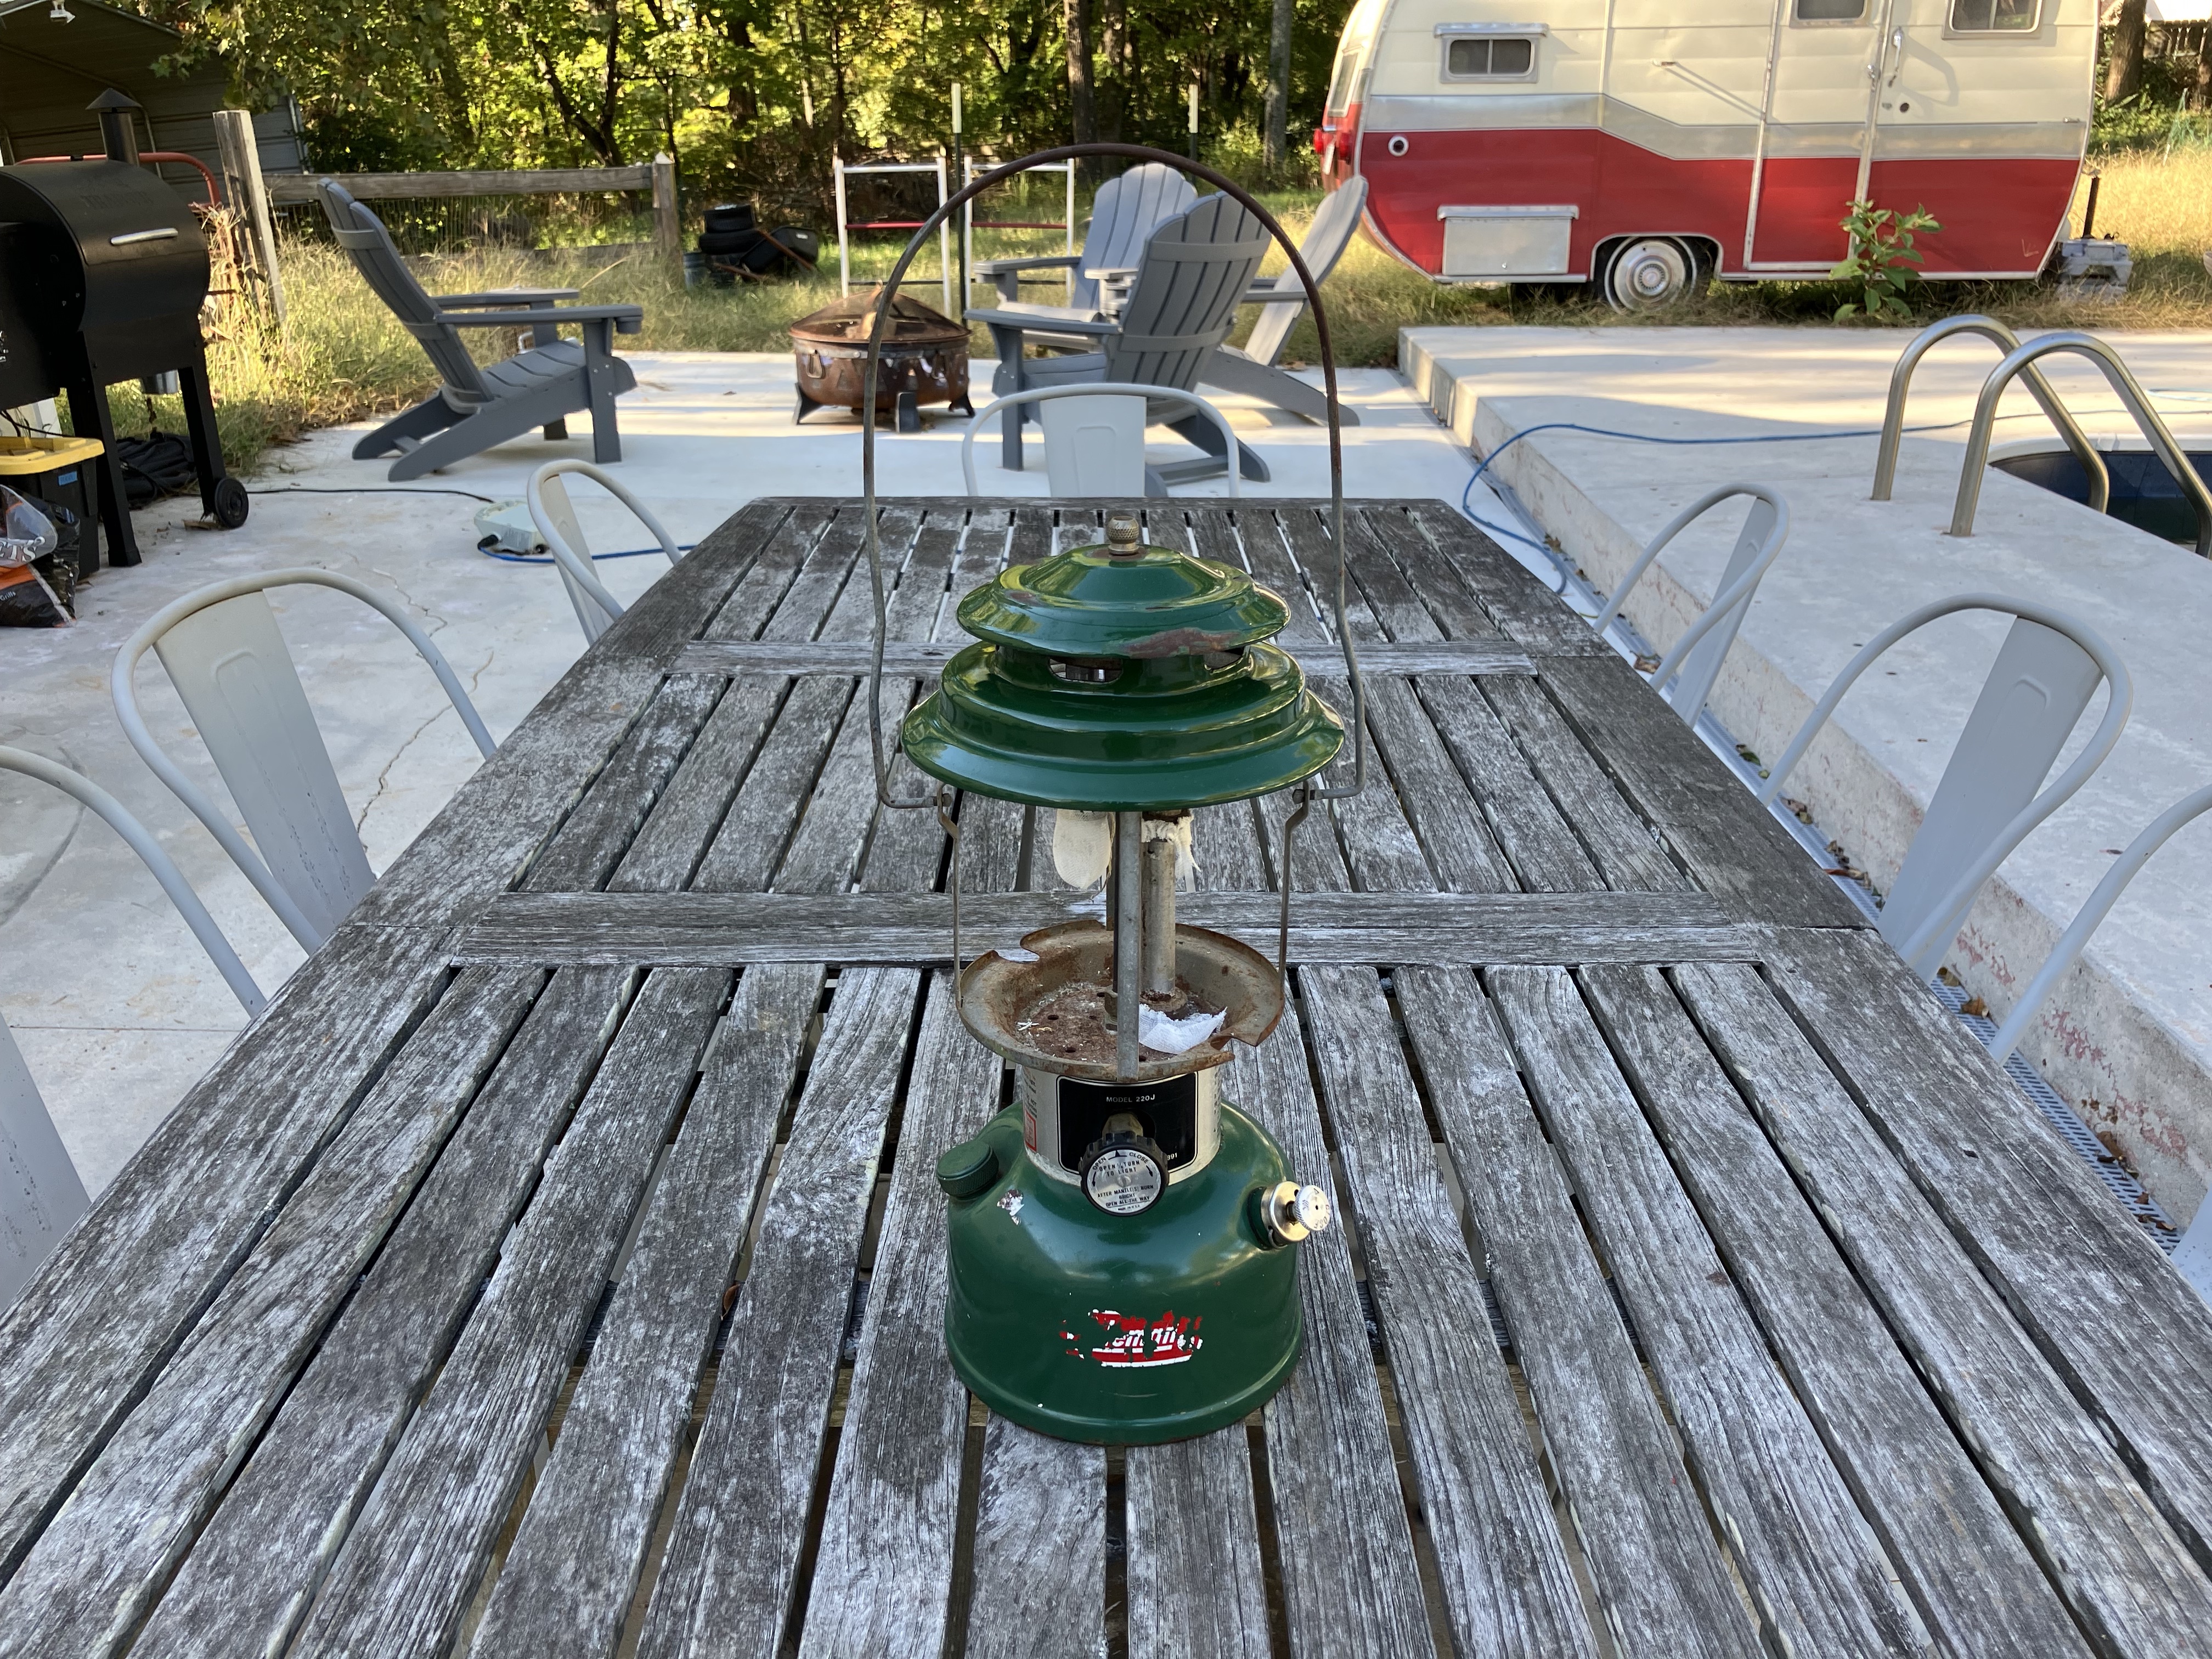
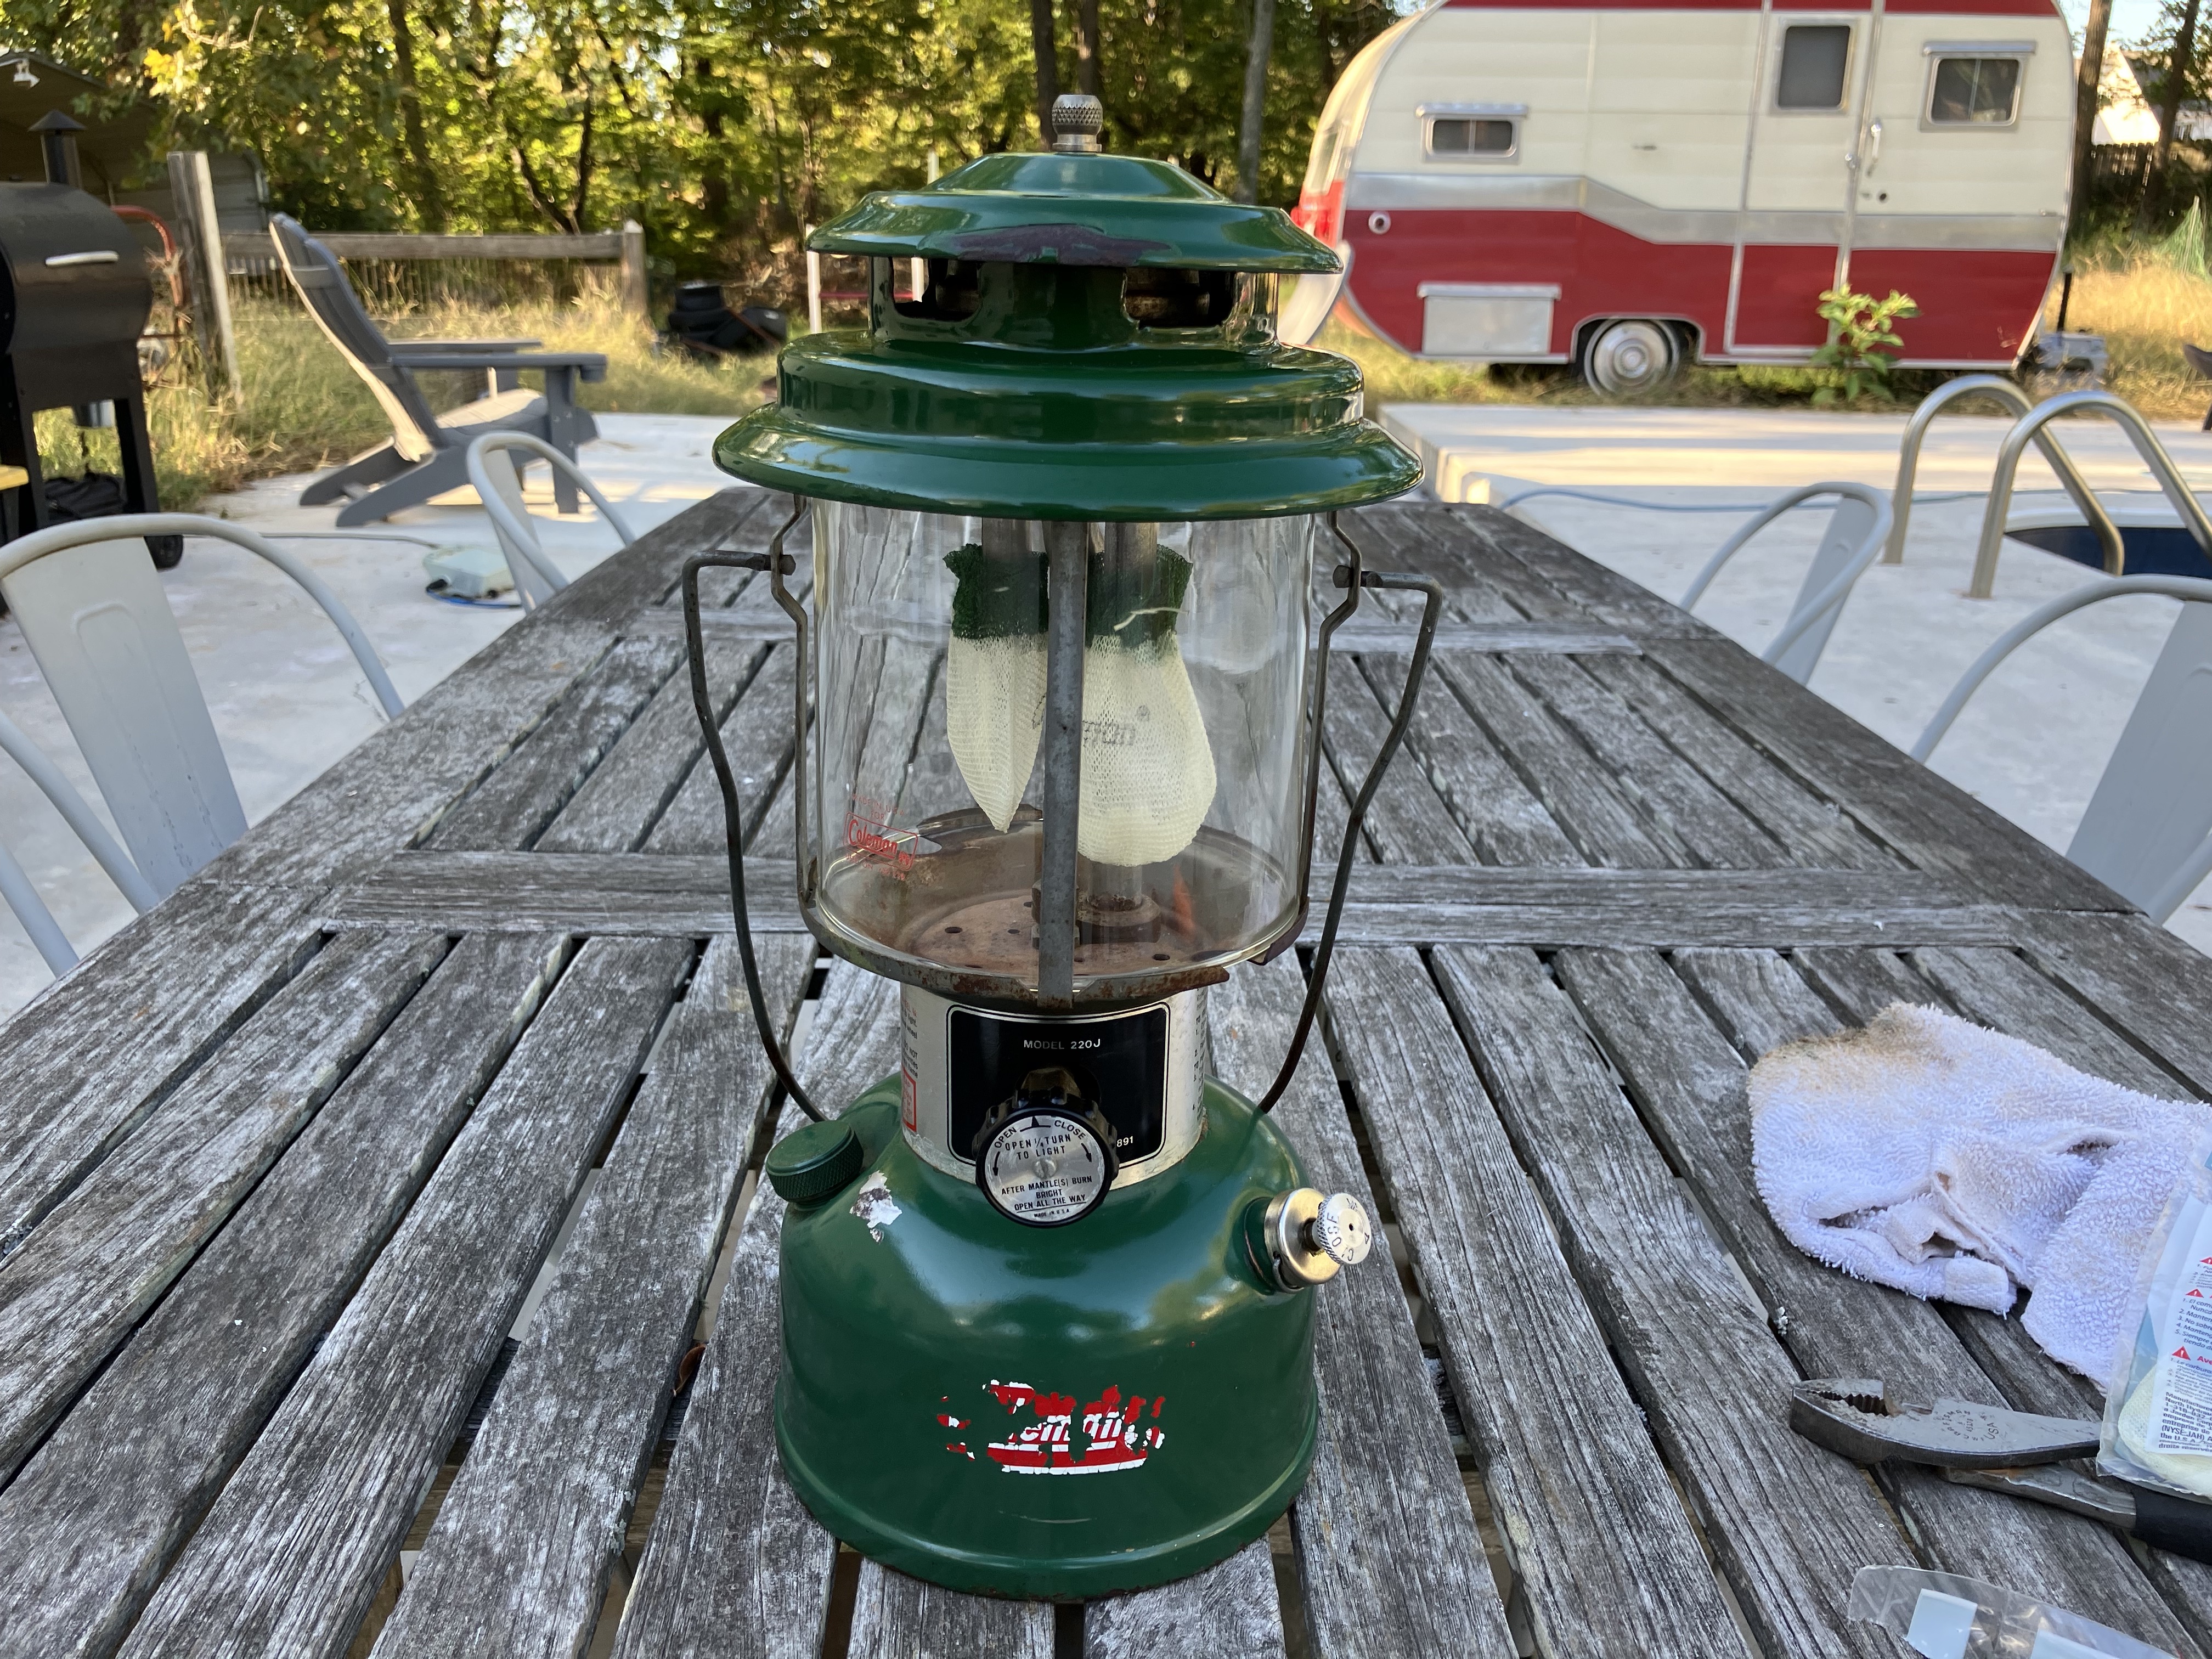
    The 220J lantern with mantles and a new globe.
    The 220J lantern with mantles and a new globe.

    I gave everything a good wipe down, lightly scrubbing at rust with steel wool and a wire brush, and coating any exposed metal with Ballistol to protect it. Then I put on new mantles, carefully installed the new globe, and put the hat back on.

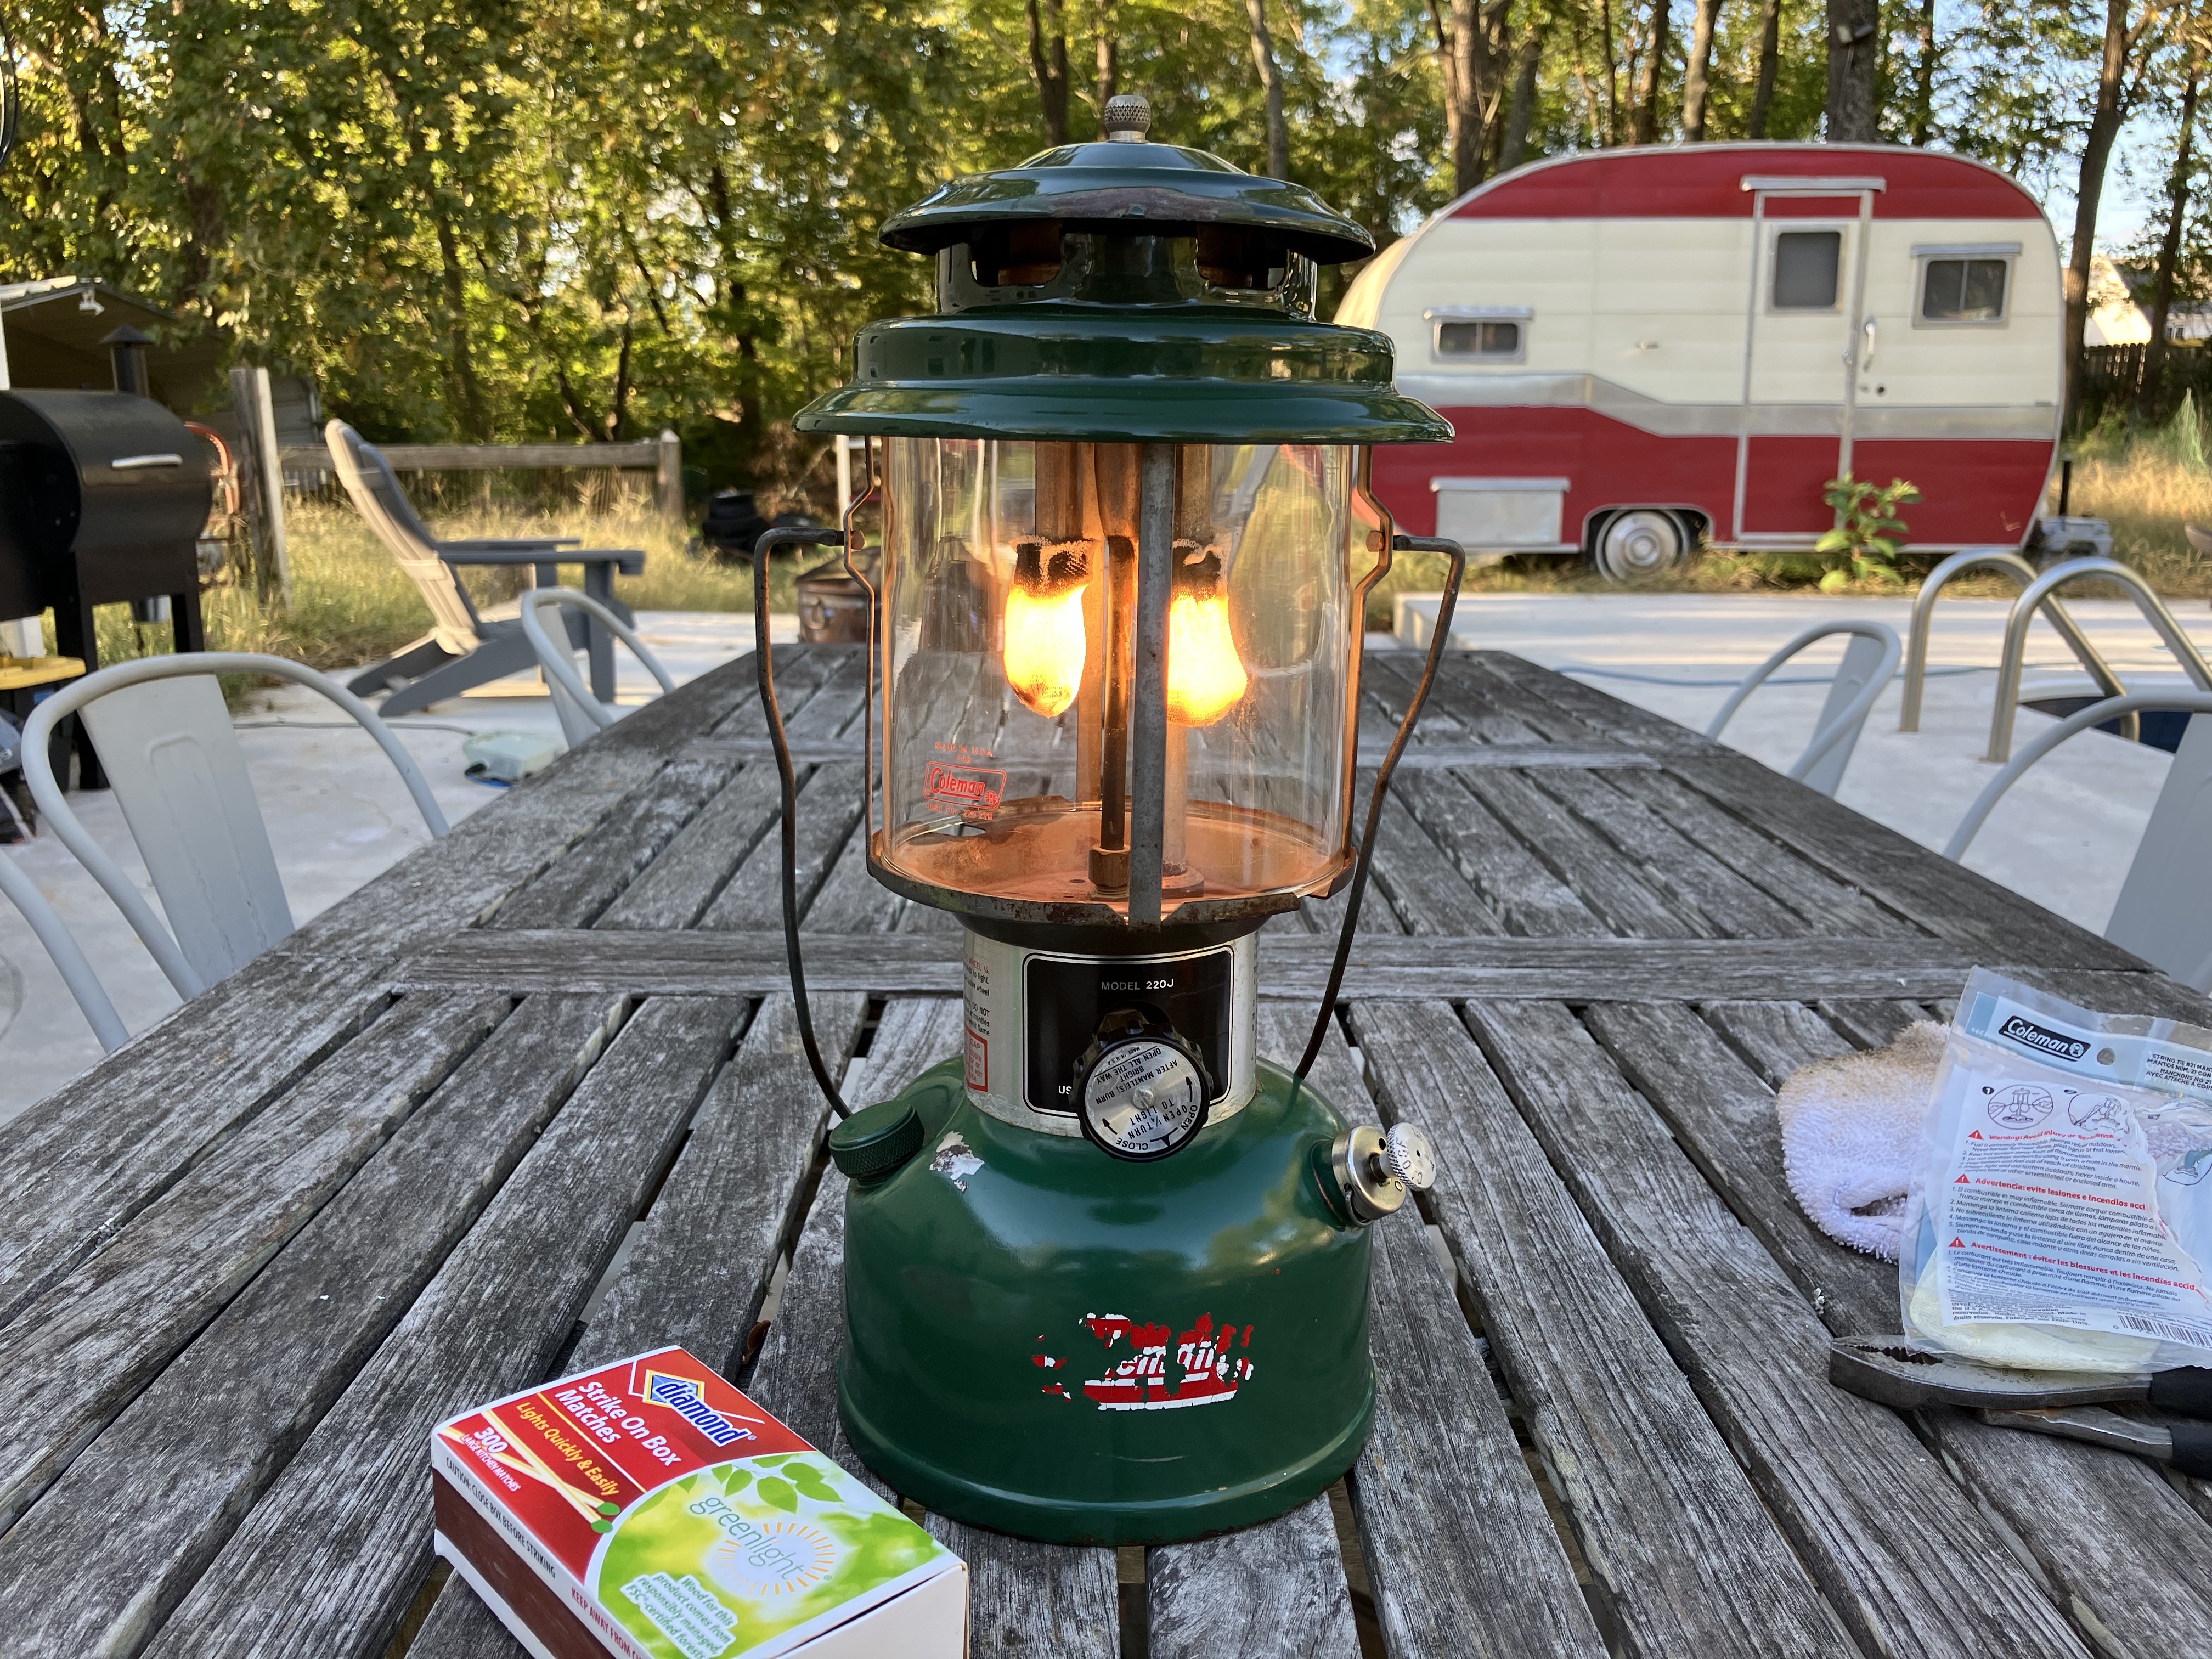
    The new mantles warming up on the Coleman 220J lantern.
    The new mantles warming up on the Coleman 220J lantern.

    Following the instructions printed on the lantern body, I pumped up the tank, which successfully built pressure with the new pump cup, and lit the lantern, which started right up! Once the new mantles were fully ignited, it glowed nice and bright and put off a pleasant warmth. It’s hard to beat a classic Coleman lantern.

    P.S. Another great resource for learning about and restoring these old pressure lanterns and other Coleman gear is Old Town Coleman. They have user manuals, parts diagrams, and lots of other useful information.

    P.P.S. I also bought and restored a Coleman 413G camp stove.