Category: Ingredients

  • Brewing with Spruce Tips

    Brewing with Spruce Tips

    Brewing with spruce tips is not new: trees have a long, entangled history with beer. Leaves, needles, bark, and roots have all been added to the boil kettle. Branches and needles have been used in the mash tun for filtering. Trunks have been hollowed out for lautering. And wood has been used for centuries to build mash tuns, fermentors, and barrels for brewing, aging, and shipping ales.

    In the Pacific Northwest, we’re blessed with an abundance of evergreen trees. Pine and spruce needles are high in vitamin C, and the young spring growth has a decidedly citrusy flavor. As a result, the needles are particularly well-suited to brewing. Many varieties of spruce and pine can be used to similar effect, but this article is going to focus specifically on Sitka spruce tips.

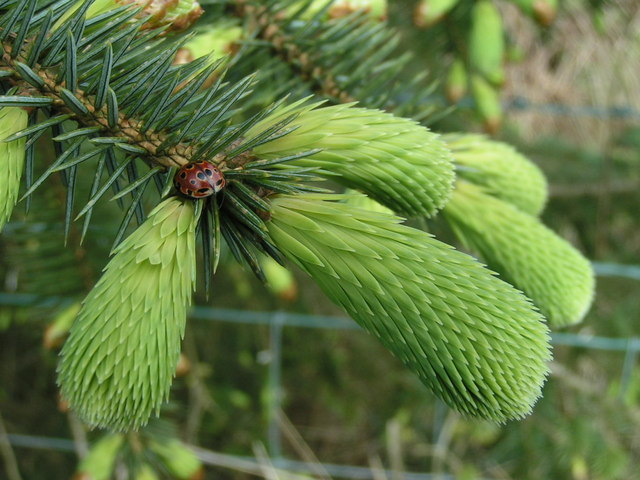
    The Sitka spruce, Picea sitchensis, is native to the Pacific coast. Any part of the tree could be used in beer, but the bright green new growth found on the tips of the branches in the spring provides the best effect. You can also use the older, darker needles, but they will have a much more bitter, piney flavor than the fresh tips.

    New Spring Growth on Spruce. Dave Dunford / Ladybird on spruce / CC BY-SA 2.0

    Foraging Sitka Spruce

    If you live along the Pacific coast between Northern California and Alaska, then you can forage for Sitka spruce tips in the spring to use in your beer. The Sitka spruce is the largest spruce and one of the largest species of conifer, capable of growing over 300 feet tall. The bark is thin and flakes off in scales. The needles are blue-green with lighter undersides, arranged spirally on the branches. They are four-sided, so you can roll them between two fingers.

    In the spring, look for when the fresh tips have opened up from the buds and begun to expand, but are still bright green compared to the older needles, soft to the touch, and easy to chew. They should pop off the branch fairly easily right at the base of the bud. Try eating some raw!

    You can use the collected tips right away, or you can bag them up and freeze them like hops. I like to vacuum seal mine to keep them fresh longer.

    Brewing with Sitka Spruce

    You can brew with spruce tips in the boil or steeped after the boil, just like hops. The fresh spring growth will give your beer a citrusy, vitamin C character from the ascorbic acid, with notes of resin and pine. In order to preserve the bright flavor and essential oils, boil for the fresh tips for 15 minutes or less. Longer boil times will give a deeper flavor with more resiny, piney flavor coming through and more bitterness.

    Maximum Usage Rates

    For a very strong spruce character:

    • 1.6 ounces per gallon (8 ounces per 5 gallons)
    • 12 grams per liter (228 grams per 19 liters)
    • 49.6 ounces per barrel

    For a subtler, more balanced flavor, you can cut those numbers in half.

    I have used anywhere from 0.2 ounces per gallon to augment a Christmas Ale up to 1 ounce per gallon alongside hops in a spruce-forward Cascadian Dark Ale, all to great effect.
  • Brewing with Yarrow

    Brewing with Yarrow

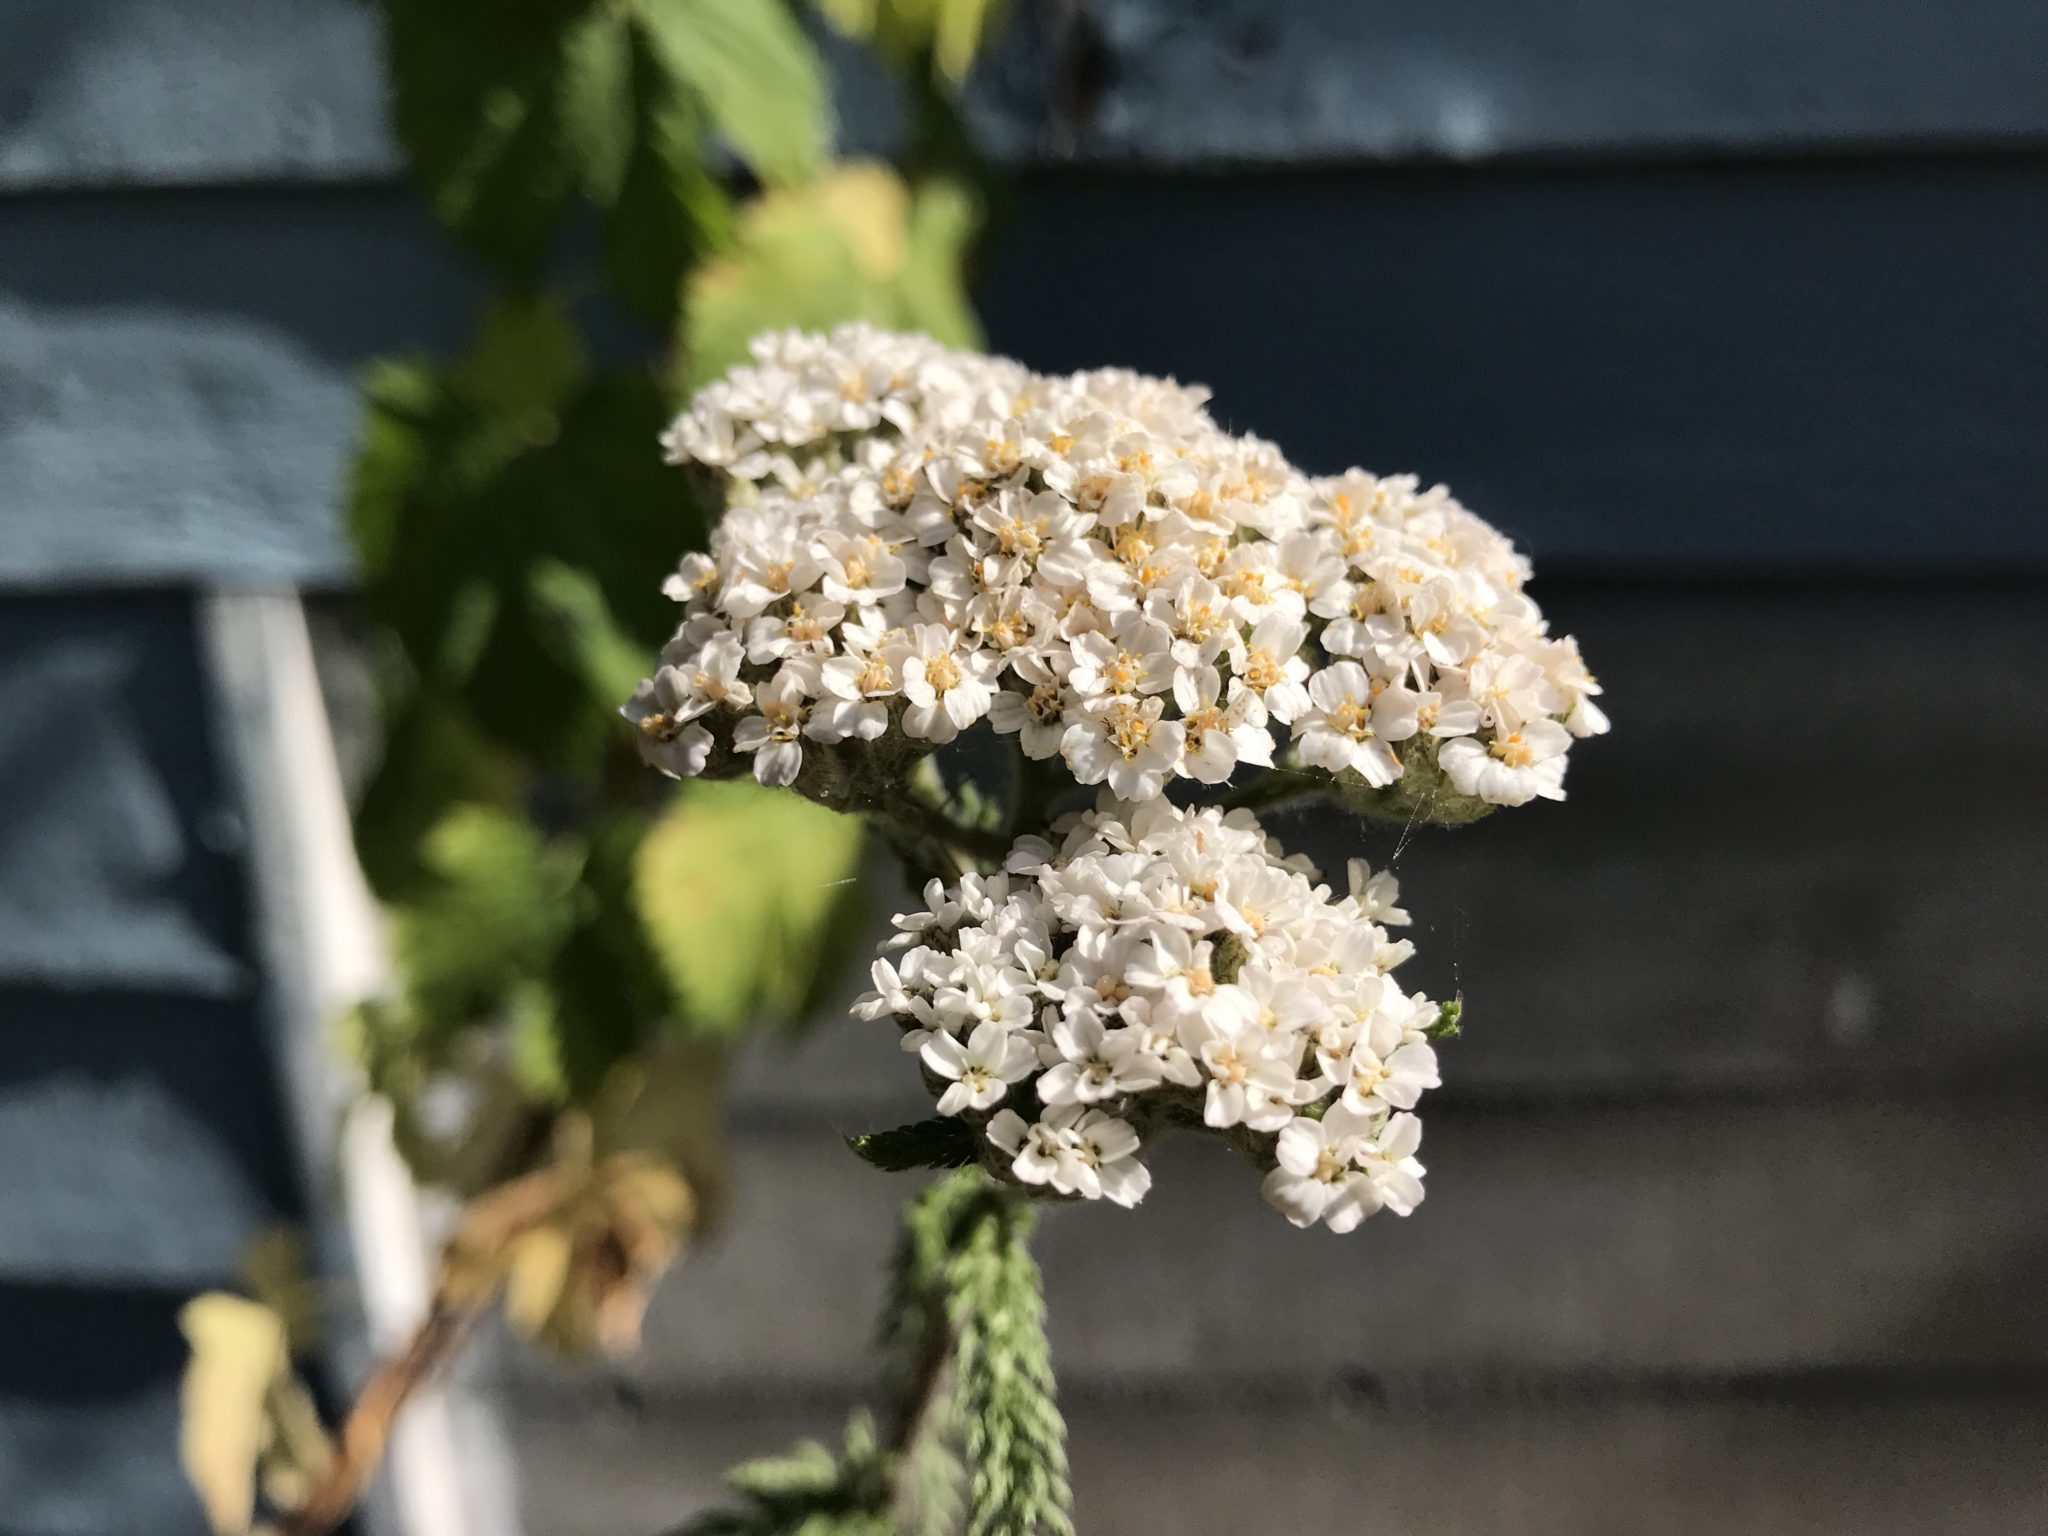
    Yarrow in bloom
    Yarrow in bloom

    Achillea millefolium, or yarrow, is a classic gruit herb that is prolific and easy to grow. It has been used medicinally throughout history. It’s most well known property is its ability to stanch wounds. Brewing with yarrow is easy and it provides a good foundation for an herbal ale.

    Foraging Yarrow

    Yarrow grows in a number of different conditions, and it tends to do best in warmer dry climes. In Washington, it can be found on both sides of the mountains in lawns mixed with grass; it makes a good ground cover if kept mowed. You can also find it on the side of the road and in places with disturbed or neglected soil.

    Growing Yarrow

    Yarrow growing in a container next to hops
    Yarrow growing in a container next to hops

    Yarrow can be grown in a pot or in the ground. It will spread slowly by roots, so give some thought to where you plant it if you’re planting in the ground. It loves sun, and requires very little care. I’ve kept yarrow in pots for several years with virtually no maintenance. The dead leaves and stalks can be cut down in the winter if desired, and the roots can be divided every 2-5 years.

    If you’re primarily using the flowers, you can deadhead them to encourage the plant to produce additional flowers throughout the season. If you’re using the leaves as well, you can wait for the stalks to flower and then cut down the whole stock.

    To prepare the yarrow for brewing, the leaves and flowers will need to be dried. If you are harvesting entire stalks at a time, you can simply hang the stalks to dry, then cut the flower heads off and pull the leaves off the stem. If you are harvesting just the leaves or the flowers, you can put them loosely in a paper bag with some small holes in it, and hang the bag to dry.

    Brewing with Yarrow

    The dried leaves and flowers are most commonly used in brewing. The leaves contribute a bitter, astringent taste, while the flowering heads provide a mild floral aroma. Yarrow is also purported to increase the medicinal and physiological effects of other herbs used in the beer.

    Due to their bitterness, you can use the leaves much like bittering hops, although the bitterness will drop out of the beer more quickly than with hops. To provide floral aromatics, the flowering heads can be added late in the boil, steeped after the boil, or dry herbed in the fermentor.

    Maximum Usage Rates

    • 0.4 ounces per gallon (2 ounces per 5 gallons)
    • 3 grams per liter (57 grams per 19 liters)
    • 12.4 ounces per barrel

    I’ve used as little as 1/4 oz in 5 gallons, with plenty of flavor contribution. Start with less and work your way up as you see fit.

  • The Hopyard 2016

    The Hopyard 2016

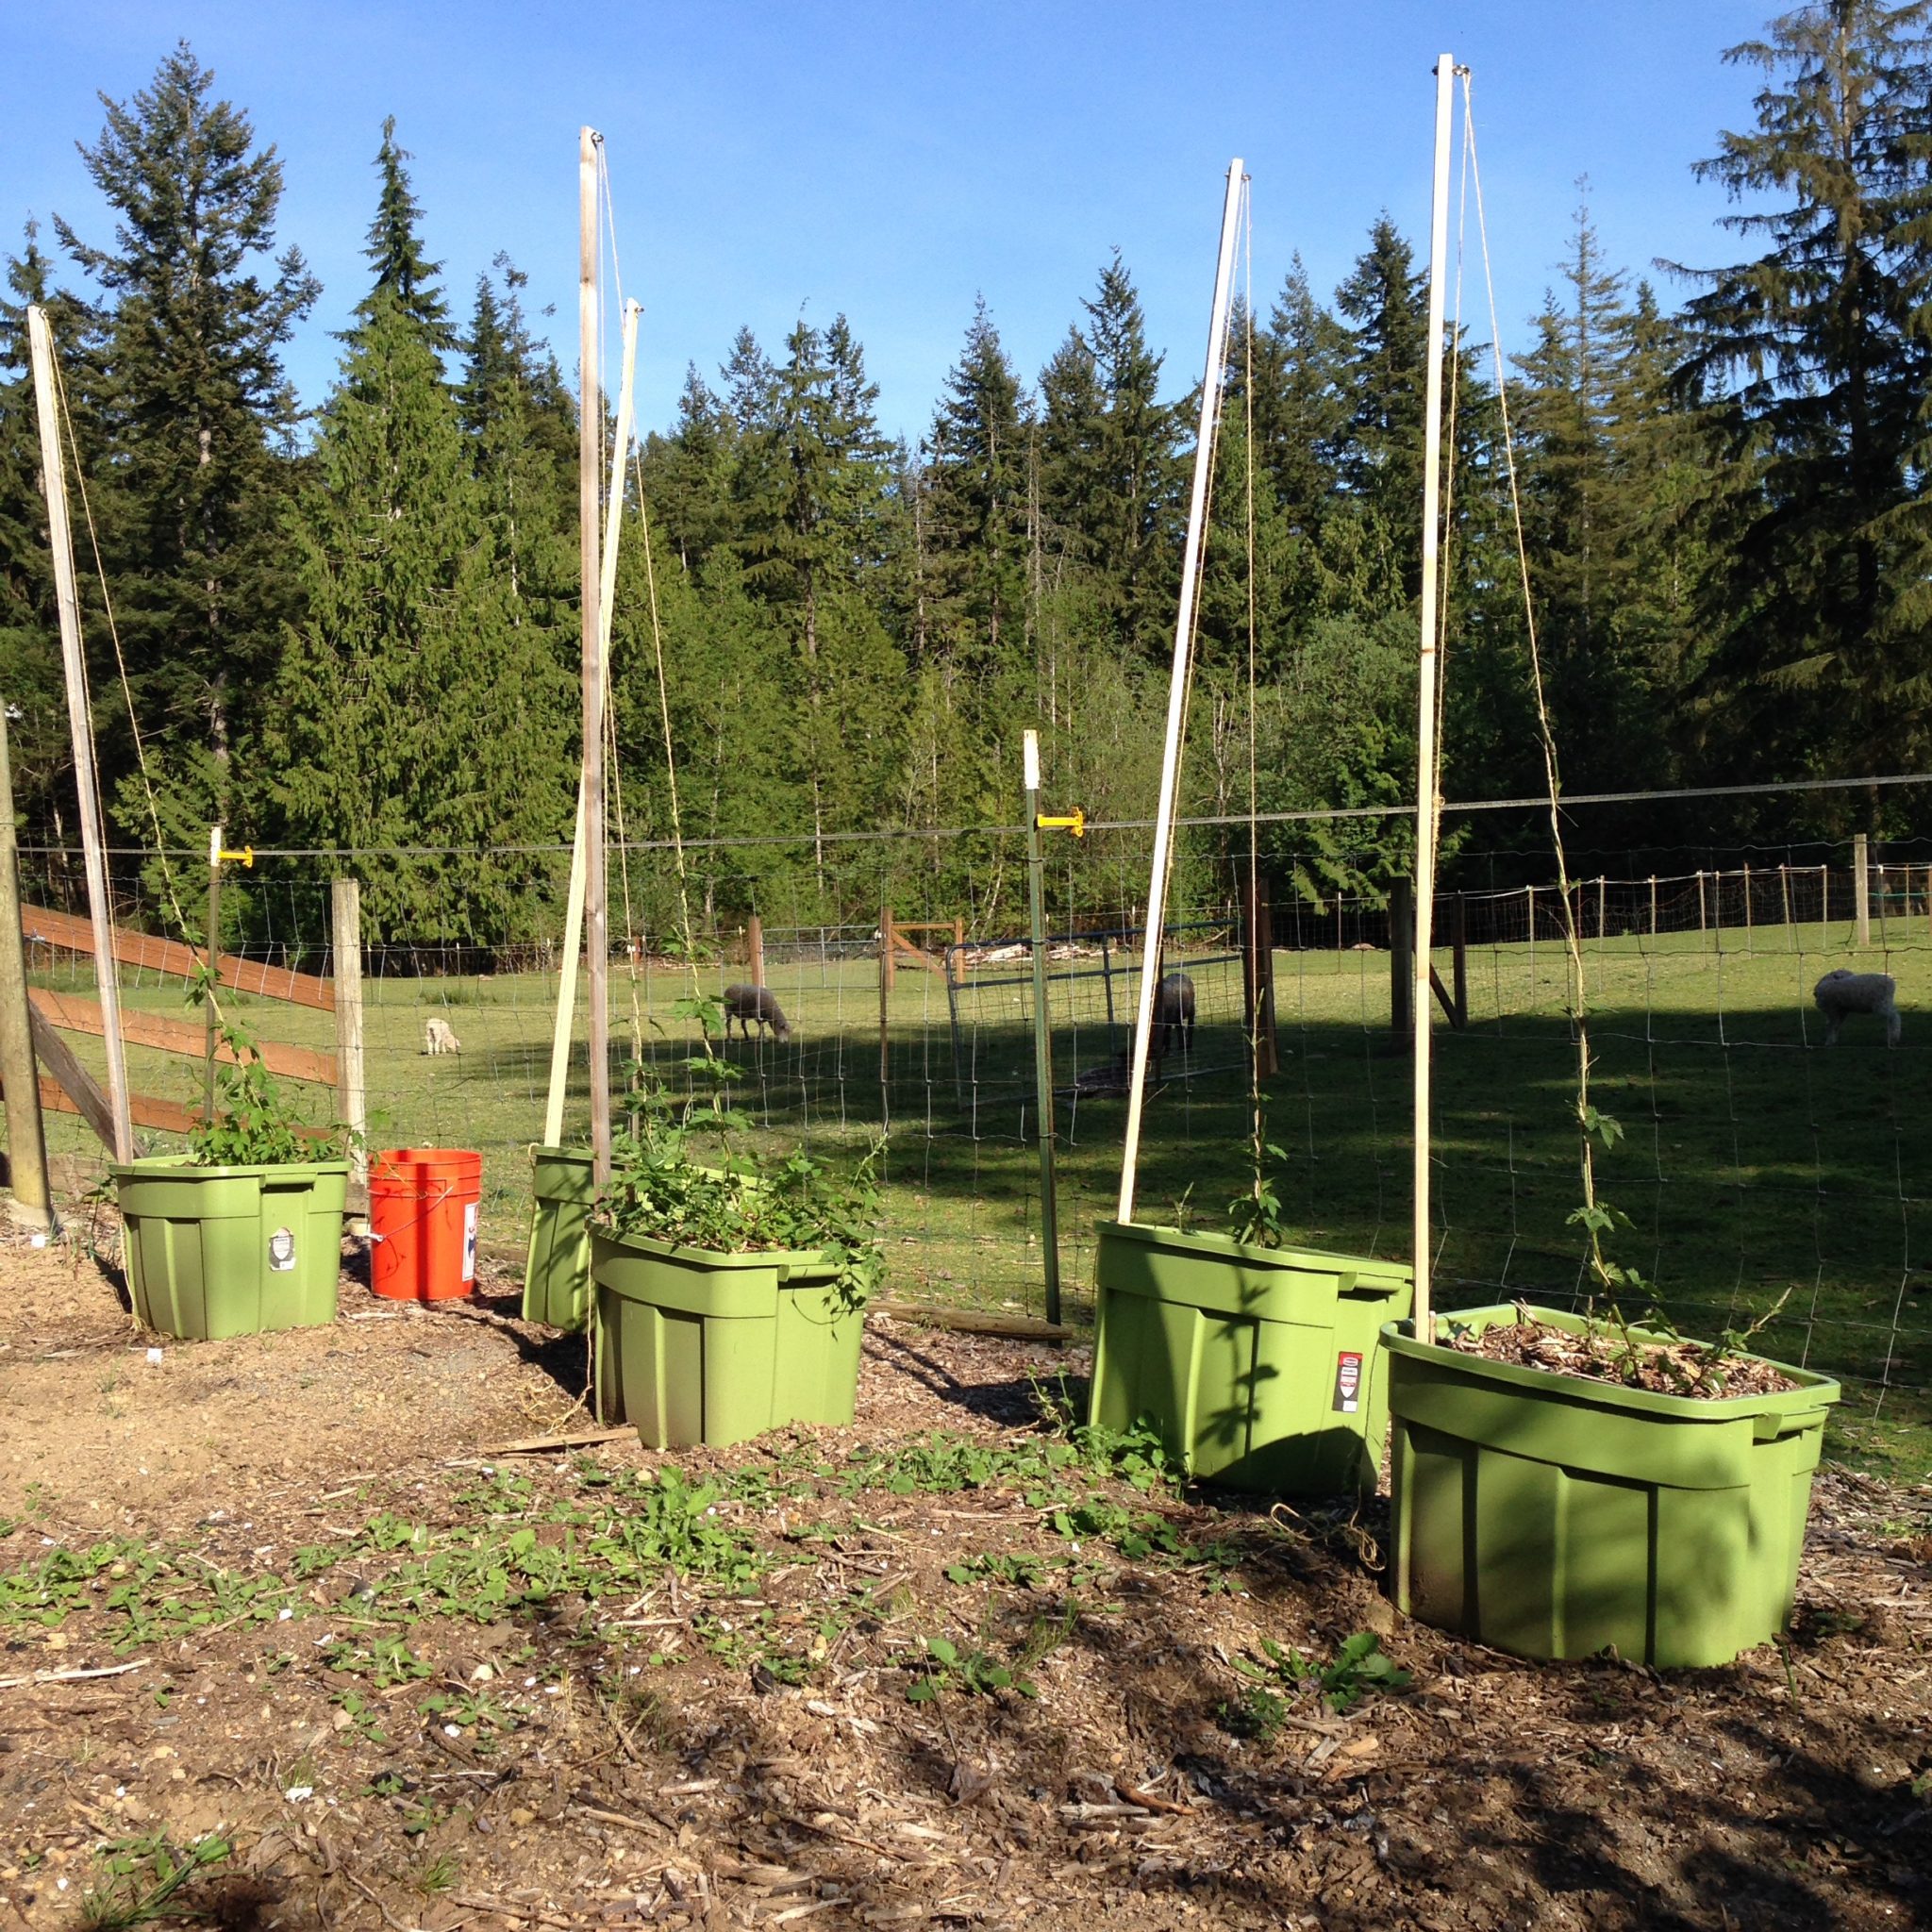
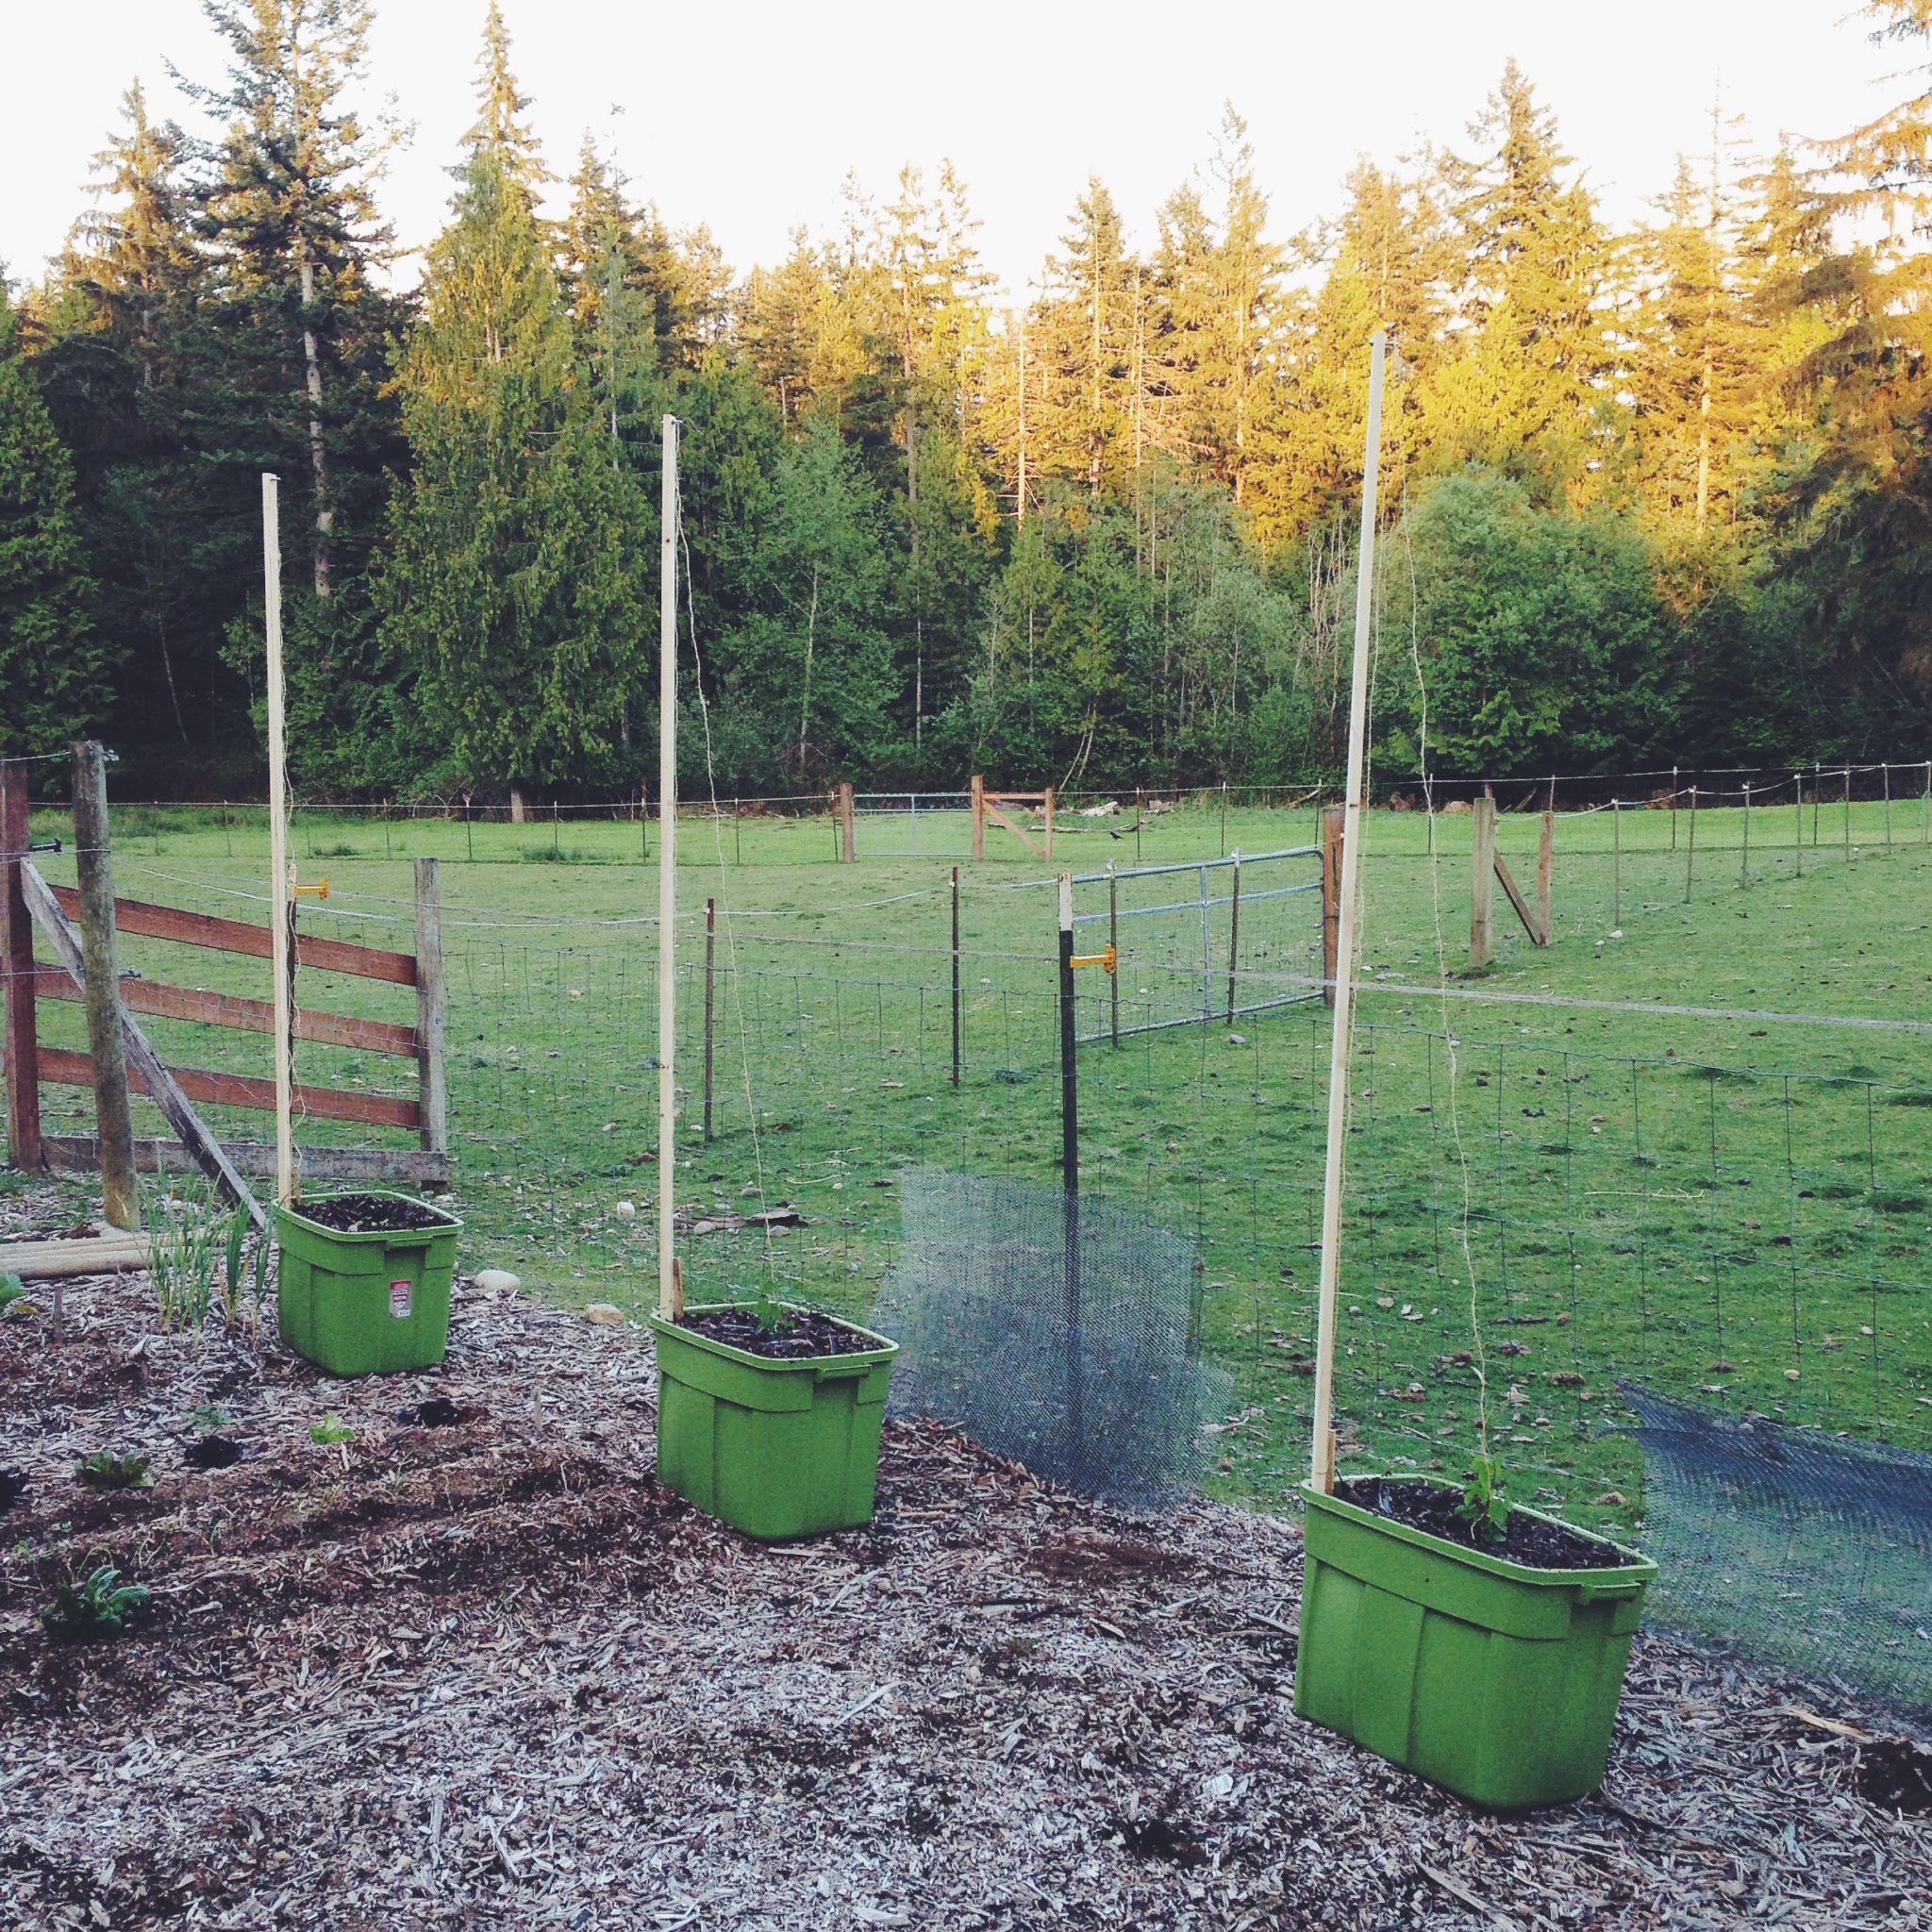
    Last year, I purchased 3 hop rhizomes and planted them in containers, and the Underhill Hopyard was born. I used large Rubbermaid bins with holes drilled in the bottom as the containers, and built adjustable trellises for them based on an article in Brew Your Own magazine, which worked really well. I purchased Cascade, Willamette, and Mt. Hood rhizomes, focusing on Northwest US varieties knowing that they grow well around here. Hops don’t hit their stride until around the third year, so the first year harvest was pretty meager, but I was able to make use of a few ounces of wet hops in a couple beers.

    The 2015 hopyard: Willamette, Cascade, and Mt. Hood hops
    The 2015 hopyard: Willamette, Cascade, and Mt. Hood hops

    This year, I picked up a couple more varieties, and now have a total of 5 containers, adding Chinook and Centennial. These two Northwest natives are both higher in alpha acids than the other varieties, which means I need fewer ounces to achieve the same level of bittering, but they also work well as flavor and aroma hops.

    The 2016 hopyard: Willamette, Centennial, Cascade, Chinook, and Mt. Hood hops
    The 2016 hopyard: Willamette, Centennial, Cascade, Chinook, and Mt. Hood hops

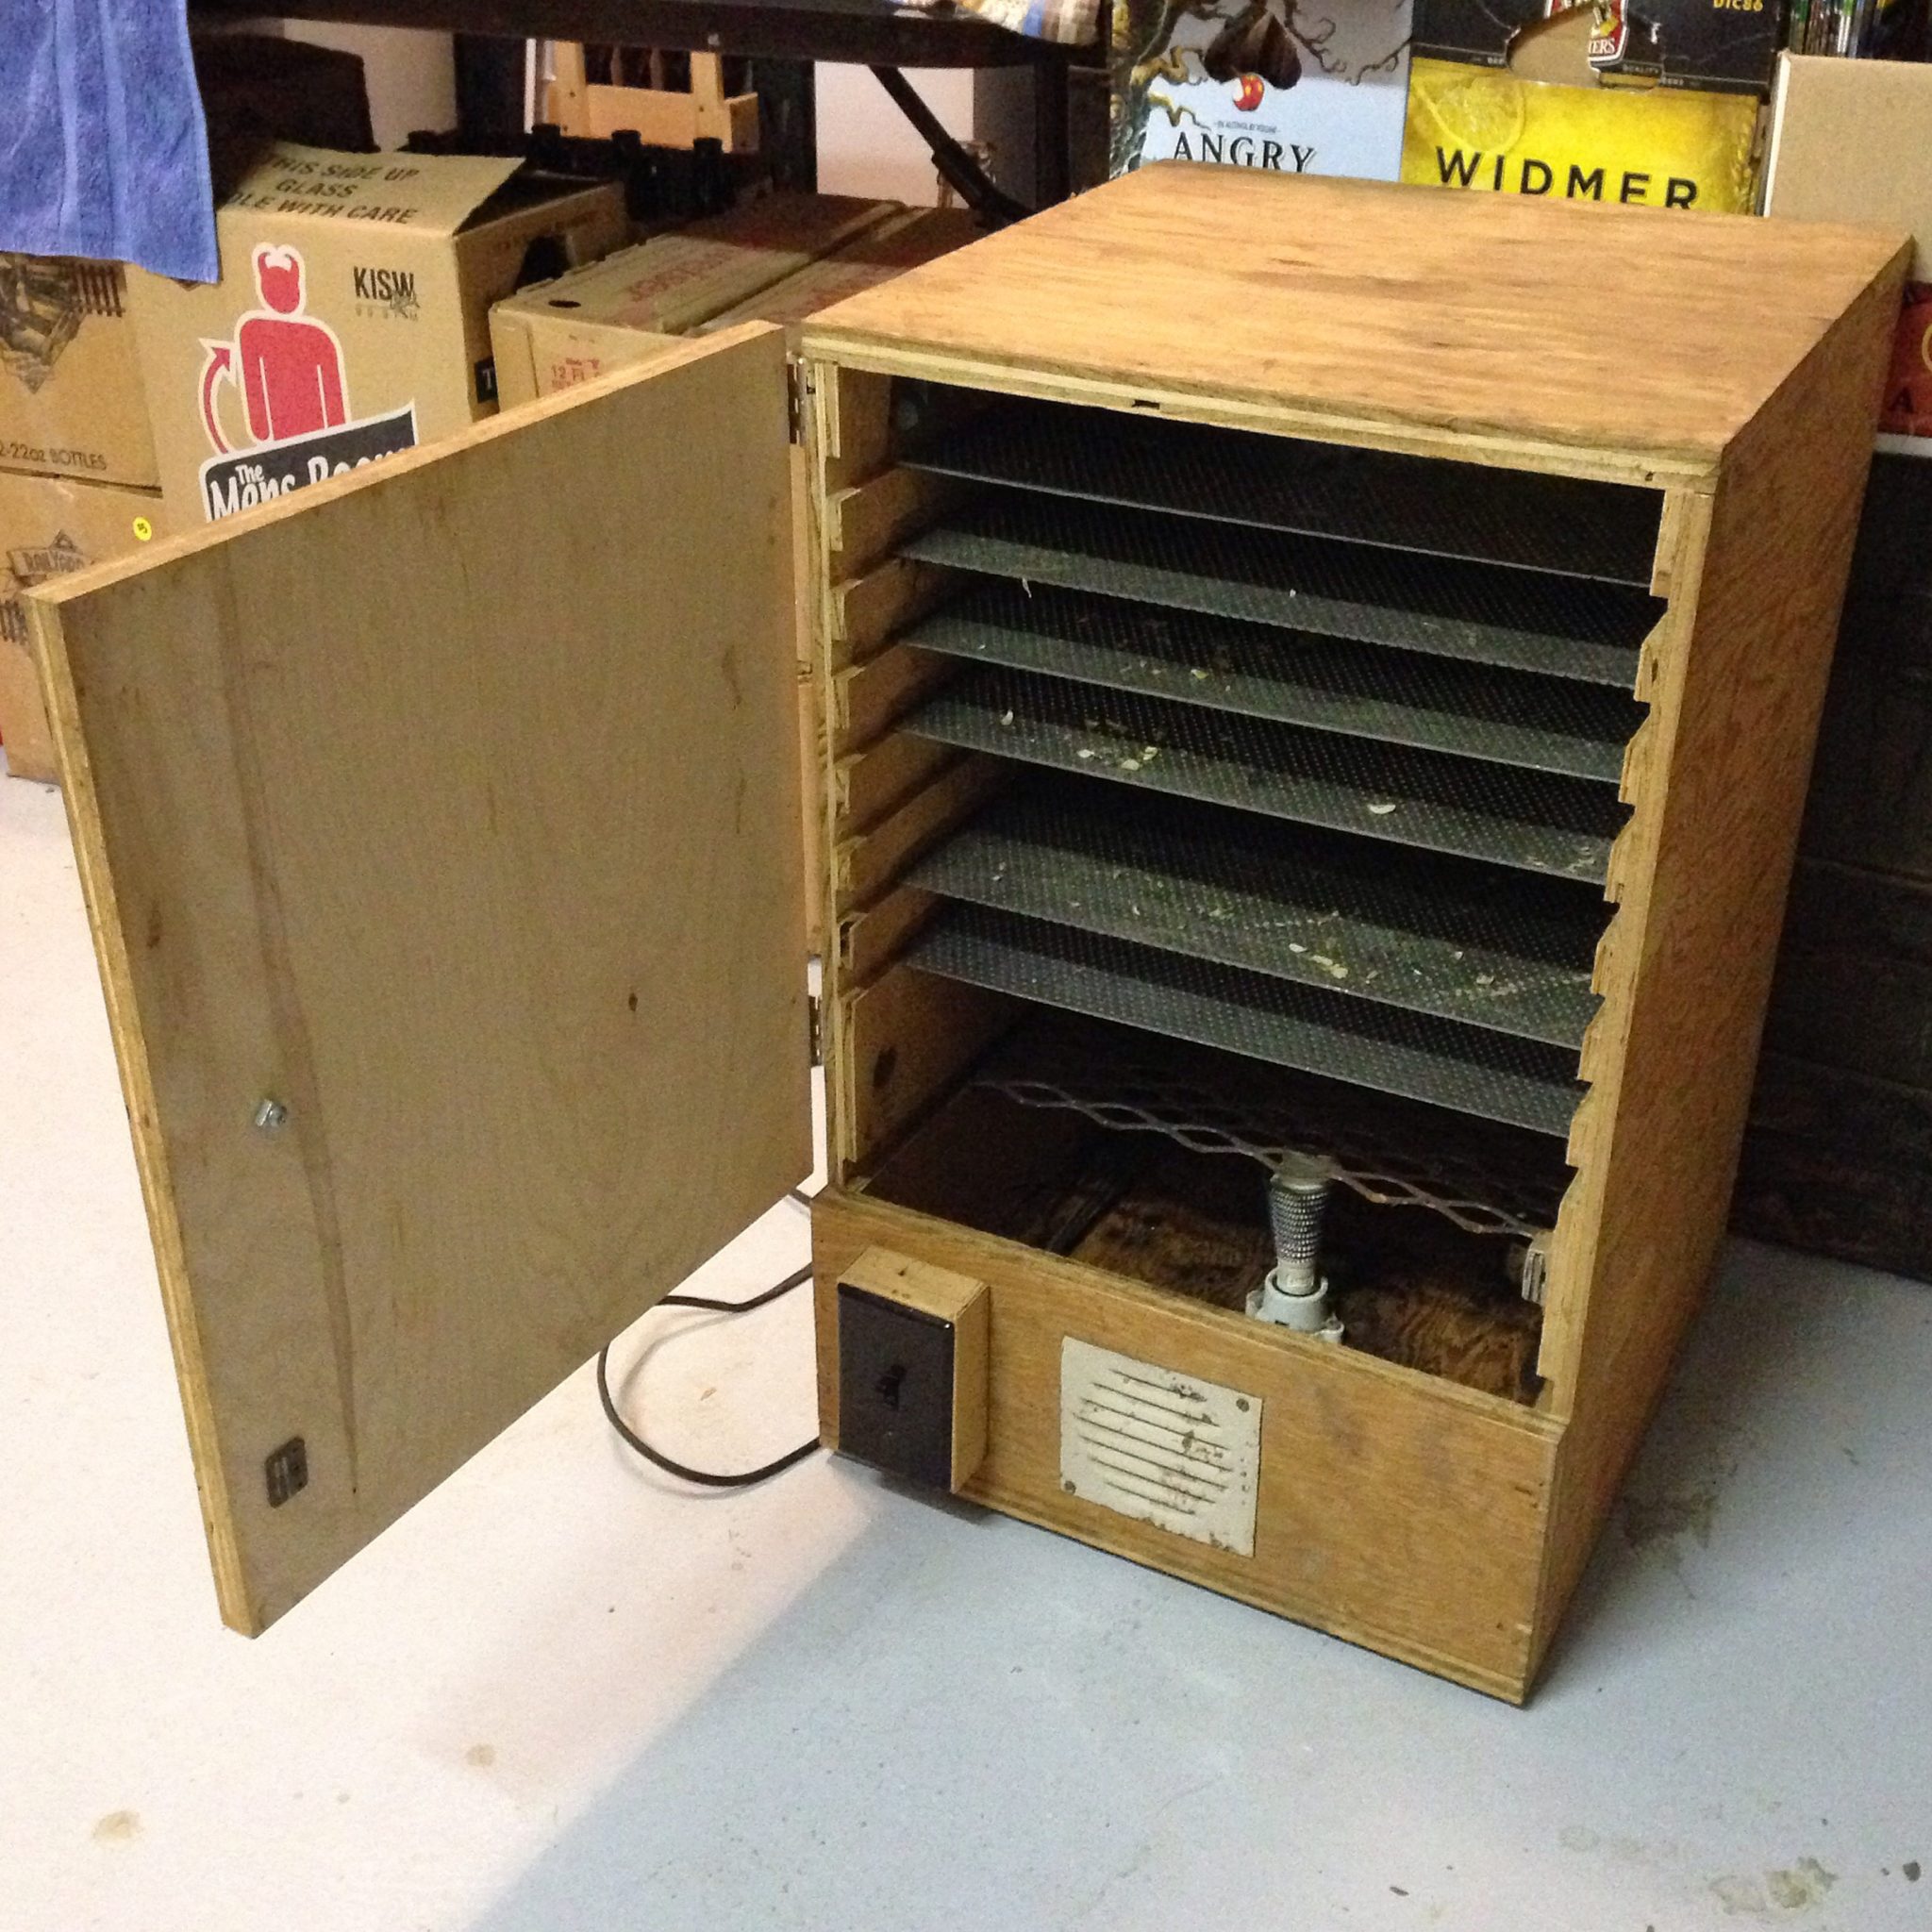
    With the warm weather we’ve been having this early in the spring, the hops have really taken off already. They need plenty of water, but they love the sun, and are actually pretty easy to grow. Harvesting goes pretty quickly (especially with a few extra hands), and now that I have an oast (which is basically a dehydrator specifically for drying hops), I can efficiently dry my harvest in the fall, then vacuum seal and freeze them for use throughout the year.

    The "new" hop oast for drying the crop
    The “new” hop oast for drying the crop

    To make full use of this year’s crop, I’m planning on brewing a Harvest Ale that utilizes 100% homegrown hops. It’ll be a bit of a gamble, since I won’t know the exact levels of alpha acids to calculate bitterness, but it should be tasty nonetheless. Keep an eye out for it at our tastings this fall!

    The final product, dried, sealed, and ready to be frozen
    The final product, dried, sealed, and ready to be frozen