‘Tis the season for hard cider, and it’s one of the easiest fermented beverages to make! We’ll show you step by step how to make hard cider from a gallon of fresh raw cider, and give you the resources you need to ferment this delicious drink for the winter.
Some of the links below are affiliate links, which means that if you make a purchase through one of those links, I will earn a commission from the sale. This doesn’t affect your cost! I recommend these products because they have been helpful to me, and I hope that they will be helpful to you too.
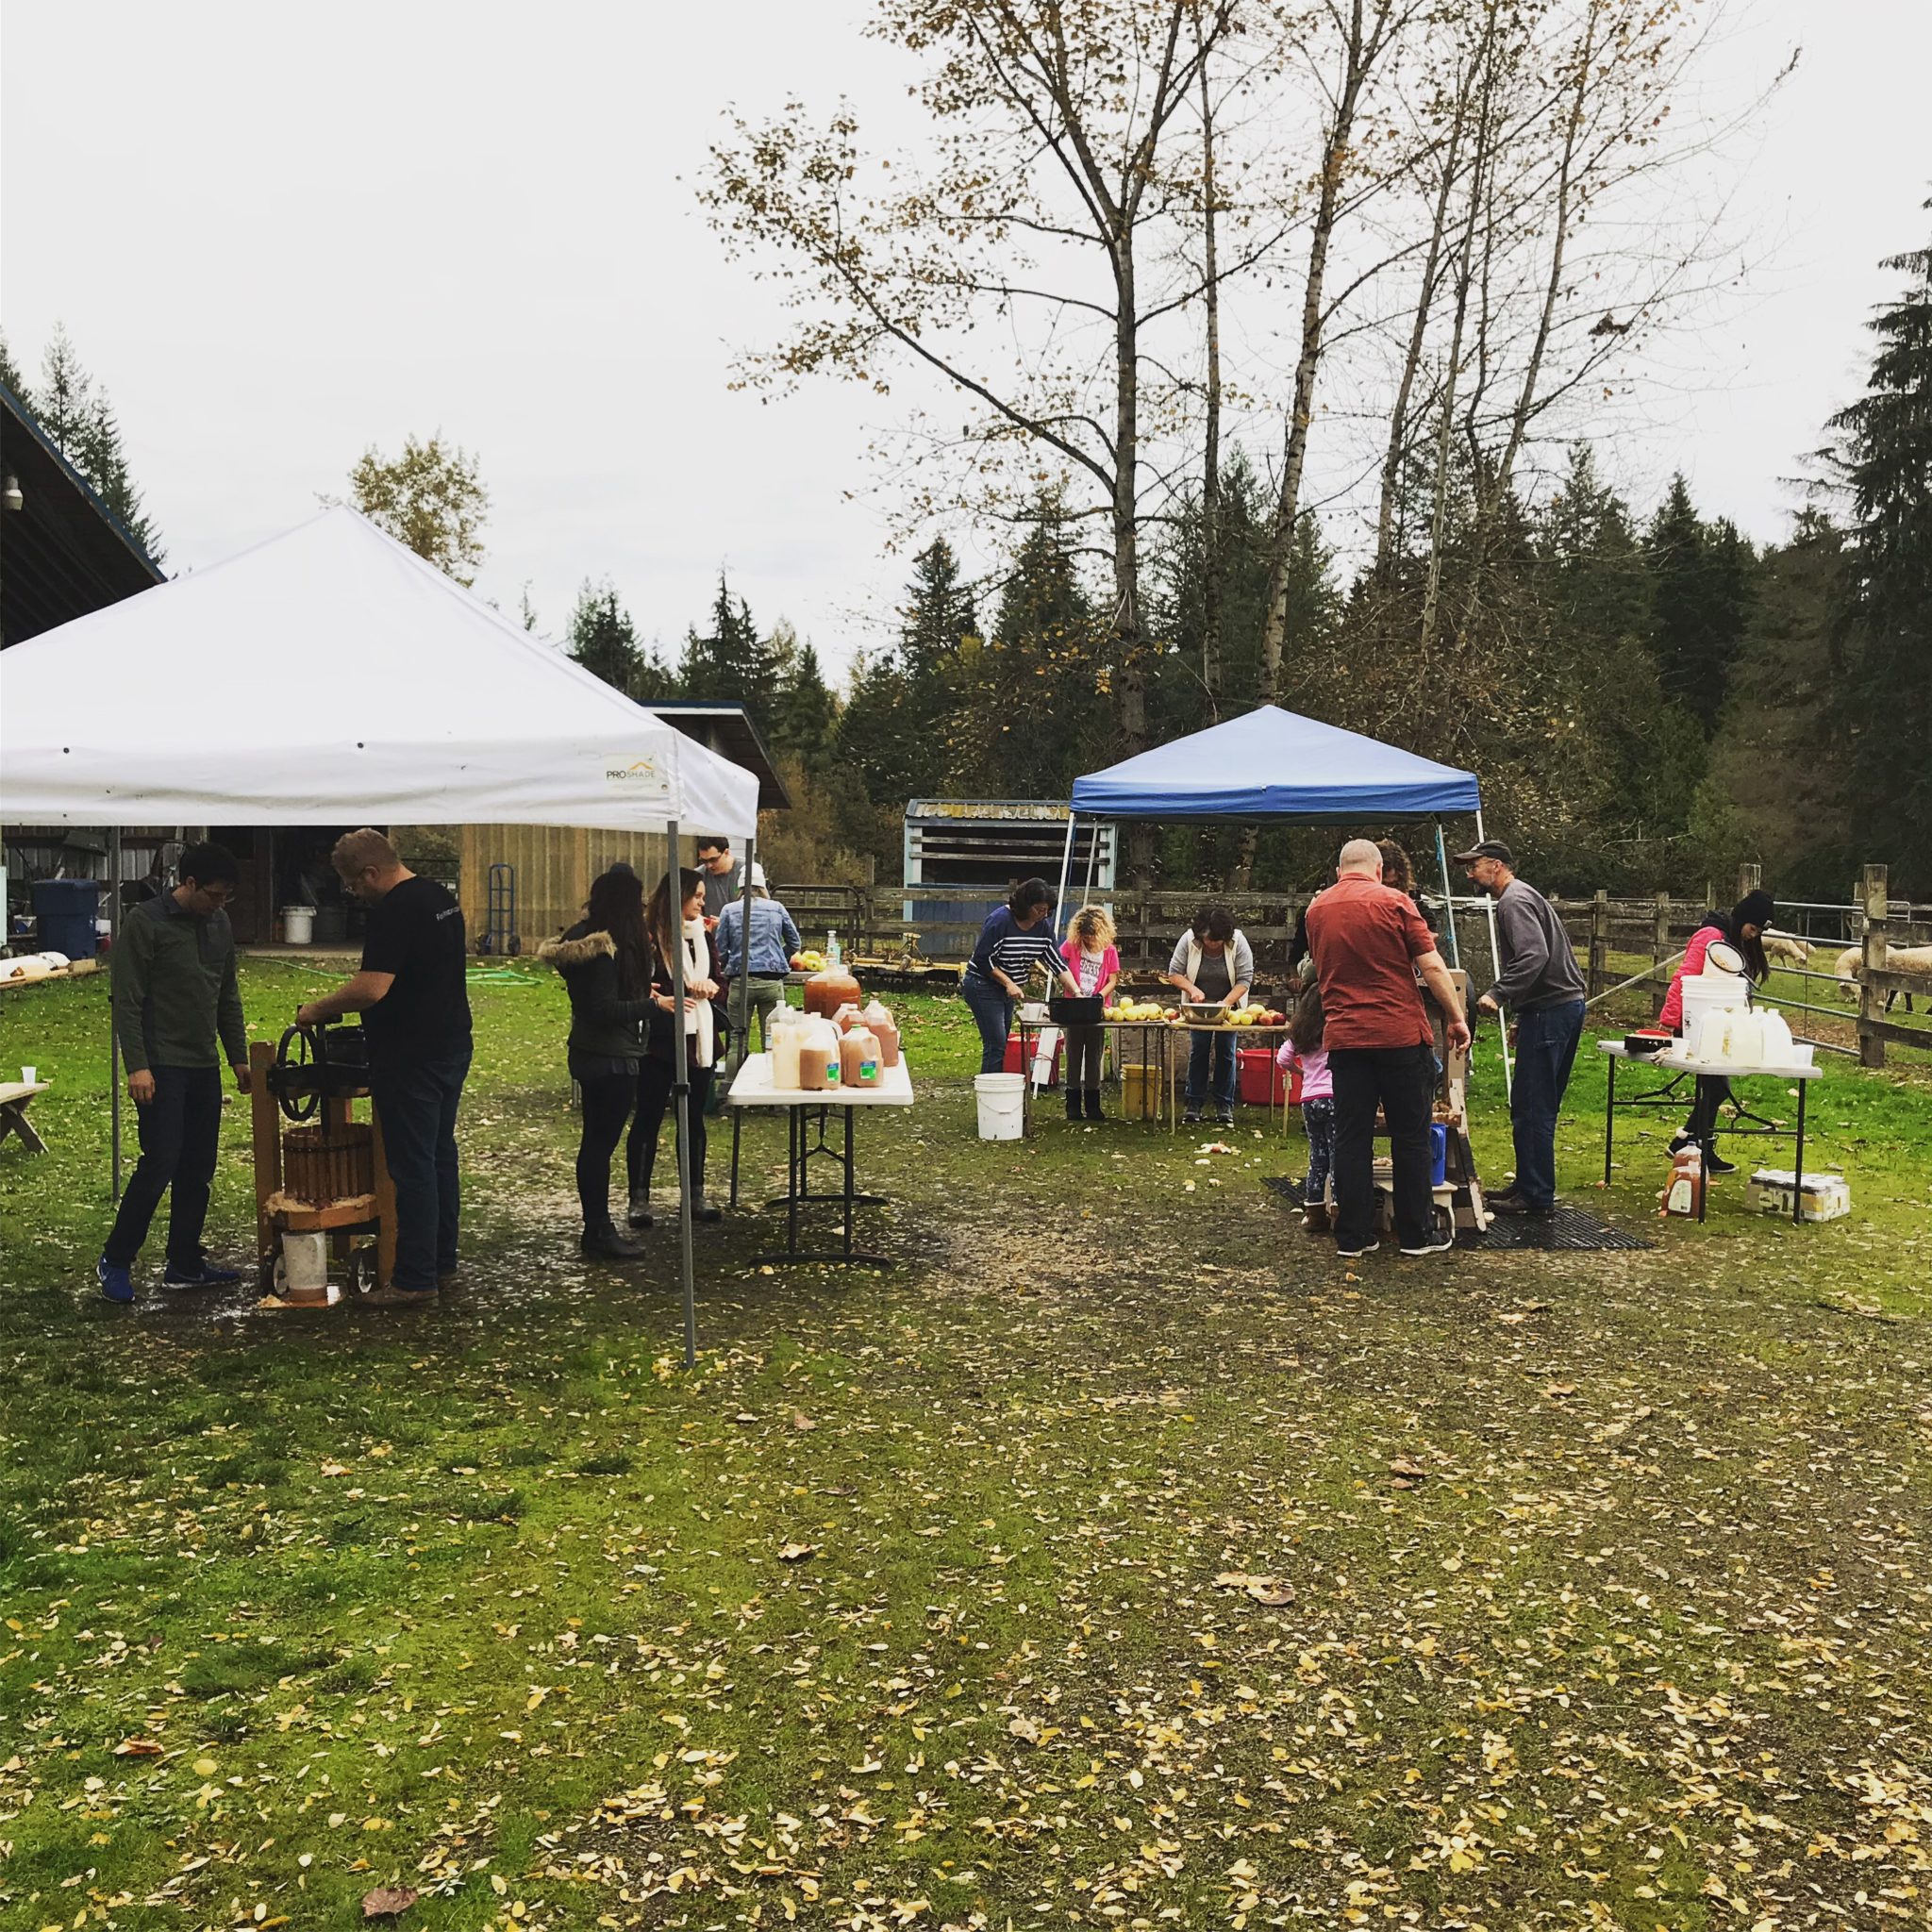
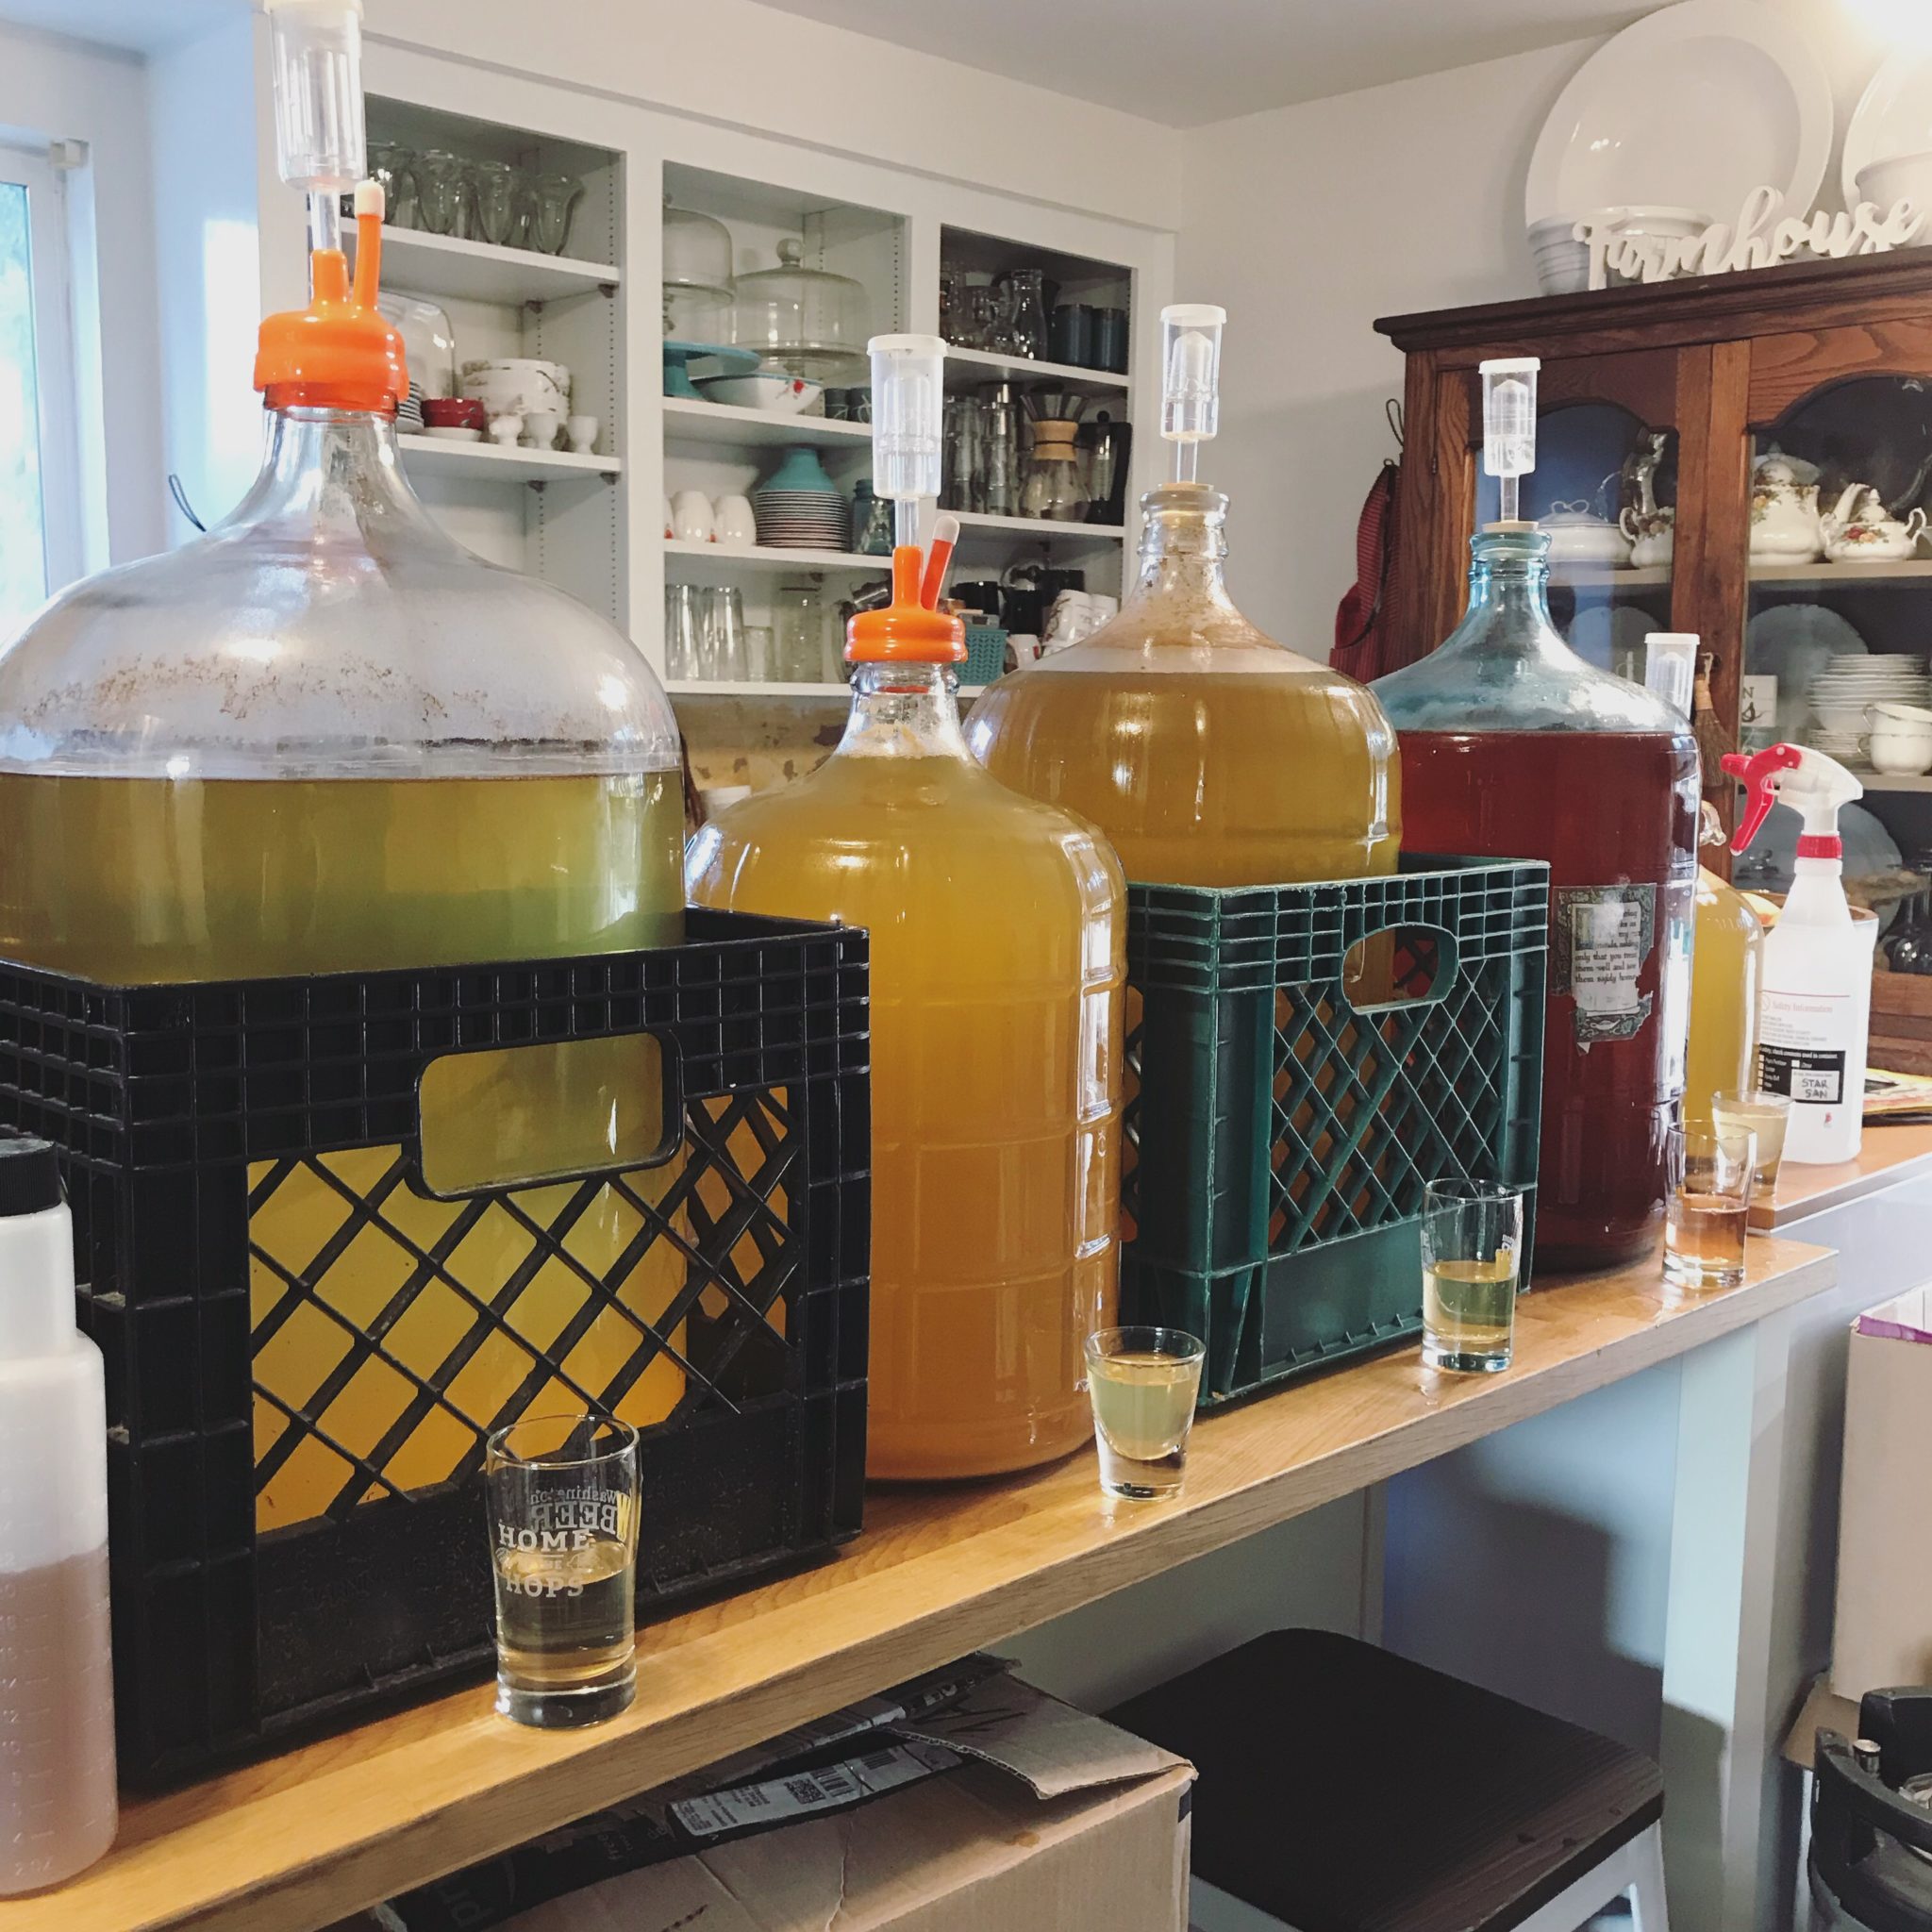
Every year, my parents’ neighbors host a cider pressing event. Everyone gathers together to wash, chop, grind, and press apples into fresh cider. It takes us about 6 hours to process 4000 pounds of apples from Eastern Washington into gallons of cider. We usually leave with about 10 gallons of cider: 5 for drinking fresh (or turning into mulled cider), and 5 for fermenting into hard cider.
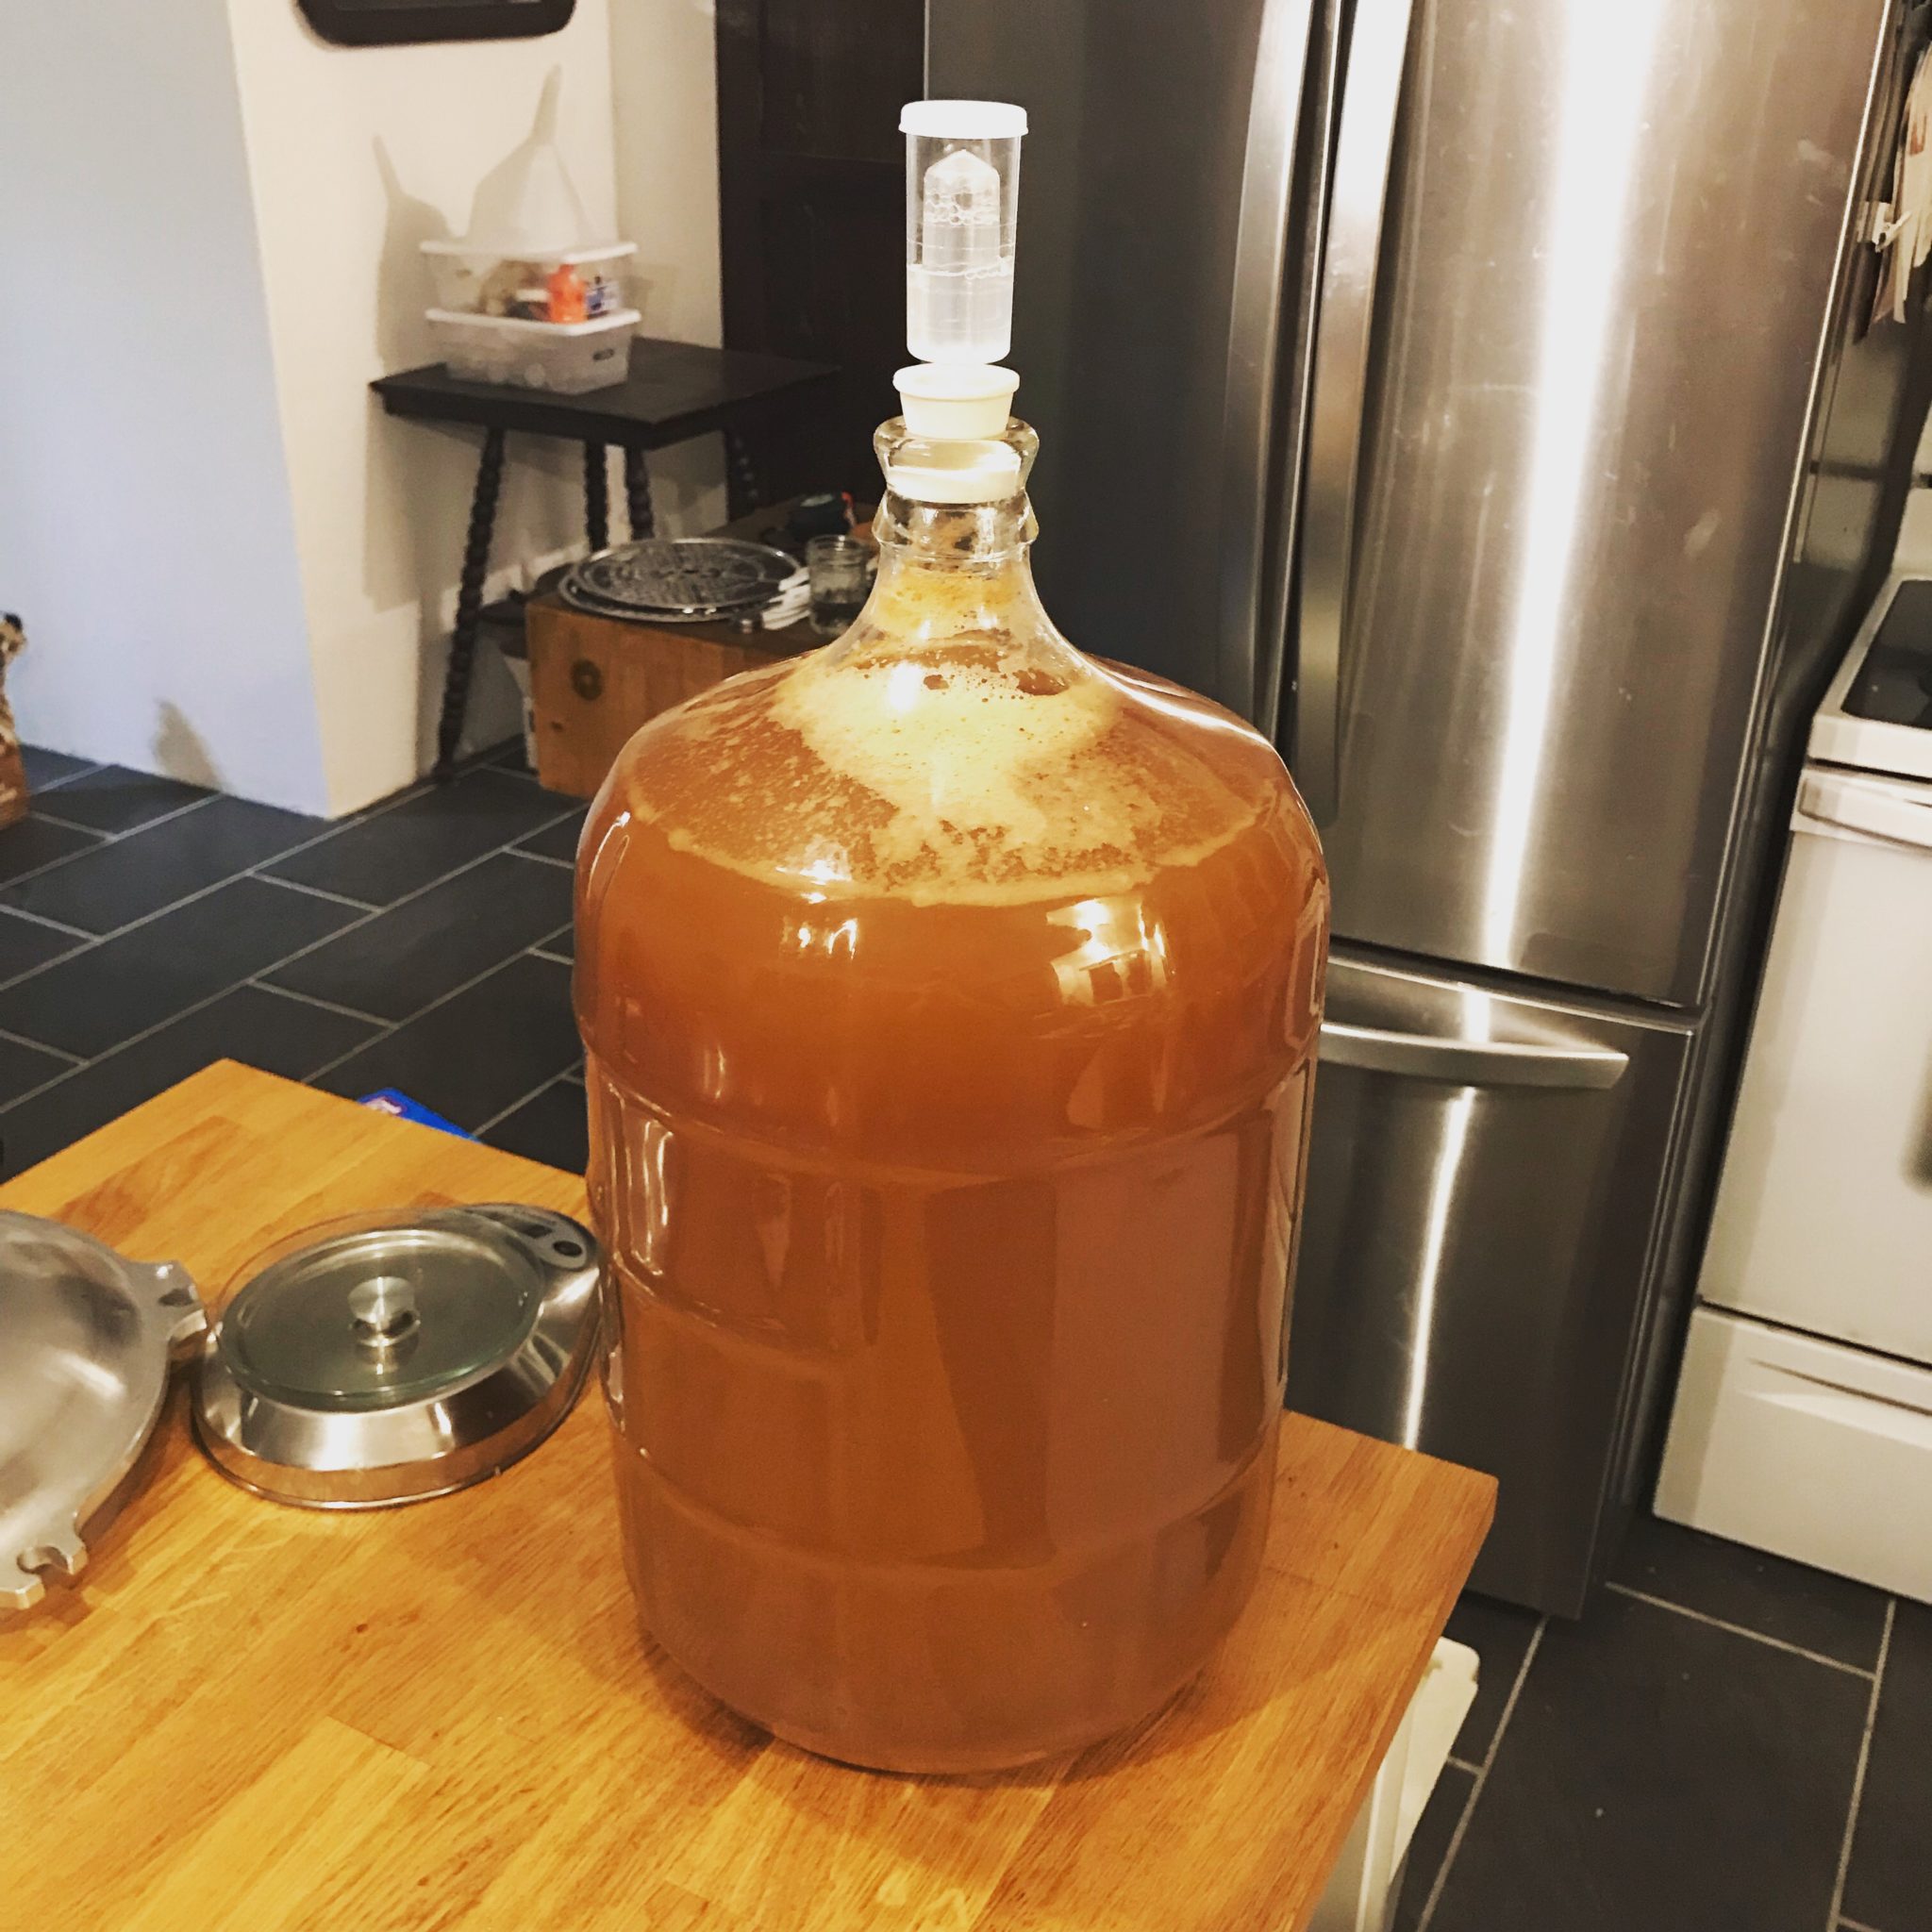
How do we make our hard cider? Here’s the short version: we fill up a carboy directly from the apple press, put on an airlock, and let it ferment.
Hang on—can it really be that easy?
Yes! And here’s how: the apples have natural yeasts and bacteria on their skins. Because the cider isn’t boiled or sterilized, those yeasts and bacteria are free to start fermenting the juice as soon as it’s pressed.
For those who desire a bit more control over the process and final flavor, the cider can be sterilized and a commercial strain of yeast added. However, for the scope of this post, we’re going to teach you how to ferment one gallon of fresh raw cider. We have found this to be the easiest and simplest approach.
What You’ll Need
First, you’ll need a fermentor. If you’re just getting started, we recommend this 1 gallon glass jug that includes an airlock and stopper ($13.68 on Amazon).
Next, you’ll need a way to sanitize your fermentor. We like Five Star’s Star San product. It’s a food grade, acid-based sanitizer that you don’t have to rinse out afterward. You can get 8 oz of Star San ($12.64), which will last you quite a while.
Finally, you need 1 gallon of fresh raw cider. The best way to get this is to press the apples yourself, or get some raw cider from a local farm. To avoid spoilage, we recommend getting in your fermentor right away. You can refrigerate it for a few days until you’re ready if need be. If you’re going to press the cider yourself, you’ll need 12 to 16 pounds of apples to get 1 gallon of cider.
How To Ferment Hard Cider
Before you do any fermentation, clean and sanitize your equipment. This is the most important step! Use soap and hot water to clean the glass jug, stopper, and airlock. Then follow the instructions on your sanitizer to sanitize everything.
If you’re using Star San, you’ll only need to put about 1/5 oz of it in the glass jug. Fill the rest of the jug with cool water, and let it sit. Meanwhile, disassemble the airlock and put it in a bowl with the stopper. After a few minutes, pour the solution out of the jug into the bowl. Be sure the parts are covered, and let that sit for a few minutes as well. Then reassemble the airlock and fill it half way full with some of the sanitizer solution.
Now the easy part:
- Pour your fresh raw cider into the gallon jug.
- Then put the stopper and filled airlock in place.
- Finally, place the jug in a cool, dark corner and forget about it for a month.
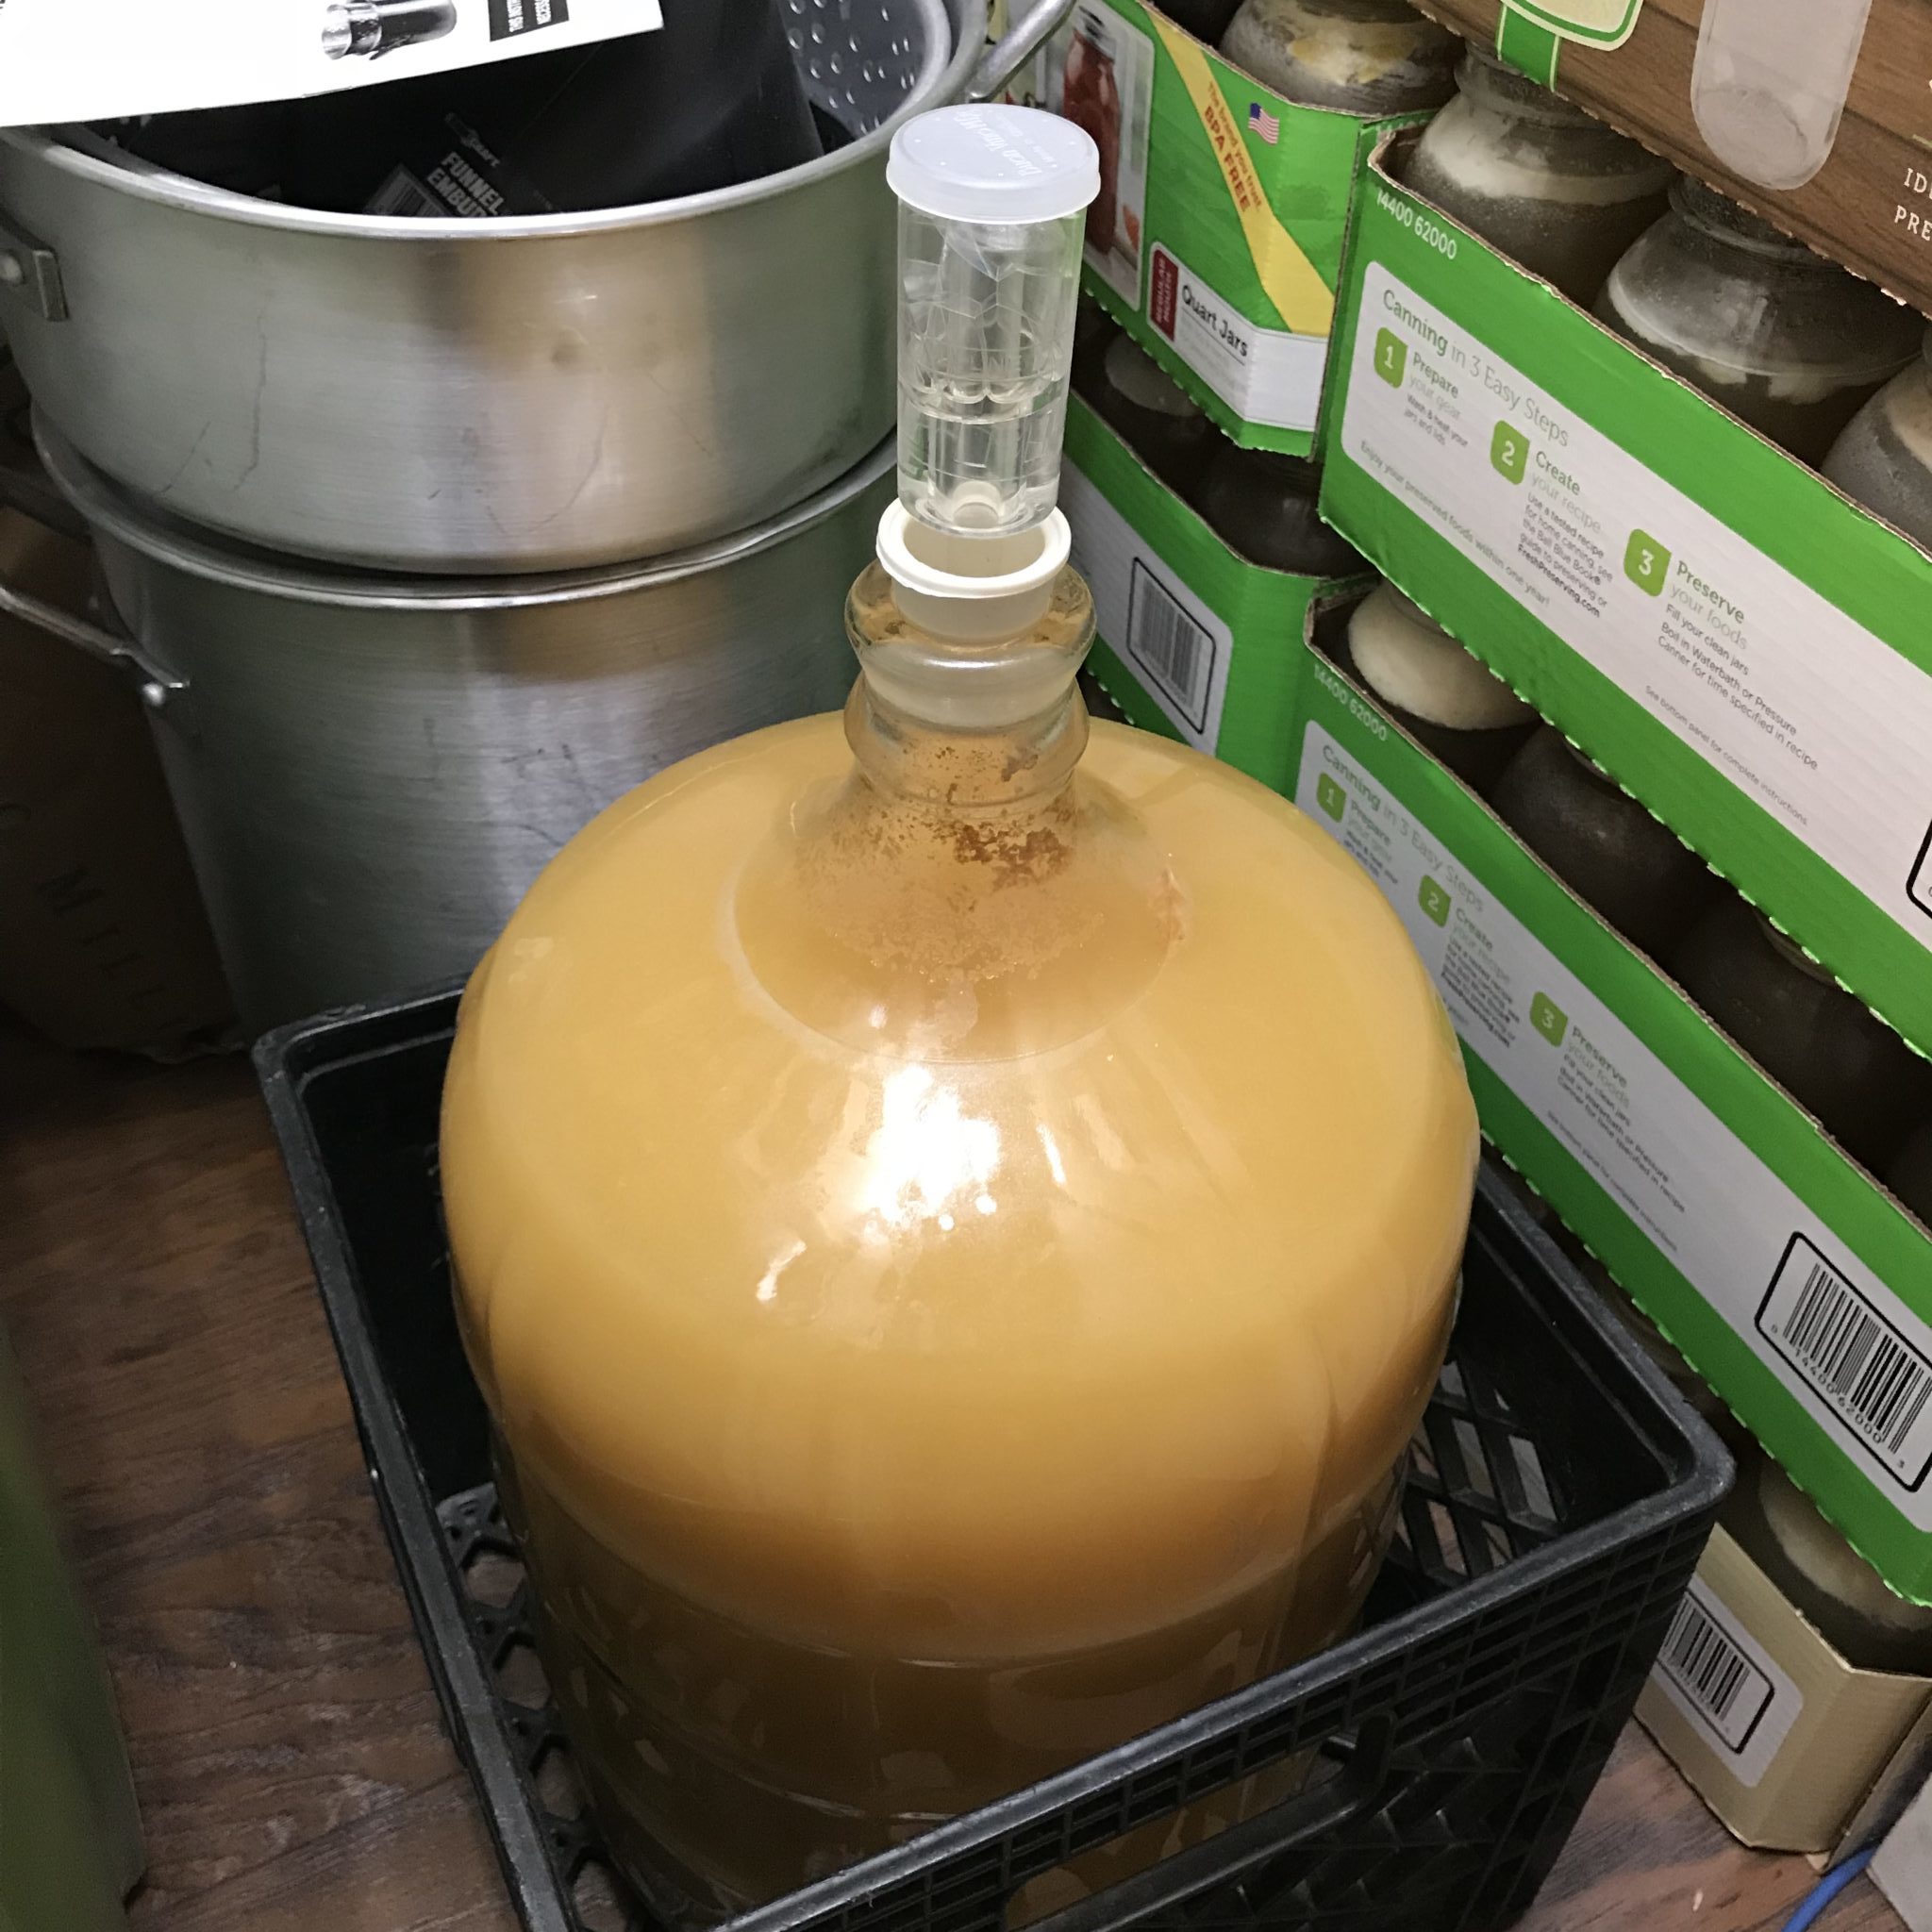
Primary fermentation will take about a month. However, you can let it sit for longer than that; we’ve let cider sit for 6 to 18 months before drinking it. If you let it sit longer, be sure to check on it periodically, and keep the airlock half full with sanitizer solution. We’ve found it’s handy to keep a household spray bottle filled with sanitizer solution for this purpose.
How To Drink Hard Cider
Last step, of course, is to enjoy your tasty creation. You can drink it straight from the jug, although it won’t be carbonated, making it more like an apple wine.
If you want to bottle and carbonate it, you’ll need a few more things:
- Bottles and caps. You can get standard beer bottles, bottle caps, and a capper if you’d prefer. However, to keep things simple, we recommend going with Grolsch-style swing top bottles. That way, you won’t need to buy caps or a capper separately. You can get these 16 oz bottles in a case of 12 ($35.99).
- A small kitchen funnel for pouring the cider into bottles.
- 0.6 oz or 17 grams of white sugar.
First, you’ll need to clean and sanitize the bottles with their lids and the funnel, using the same steps as for the glass jug above. For the sanitizing step, you can fill a large mixing bowl with sanitizing solution. Dunk each bottle into the bowl to fill it up, and then empty it back into the bowl. Be sure to sanitize the funnel as well.
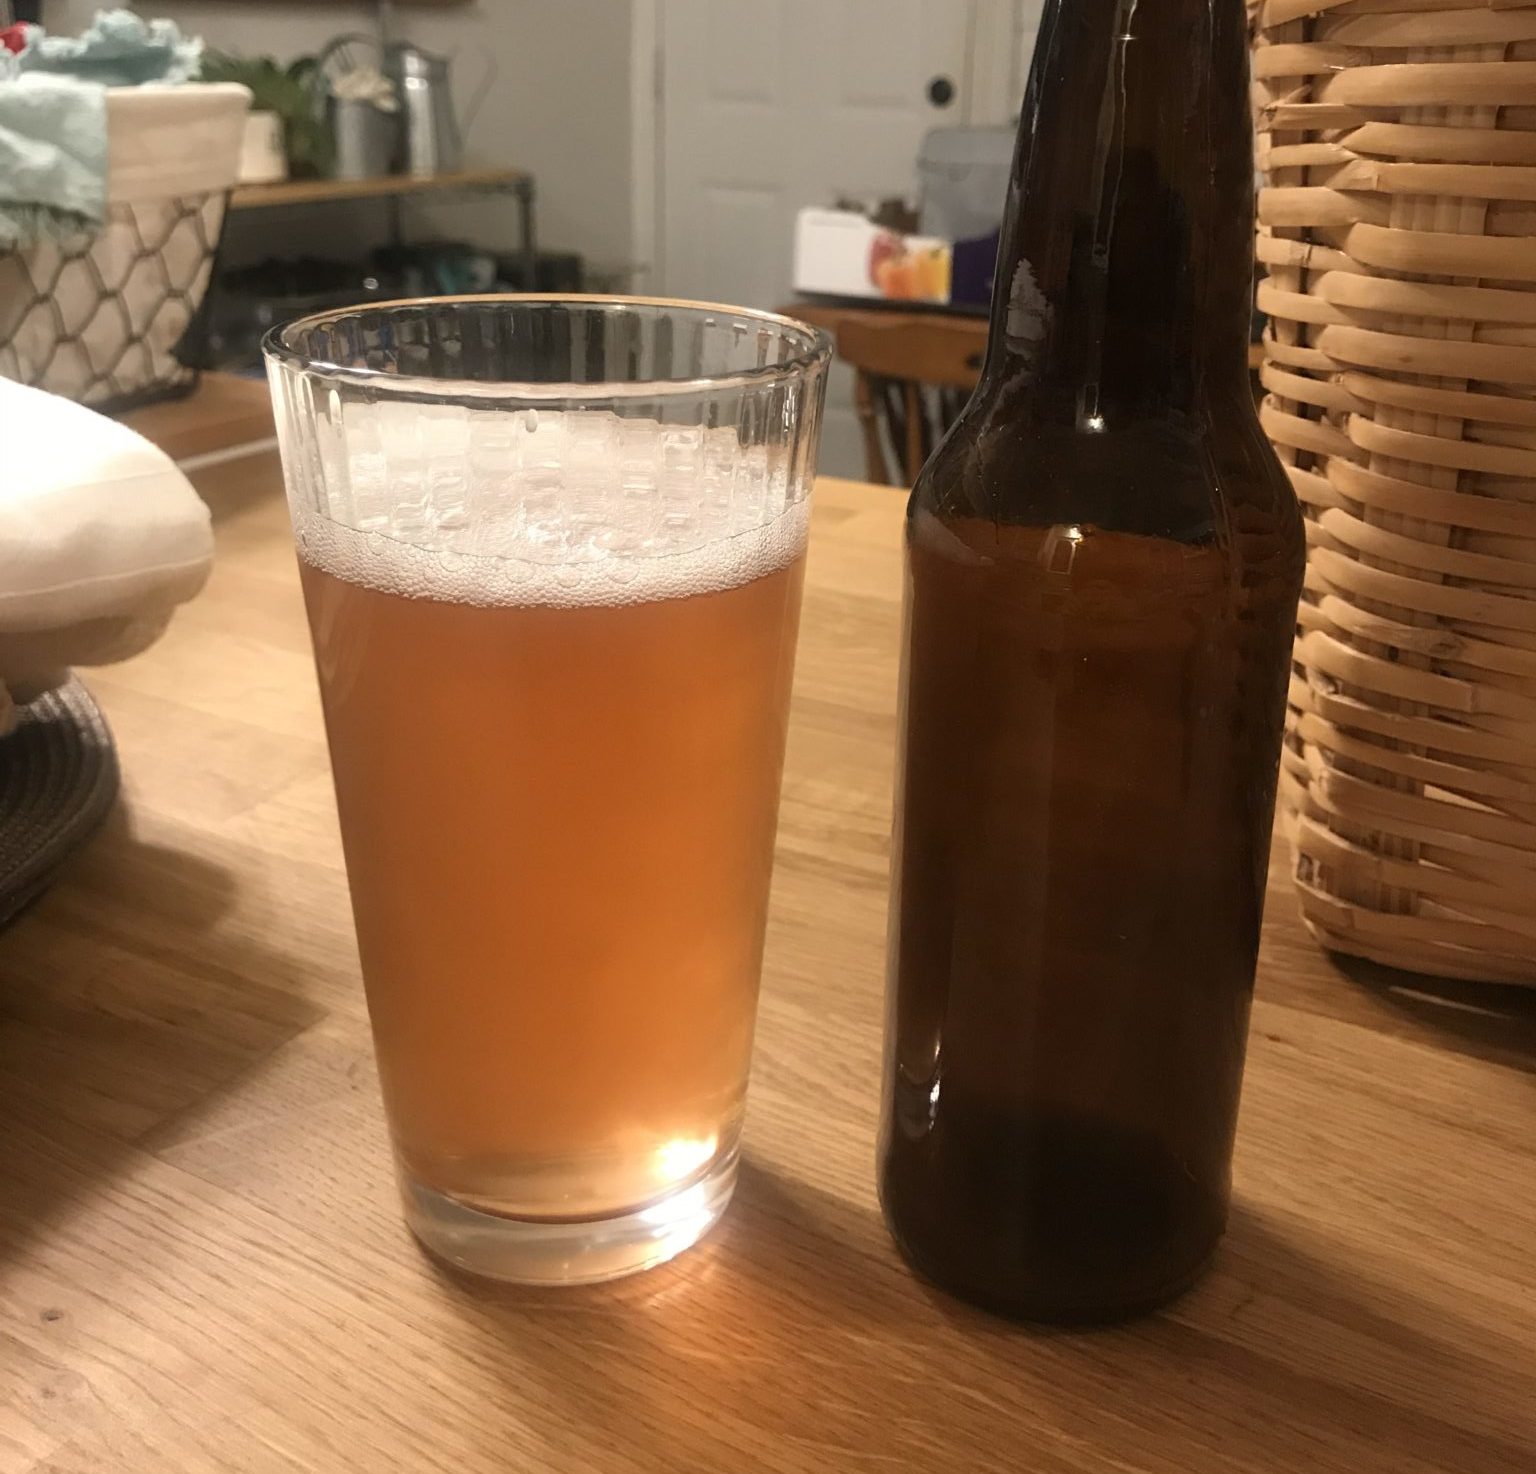
Measure out the sugar on a kitchen scale and pour it into your jug of cider. Swirl it around until the sugar is dissolved. Then, using the funnel, pour the cider into each bottle until it’s about 1 inch from the top of the bottle. Place the caps on the bottles and lock them in place. Leave them in a dark place for about 2 weeks to carbonate. Then you can refrigerate them and enjoy at your leisure!
If you make your own batch of hard cider this year, post a picture on Instagram and tag @underhillbrewing! We’d love to see what delicious beverages you create.