I have wanted a washtub bass for a long time, but I’ve been nervous to build an instrument that is played so intuitively. That is, it doesn’t have a fretboard with defined notes. It can’t be tuned. I would have to play by feel, and that doesn’t come naturally for me.
I actually built a washtub bass when I was in high school, and I built it with a fretboard to try to bridge that mental gap for myself, but it was poorly constructed and a miserable failure: I was never able to get a good sound out of it and was never able to play it well. So, I finally set out to build a proper washtub bass, get myself out of my comfort zone, and learn to play by feel.
Parts
I got most of these parts at my local Home Depot. I already had an extra washer and the hose clamps, and I used a scrap of 2×4 that I had lying around for the block to raise the washtub.
- 17-gallon galvanized steel washtub ($30.70)
- 60″ wood broom handle ($12.60)
- 1/16″ x 6′ coated steel cable ($2.96)
- (2) 1/16″ cable clamp ($5.72)
- (2) 1/4″-20 x 3″ eye bolt with nut ($1.72)
- (3) 1/4″ hex nut ($1.72)
- (2) 1/4″ lock washer ($0.53)
- (2) 1/4″ fender washer ($0.46)
- (1) 1/4″ washer (free)
- (2) 3/4″ – 1-3/4″ hose clamp (free)
- Block(s) to raise washtub (free)
Total cost: $56.41
I tried a couple other options for string: 1/16″ steel cable (uncoated) and weedwhacker line, but the coated steel cable seemed to produce the best combination of feel and sound.
Process
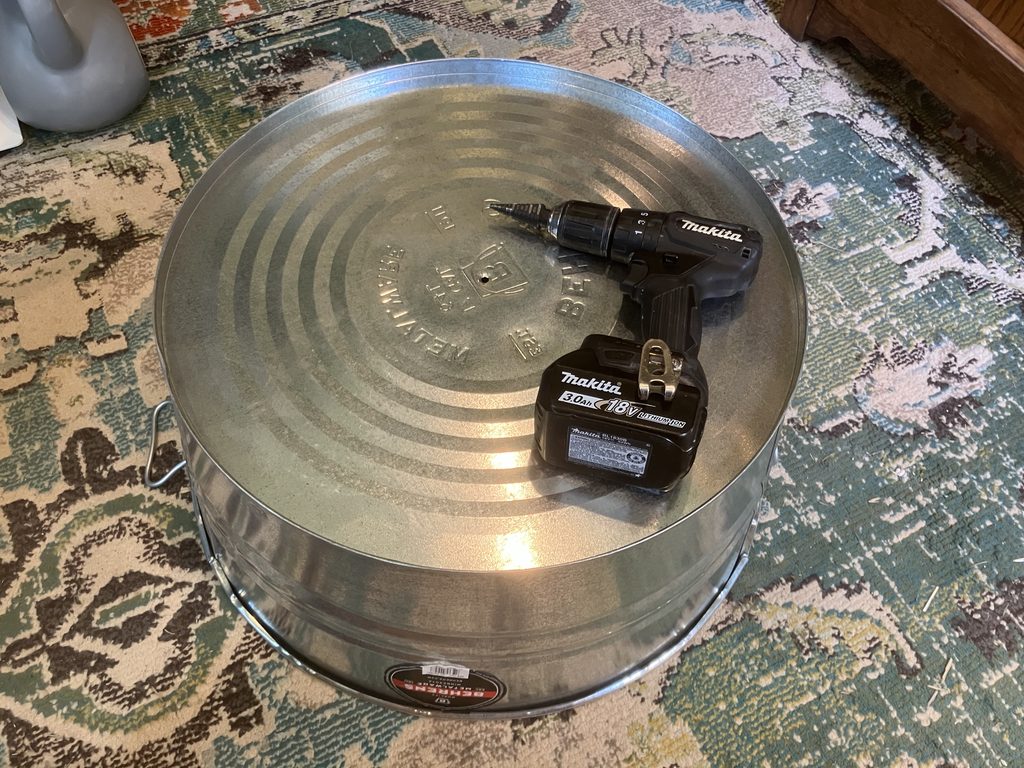
First, I drilled a 1/4″ hole in the center of the washtub. I used a stepper bit to make this easier, but a 1/8″ drill bit and a 1/4″ drill bit would work too, or even just a 1/4″ bit if you have a center punch or a steady hand.
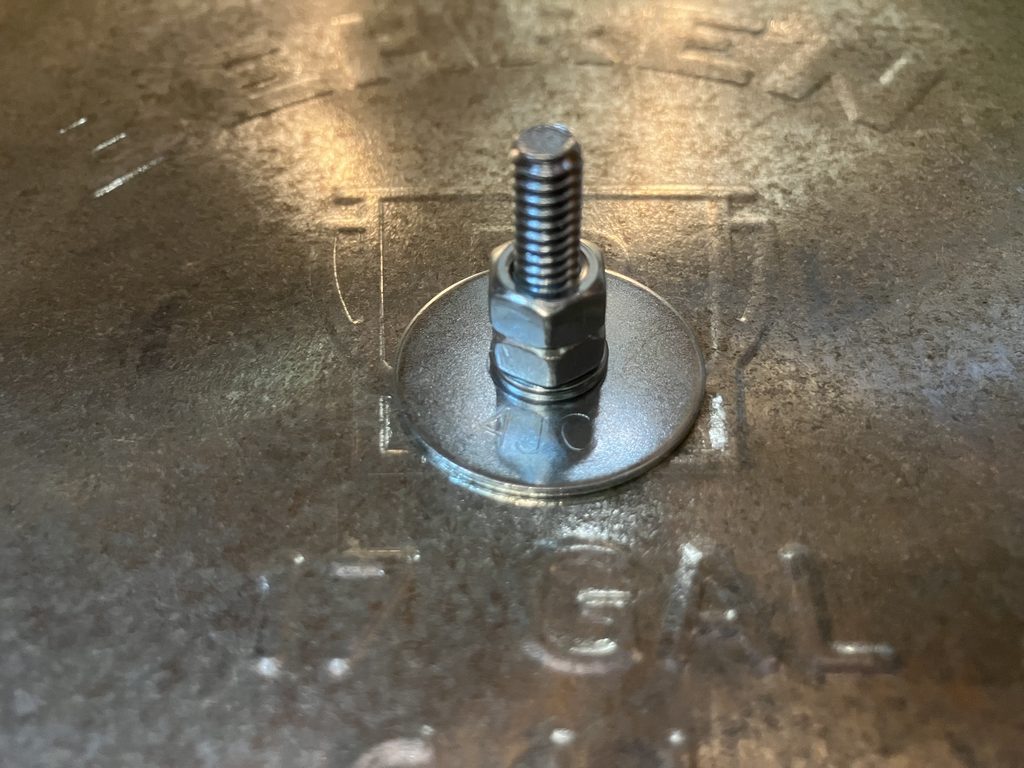
Then, I attached one of the eyebolts through the washtub so the eye is on top (or rather, on the outside of the washtub), using 2 hex nuts, a lock washer, and a fender washer on each side.
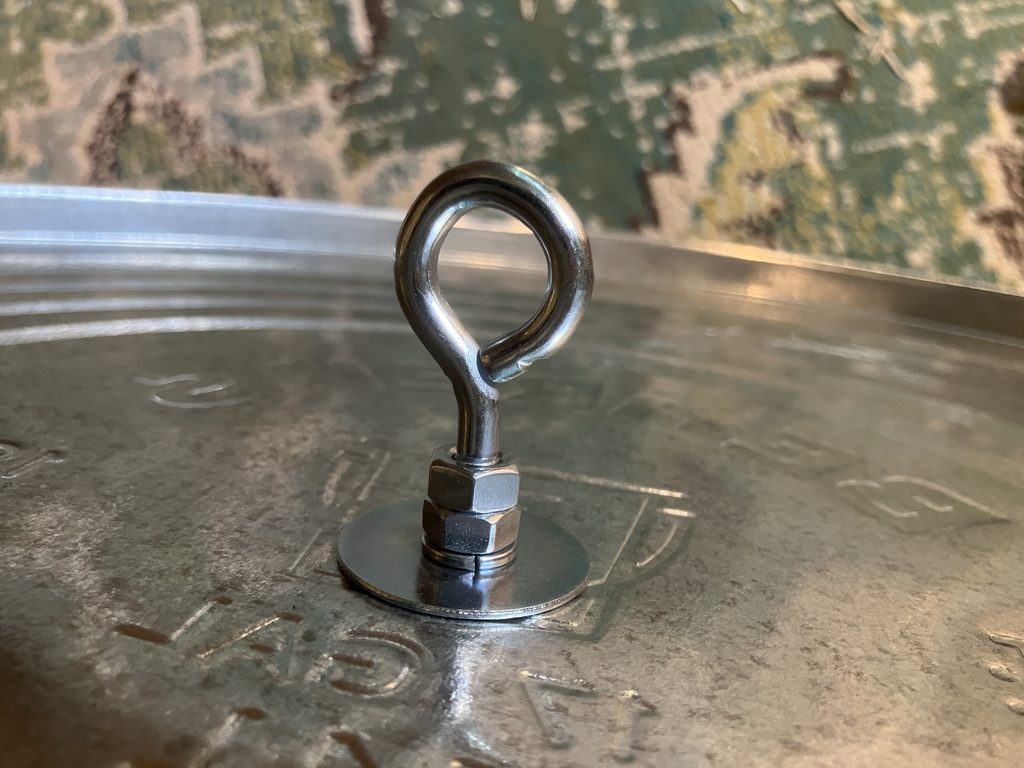
On the inside of the washtub, I ended up added a piece of felt underneath the fender washer later. I don’t think that’s strictly necessary, though, since I was trying to muffle any potential rattling and that spot wasn’t the culprit.
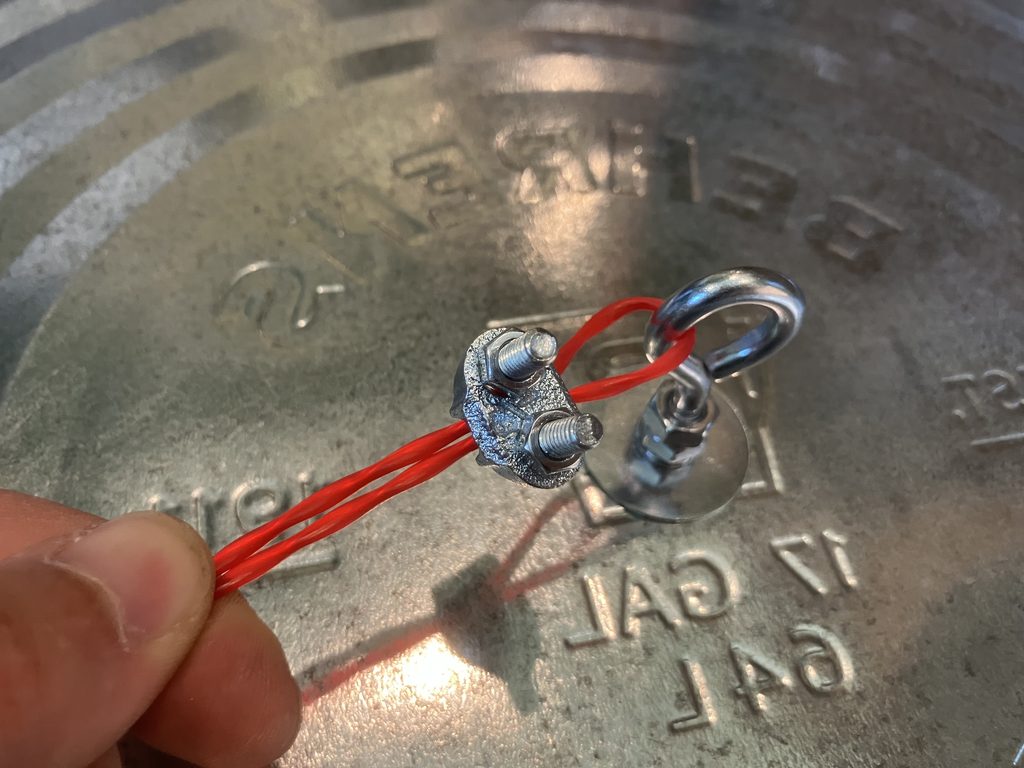
Then, I attached one end of the coated steel cable to the eye bolt using one of the wire clamps. The picture shows my first attempt with weedwhacker line instead, but the attachment is the same.
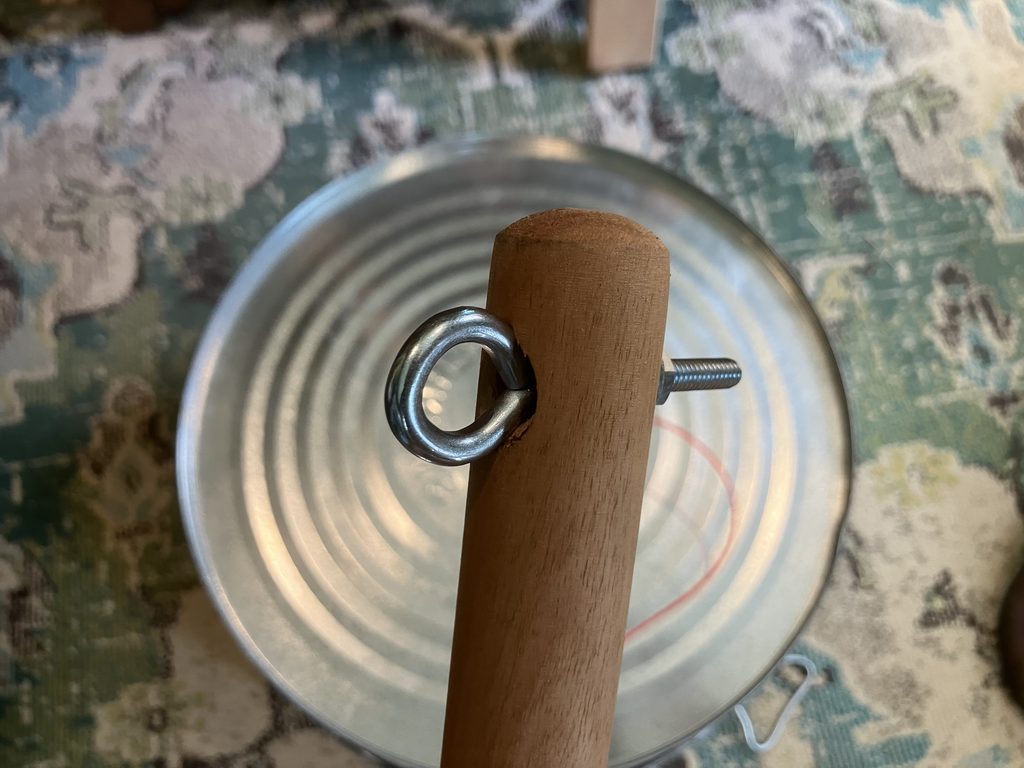
On the broom handle, I mounted the second eye bolt through the existing hole in the handle using the regular 1/4″ washer.
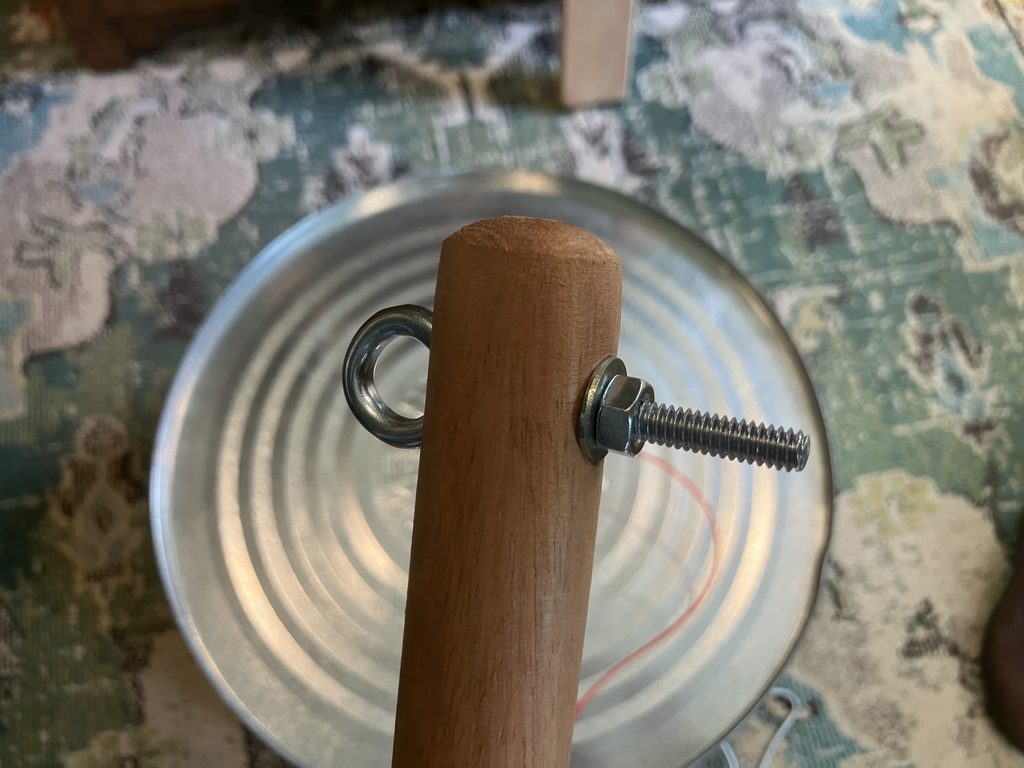
The eye of the bolt rests nicely in the hole’s chamfer once it’s tightened down.
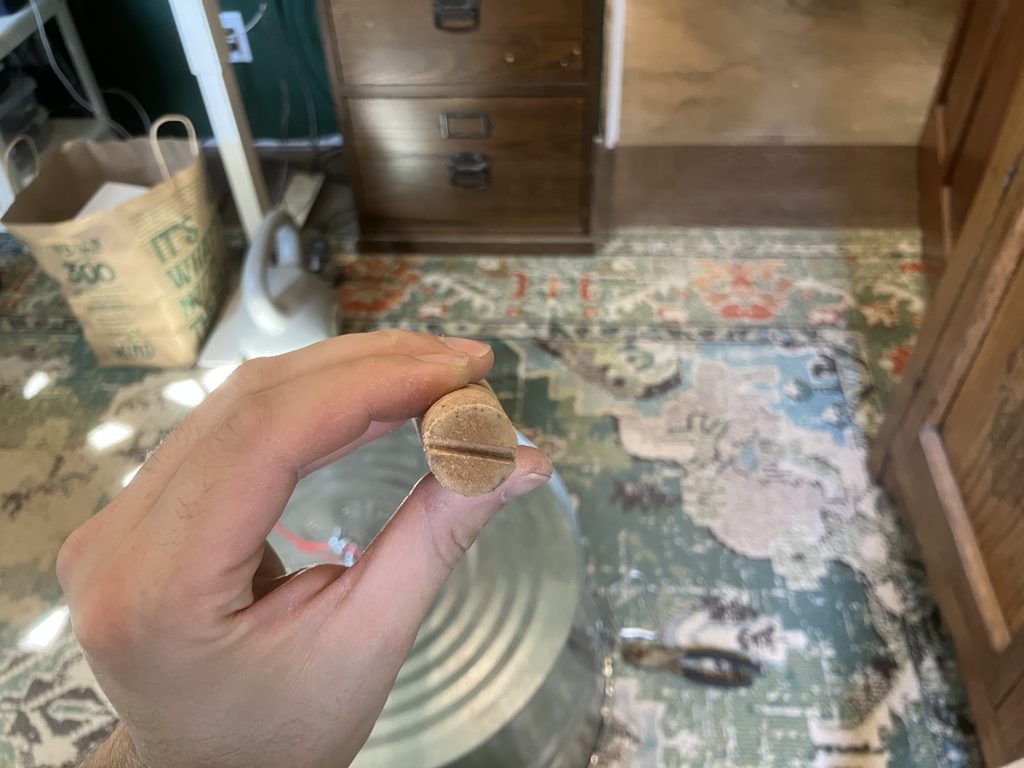
The other end of the broom handle need a slot cut into it. This slot will fit over the lip of the washtub to help keep it in place and provide a pivot point for the handle while playing. I cut it with a Japanese pull saw and revised it under it fit easily over the lip. It’s about 3/4″ deep.
I then slit the 2 hose washers down the broom handle from the end. One I tightened just above the slit to help prevent splitting.
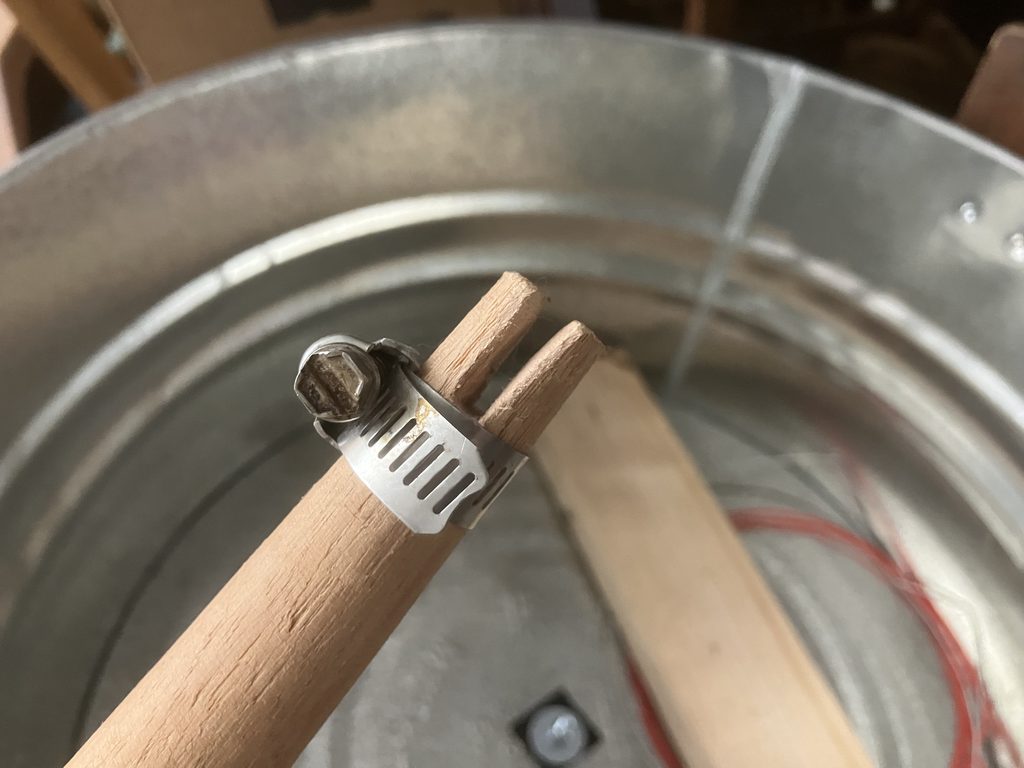
The other one I mounted about 9-1/2″ inches from the top. You’ll probably want to play around with this placement to get a good tone and range from the bass. The coated steel cable is then fed through the hose clamp and secured to the eye bolt on the handle with the second wire clamp.
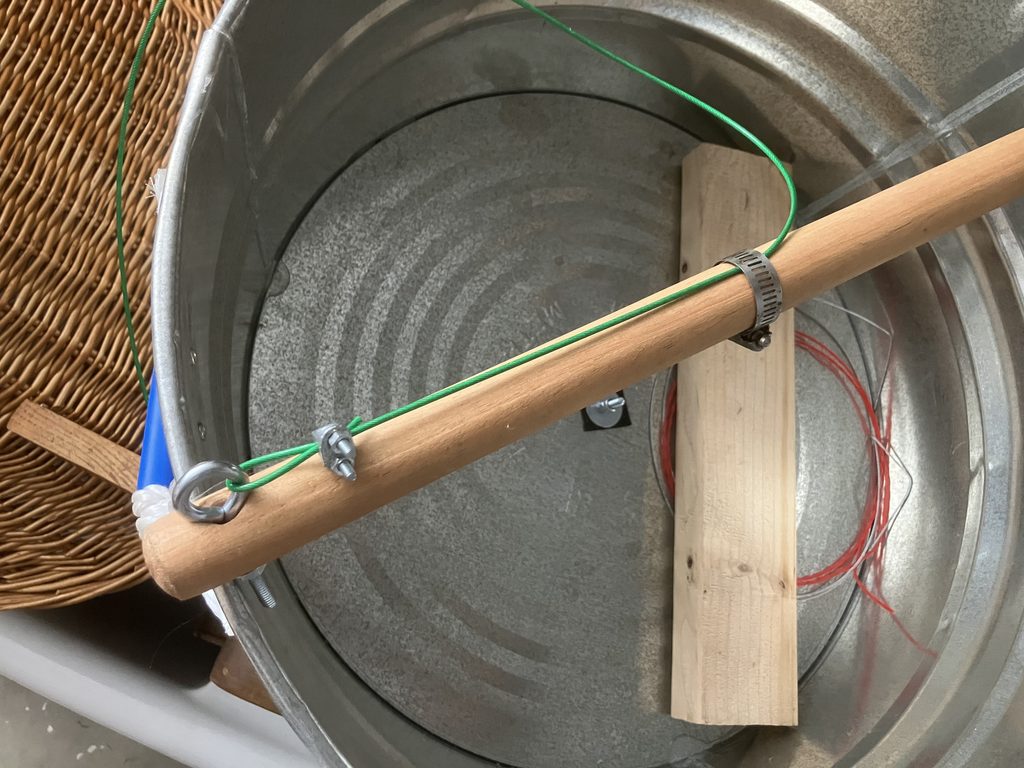
When tightening the cable, I found it easiest to set the handle on the lip of the washtub and lean it so the cable is completely vertical, pull out all the slack, and tighten the wire clamp.
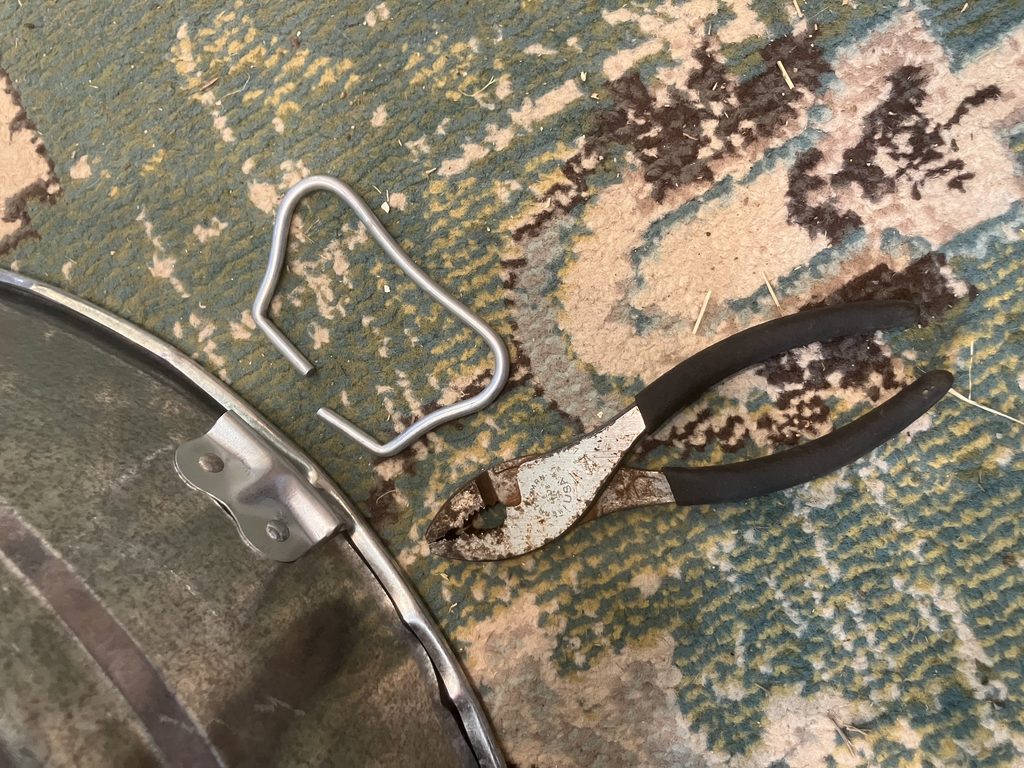
I also removed both of the metal handles from the washtub, and replaced one of them with rope so I could still carry it. This significantly reduces rattling while playing the bass. The handles can easily be removed with a pair of pliers.
End result
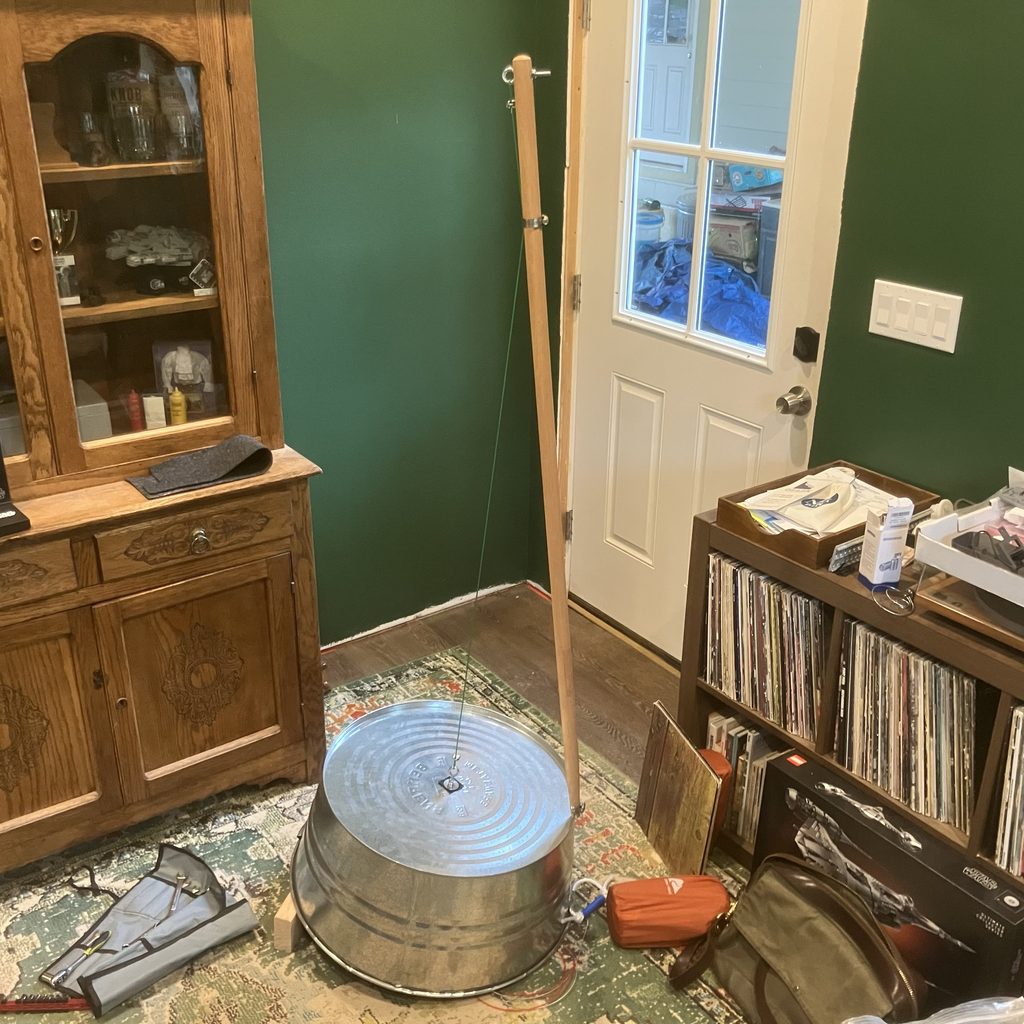
Behold the end product, propped up on its block and ready to play. With some fiddling, I was able to get a decent tone out of it and figure out how to play some scales.
You can hear the washtub bass filling in the low end on this demo I made earlier this year called “A Fly on the Wall.”
You can tell I still need to work on my scales… but I’m pretty impressed that I was able to build this for less than $60 and get good enough sound out of it to record it!
Leave a Reply