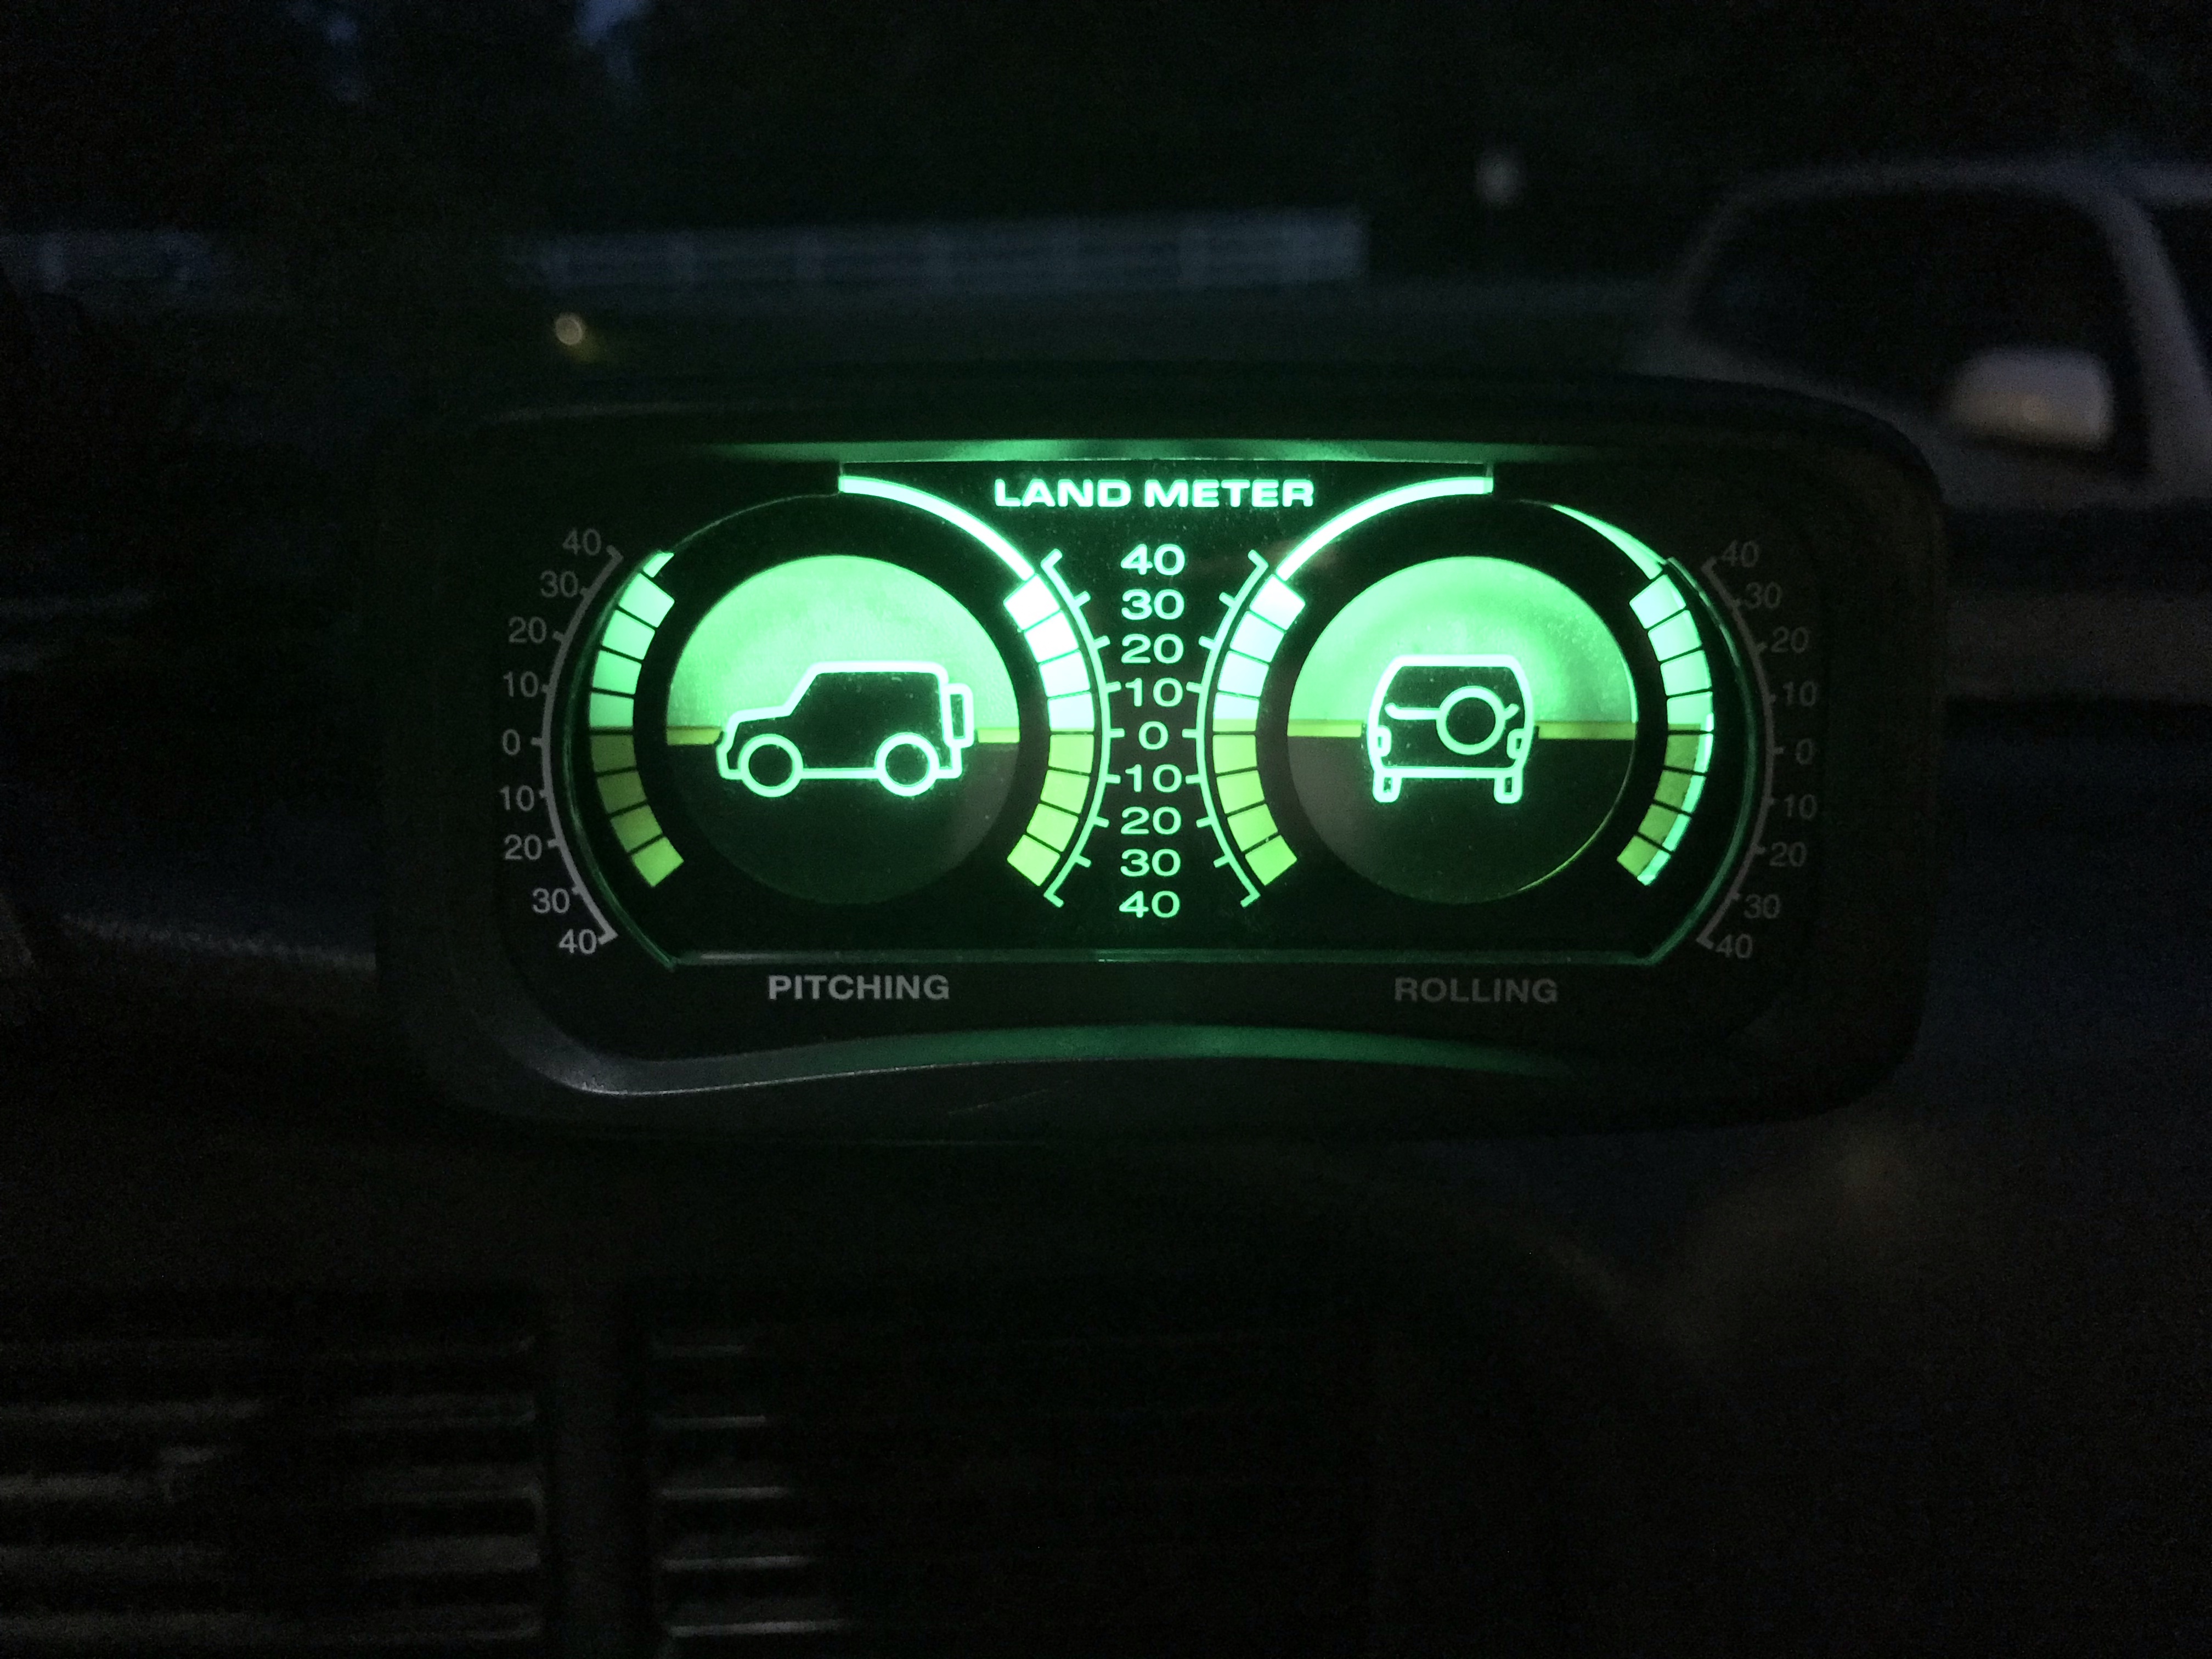
For Christmas 2021, I was gifted an inclinometer to install in my 4Runner. It was an inexpensive model from Amazon, and in true fashion, I couldn’t help but disassemble it and make it my own. I made a few changes, starting with how it mounts.


Custom Mount
The inclinometer came with a flat mounting plate with an adhesive backing, but the dashboard in my ’92 4Runner doesn’t have a nice flat spot that would work where I could see it from the driver seat. Since I was in the process of installing some RAM Mount tracks, I decided to convert the inclinometer to work with the RAM Mount system instead.
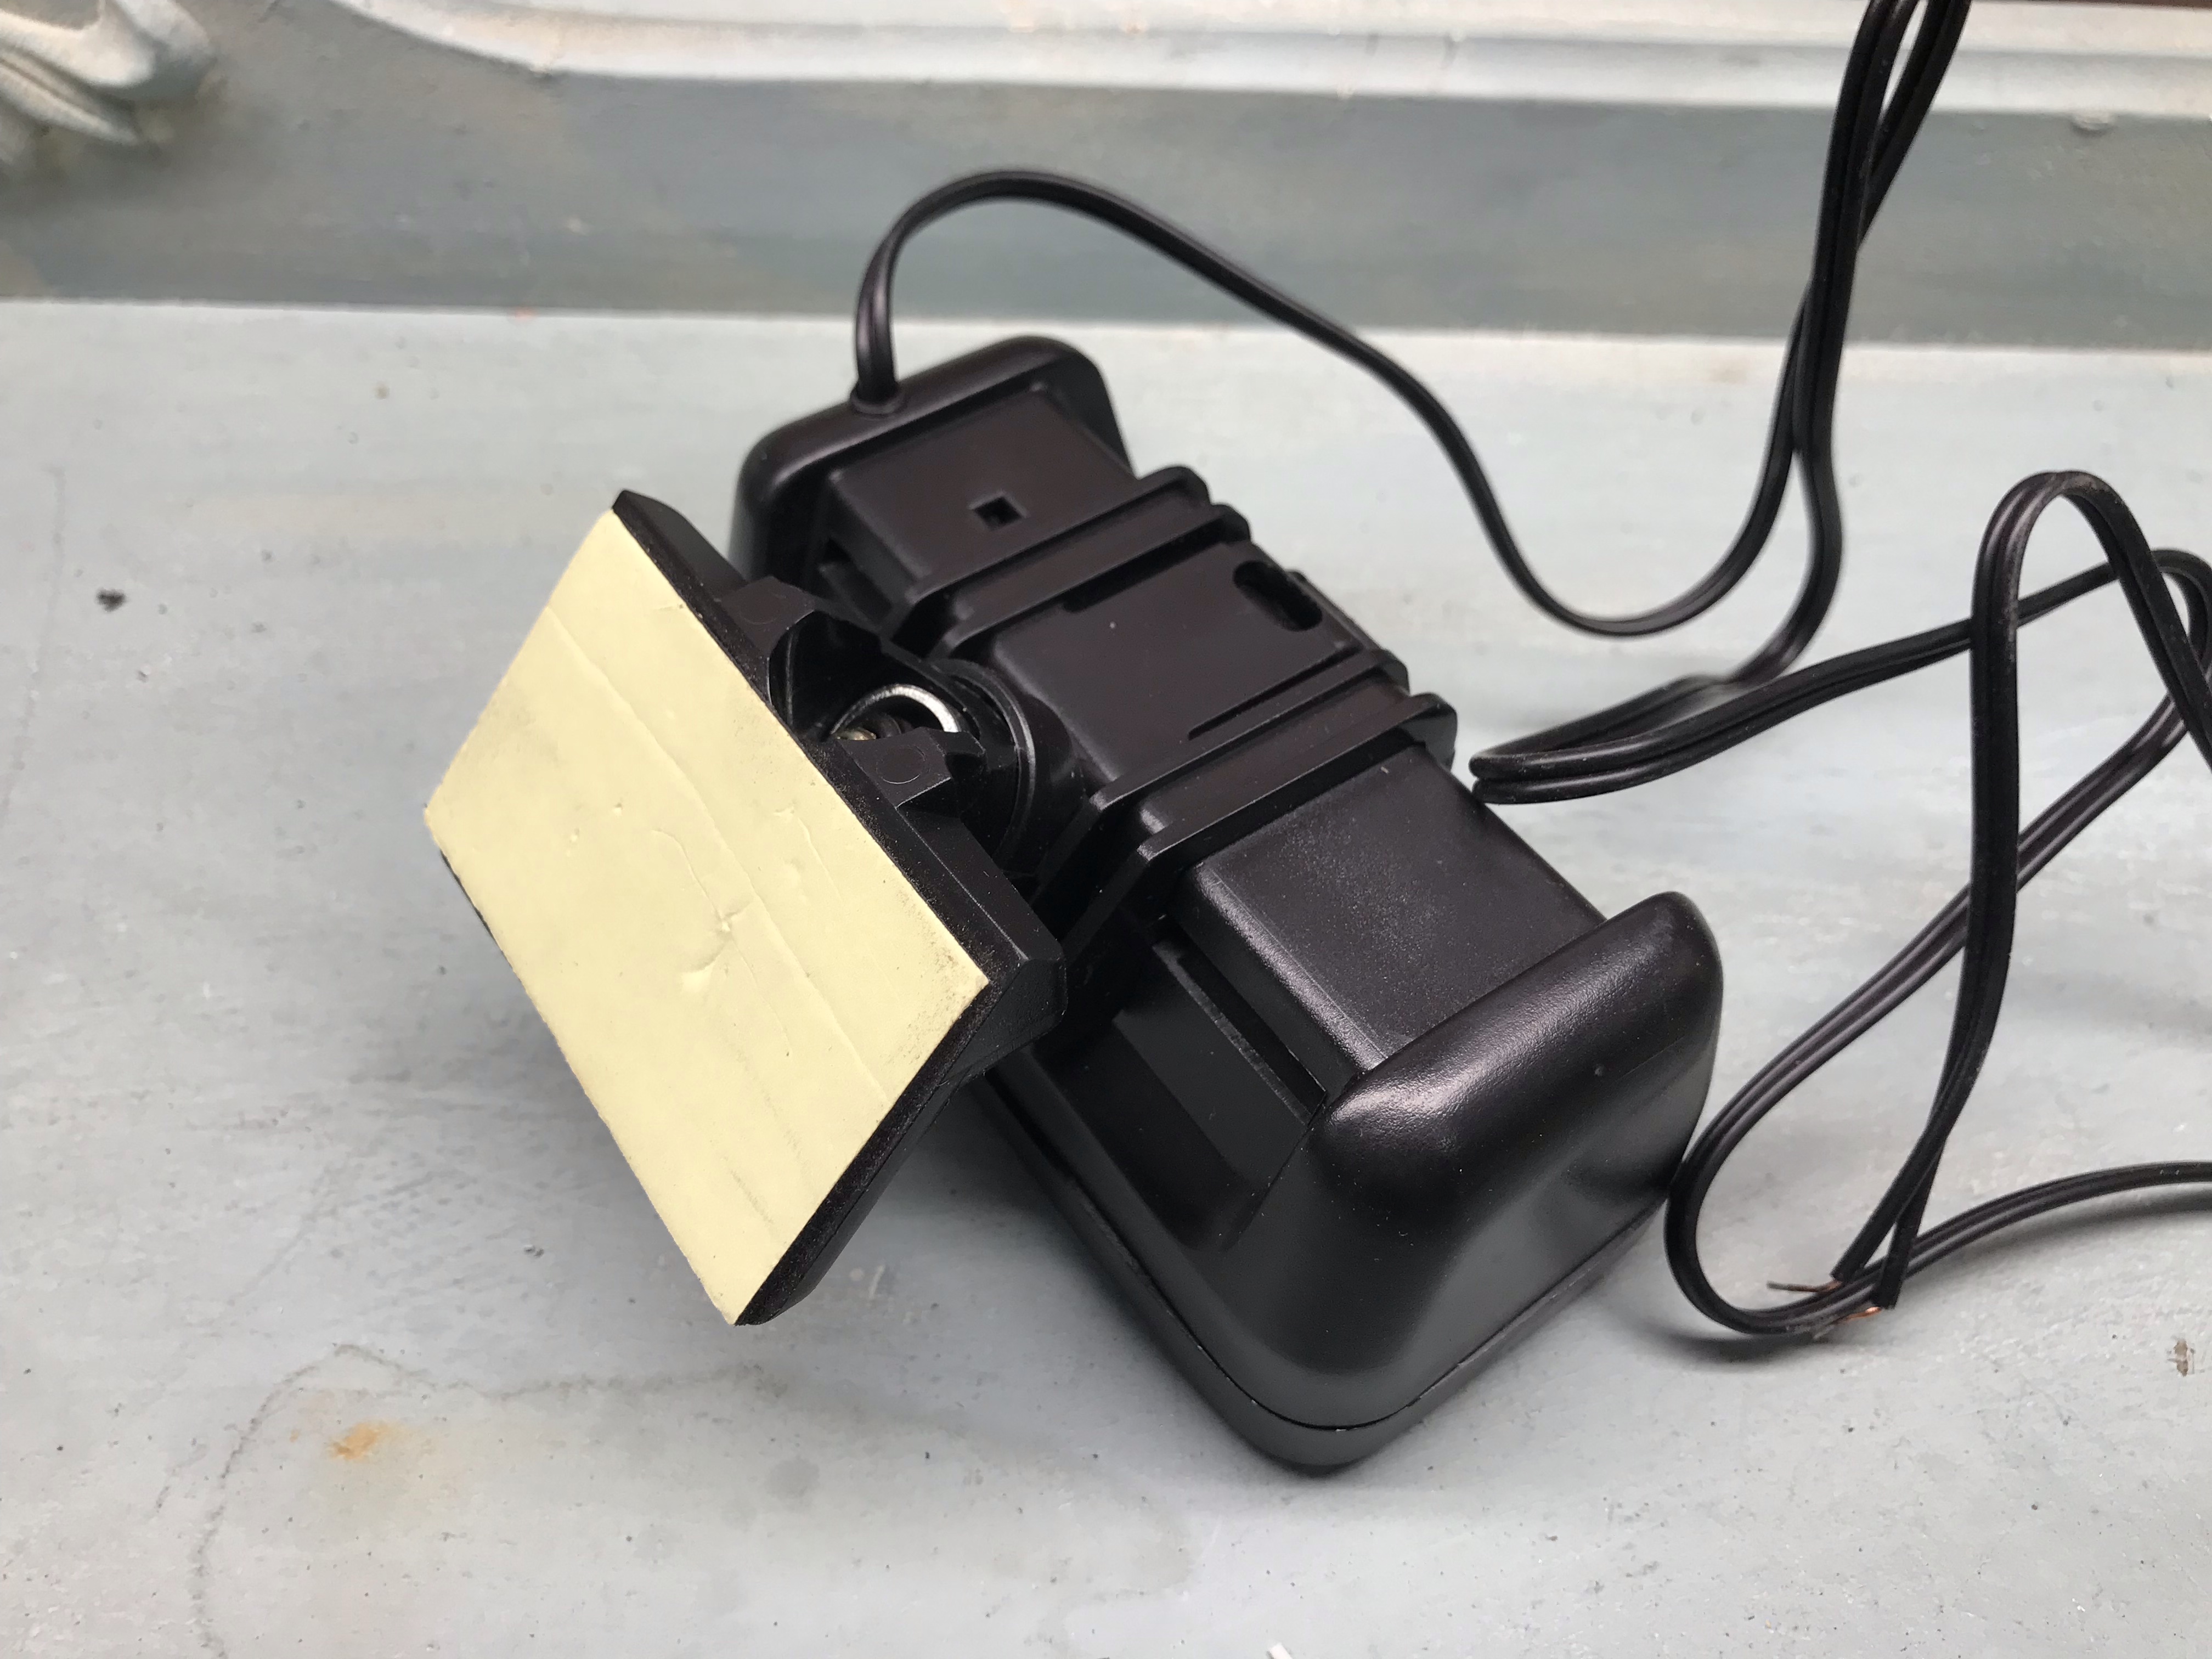
Thankfully, the original mounting plate just snaps off the back, leaving a nice flat surface to work with. Using the RAM base as a template, I marked and drilled 2 holes for the screws.
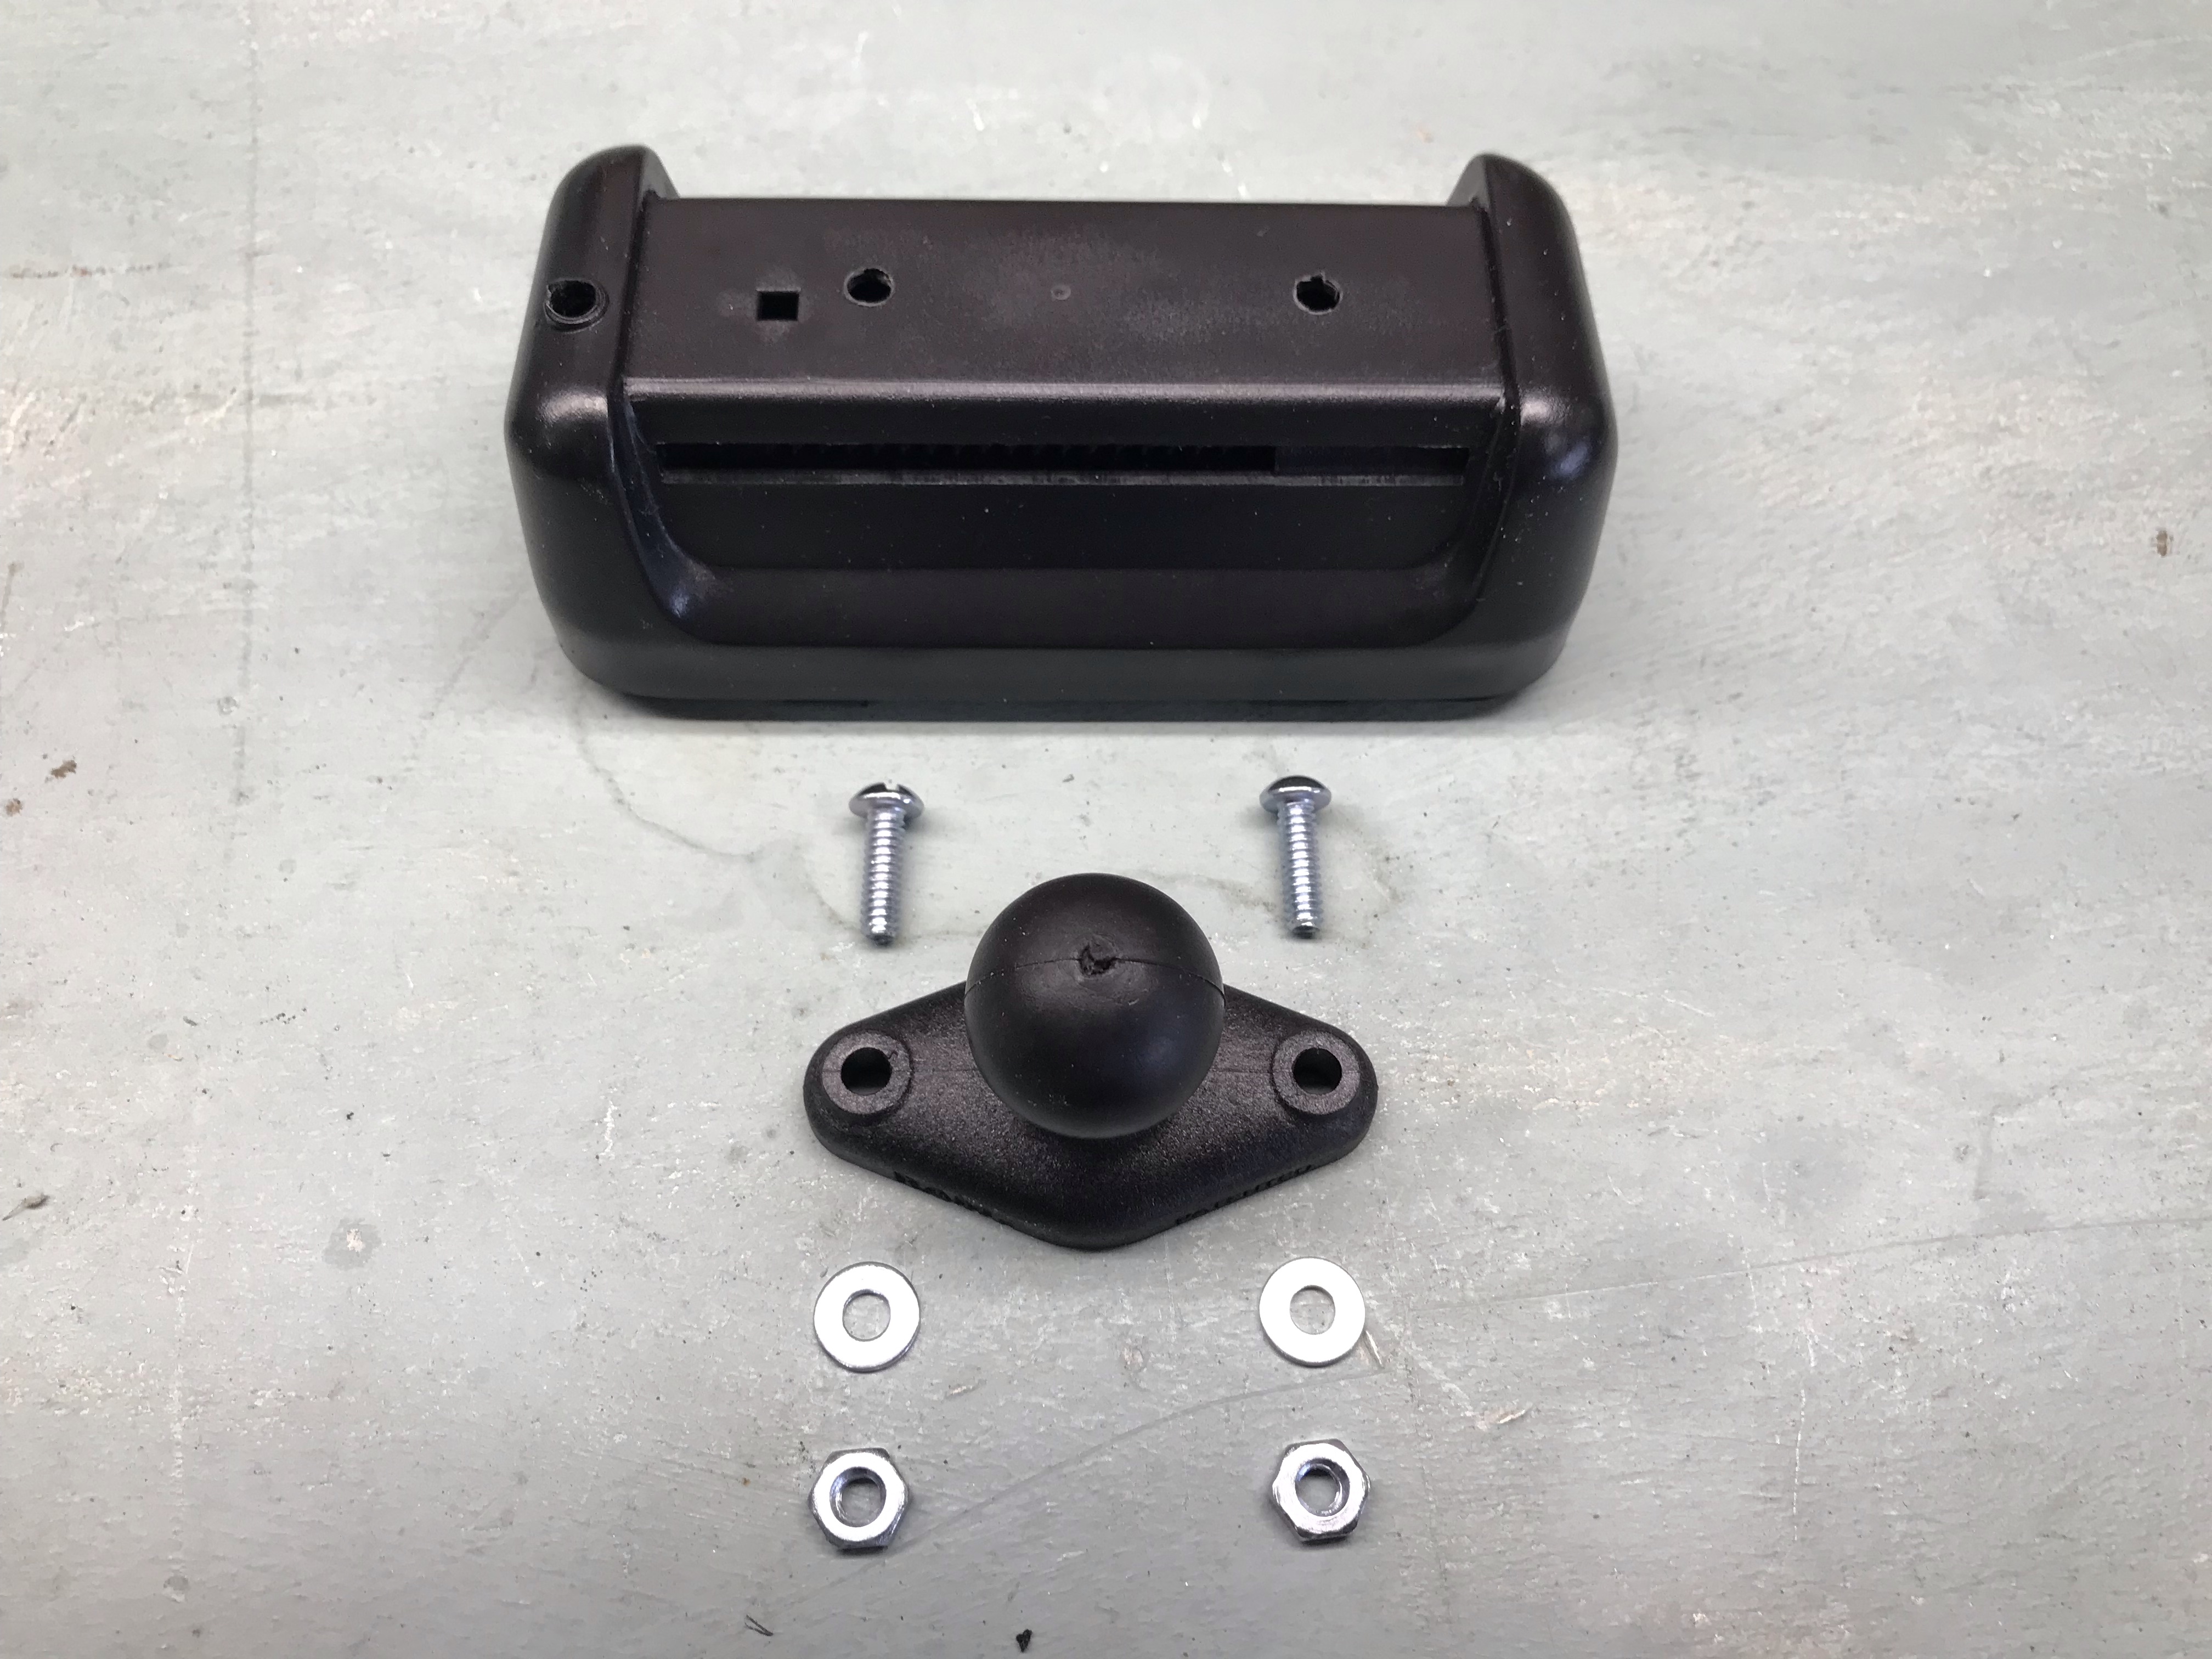
Note that I mounted it slightly off-center to leave room for the square hole, which is a notch for the wires to hook on inside. The offset also worked out well for positioning it in the vehicle, moving it slightly further away from my phone mount.
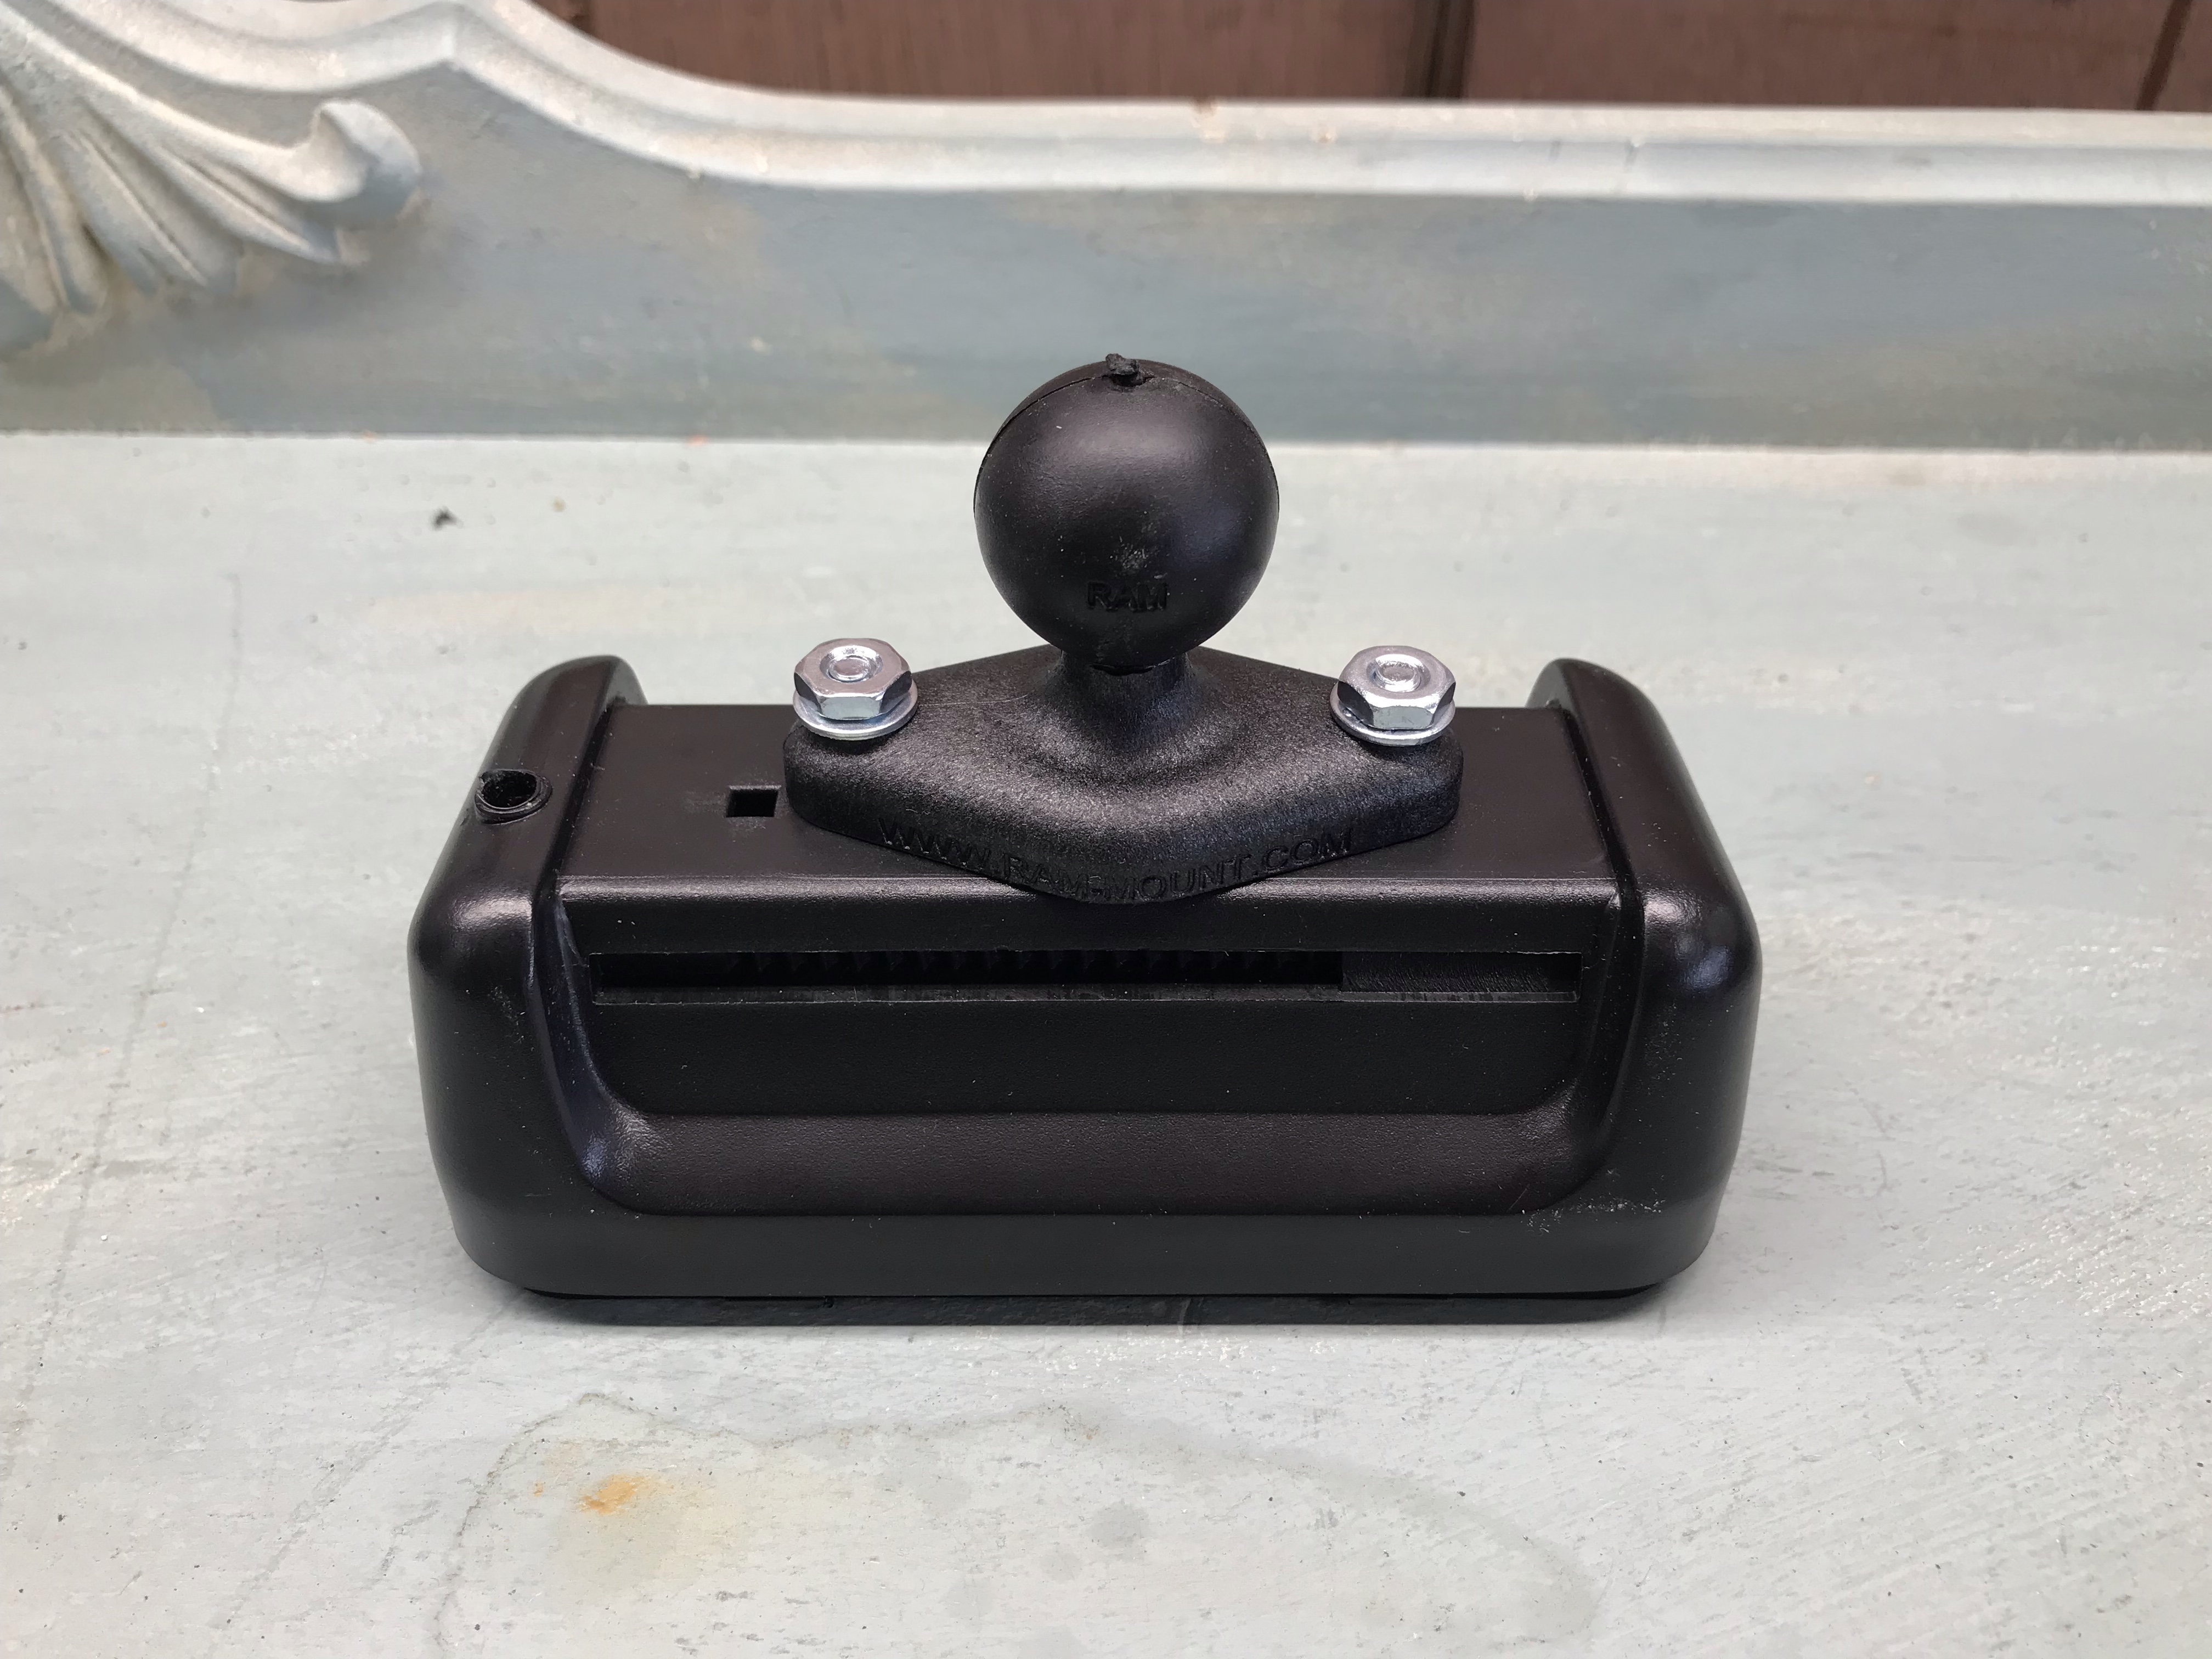
A couple of additional pieces are necessary to mount this on a RAM track: a T-track ball mount and a double socket arm
LED Lighting
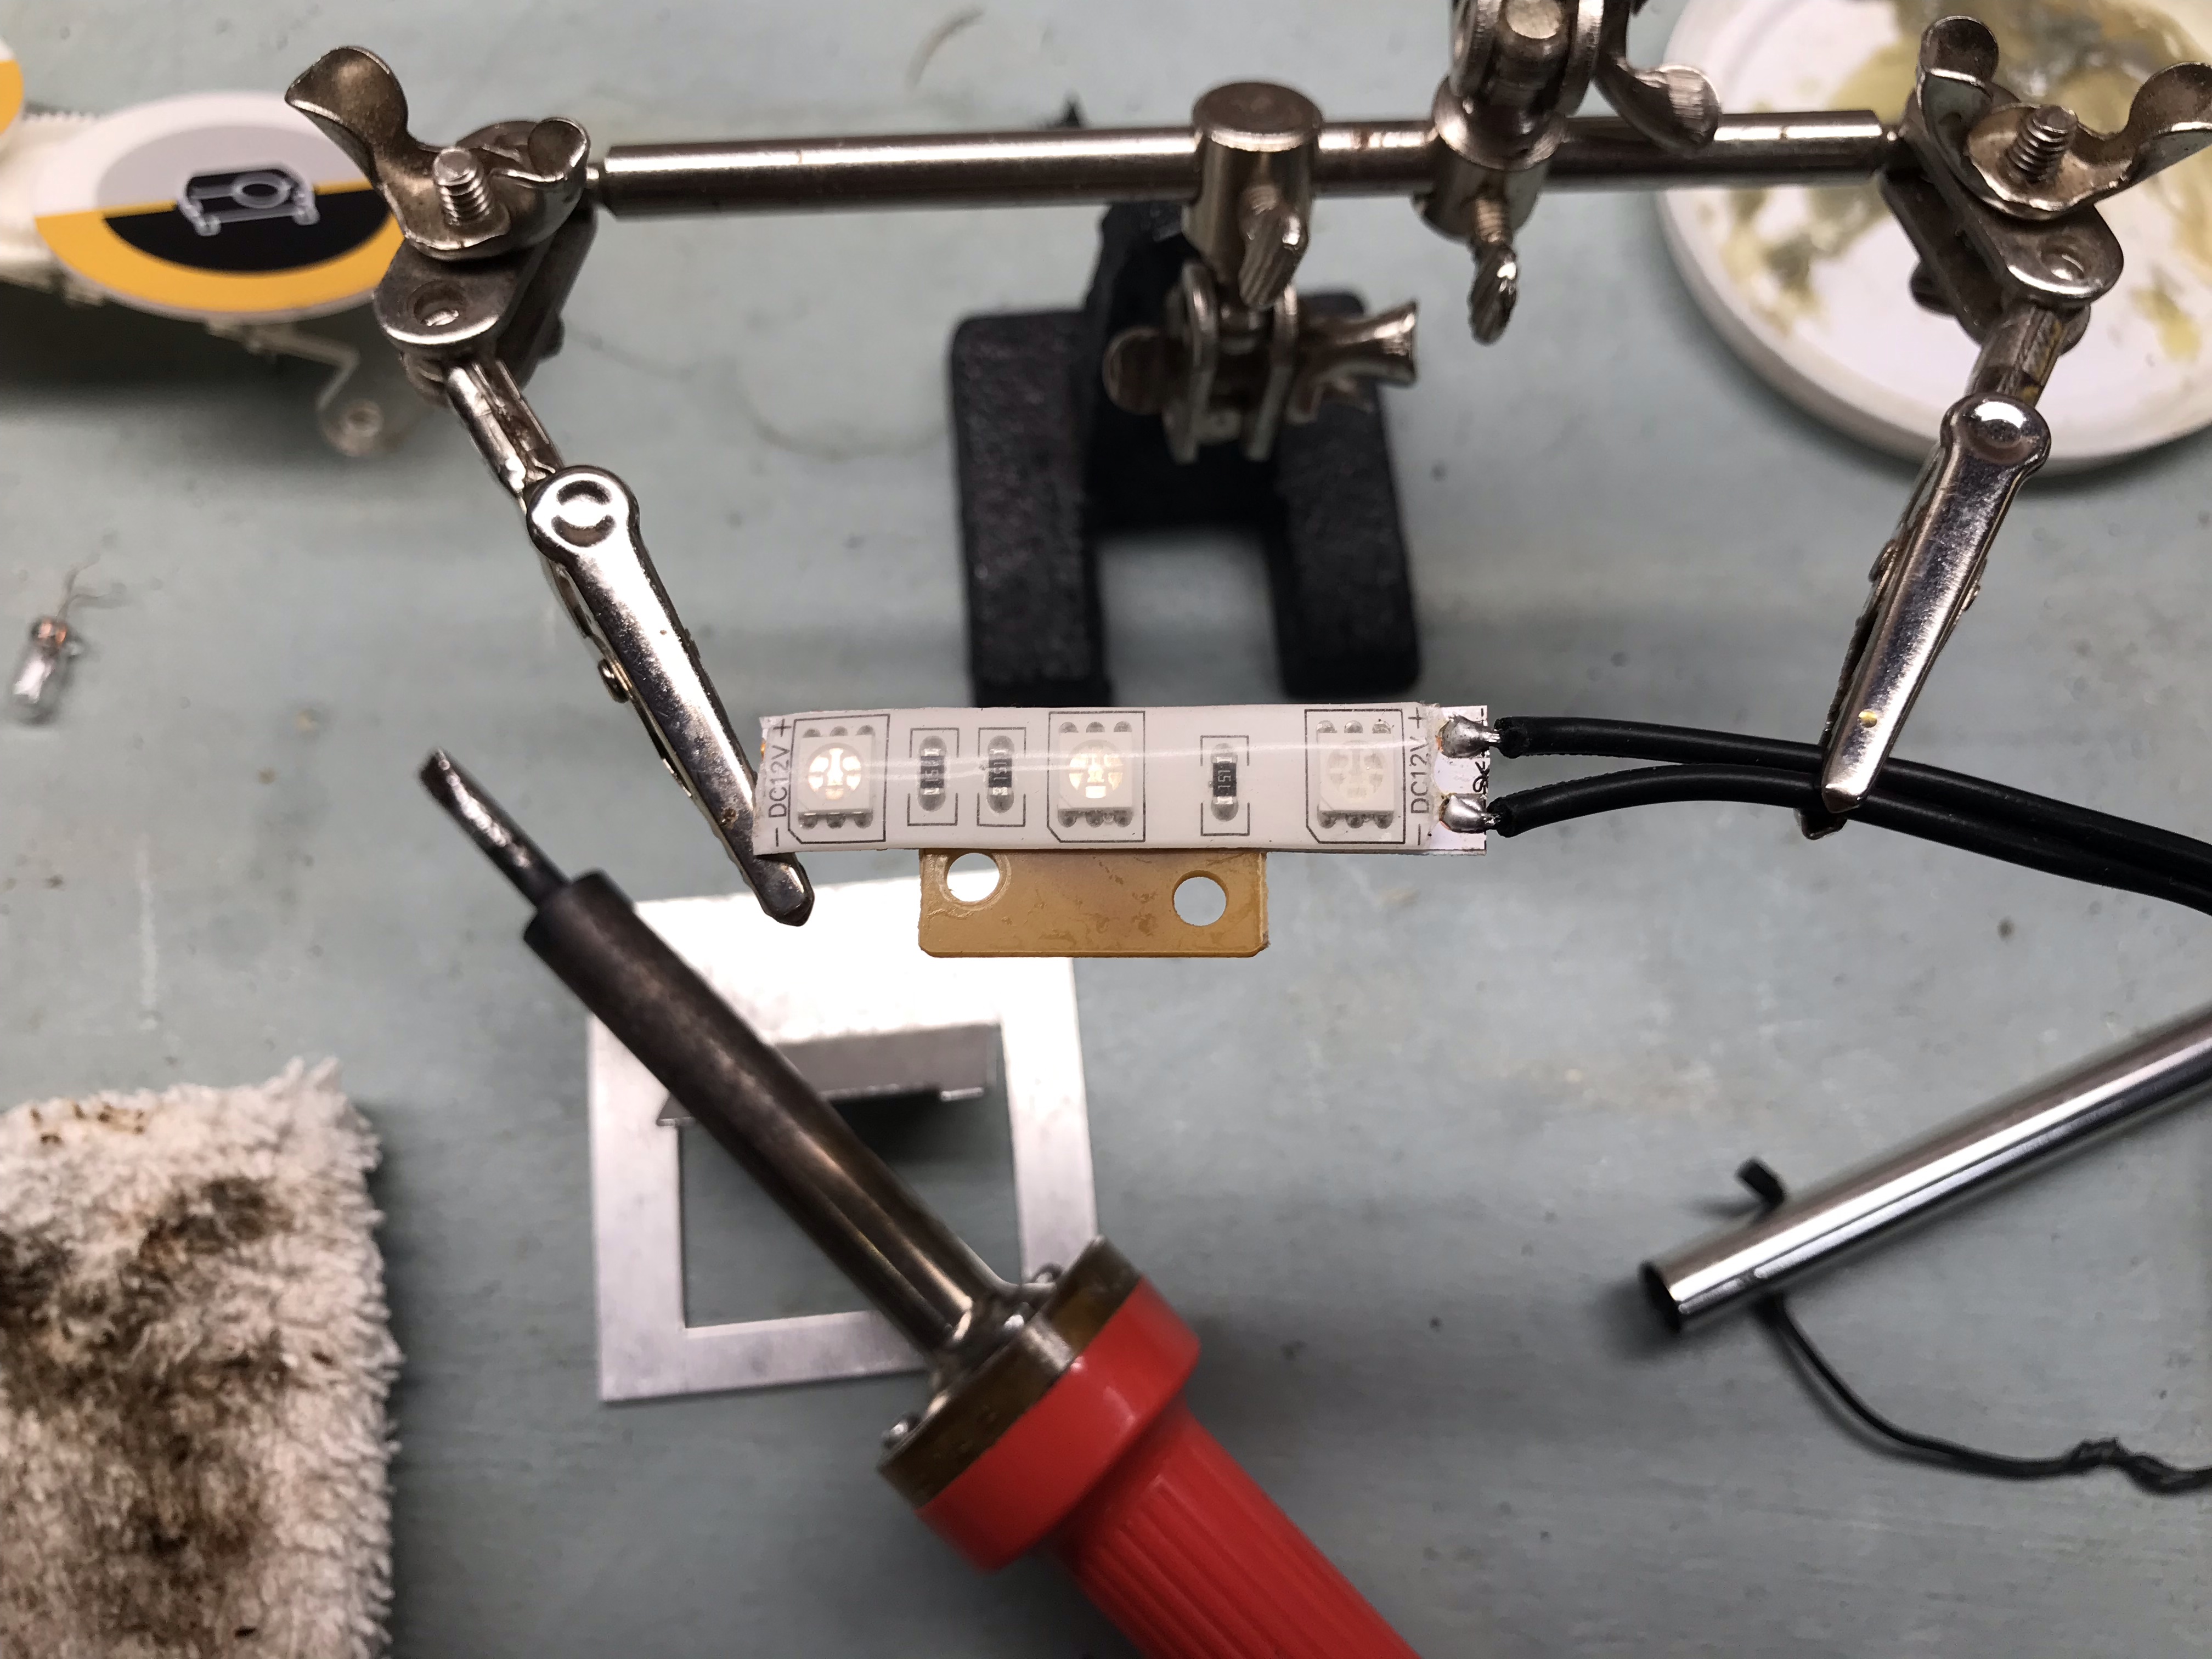
The single factory incandescent bulb wasn’t cutting it for me since it didn’t match the other green LED dash lights I had put in place. Fortunately, it was pretty easy to replace the bulb with a strip of green LEDs with a soldering iron. The bulb was mounted to a board with the power supply wires soldered to it. I could reuse the board for the LED strip, so I desoldered the wires and bulb.
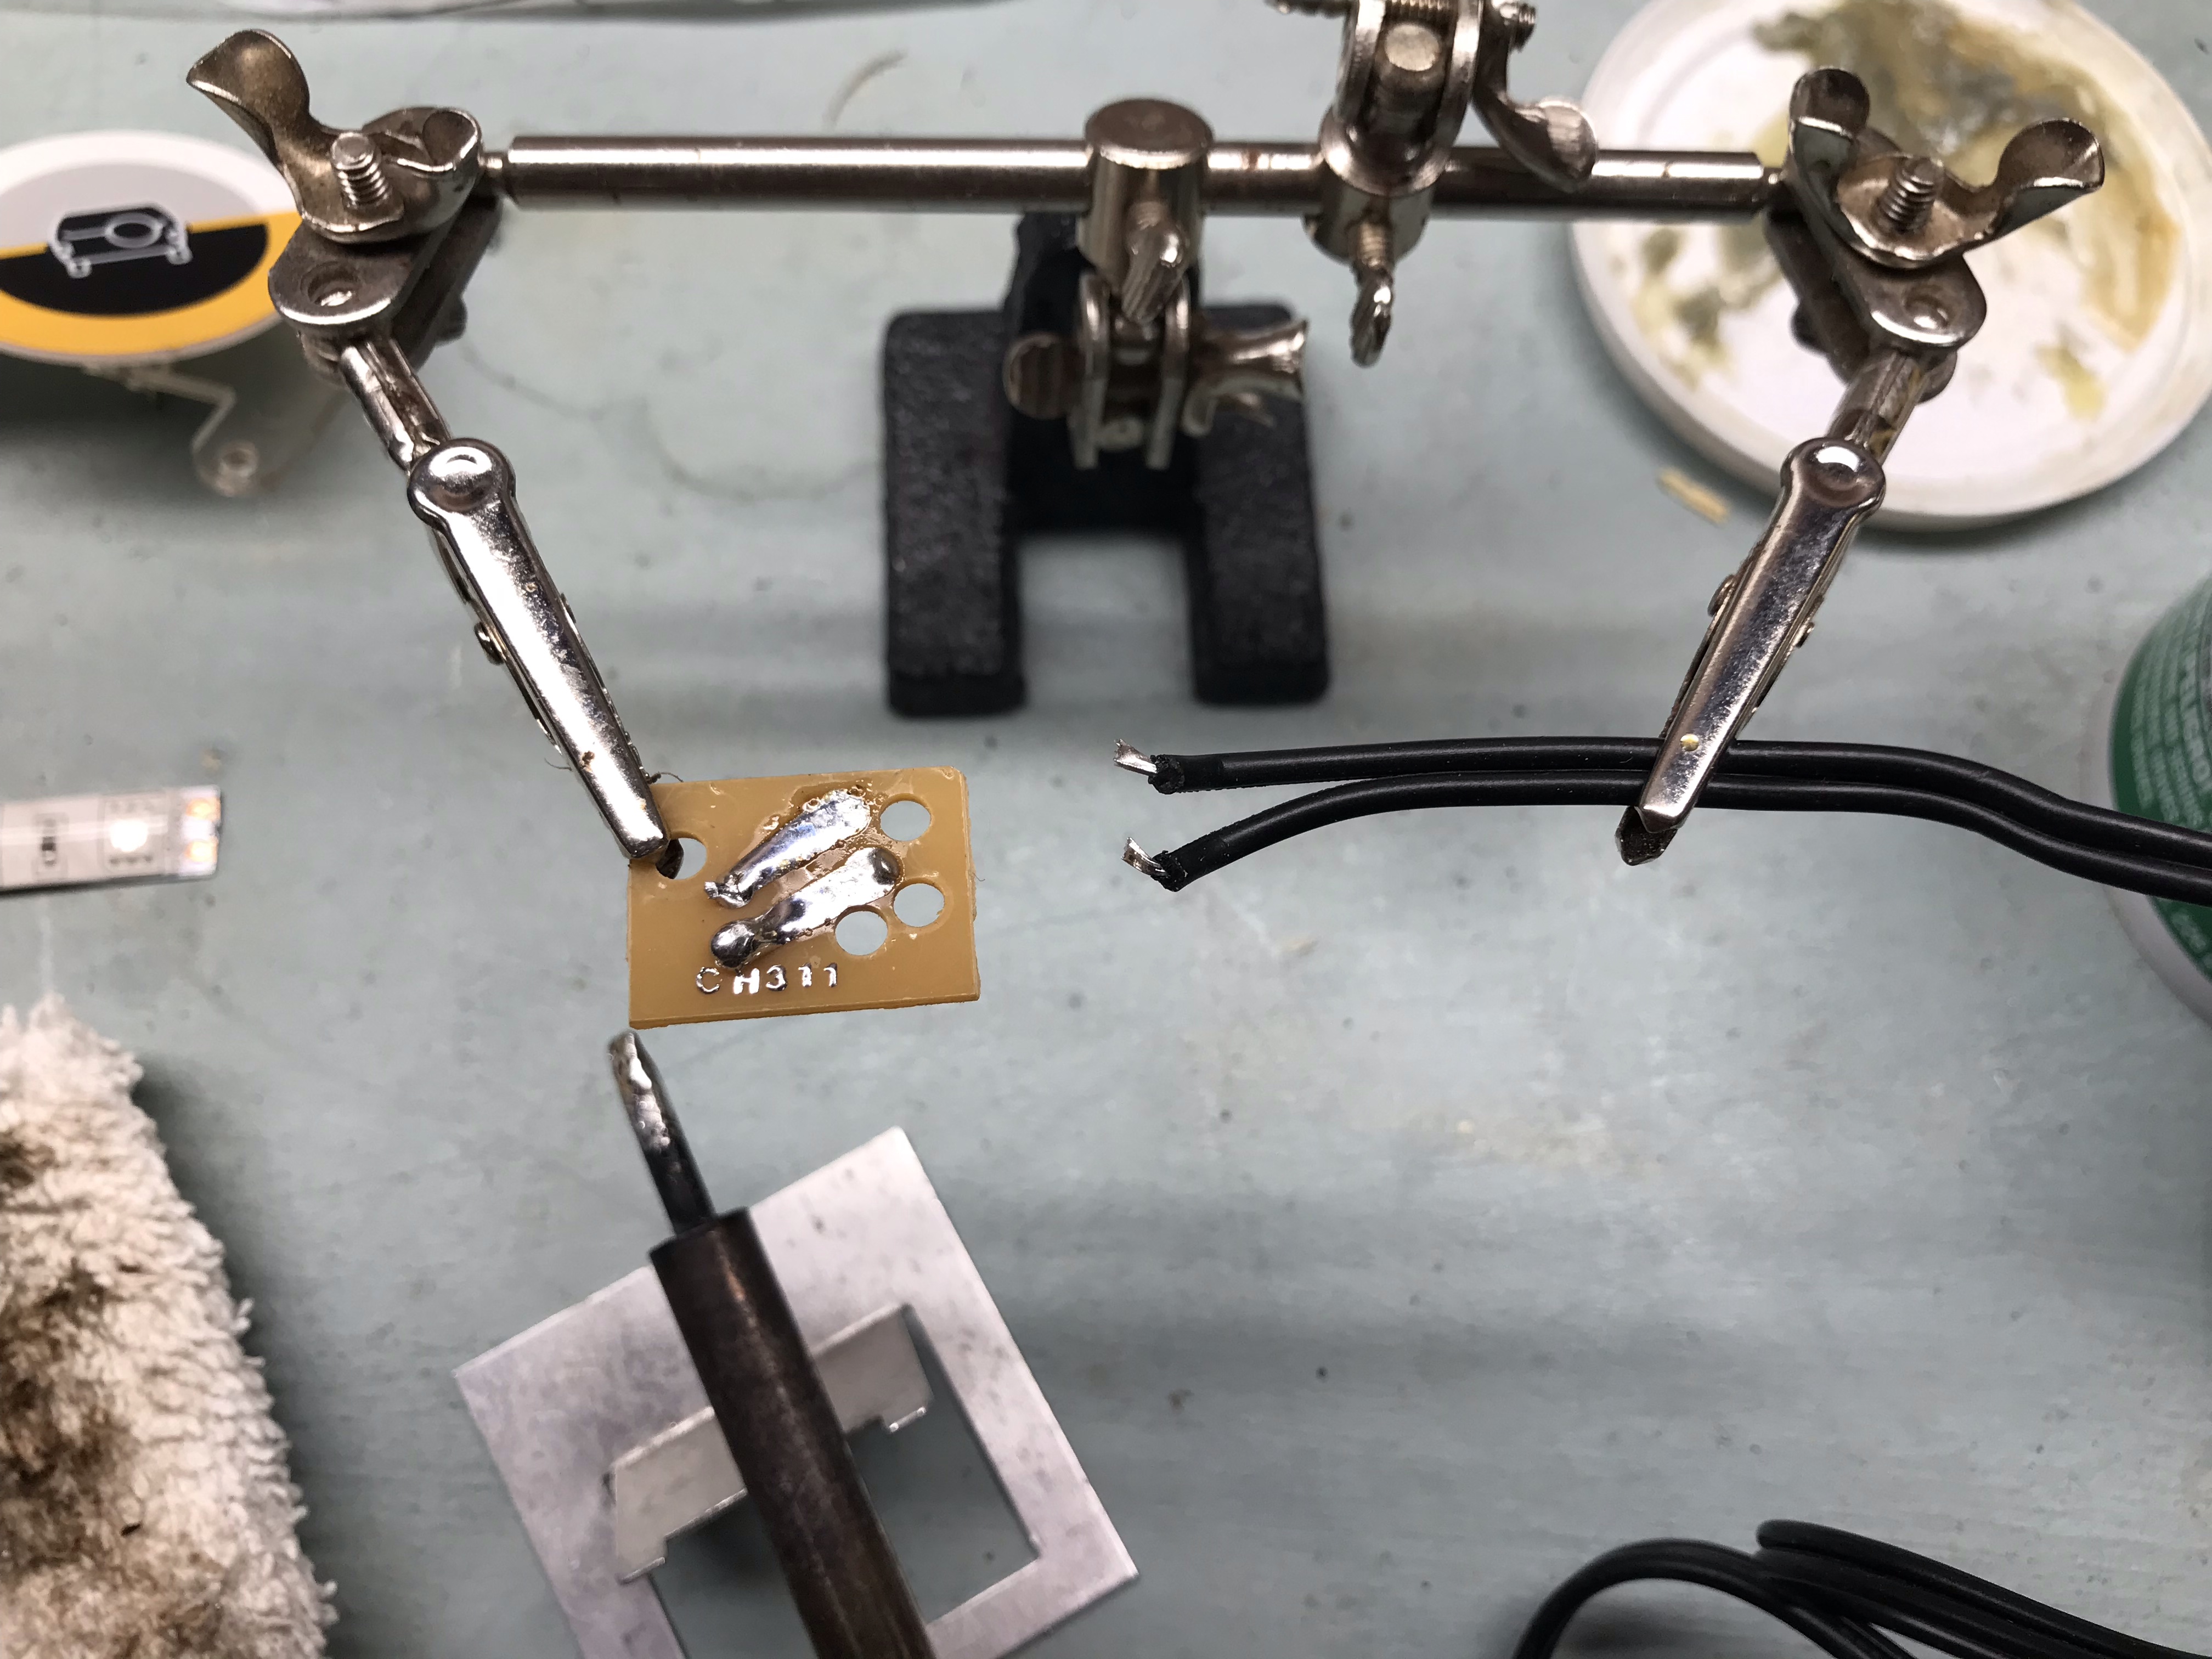
Then I soldered the wires to the LED strip, peeled off the protective backing, and stuck it to the board.
Then it was just a matter of reinstalling the board in the inclinometer like it was before.

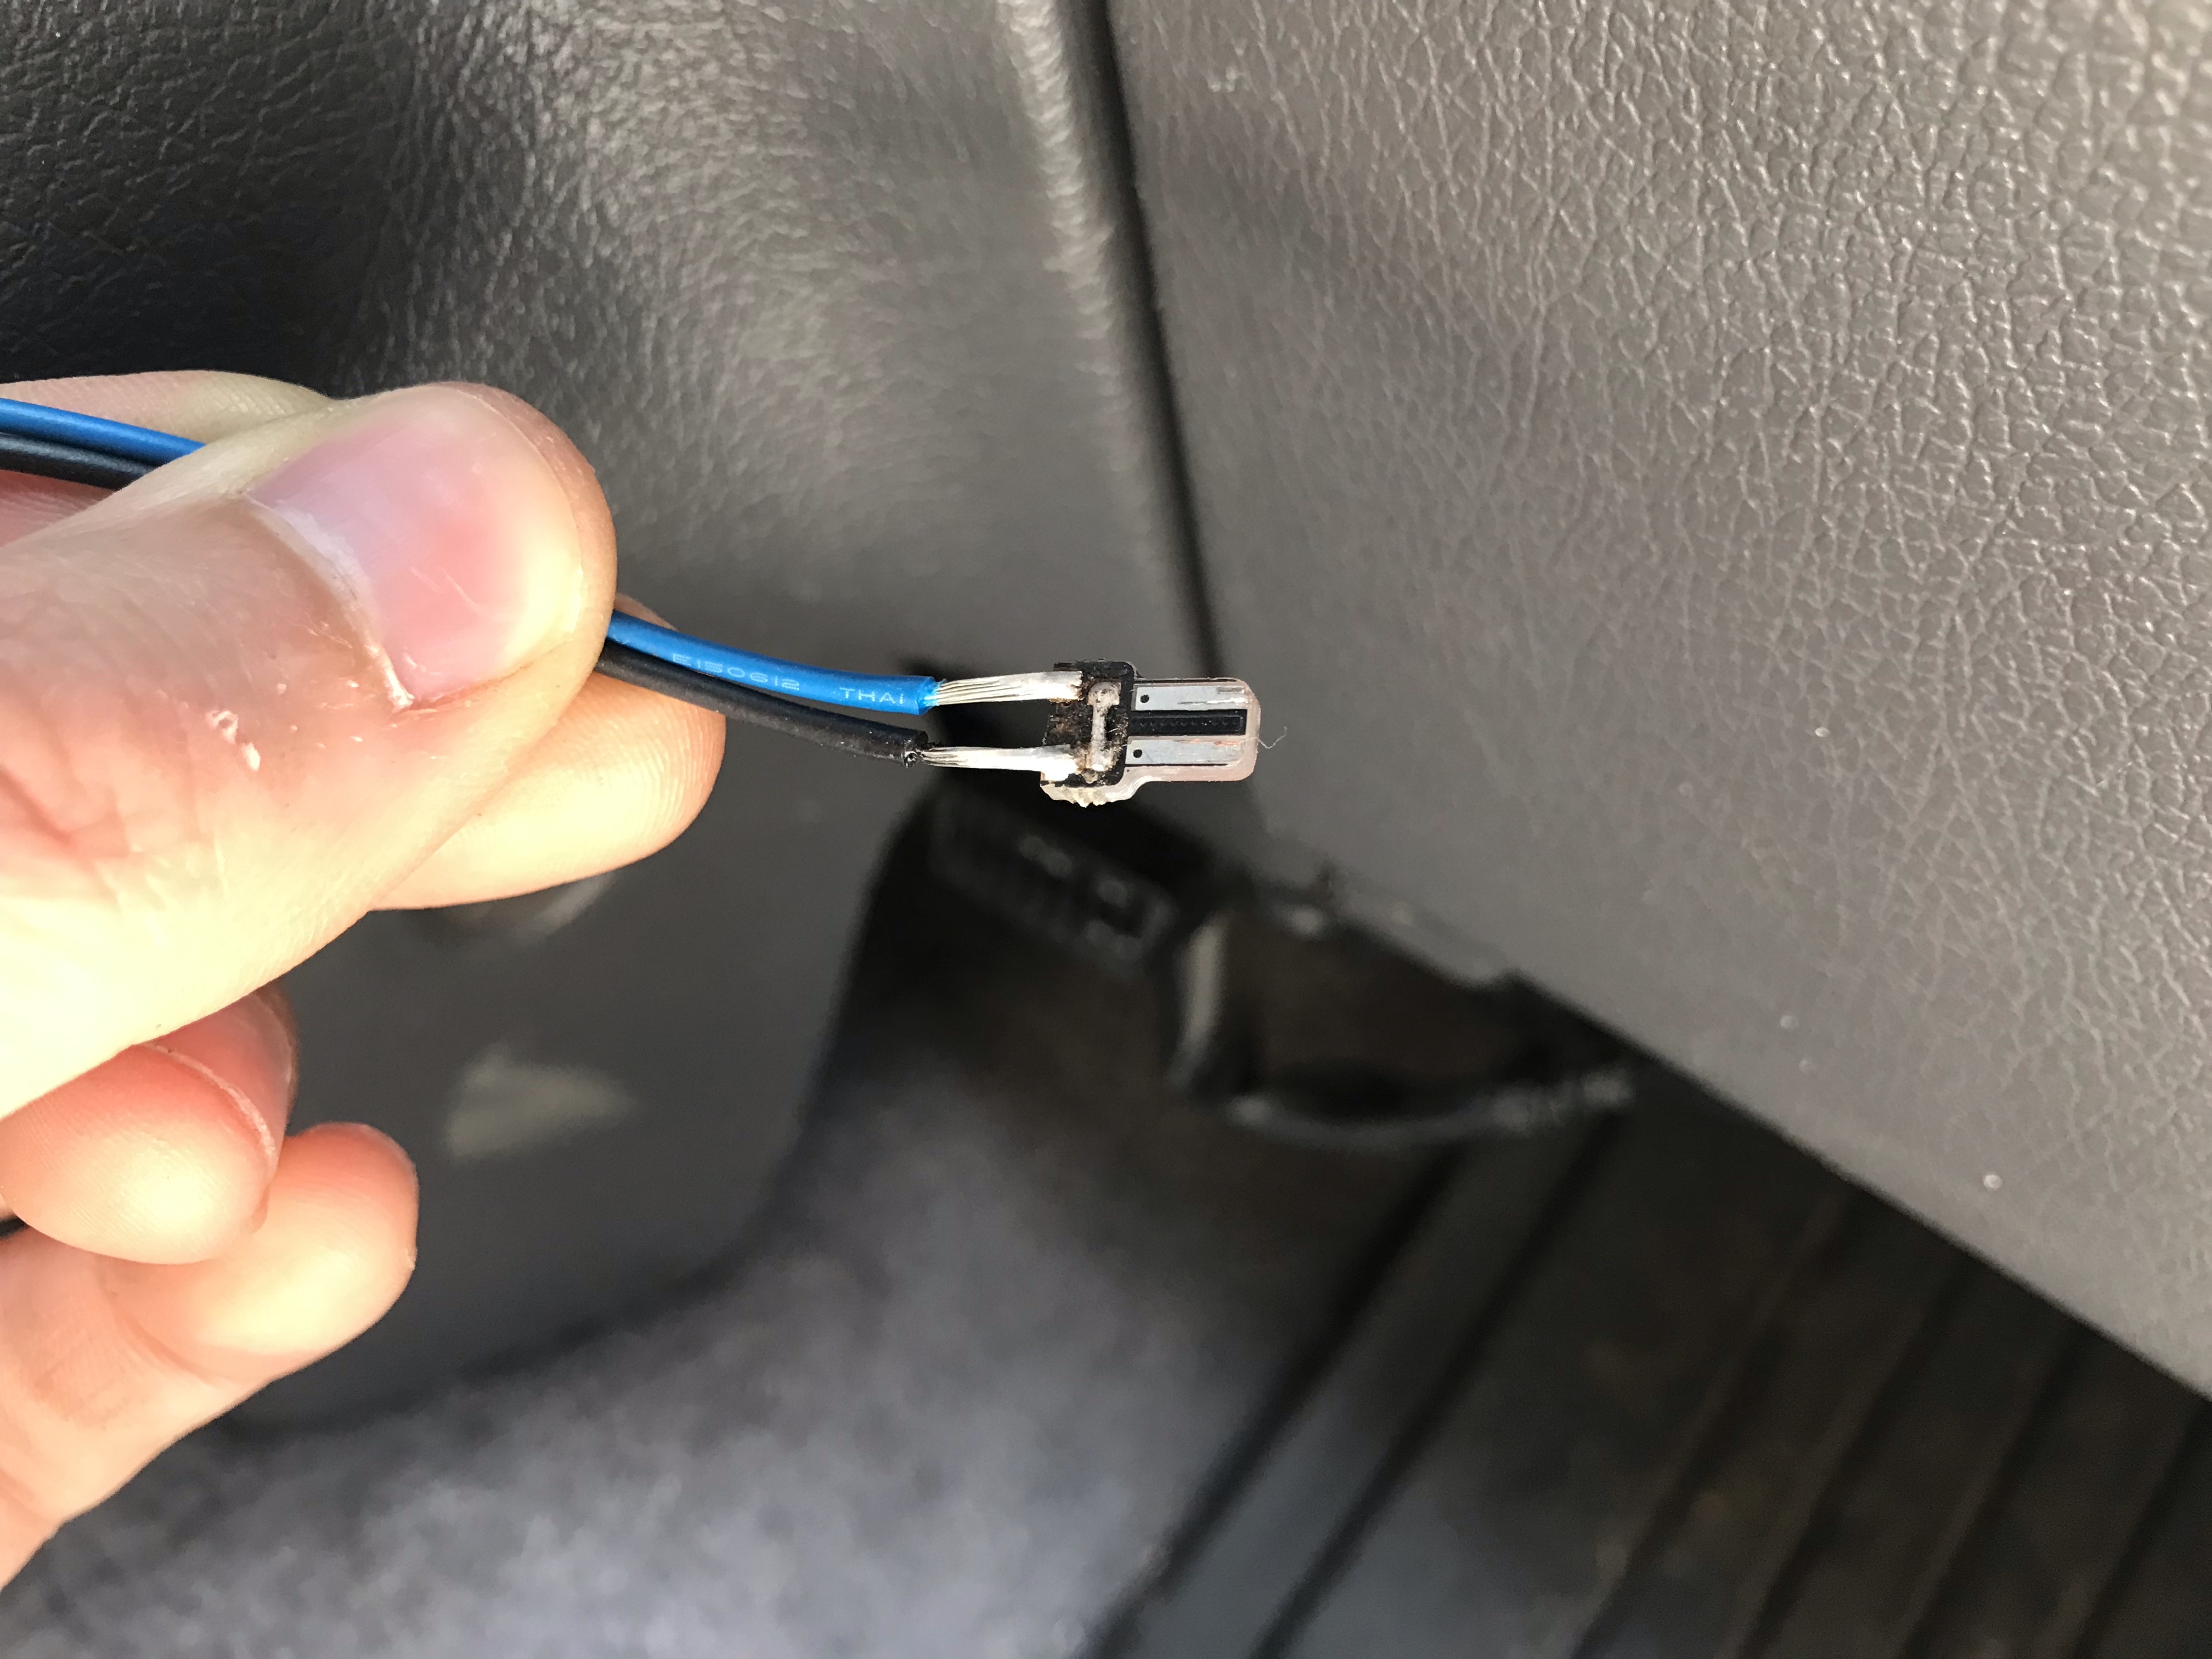
To get power to the inclinometer, I drilled an extra hole in the dash inside the RAM mount track where I could feed the wire. Then, I actually disassembled a T5 LED bulb (size 74 factory bulb) and soldered a couple of lead wires on it so that I could easily plug it into a factory dash bulb location. Since my Midland MXT115 GMRS radio is now where the ashtray used to live, the ash tray bulb socket wasn’t being used, making it the perfect candidate to tie into and keep tucked behind the radio.
Cost
The inclinometer was free to me, but RAM Mount parts aren’t terribly cheap. However, they’re such a great product, this was one of those “buy once, cry once” situations in my book. That said, see if you can buy them on eBay with free shipping since RAM Mount charges a lot for shipping!
- Inclinometer: $29.99
- RAM RAP-B-238U: $7.49
- RAM RAP-B-201U-A: $9.99
- RAM RAP-B-354U-TRA1: $11.99
- Green LED strip: $12.99
- Hardware: <$1.00
Total: $73.45