Last weekend, we attended Rendezvous in the Ozarks for the second year in a row. It was rainy the first couple of days, so we brought along a 10’ x 10’ canopy to give us cover between our ground tent and the back of the 4Runner. But man! that thing is heavy and bulky.
So when we got back from camping, I started looking into alternatives. There are lighter-weight canopies out there, and also a really cool product called the MoonShade, which is basically a fancy lightweight vehicle awning. But I’m overlanding on a budget, and $325 is a bit steep for an awning. Enter the DIY Poor Man’s MoonShade.
This build pairs well with my Rear Window Drip Rail.
The basic concept consists of a tarp with one side affixed to the vehicle and the opposite side supported by 2 poles. Since I want this to come off the back of the 4Runner, and it’s pretty narrow, I also need a strut to hold the tarp out wider than the 4Runner, similar to the MoonShade’s solution. I also want to run guy lines from the corners to help keep it taut.
Supplies
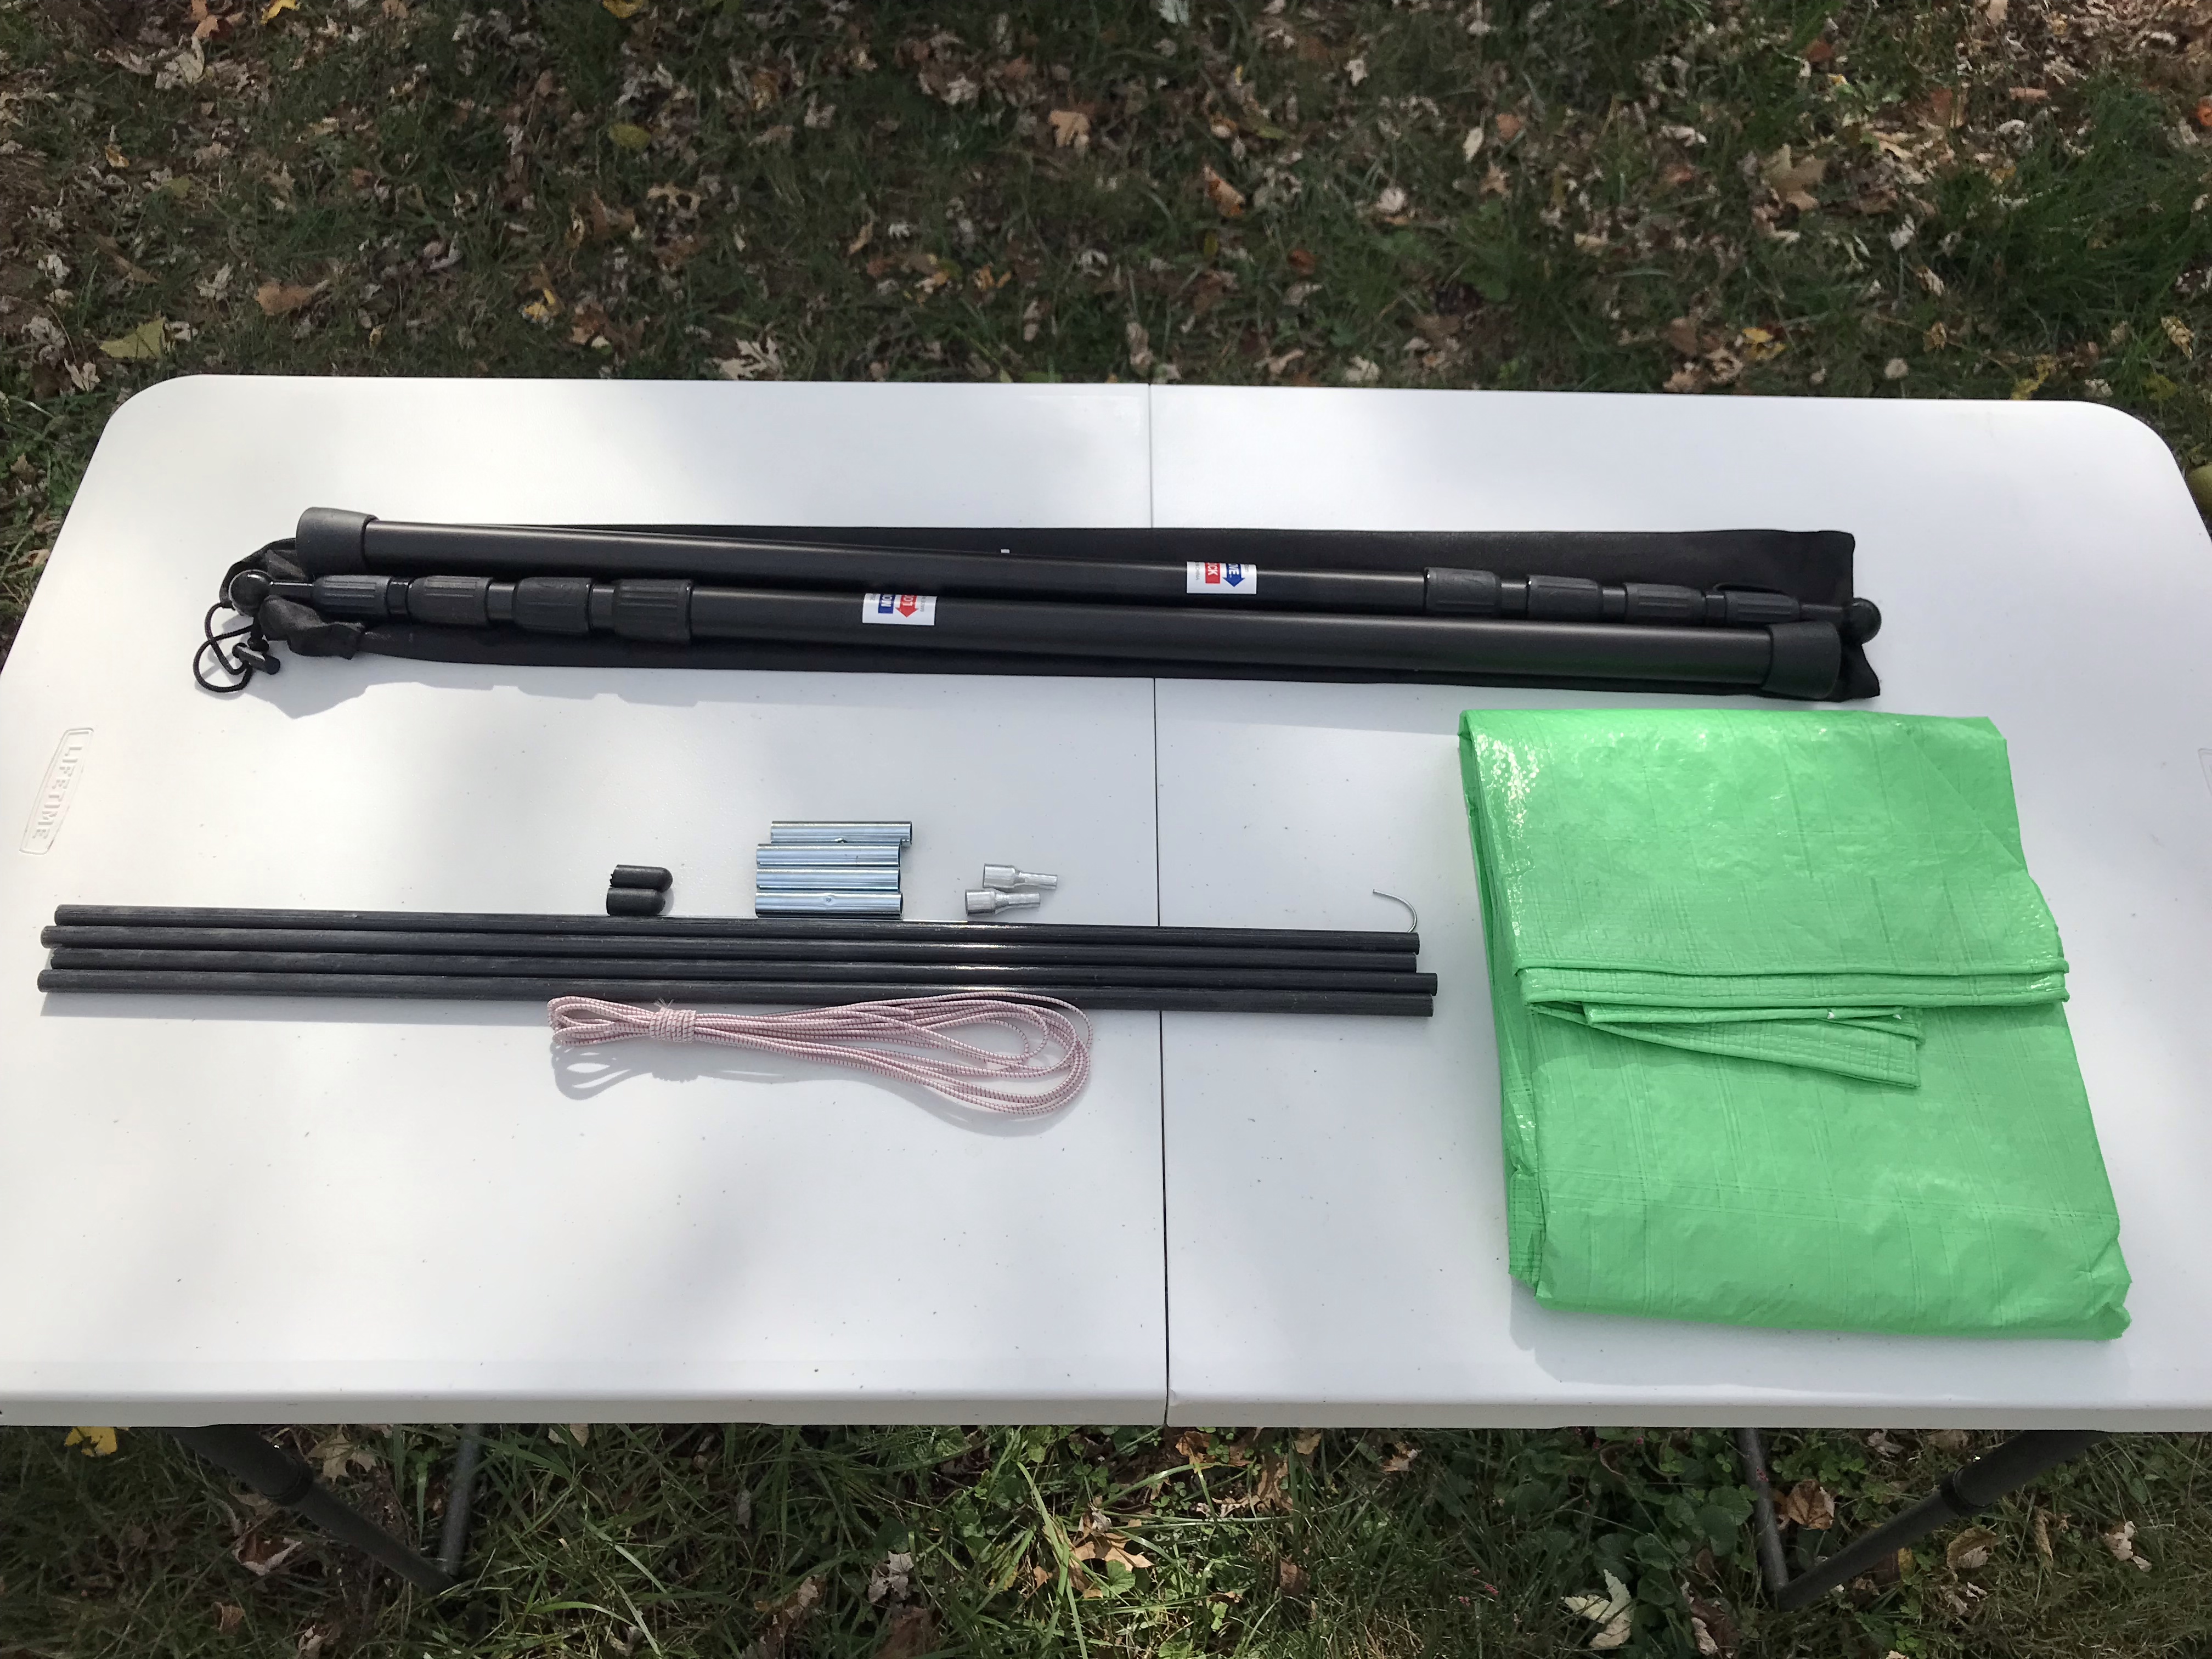
- Tarp. I found an 8’ x 10’ lime green one to match Dampé’s color scheme.
- 2 adjustable tent/tarp poles. The smaller they collapse, the better!
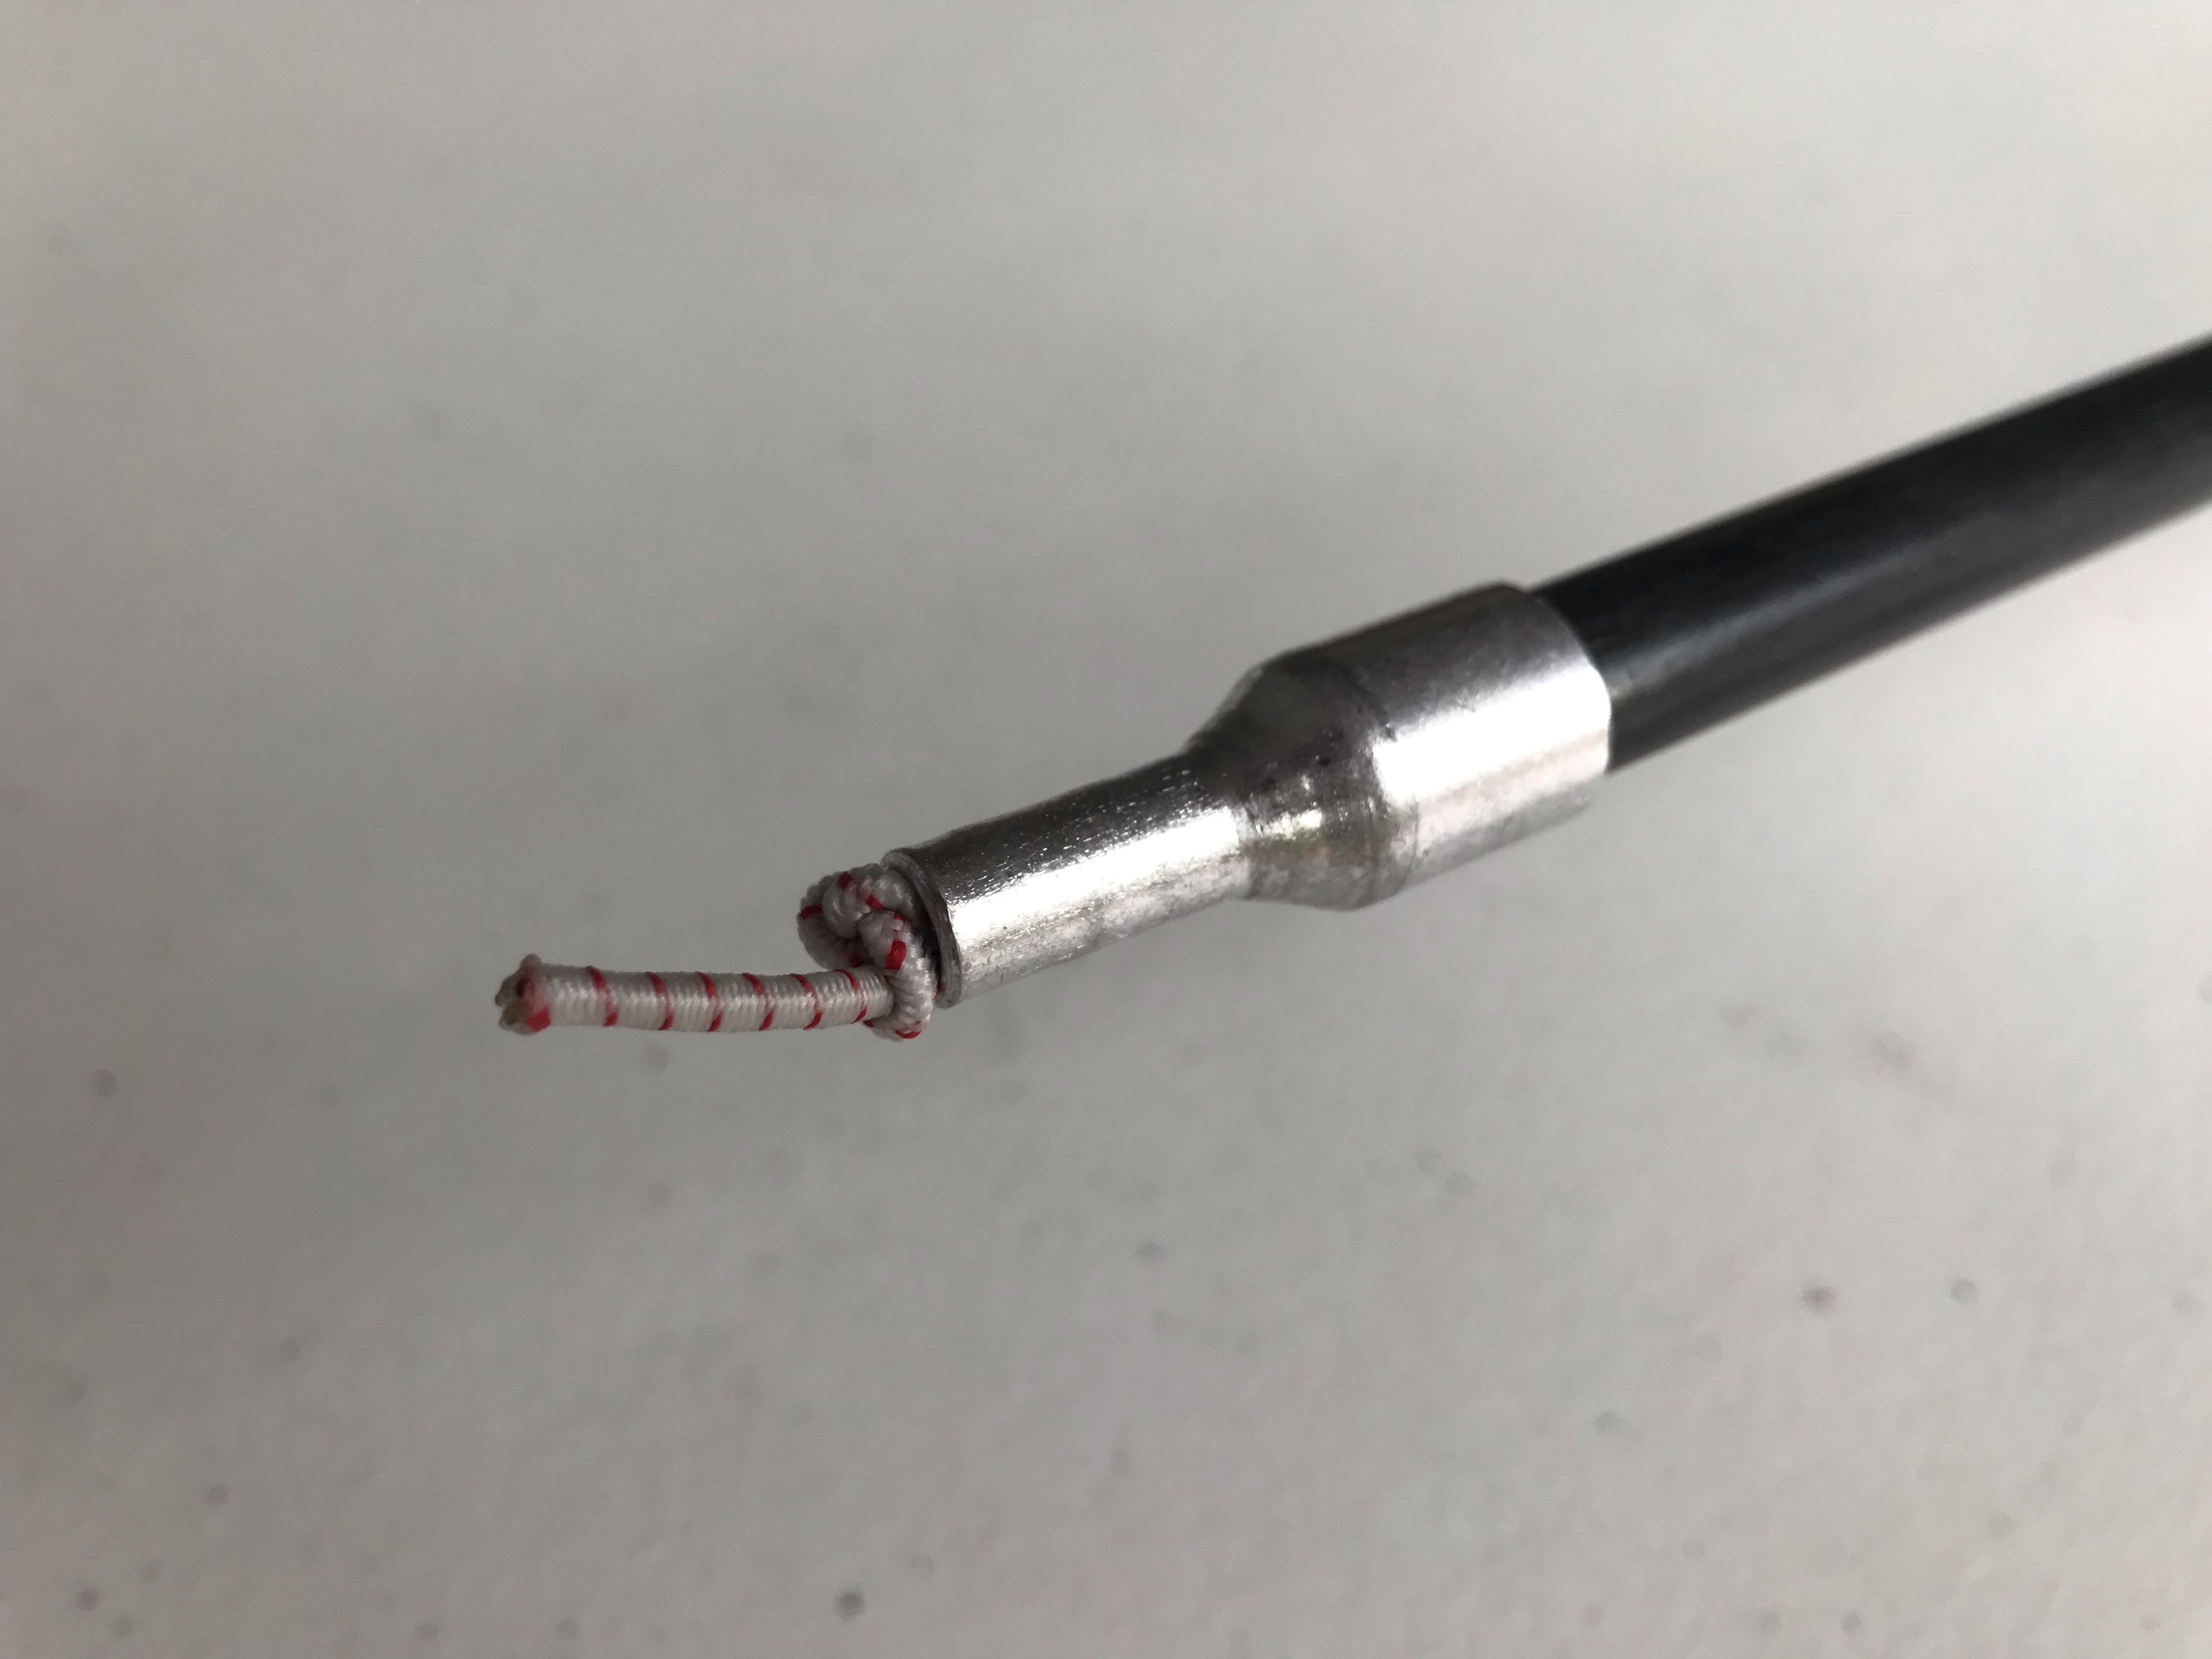
- Fiberglass tent pole repair kit with crimped ferrules. That last part is important because it allows the pole to insert into the tarp grommets.
- 2-4 Tent stakes
- 2 Carabiners (optional)
- X ft of paracord
The nice thing about fully adjustable tent poles is that you can set up one slightly taller than the other, or both shorter than the vehicle, to create a slope to shed rain.
The tent pole repair kit was the key piece to this puzzle for me. I was having trouble finding a double-ended tent pole with 2 pins for the grommets like the MoonShade has, and was seriously considering fabricating something myself until I stumbled across this kit with enough poles and pieces to make exactly what I needed.
Build
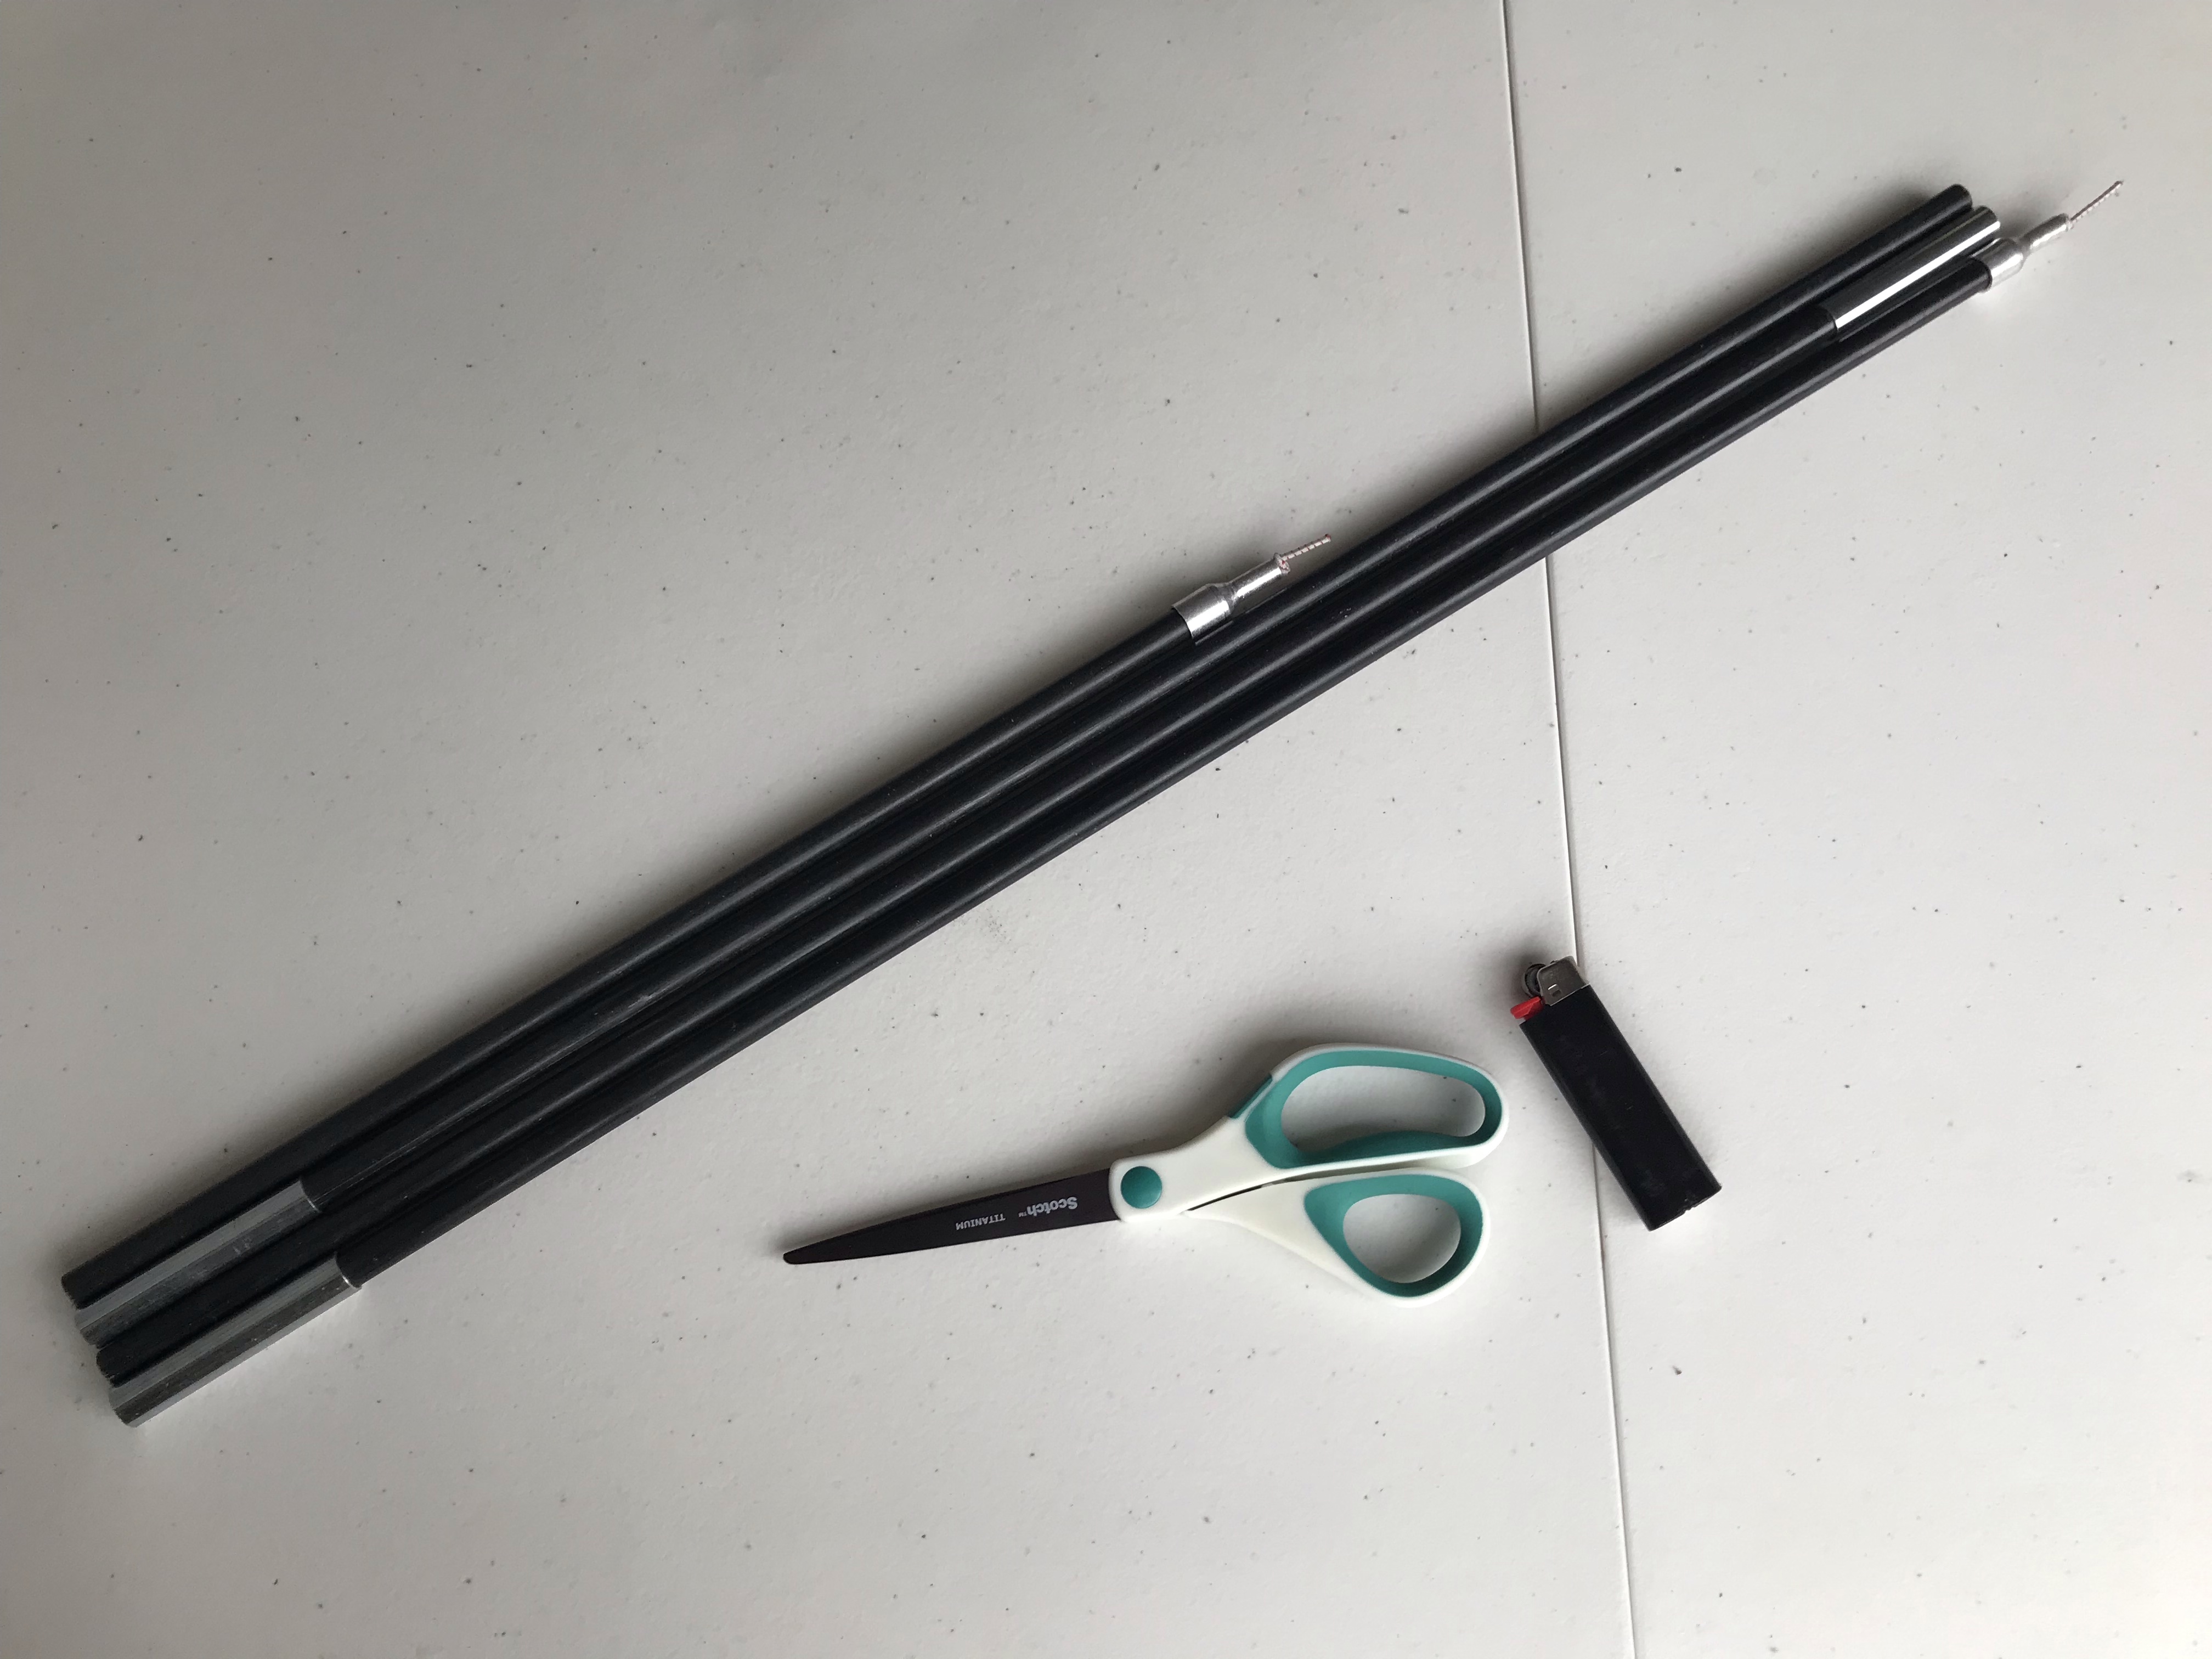
The main thing that needed to be built was the strut. I assembled the tent pole pieces and laid them out on the 8’ side of the tarp, with the pin end in one of the grommets, and set the other pin end in the opposite grommet to see where to cut the last tent pole section, marking it with a pencil.
Then I cut the tent pole section with a hacksaw, sanded the cut end, and fully assembled the tent pole with the provided shock cord. I tied the shock cord after the pin ends so the whole assembly is contained, and melted the ends of the shock cord to keep it from fraying.
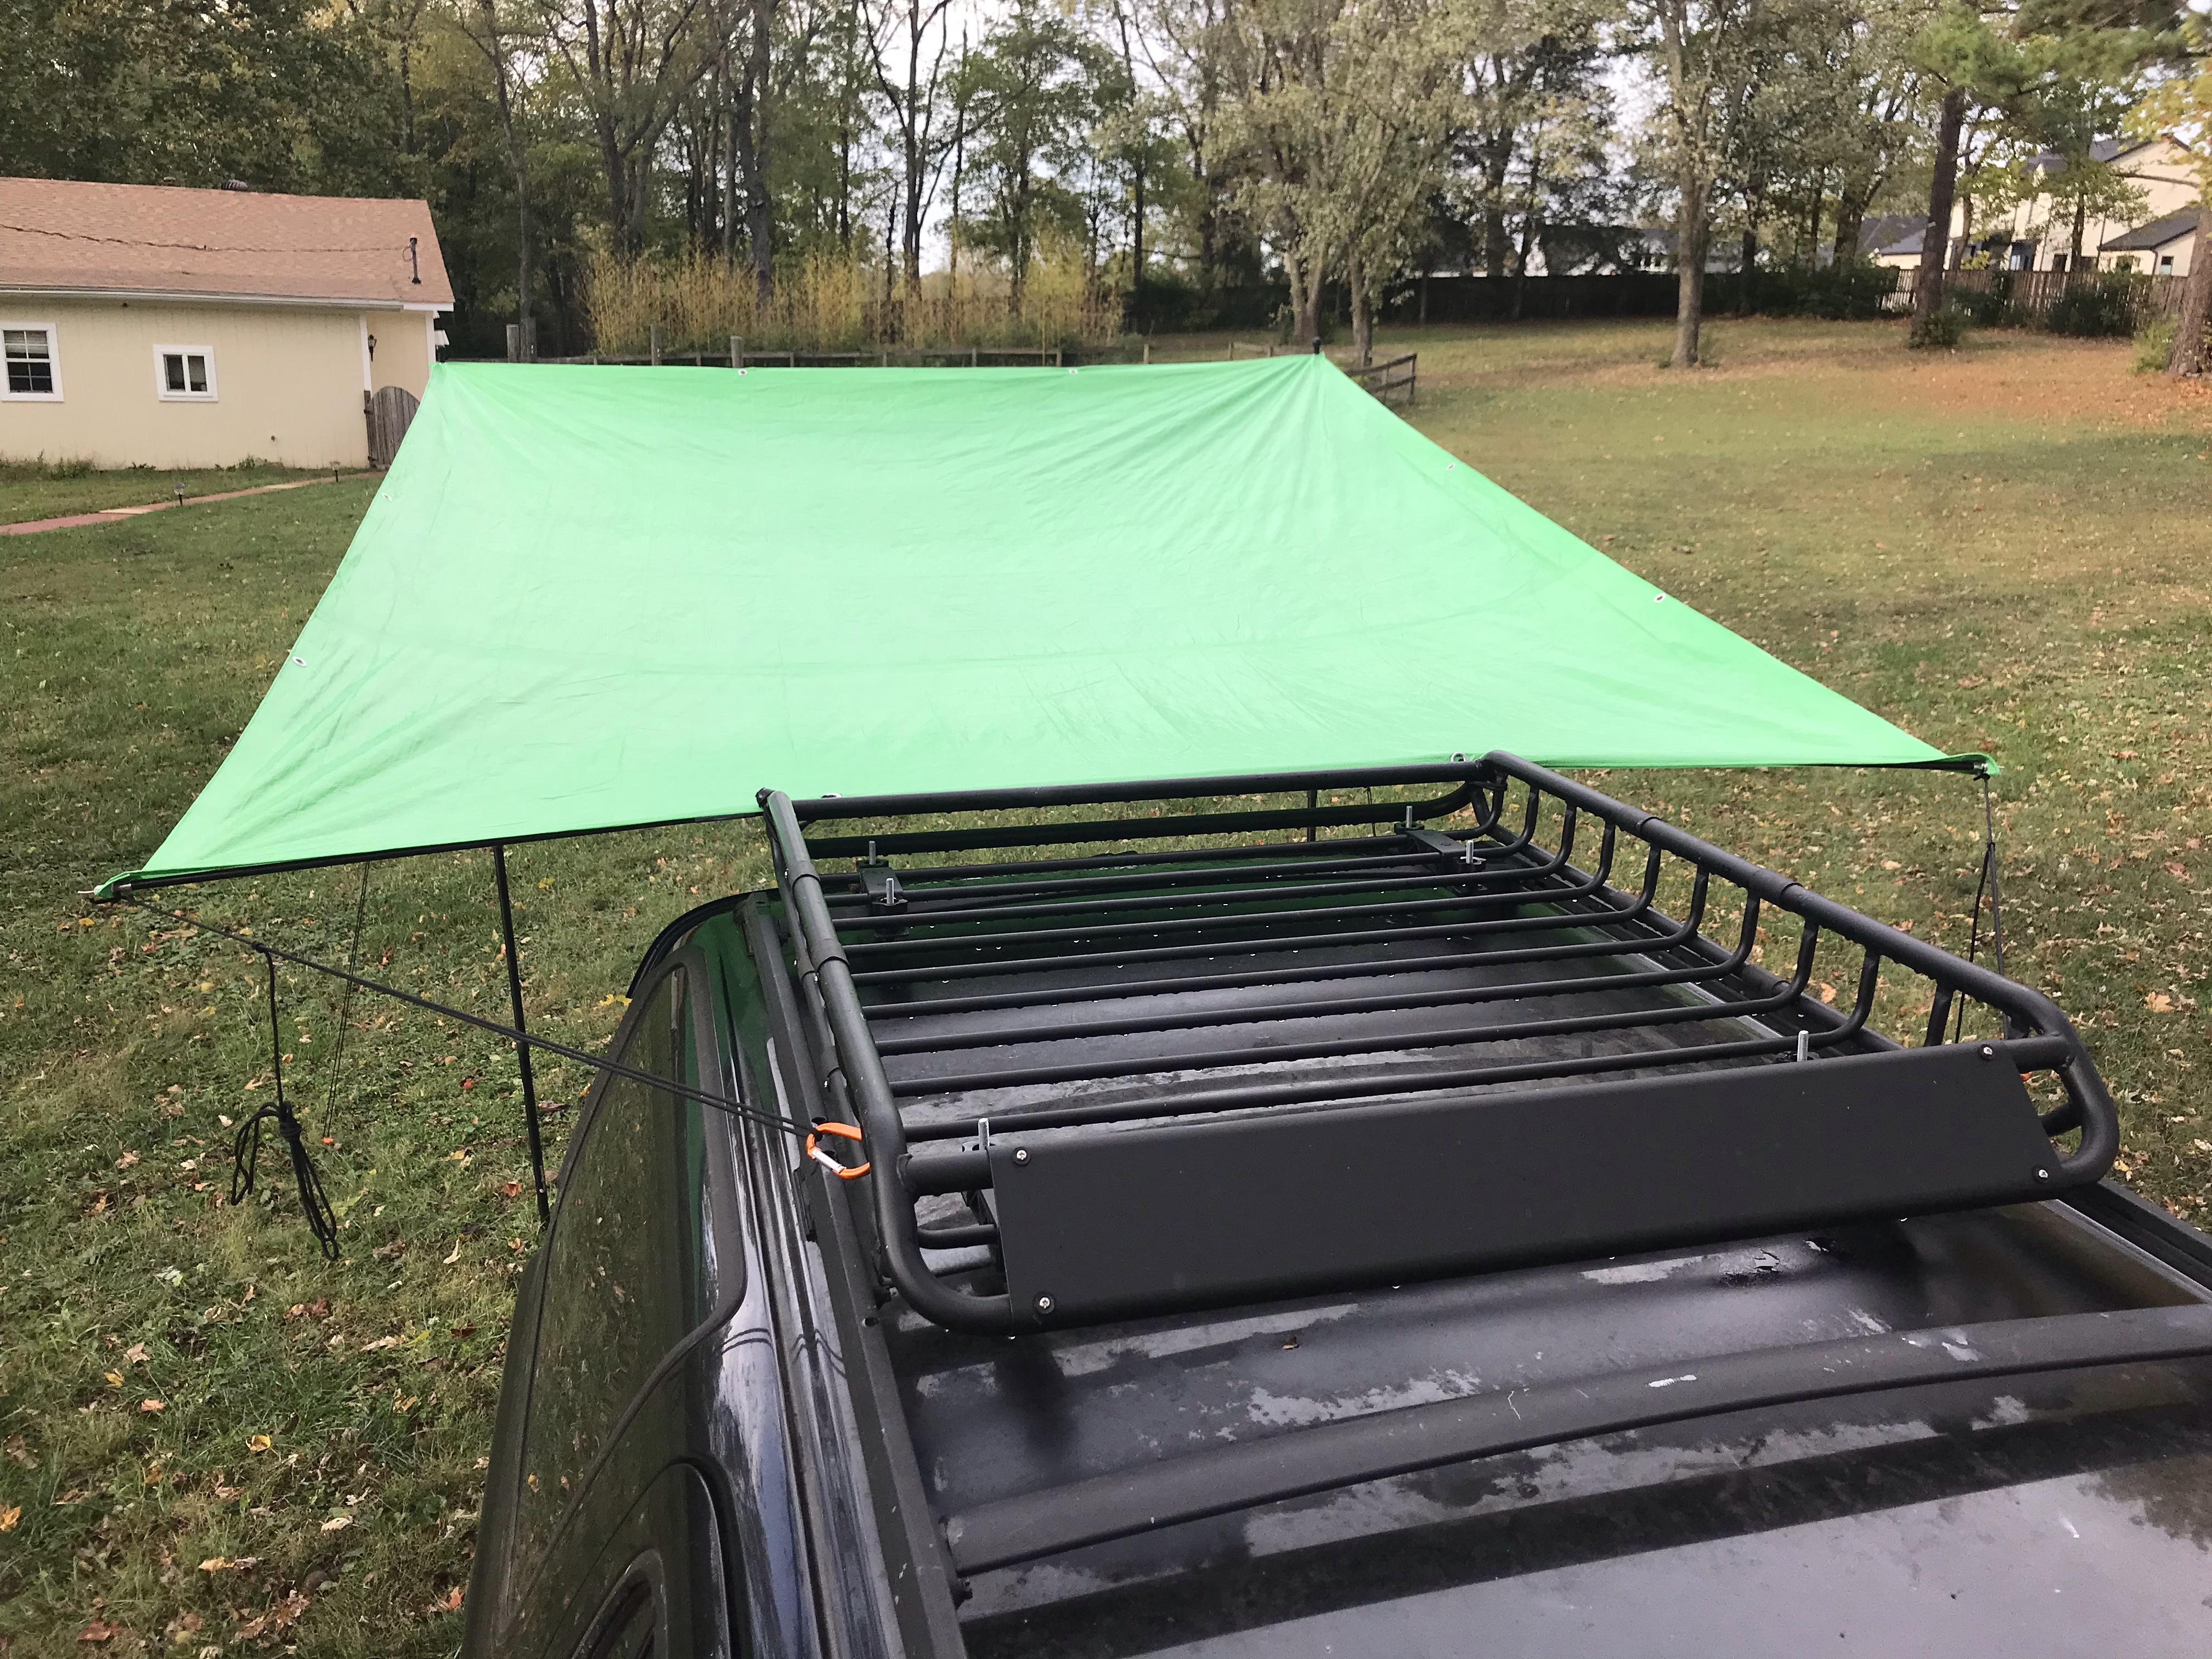
I also needed a way to affix the strut to my vehicle. MoonShade offers a variety of attachment methods, but since I have a roof rack, I kept it simple and used a couple of tarp ball bungees to hold the strut to the roof rack. In my case, the tarp grommets lined up pretty close to the sides of my roof rack, so I loop the ball bungees through those as well to hold everything together.

The last piece is the guy lines. I measured out paracord with enough length to tie taut-line hitches for adjustability and tied them permanently to all 4 corners of the tarp. On the vehicle side, I actually attached these to my roof rack with carabiners, but they’re long enough I could stake them to the ground instead.
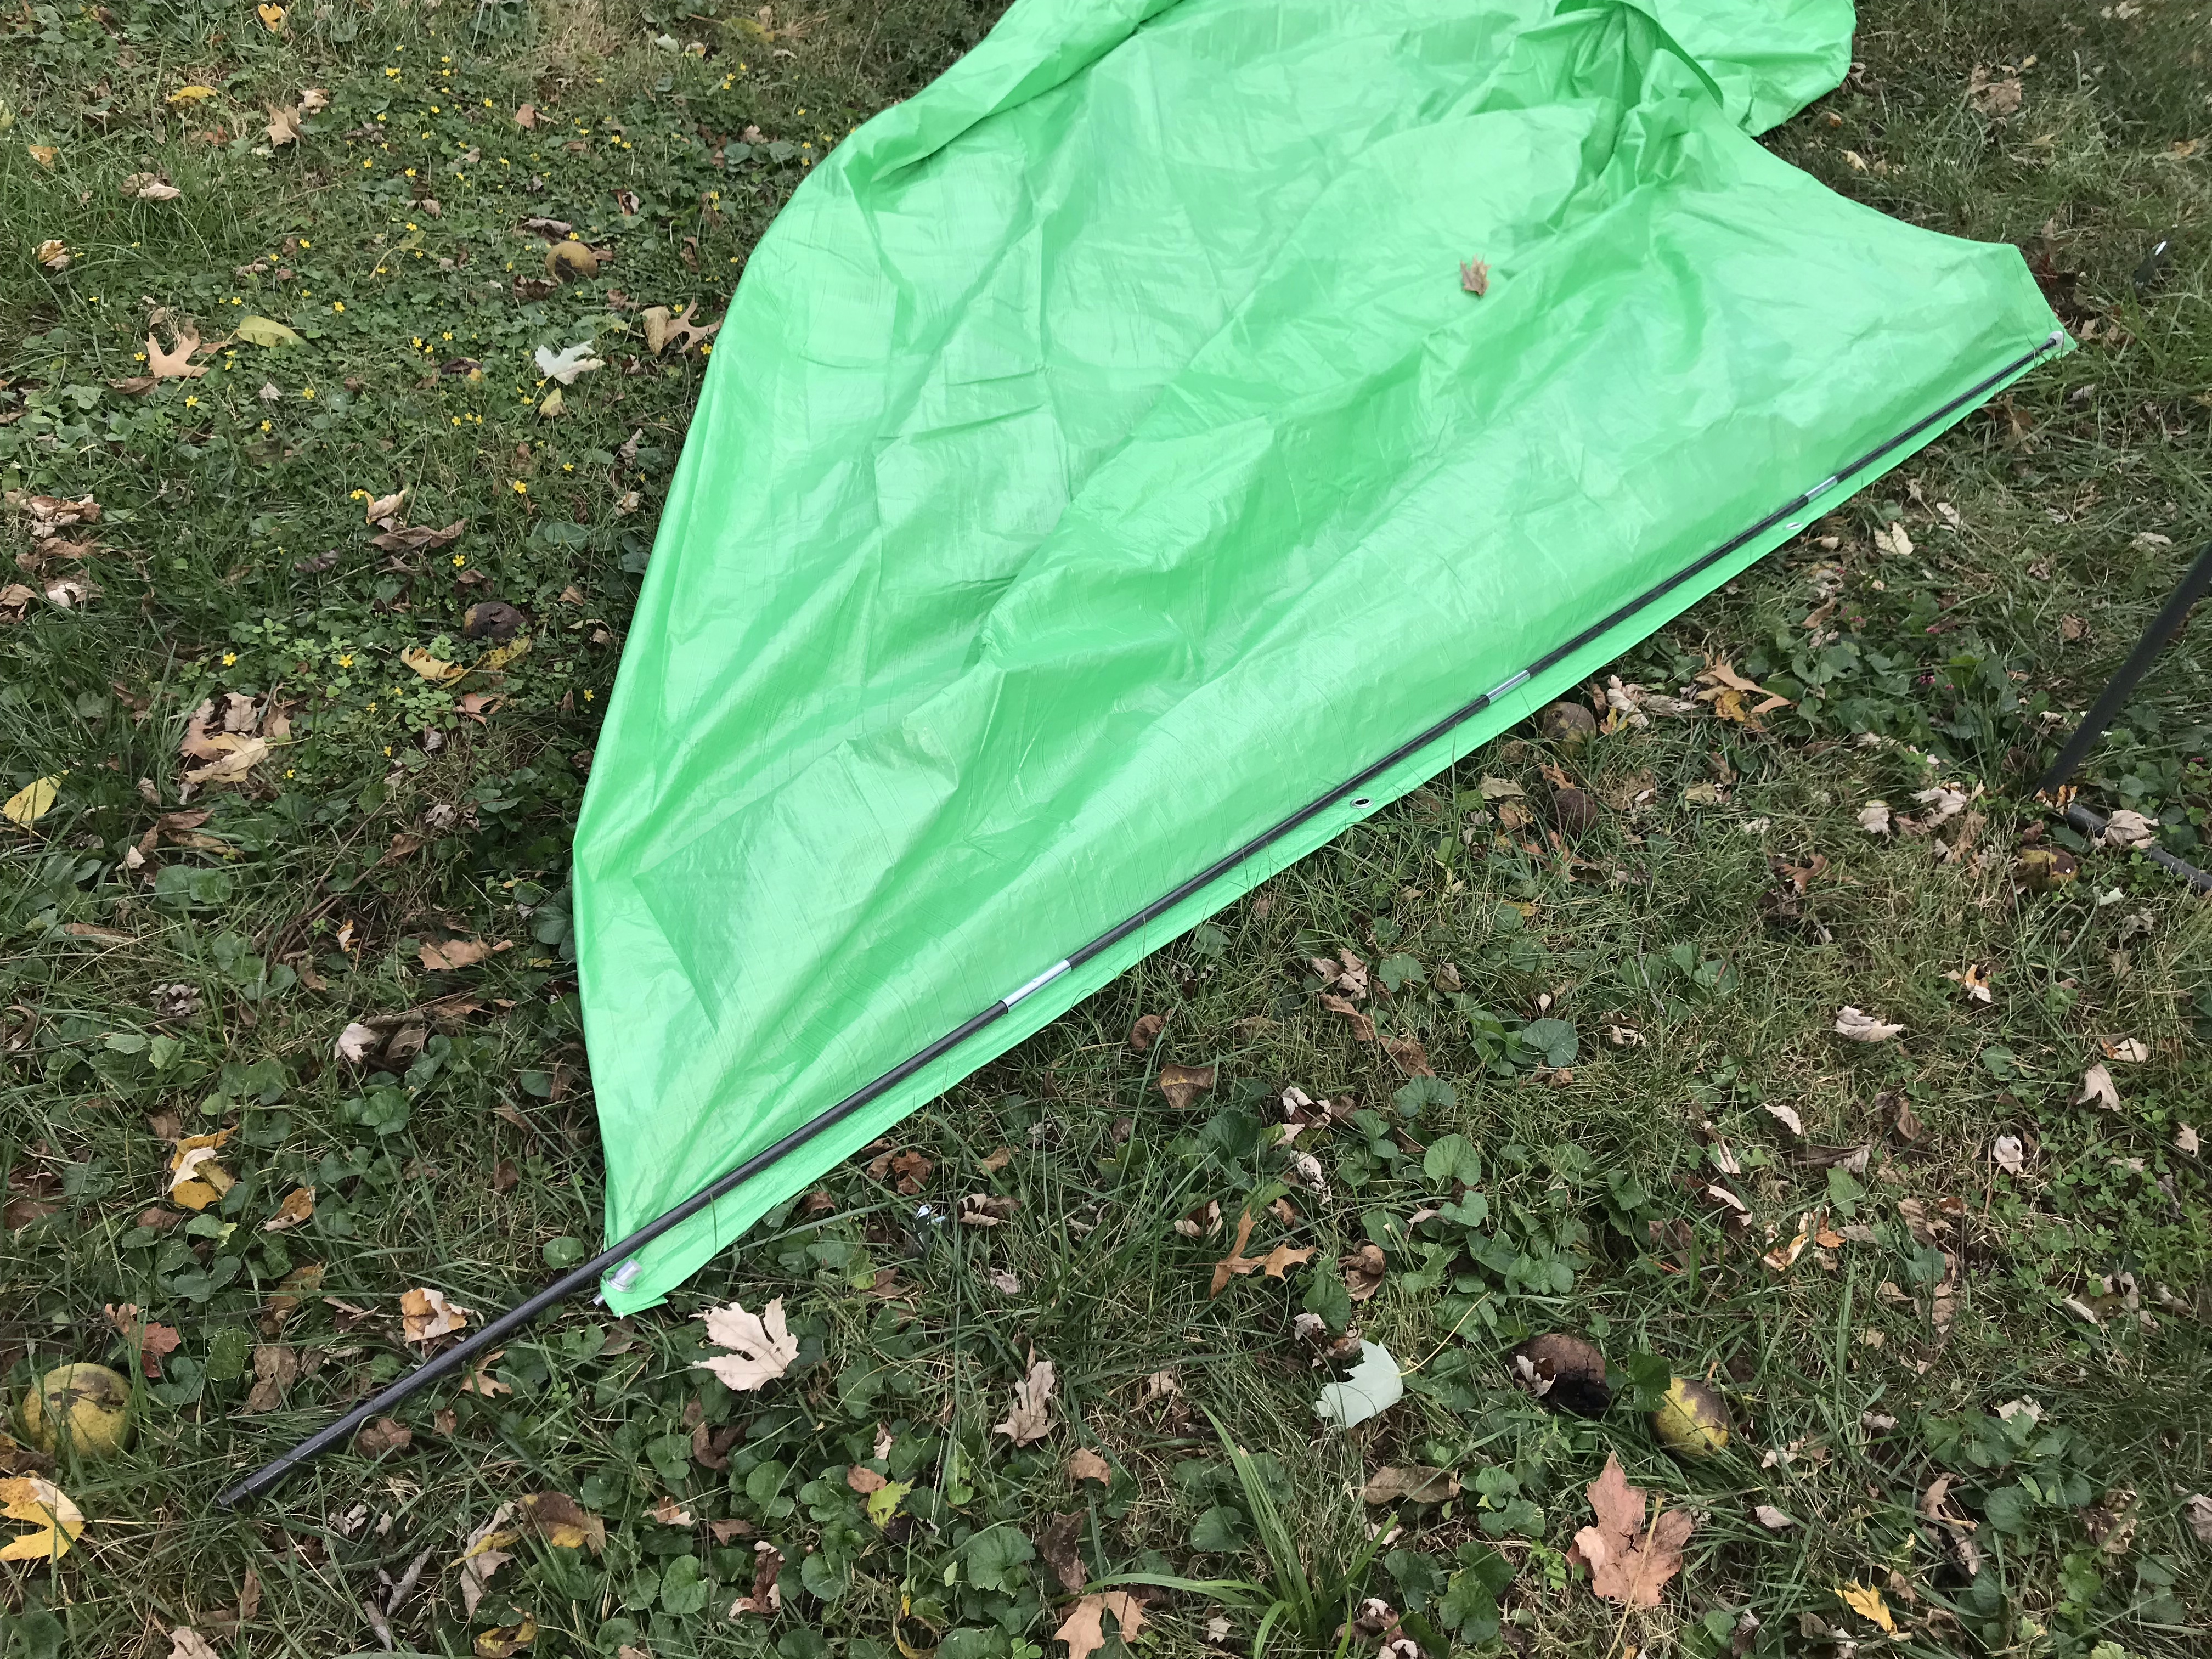
The far side is supported by the telescoping tarp poles and held taut with guy lines staked to the ground.
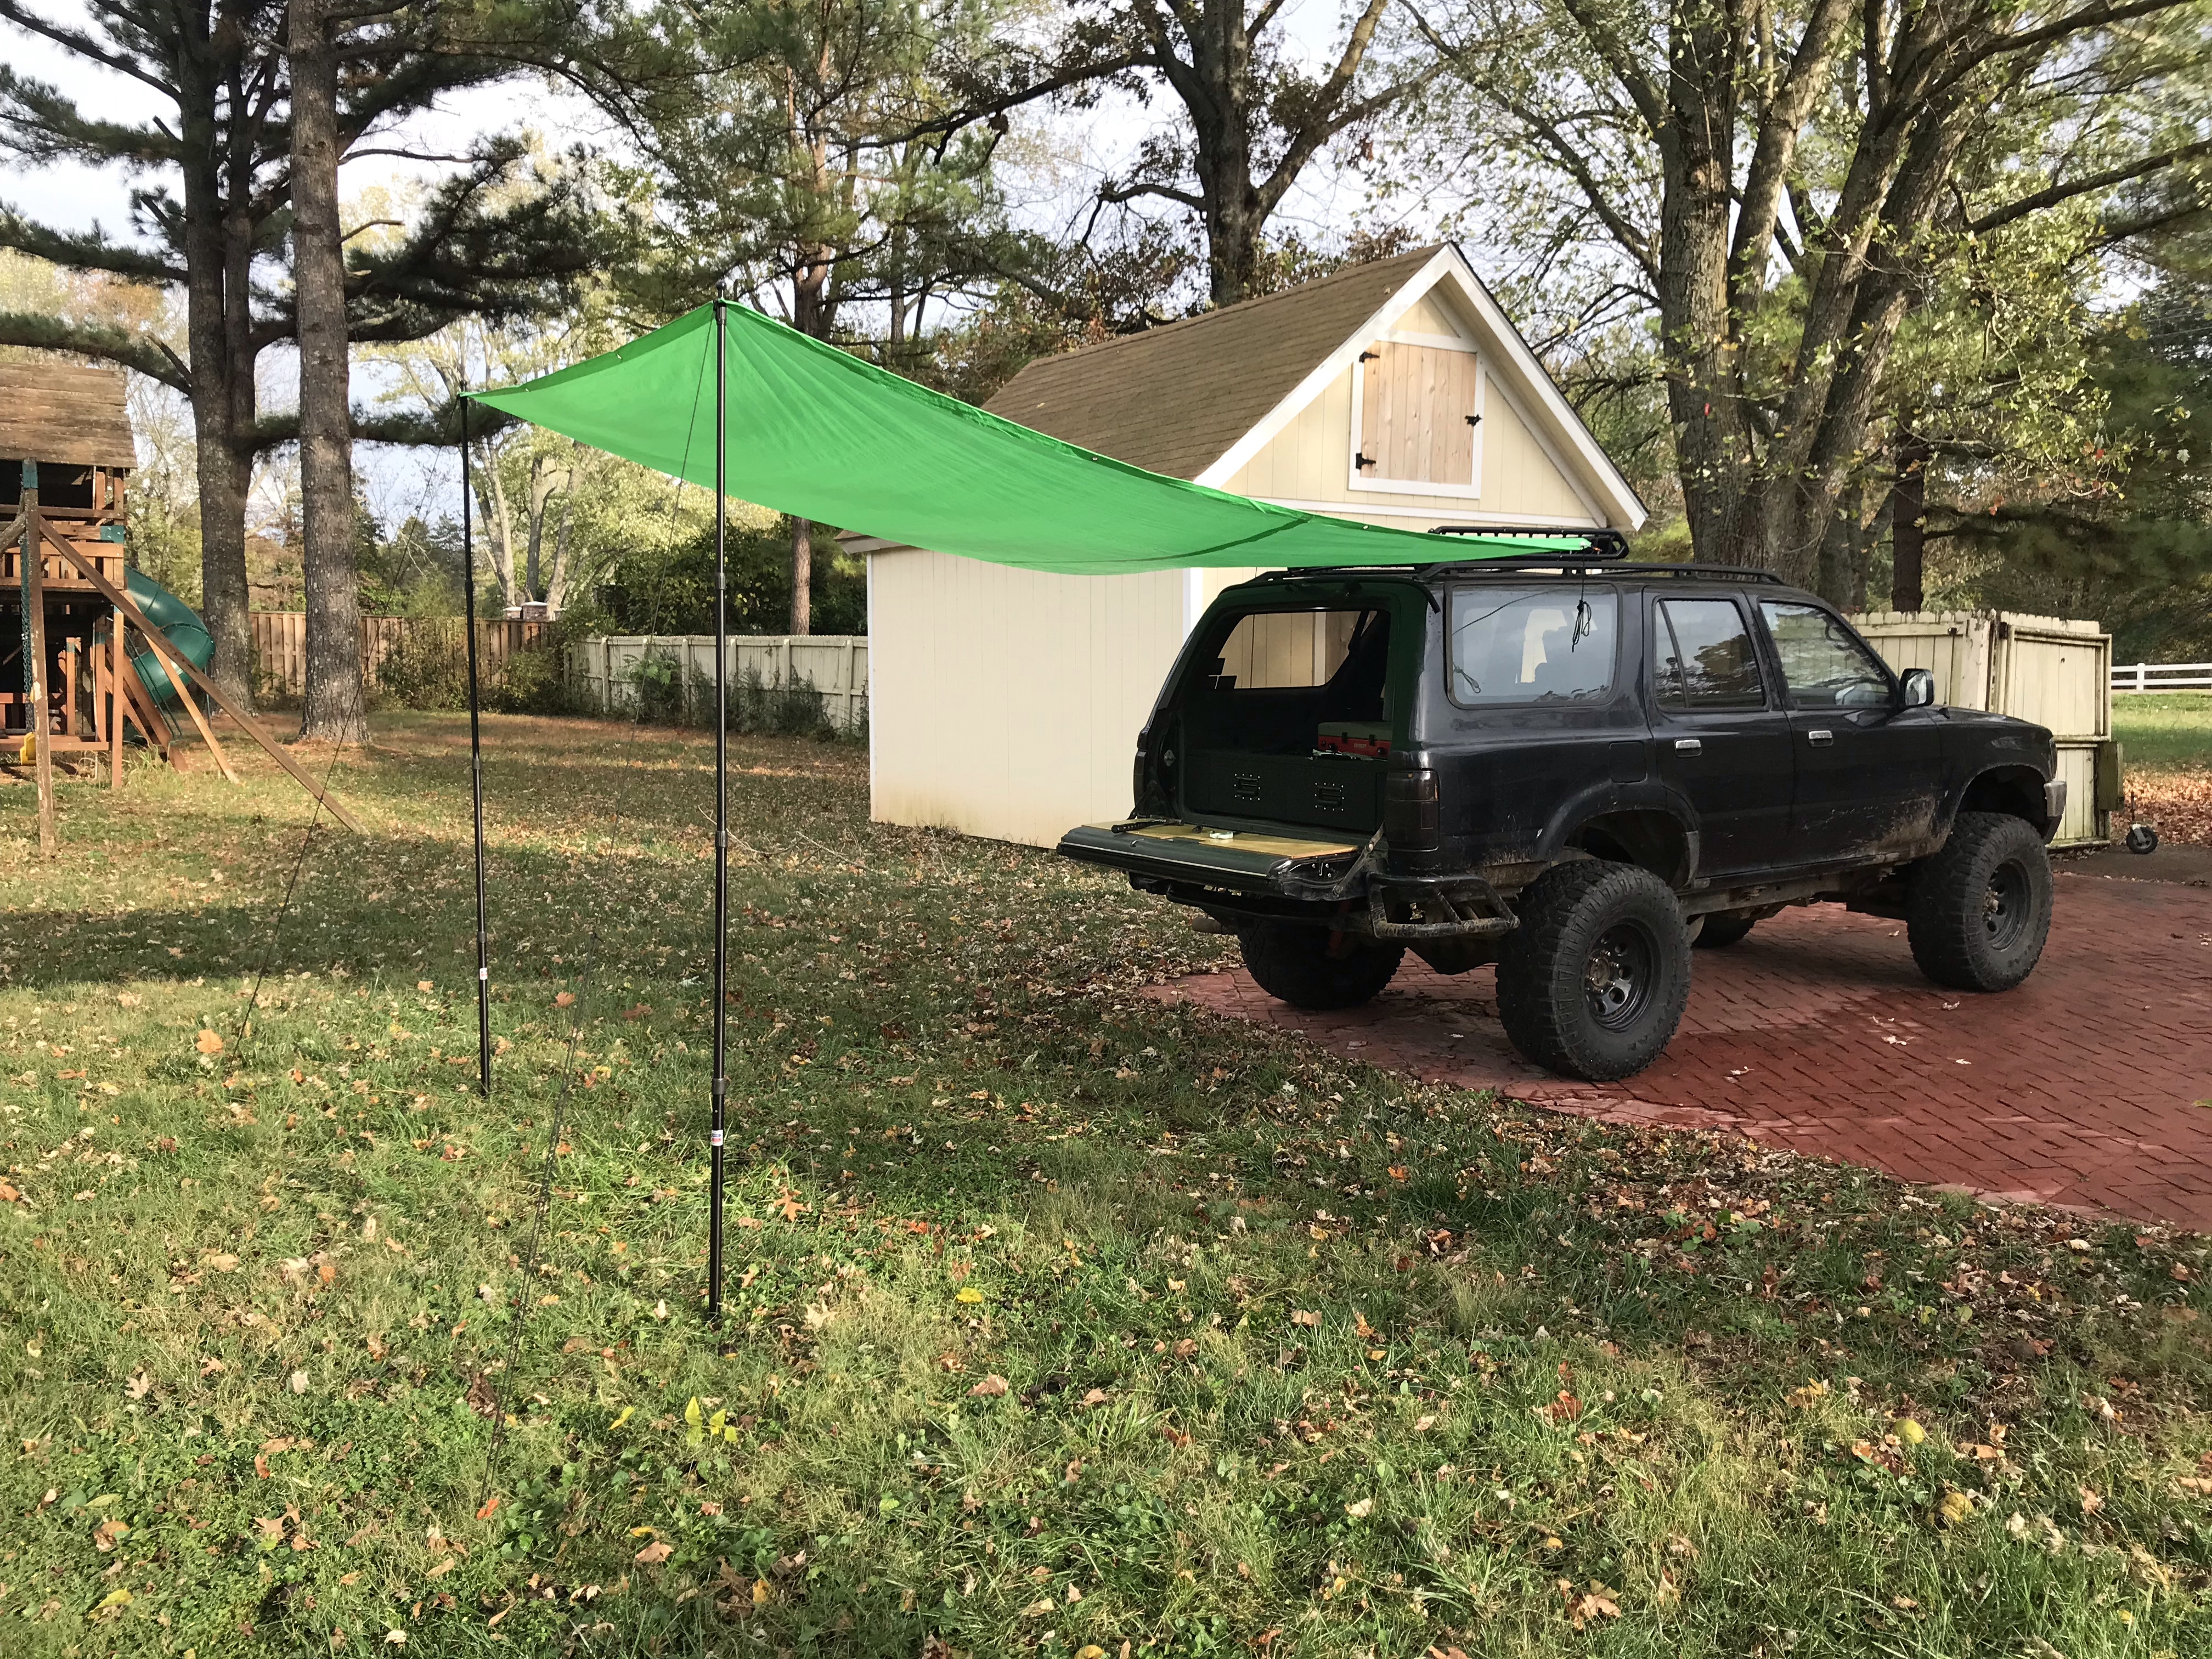
I need to play around with tensioning to make sure water doesn’t pool in the center, but overall, I’m really happy with this build. It’s easier to set up with 2 people, but I can tear it down by myself in just a couple of minutes, which is a lot faster than my 10’ x 10’ pop-up canopy!
Cost
I managed to pull this off for under $100.
- Tarp: $14.99
- Adjustable tarp poles: $54.99
- Tent pole repair kit: $16.99
- Tent stakes: $6.49
- Carabiners: $2.87
Total: $96.33