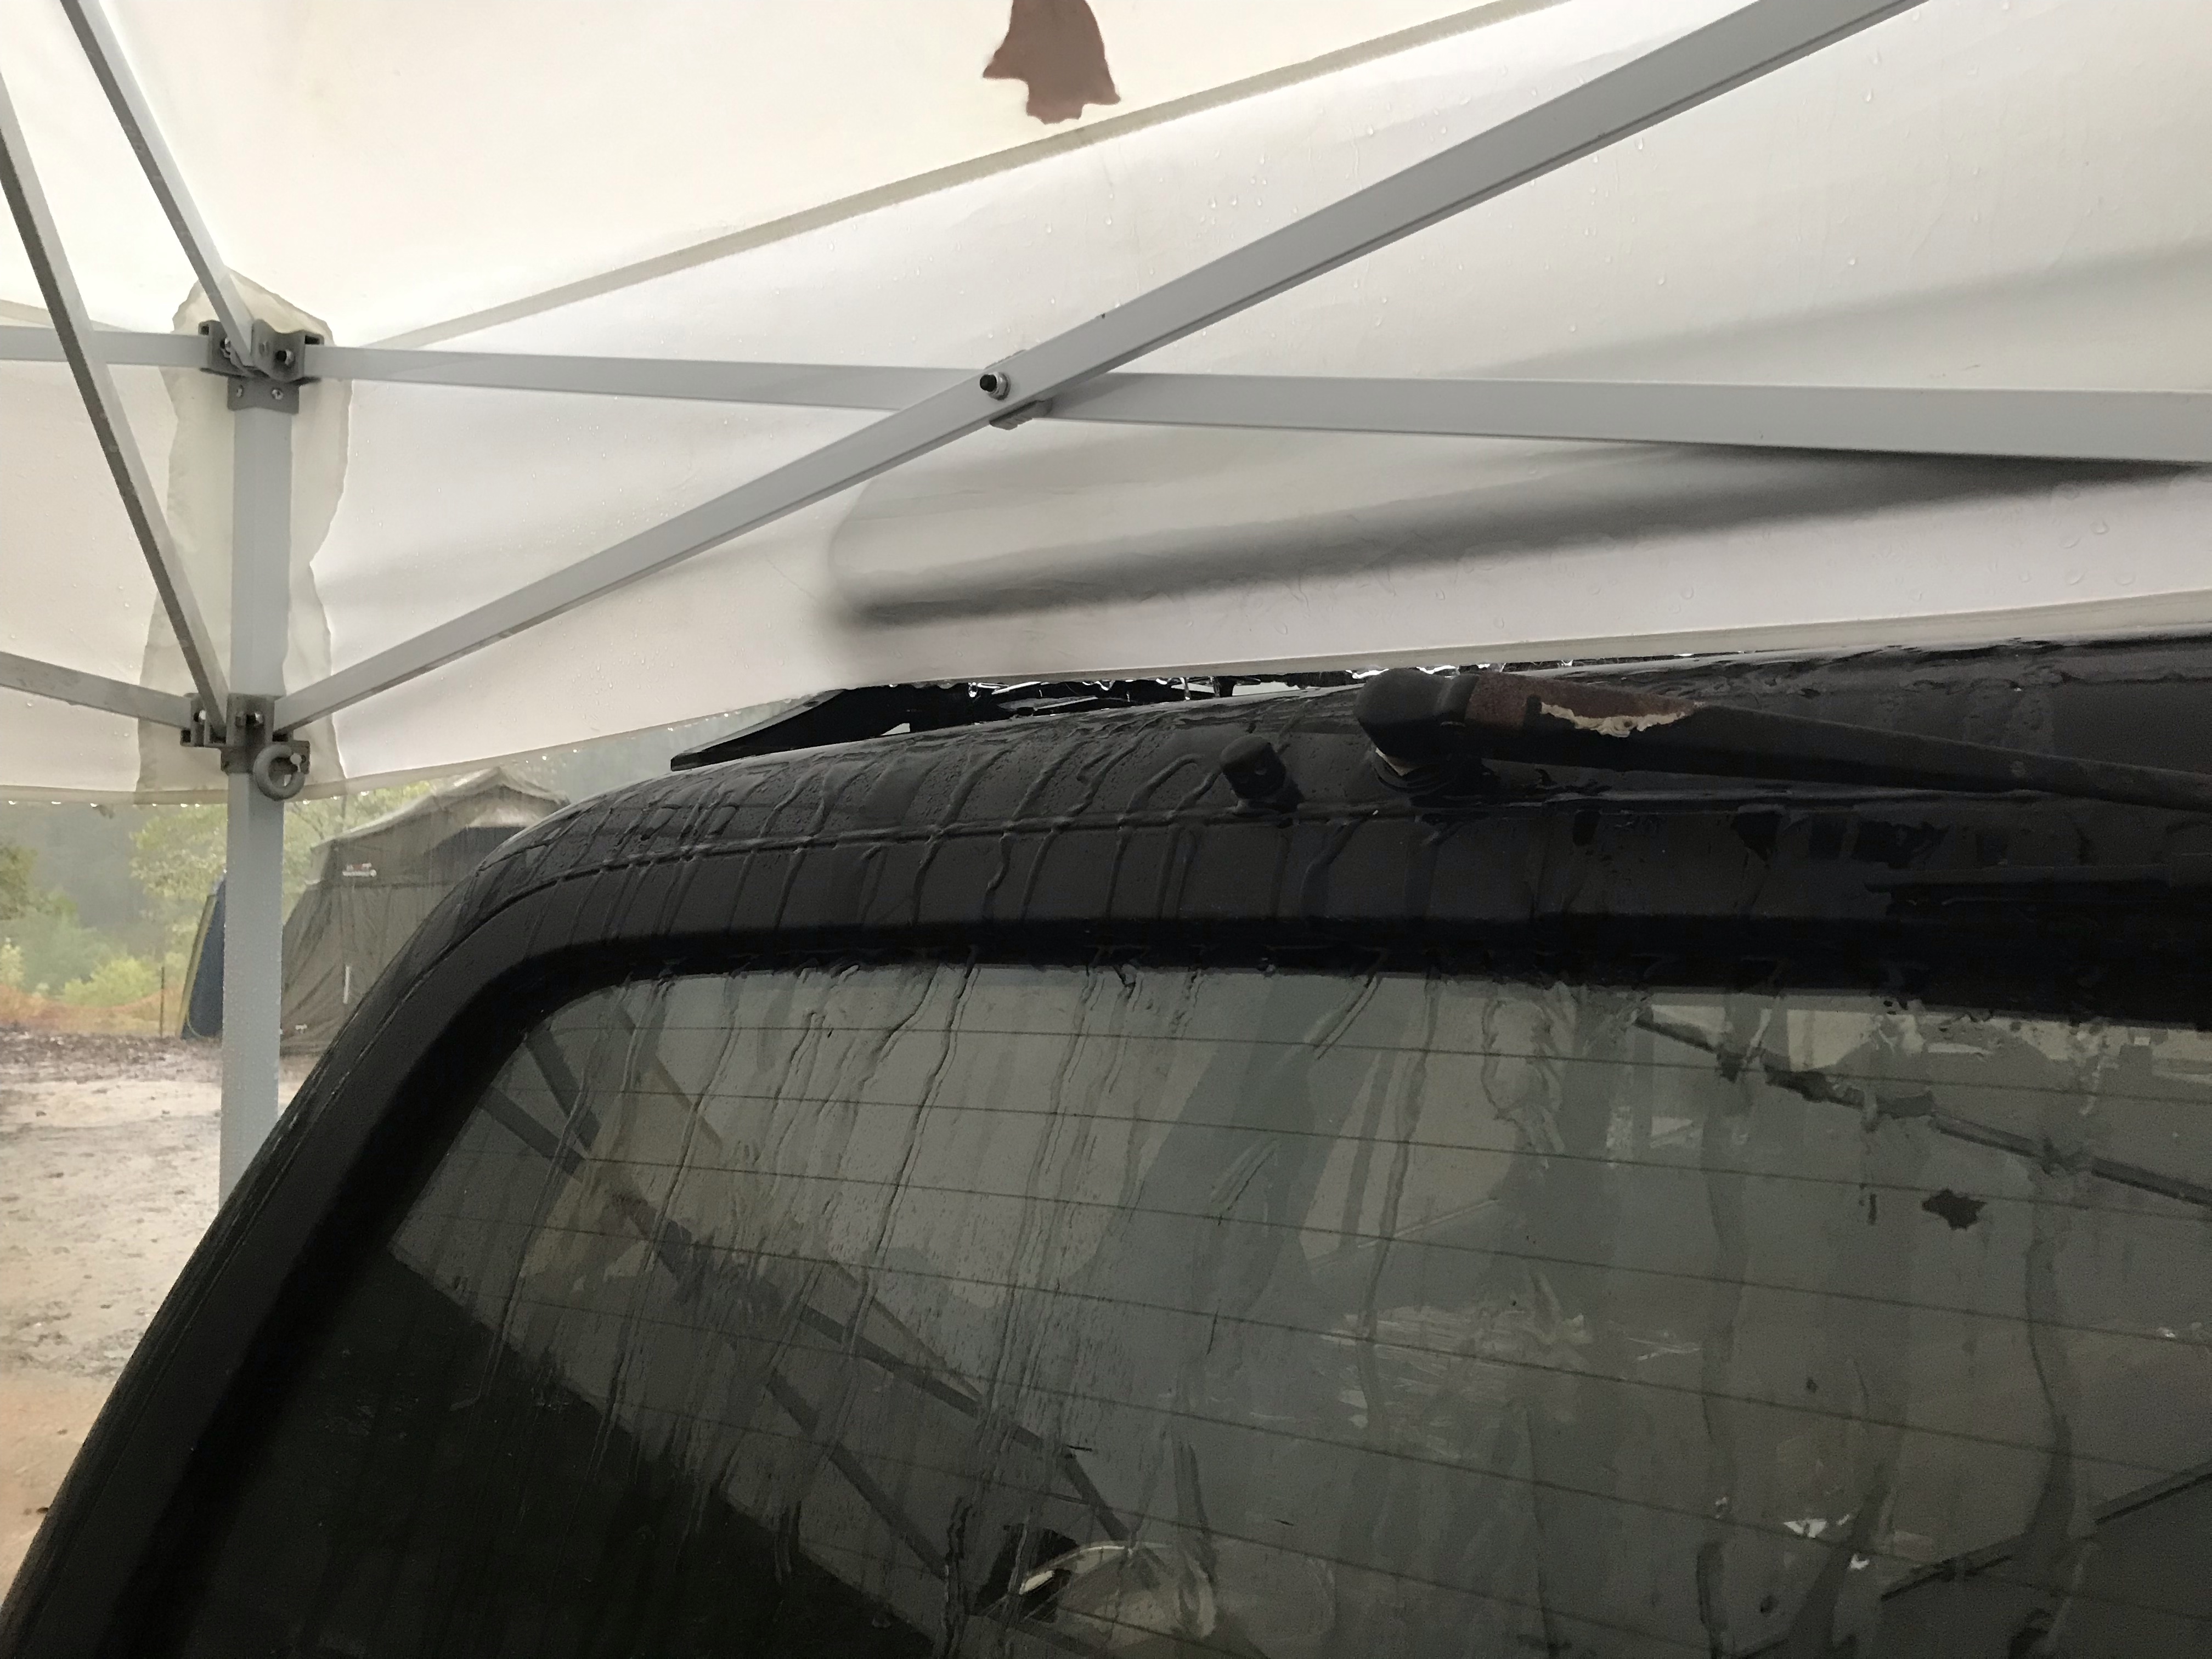
One of the (few) flaws of the 2nd gen 4runner, in my opinion, is the lack of a drip rail above the rear window. Even if the rear of the vehicle is under cover (such as my Poor Man’s MoonShade), if the rear window is open, rain on the roof will run straight into the cargo area!
I spent several hours trying to find someone else who had solved this problem before, and maybe my Google-fu is getting rusty, but I was surprised that I couldn’t find anyone else doing something about this!
I think the ideal long-term solution would be to weld a proper drip rail above the window, but I don’t have a welder, and I’m not prepared to strip and repaint. Maybe someday…
What I did find, though, was a product called RV rain gutter, which is essentially J-channel rubber molding that can be applied above windows and doors on an RV to solve this same problem.

Supplies
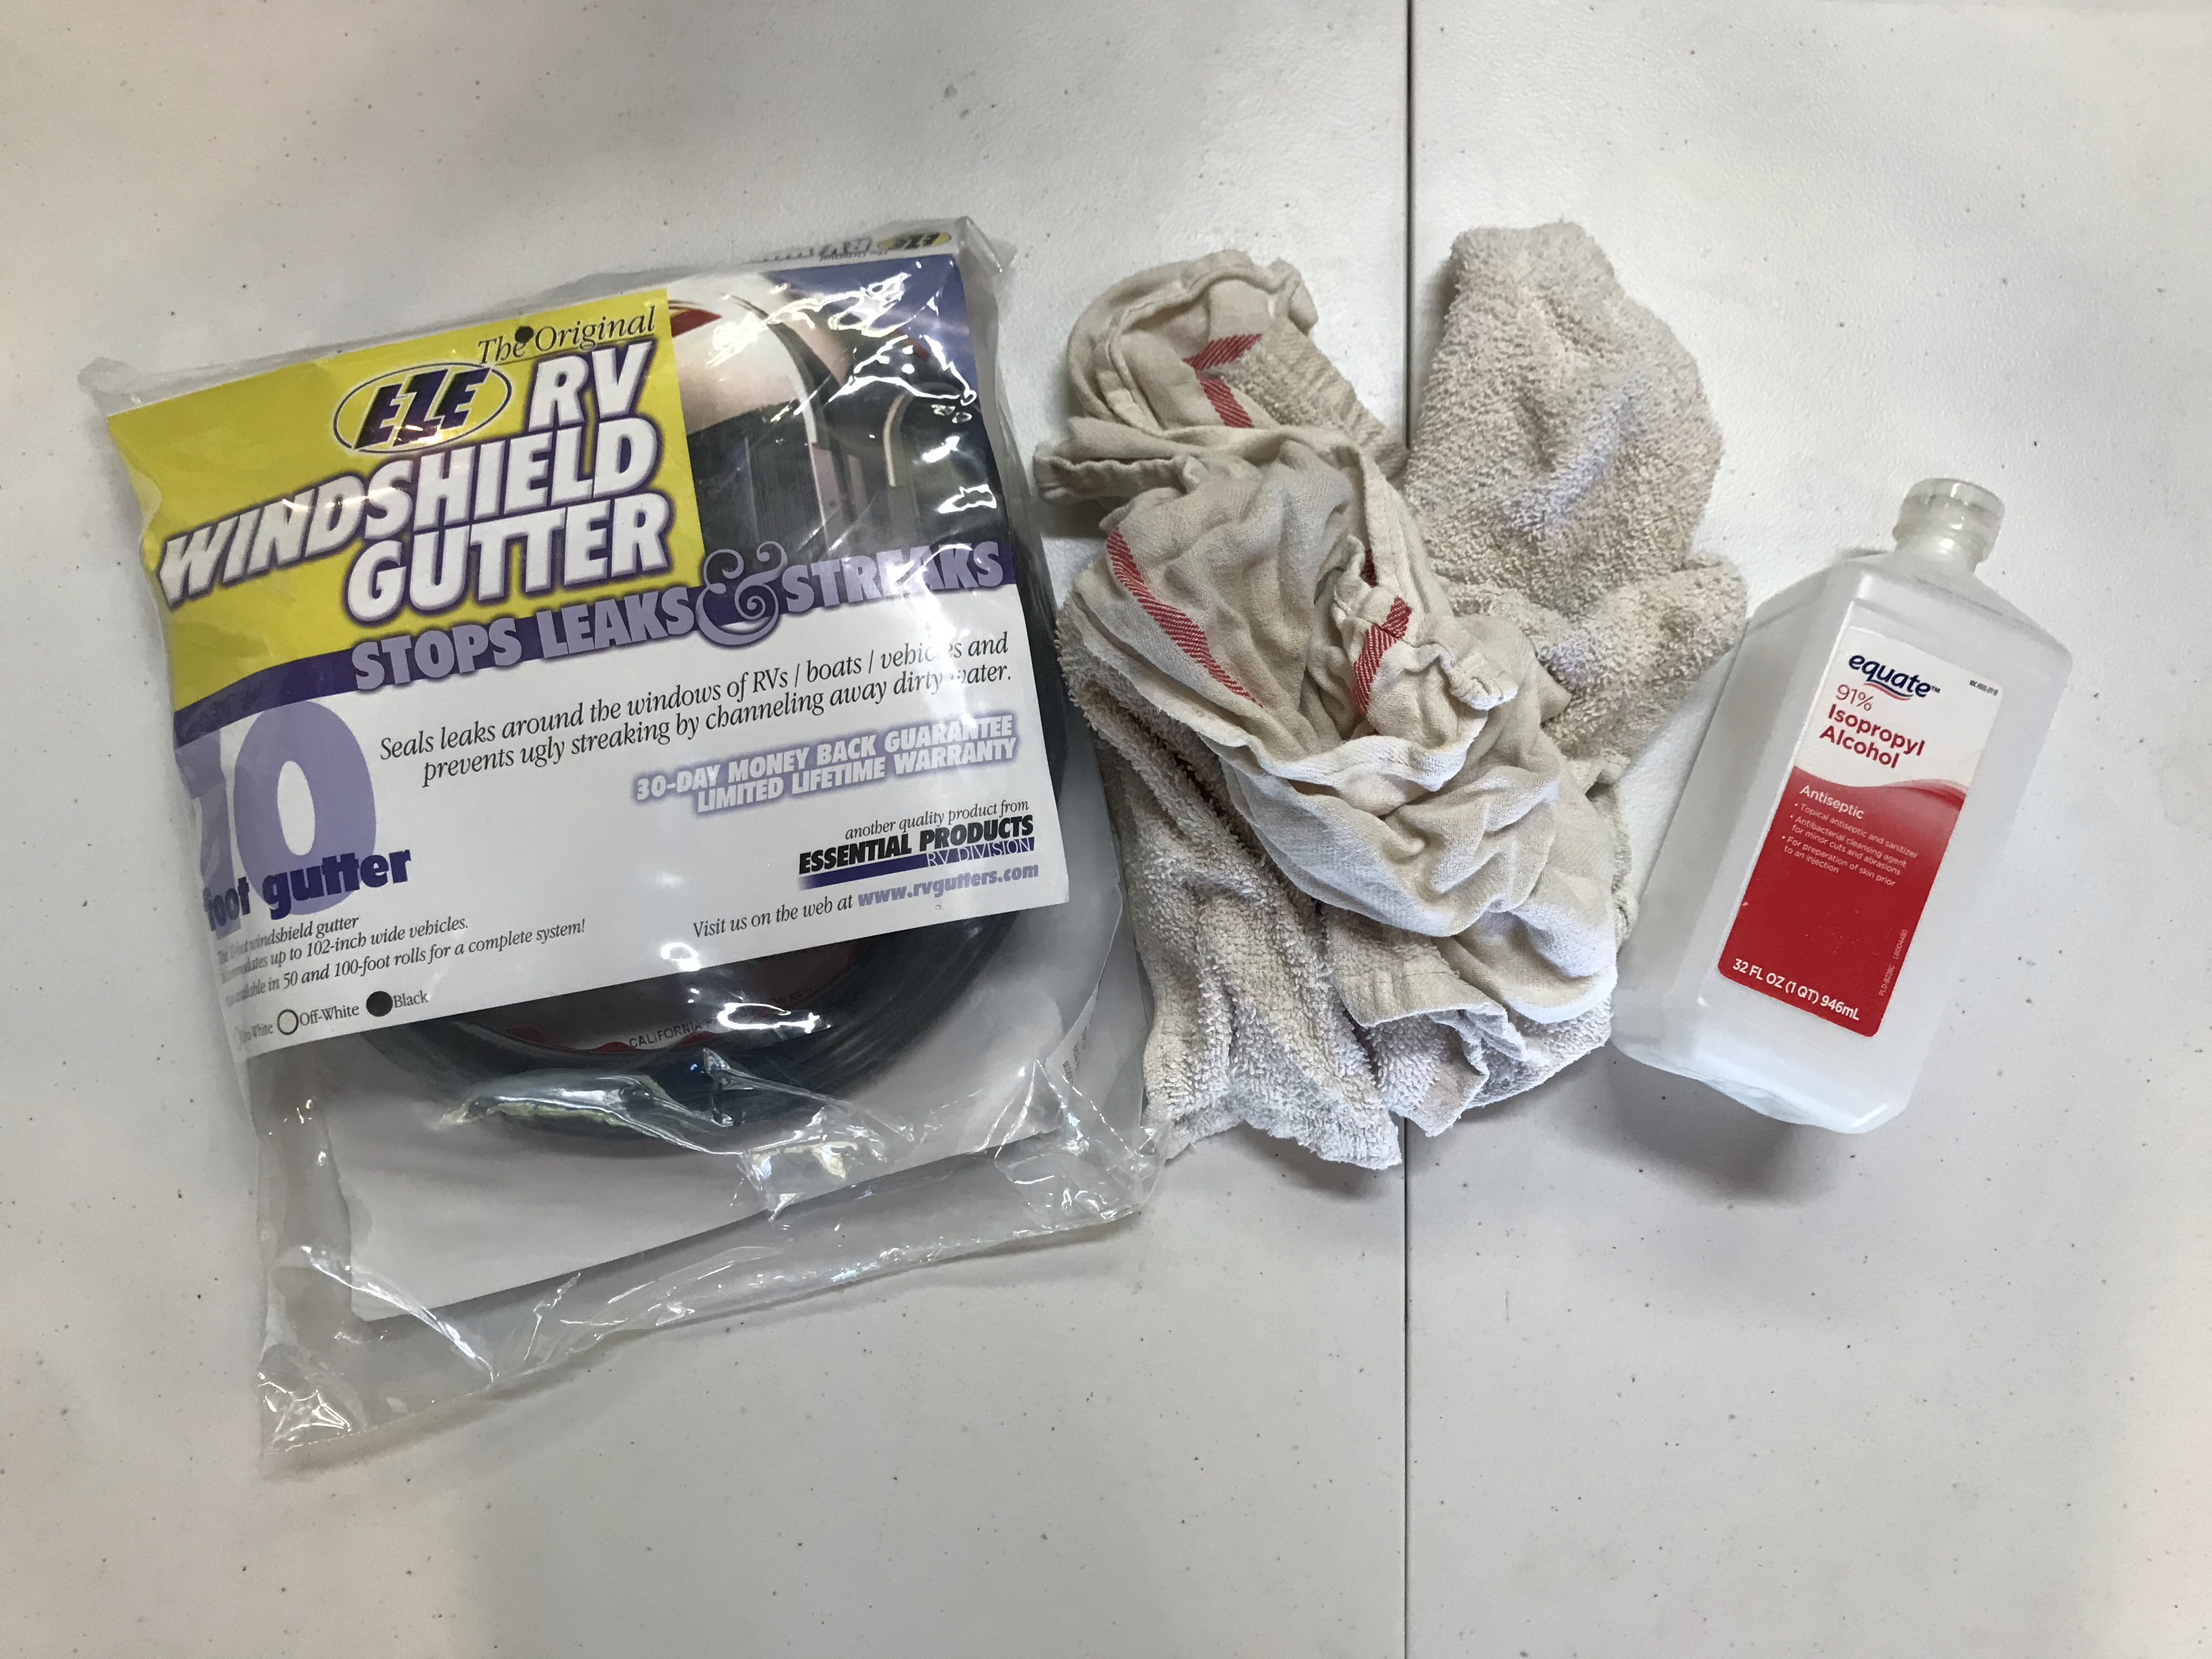
- RV gutter (I bought 10′ but I used about 52″)
- Rags
- Isopropyl alcohol
- Masking tape (optional but recommended)
- Old toothbrush (for pressing the gutter into place)
Build
This build was really straightforward, and I basically just followed the instructions that came with the RV gutter. I cleaned the area to which I was going to apply the gutter, then rubbed it down with isopropyl alcohol and quickly dried it to get it extra clean and ready to accept the 3M adhesive strip. Then I laid out masking tape right below where I was going to put the channel.
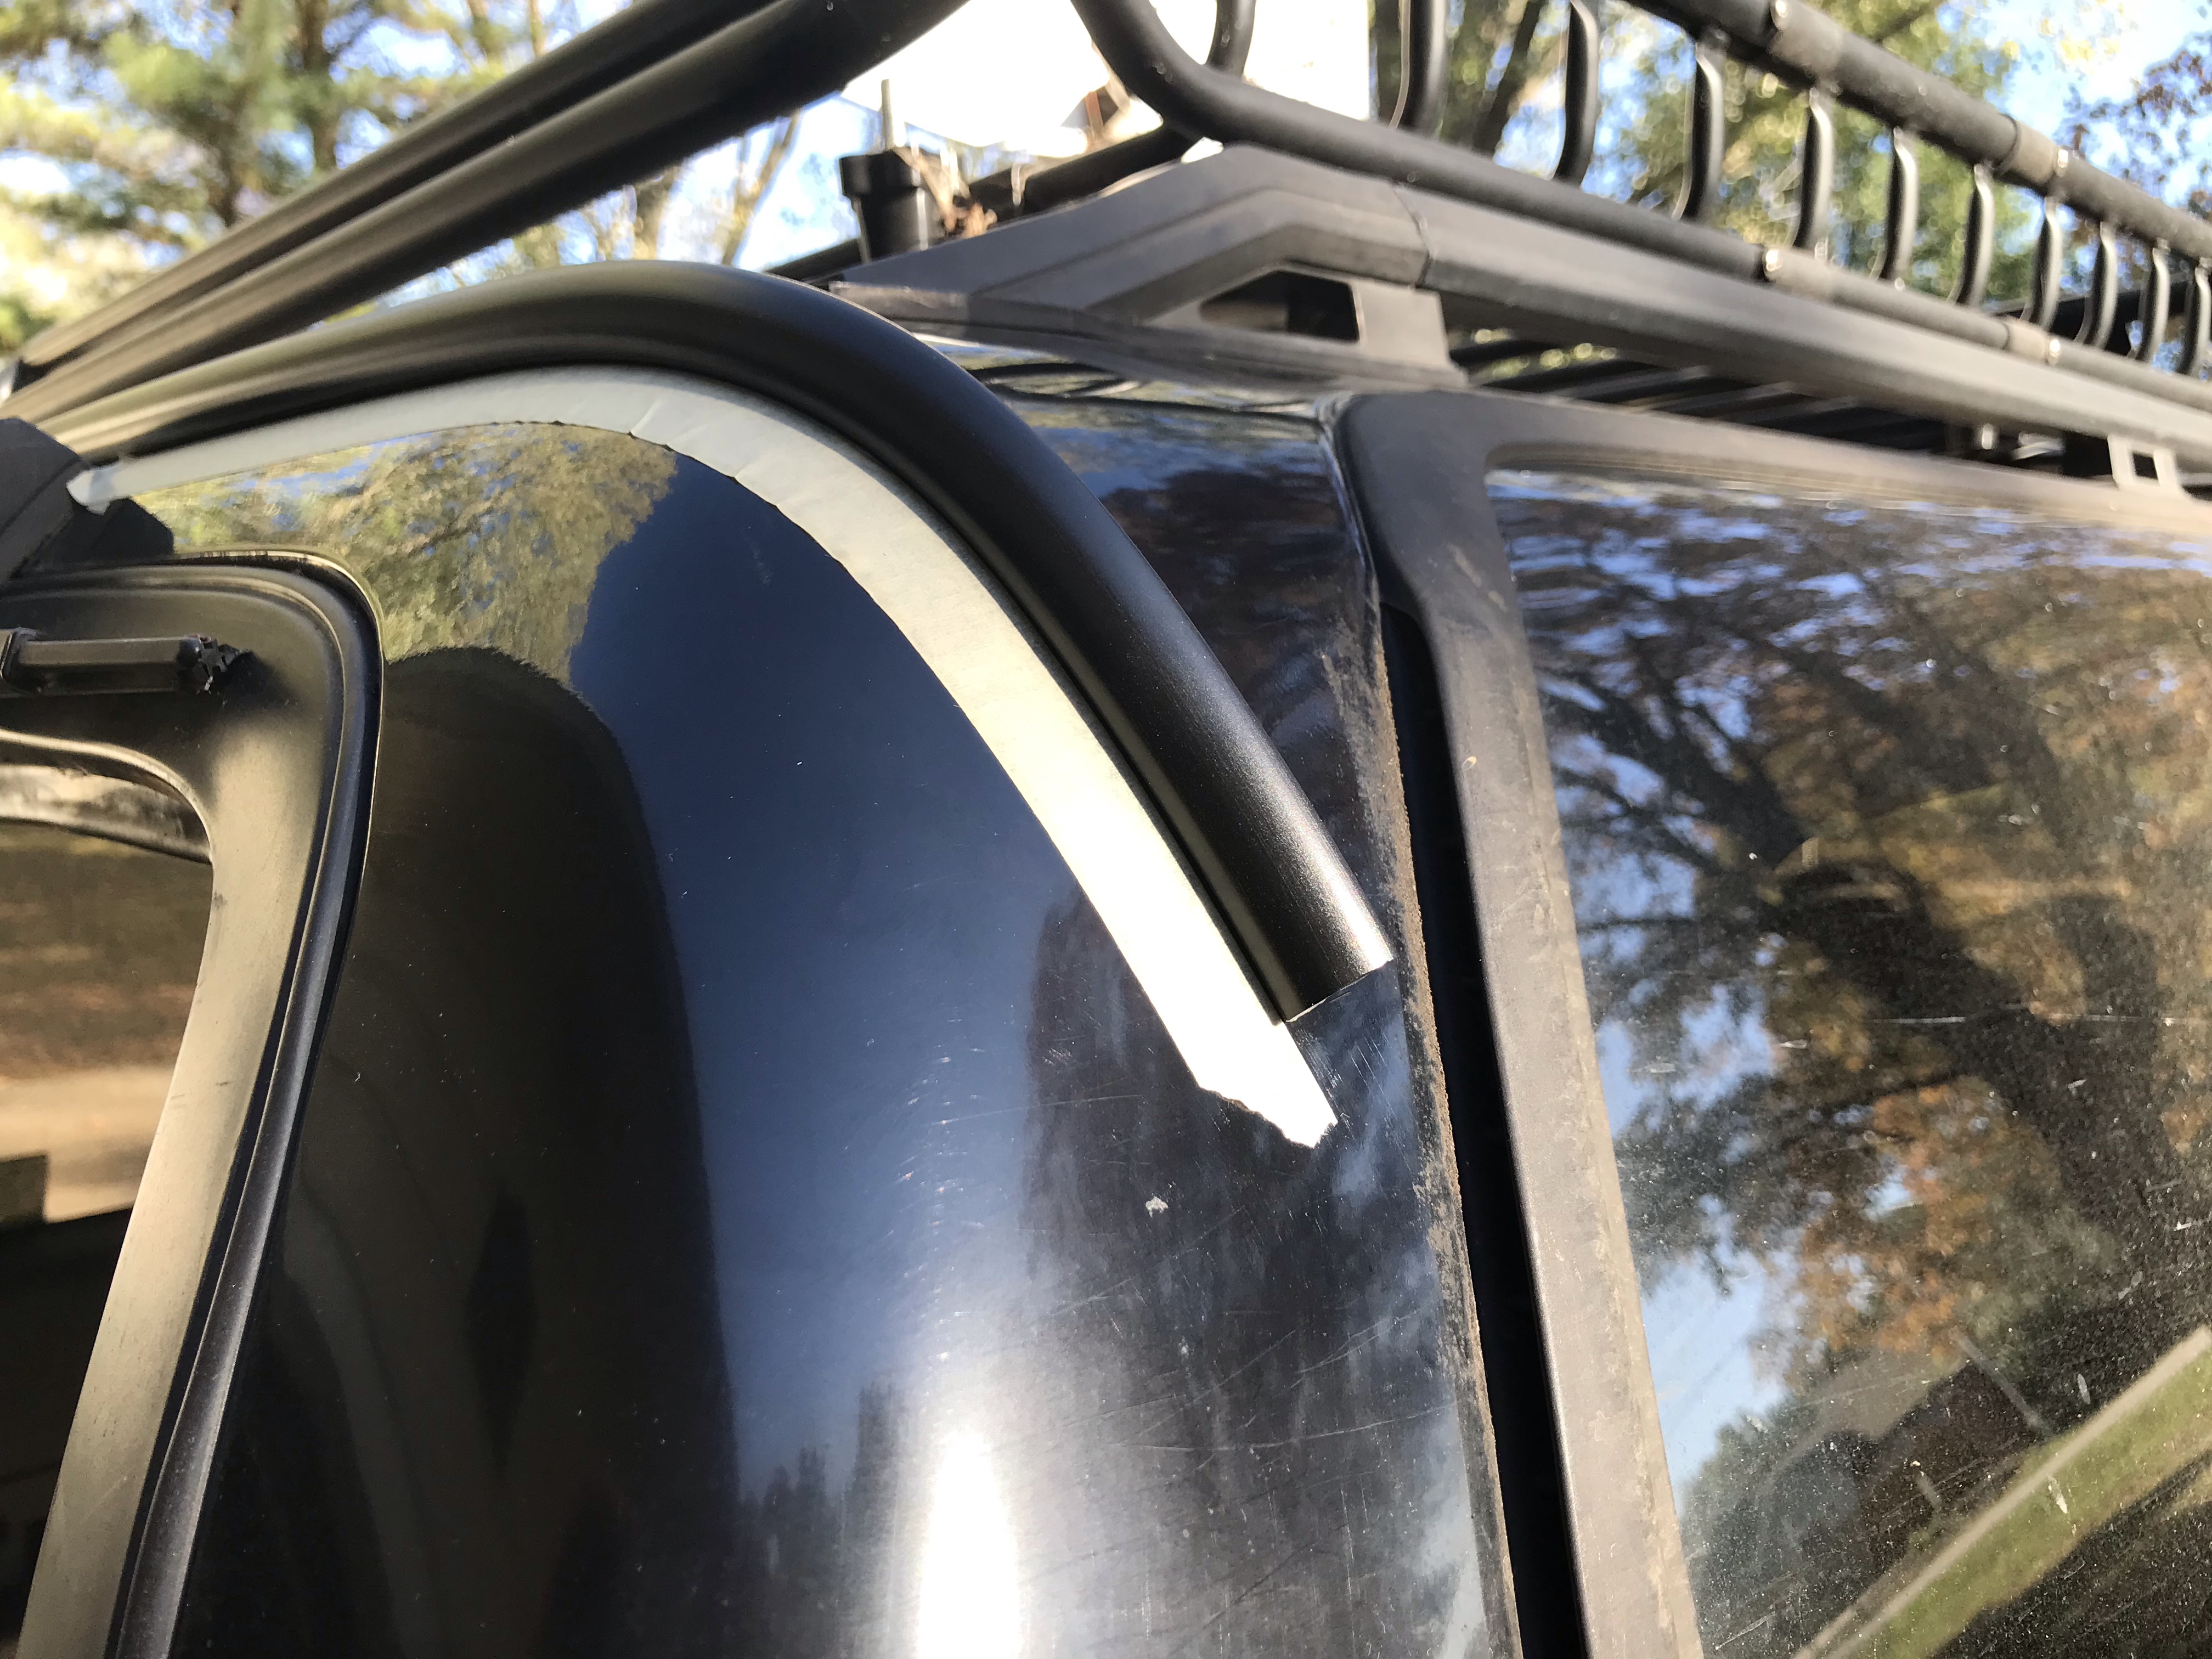
I have a window wiper assembly above my rear window, so I didn’t have a lot of room to work with, and basically mounted the drip rail immediately above the wiper. I ran the channel around the corners on either side towards the windows, where there’s a vent that handles drainage already. This gets the rain completely out of the way of the rear window and allows it to drain down the sides of the vehicle.
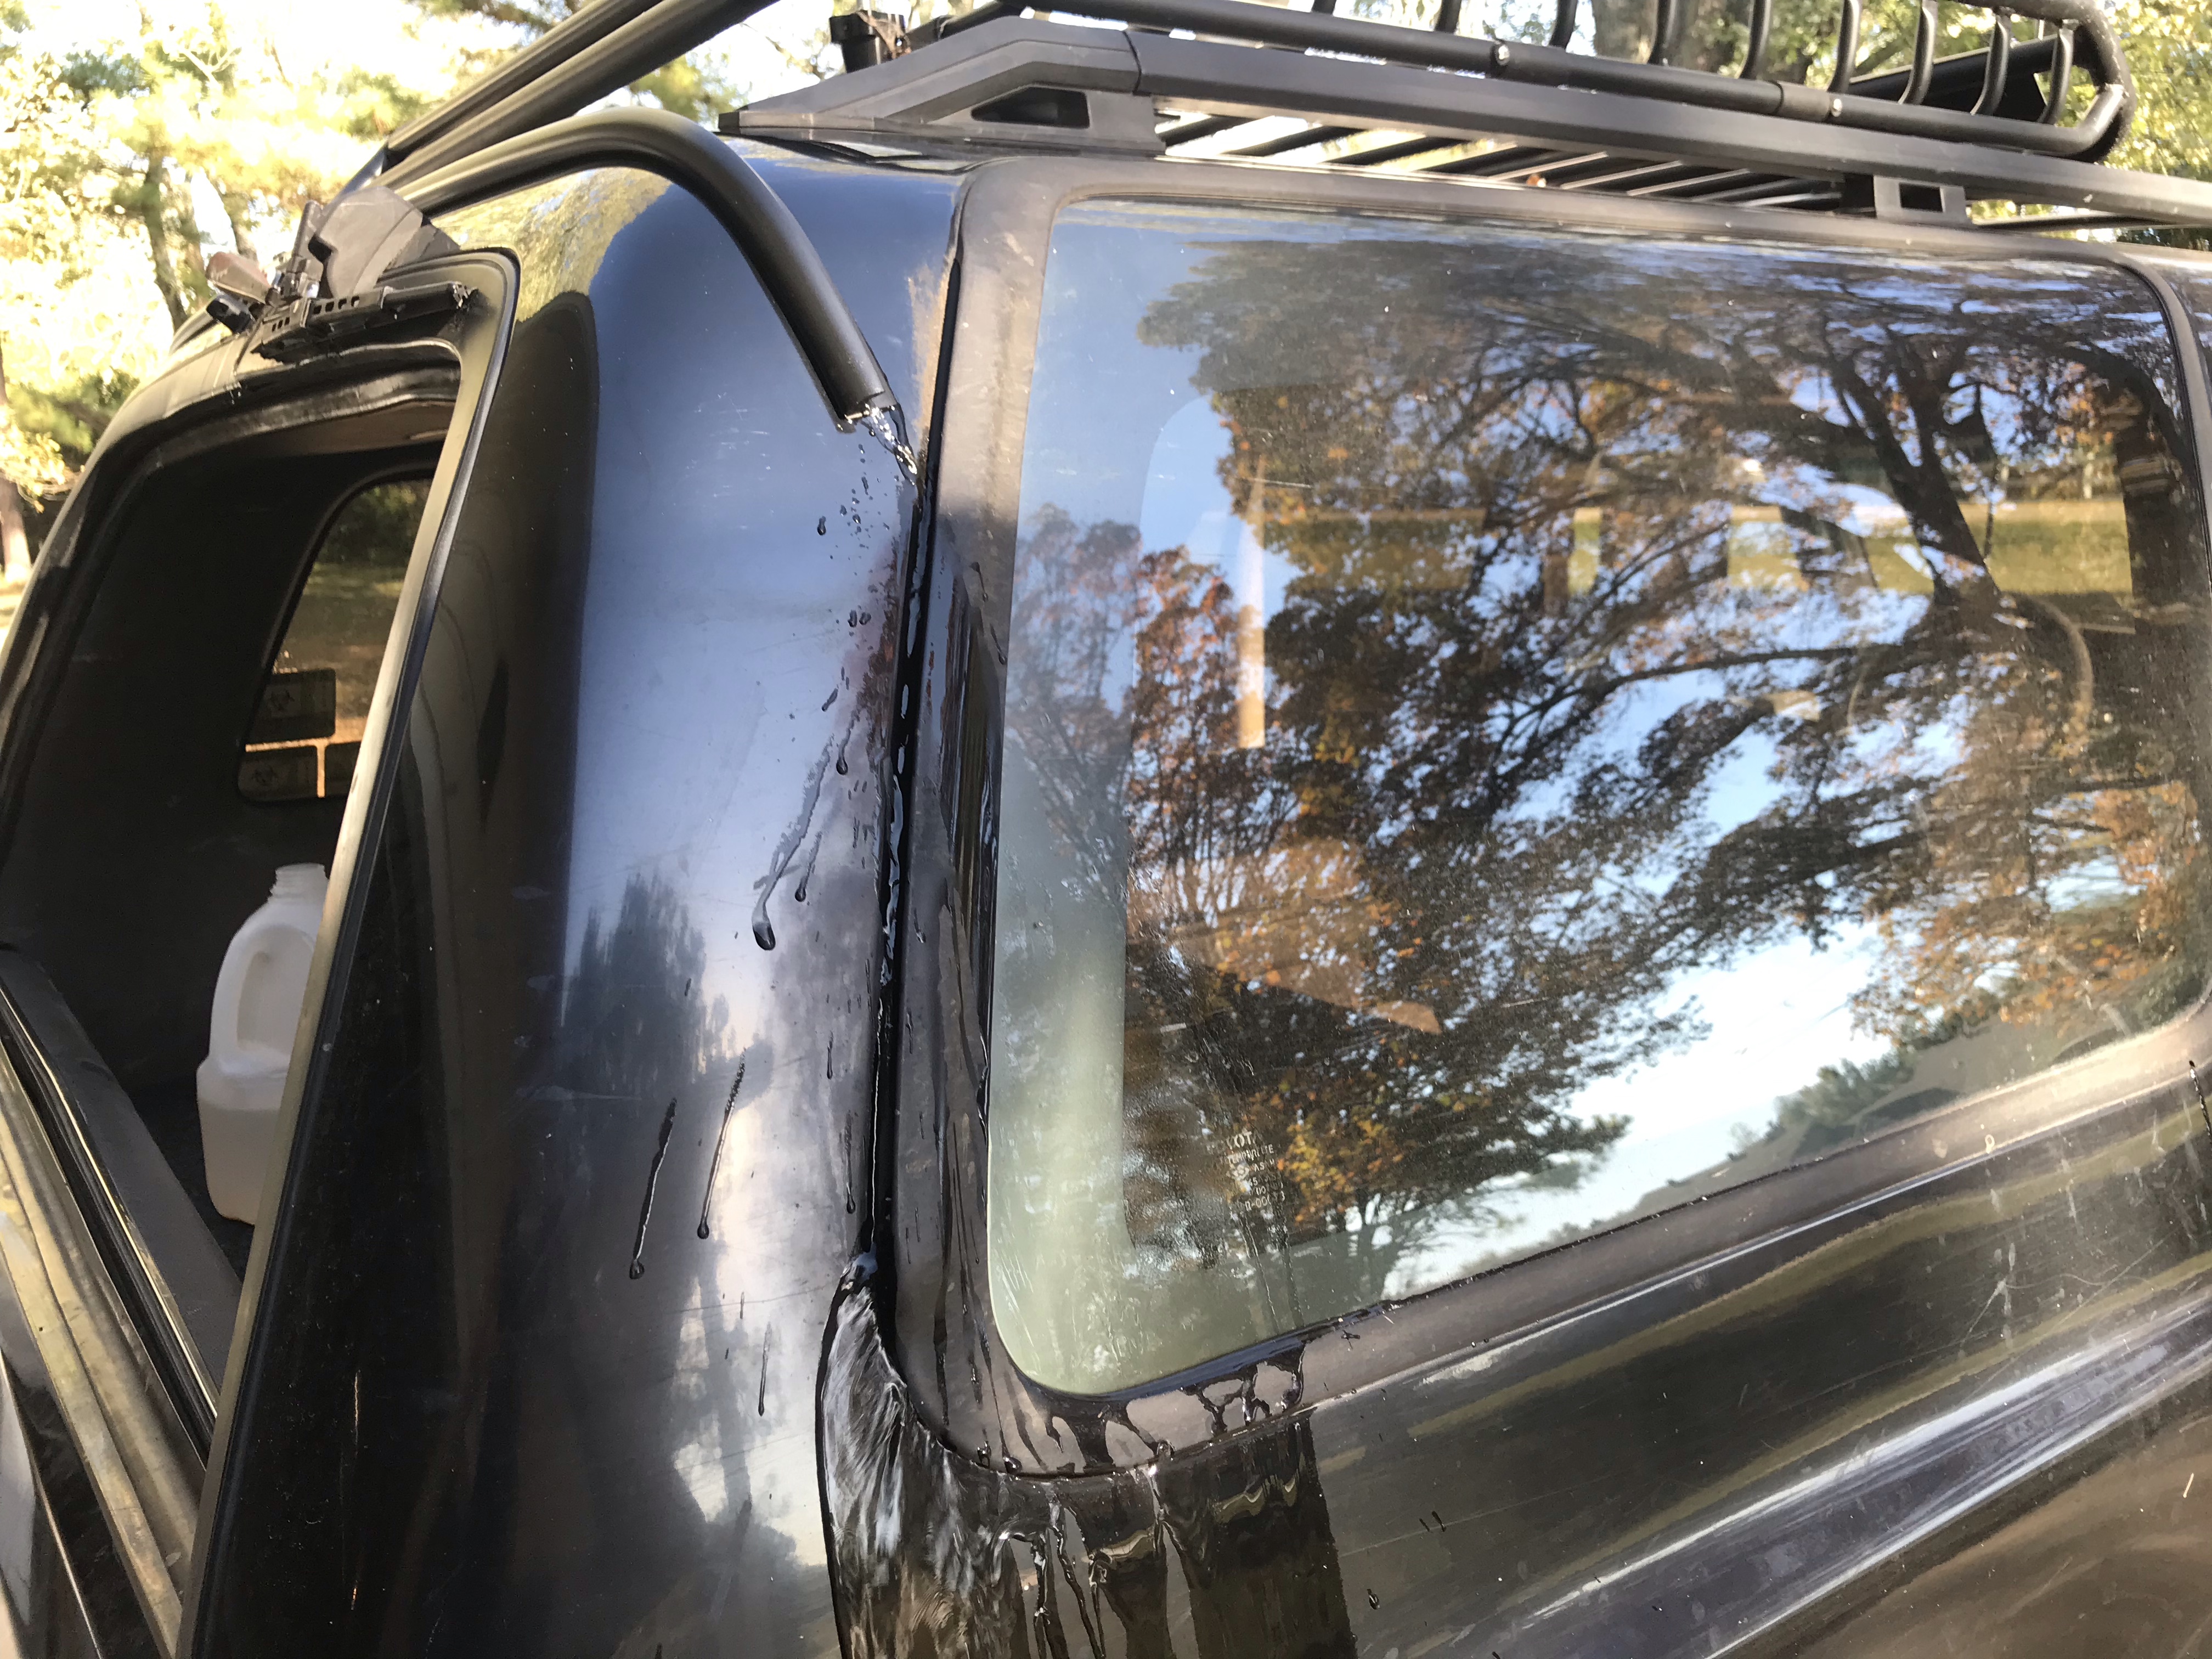
I tested it out by pouring a jug of water on the roof and watching it run down with the rear window open. I was very pleased that no water made it into the cargo area!
Cost
The only thing I had to buy for this project was the RV gutter itself, which was $14.74. Cheap, easy, and effective!